To clean old oil paintings, start by evaluating the artwork’s condition and documenting any damage. Gather soft bristled brushes and appropriate cleaning solvents like distilled water. Dust gently with a dry cloth, then lightly dampen another cloth with your solvent and test it on a small area. Wipe the surface carefully, then dry it with a lint-free cloth. Regular checks on the painting guarantee its longevity, revealing more insights into maintenance and preservation as you continue.
##
If you’re interested in cleaning old oil paintings, you’ve come to the right place! This article will guide you through the careful and precise methods needed to restore your artwork while preserving its integrity. You’ll learn about the importance of understanding the painting’s materials, how to identify different surface layers, and the gentle techniques that can be employed for effective cleaning. By the end of this article, you’ll have the information you need to safely remove grime and maintain the beauty of your cherished paintings for future generations to enjoy.
Preparation For Cleaning
Before diving into the cleaning process, it’s crucial to gather your materials and assess the painting’s condition. Start with surface evaluation using various assessment methods such as visual inspection and gentle touch. Look for signs of damage, including cracks, flaking, or discoloration, as these can affect your cleaning approach. Document any findings meticulously, noting areas that require special attention. Make sure you’re in a well-lit environment to accurately observe any imperfections. This initial assessment helps you determine the painting’s vulnerability and informs your cleaning strategy. By taking these steps, you’re setting the groundwork for effective and respectful cleaning, preserving both the artwork’s integrity and your freedom to enjoy its beauty for years to come.
Tools and Chemical Required
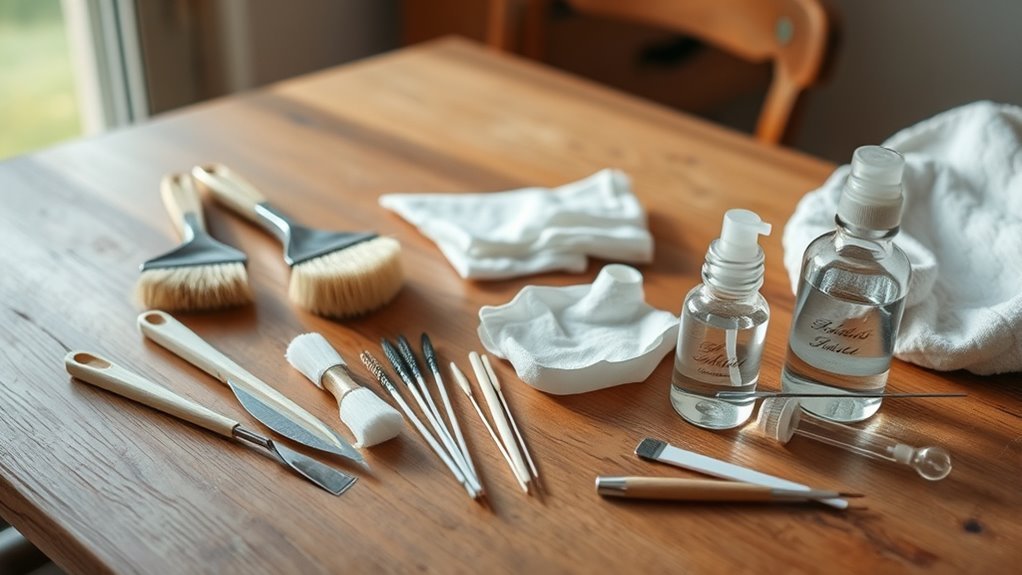
Equipping yourself with the right tools and chemicals is essential for safely cleaning old oil paintings. You’ll need various paintbrush types, such as soft-bristled brushes for delicate areas and stiffer brushes for more robust surfaces. Additionally, select appropriate cleaning solvents, like distilled water, isopropyl alcohol, or specialized art cleaners.
Here’s a quick reference table to help you:
| Tool/Chemical | Purpose | Notes |
|---|---|---|
| Soft-bristled brush | Gentle cleaning | Ideal for delicate areas |
| Stiff-bristled brush | Removing debris | Use with caution |
| Cleaning solvent | Lifting grime and dirt | Test on a small area first |
Using these tools effectively guarantees your oil paintings are cleaned without damage.
How to Clean:

Step by Step Guide on How to Clean Old Oil Paintings
Cleaning old oil paintings requires a systematic approach to ensure that the artwork is preserved while effectively removing dirt and grime. Follow these steps carefully:
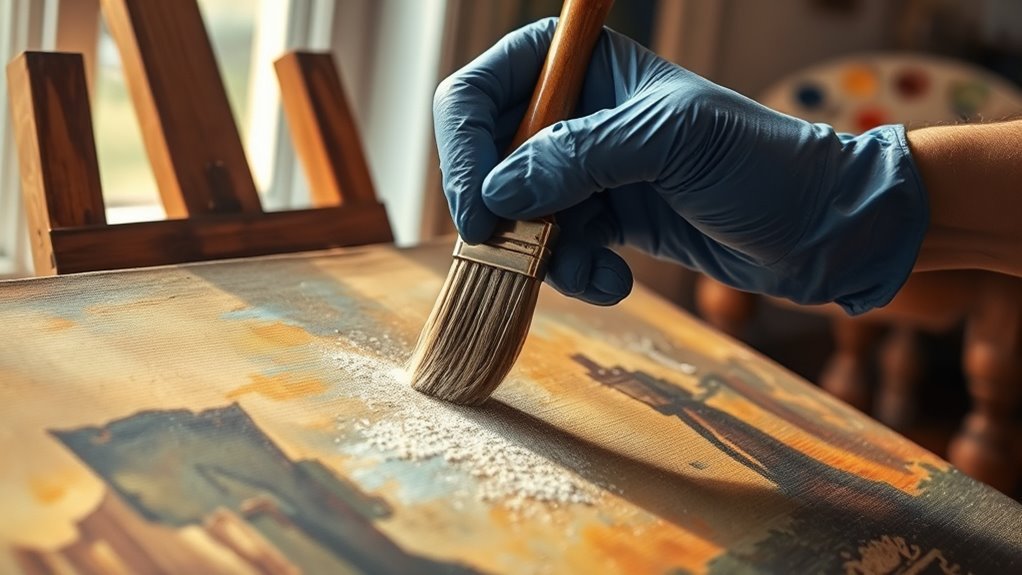
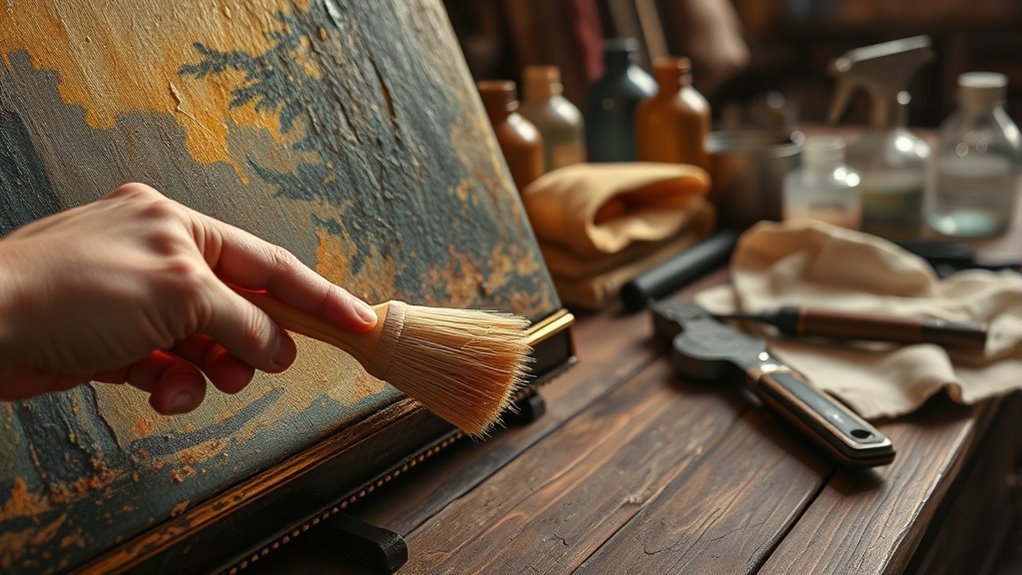
Step 1: Dust Removal
- Gather Supplies: Obtain a soft, dry brush or a microfiber cloth. These materials are gentle enough to avoid scratching the surface of the painting.
- Technique: Begin at the top of the painting and work your way down. This prevents dust from settling on areas that have already been cleaned.
- Action: Gently sweep the brush or cloth across the surface to remove loose particles. Be careful not to apply too much pressure.
Step 2: Prepare for Deeper Cleaning
- Damp Cloth: Dampen a clean cloth with distilled water. Make sure the cloth is not soaking wet; wring it out thoroughly to avoid excess moisture.
- Test a Small Area: Before proceeding, test the damp cloth on a small, inconspicuous area of the painting to ensure it does not damage the surface or paint.
Step 3: Cleaning the Surface
- Technique: Using the damp cloth, gently wipe the surface of the painting. Use light pressure and avoid scrubbing, as this can harm the paint layer.
- Direction: Always work in one direction, such as from top to bottom or left to right, to avoid streaking and to maintain consistency.
Step 4: Drying the Painting
- Lint-Free Cloth: After cleaning, use a clean, lint-free cloth to dry the surface of the painting. This helps to absorb any remaining moisture.
- Technique: Gently pat the surface rather than rubbing it, which could lead to damage.
Step 5: Final Touches
- Avoid Harsh Chemicals: Do not use any harsh chemicals or abrasive materials, as they can irreparably damage the paint.
- Review: Once cleaning is complete, inspect the painting for any areas that may need additional attention.
Safety Consideration
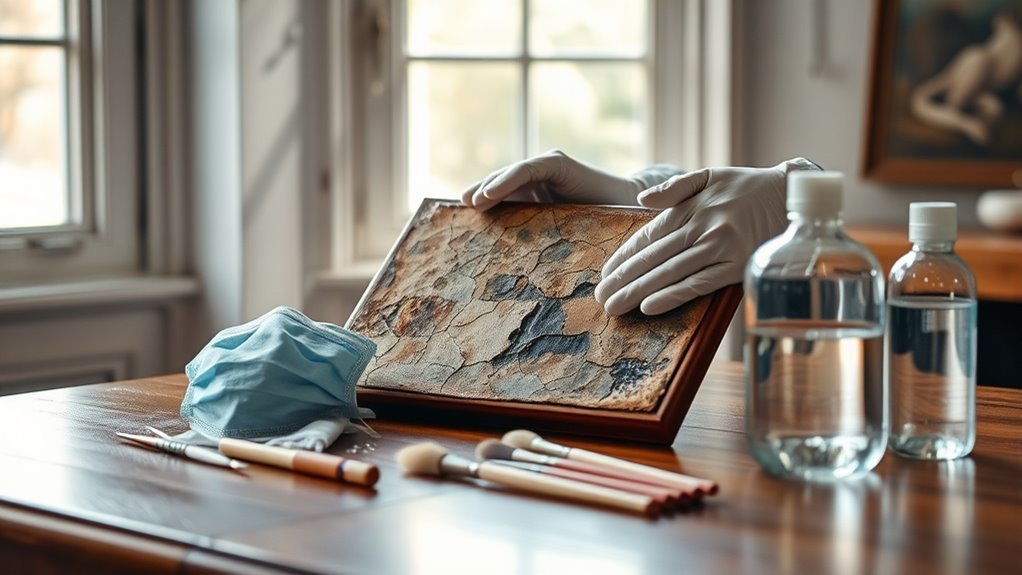
When undertaking the cleaning of old oil paintings, it is crucial to prioritize safety to protect both yourself and the artwork. Start by wearing protective gear, such as gloves and goggles, to shield your skin and eyes from potential irritants. Many cleaning solutions can emit harmful fumes, so make sure you’re in a well-ventilated area. Open windows and use fans to promote airflow, reducing inhalation risks. If possible, consider using a respirator to further safeguard against airborne chemicals. Additionally, keep all cleaning materials organized and out of reach of children or pets. By implementing these ventilation practices and utilizing protective gear, you can minimize risks and maintain a safe environment while caring for your valuable art.
Tips to keep clean for long time
To guarantee your oil paintings remain in pristine condition over time, it’s vital to implement preventive measures that protect them from dust, humidity, and direct sunlight. Regular inspection of your artwork can identify potential issues before they escalate. Ascertain paintings are displayed away from direct sunlight and in a stable climate—ideally between 65-75°F and 40-50% humidity. Use UV-filtering glass if framing is necessary. Regular dusting with a soft cloth can help maintain their appearance, but avoid using water or cleaning solutions. Additionally, consider periodic professional evaluations to assess condition and recommend preventive maintenance. By taking these steps, you can enjoy your oil paintings for years while preserving their beauty and integrity.
Frequently Asked Questions
Can I Restore a Painting With Significant Damages?
Yes, you can restore a painting with significant damage by employing various restoration techniques. Begin with a damage assessment to identify issues like tears or discoloration. Depending on the extent of the damage, you might need to reinforce the canvas, retouch the paint, or address structural concerns. It’s essential to use archival-quality materials and methods to guarantee the painting’s longevity while preserving its original character. Consulting a professional conservator can also enhance the outcome.
How Often Should I Clean My Oil Paintings?
You should clean your oil paintings about once a year, but frequency recommendations can vary based on environmental factors. If your painting’s in a dusty or humid area, consider cleaning it more often. Use gentle cleaning techniques, like a soft brush or microfiber cloth, to remove dust without damaging the surface. Always test any cleaning method on a small, inconspicuous area first to guarantee it doesn’t affect the painting’s integrity.
Are There Professional Services for Cleaning Paintings?
Yes, there are professional services dedicated to painting restoration. These experts utilize advanced conservation techniques to guarantee your artwork is treated with care. They assess the painting’s condition and apply appropriate methods to clean and restore it without harming the original materials. If you’re considering having your paintings cleaned, it’s wise to consult a professional conservator who can provide tailored recommendations based on the artwork’s age, condition, and specific needs.
What Are Signs of a Painting Needing Cleaning?
If your painting’s looking like a dusty old book on a shelf, it might need cleaning. Signs include visible dust, discoloration, or a dull appearance. You might also notice flaking paint or a sticky surface, indicating it’s time to contemplate cleaning techniques and preservation methods. Regular assessments will help maintain the artwork’s integrity, ensuring it continues to tell its story without losing its vibrancy. Don’t hesitate to act when you see these signs!
Can Cleaning Affect the Painting’s Value?
Yes, cleaning can affect a painting’s value. Improper cleaning techniques may damage the artwork, leading to a diminished value assessment. It’s essential to use appropriate methods that preserve the integrity of the paint and canvas. Before attempting any cleaning, consult a professional conservator. They can advise you on safe practices to maintain the artwork’s authenticity and market worth, ensuring you don’t unintentionally lower its value through misguided efforts.