How to Make Homemade Grease Cleaner
You can make a homemade grease cleaner by mixing half a cup of baking soda with a quarter cup of liquid dish soap, then adding a bit of warm water to create a smooth paste. Apply it to greasy spots, let it sit for 5–10 minutes, scrub gently, and rinse well. Using common kitchen ingredients makes it safe and affordable. Keep using this natural approach, and you’ll discover helpful tips and tricks to tackle even tough grease stains effectively.
Essential Ingredients for Homemade Grease Cleaner
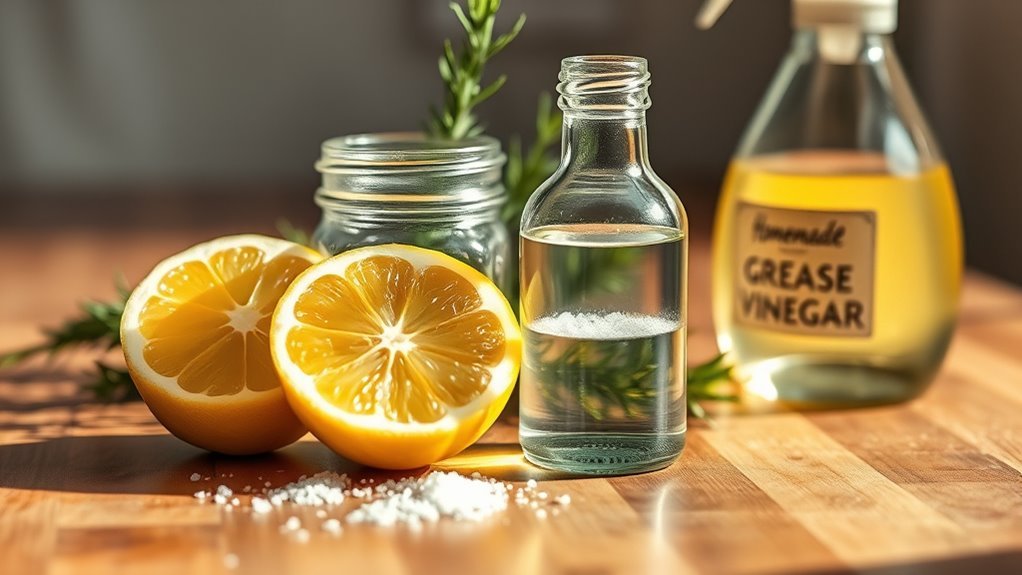
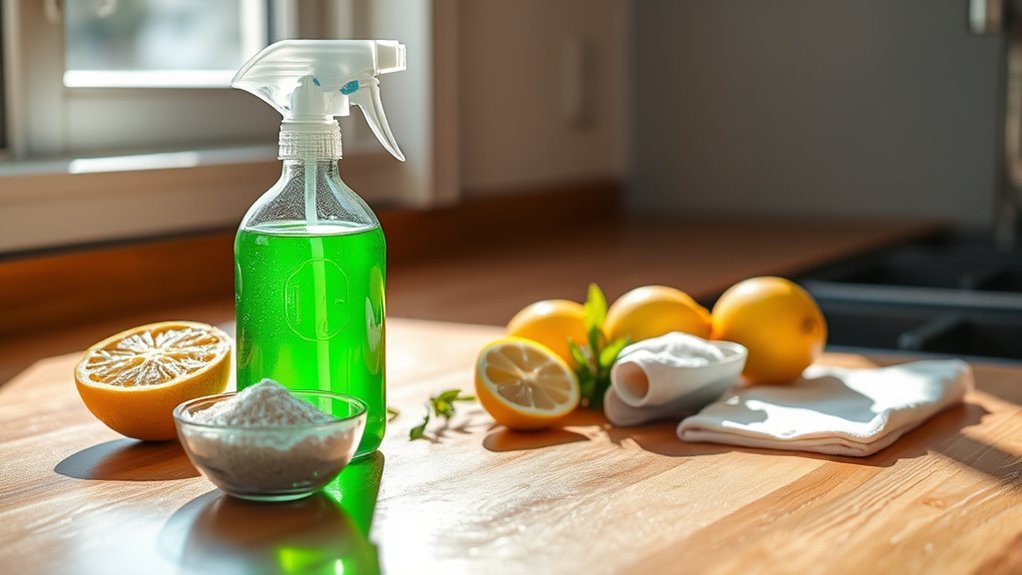
Before you start making your homemade grease cleaner, you’ll need to gather a few essential ingredients that are both effective and easy to find. The magic begins with baking soda, known for its gentle abrasiveness and ability to break down stubborn grease without harsh chemicals. Its natural scrubbing power lets you clean freely without worries about toxic residues. Next, vinegar plays an important role due to its unique acidity. The vinegar properties help dissolve grease and grime, cutting through buildup with ease while leaving surfaces fresh. Combining these two gives you a powerful yet safe solution for tackling grease. By choosing these simple ingredients, you embrace freedom from commercial cleaners and take control of your cleaning routine with natural, accessible tools.
Tools and Materials Needed
Before you start mixing your homemade grease cleaner, make sure you have all the essential cleaning ingredients on hand. You’ll also need some basic kitchen tools to combine and apply the solution effectively. Having everything ready will make the process quick and hassle-free.
Essential Cleaning Ingredients
Gathering the right ingredients is key to making an effective homemade grease cleaner. You’ll want to focus on natural alternatives and eco friendly options that are powerful yet gentle on the environment. These ingredients not only help you break free from harsh chemicals but also protect your home and health. Here’s a quick guide to essential cleaning ingredients you’ll need:
| Ingredient | Purpose | Eco Friendly Aspect |
|---|---|---|
| White Vinegar | Cuts grease | Biodegradable, natural |
| Baking Soda | Scrubs and deodorizes | Non-toxic, safe |
| Lemon Juice | Dissolves grease | Natural disinfectant |
| Castile Soap | Cleans and degreases | Plant-based, biodegradable |
| Olive Oil | Loosens tough grime | Natural, sustainable |
Using these will give you a cleaner kitchen without compromising your values.
Necessary Kitchen Tools
Having the right tools makes mixing and applying your homemade grease cleaner much easier and more effective. You’ll want basic kitchen gadgets like a measuring cup, mixing bowl, and a sturdy spoon or whisk to blend your ingredients thoroughly. A spray bottle or a squeeze container is essential for easy application, giving you control over how much cleaner you use without any waste. Don’t forget gloves to protect your hands and a microfiber cloth or sponge for scrubbing stubborn grease. These essential cleaning supplies keep the process simple and efficient, freeing you from harsh chemicals and costly store-bought products. With these tools on hand, you’re set to tackle grease with confidence and freedom, making your kitchen shine naturally.
Step-by-Step Preparation Process
First, you’ll want to gather all the ingredients needed for your grease cleaner. Next, mix them carefully to create an effective solution. Finally, make sure to store your cleaner properly after use to maintain its quality.
Gather Necessary Ingredients
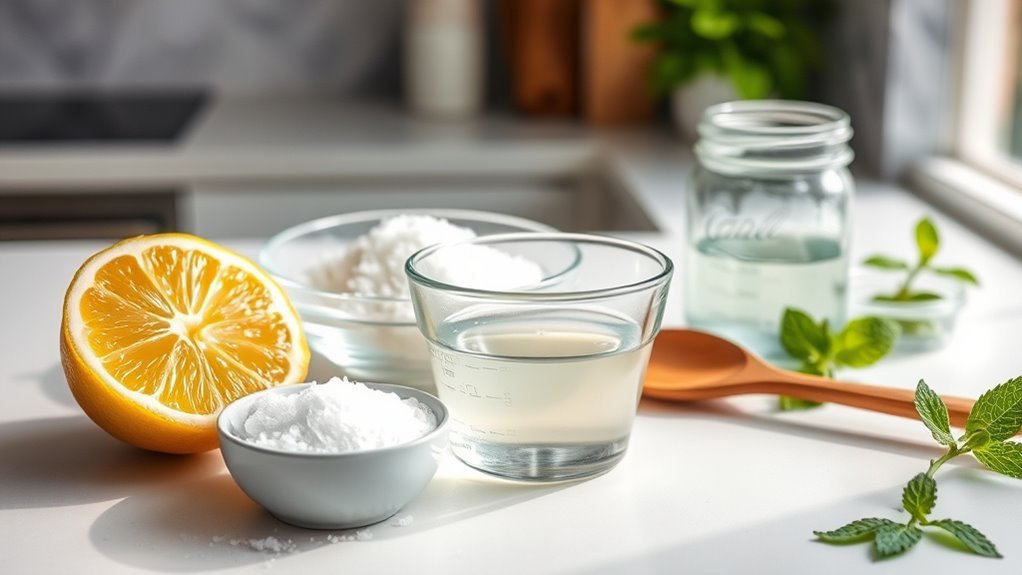
To make an effective homemade grease cleaner, you’ll need just a few simple ingredients that are commonly found in most households. These ingredients work well on various grease types and are safe for different cleaning surfaces. Having them ready will give you the freedom to tackle grease whenever it shows up, without relying on harsh chemicals.
| Ingredient | Purpose |
|---|---|
| Baking Soda | Breaks down grease |
| White Vinegar | Cuts through tough residues |
| Liquid Dish Soap | Lifts and removes grease |
Gather these ingredients, and you’re all set to create a powerful cleaner that respects your space and the environment. This way, you’re prepared to handle any greasy mess with ease and confidence.
Mix Cleaning Solution
Once you’ve gathered all your ingredients, you can start mixing the solution by combining half a cup of baking soda with a quarter cup of liquid dish soap in a bowl. Pay close attention to the mixing ratios to guarantee your cleaner works effectively. Stir gently to achieve a smooth solution consistency—thick enough to cling to greasy surfaces but not too runny.
Here’s how to perfect your mix:
- Add a few tablespoons of warm water if the mixture feels too thick.
- Adjust dish soap quantity to increase foaming power.
- Mix until no lumps remain, assuring even distribution.
- Test the consistency by spreading a small amount on a greasy spot.
This way, you gain control over your cleaner’s strength and texture, giving you the freedom to tackle grease your way.
Store Properly After Use
Properly storing your homemade grease cleaner guarantees it stays effective for future use and prevents any messes. Start by choosing the right container; opt for a sturdy, airtight bottle or jar that won’t leak or degrade over time. Clear plastic or glass containers with secure lids work best, allowing you to see the cleaner’s level and condition easily. Label your container clearly with the contents and date to keep track. Store it in a cool, dry place away from direct sunlight, which can break down the solution and reduce its power. Avoid extreme temperatures that might cause expansion or cracking. Following these proper storage steps assures your cleaner remains potent, safe, and ready whenever you need it, giving you the freedom to tackle grease without hassle.
How to Use Your Homemade Grease Cleaner
Spray your homemade grease cleaner directly onto the greasy surface and let it sit for a few minutes to break down the buildup. When tackling tough grease, your applying technique matters—give the cleaner time to work before scrubbing. For effective cleaning surfaces, use a sponge or cloth to wipe away loosened grime. Here’s how to maximize your freedom with this cleaner:
- Target grease spots with steady sprays, ensuring even coverage
- Let the cleaner soak for 5-10 minutes depending on grease severity
- Use circular motions when scrubbing to lift stubborn residue
- Rinse with warm water and dry to reveal a clean, fresh surface
Safety Tips When Handling Homemade Cleaners
Although homemade cleaners are generally safer than commercial ones, you still need to handle them with care to avoid skin irritation or accidental ingestion. Always wear protective gear like gloves and eye protection when mixing or applying your homemade grease cleaner. This simple step shields you from potential irritants and keeps your skin safe. After use, make certain to store your cleaner in a labeled container and keep it out of reach of children and pets. Safe storage prevents accidental spills and guarantees your cleaner stays effective longer. By respecting these safety tips, you maintain your freedom to create and use your own products without unnecessary risks. Stay cautious, and enjoy the independence that comes with making your own cleaners.
Advantages of Using Homemade Grease Cleaner
When you make your own grease cleaner, you gain better control over the ingredients, ensuring they’re safe and free from harsh chemicals. This freedom lets you choose natural components that protect your health and the planet. Plus, homemade cleaners offer impressive environmental benefits, reducing toxic waste and pollution. You’ll also appreciate the cost effectiveness—no need to buy expensive commercial products that often contain unnecessary additives.
Here are some key advantages:
- Customizable formulas tailored to your cleaning needs
- Reduced exposure to harmful substances for your family
- Lower environmental impact through biodegradable ingredients
- Significant savings compared to store-bought cleaners
Troubleshooting Common Cleaning Challenges
If you’ve ever struggled to remove stubborn grease stains, you’re not alone. Sometimes, homemade cleaners don’t work as expected because the grease has set in too deeply or the cleaning surfaces aren’t compatible with your solution. To troubleshoot, first test your cleaner on a small, hidden area. If the stain persists, try letting the cleaner sit longer to break down the grease. For tougher spots, gently scrub with a soft brush instead of harsh tools that could damage surfaces. Also, remember that some grease stains require repeating the process for full removal. If you’re dealing with delicate surfaces, dilute your cleaner to avoid damage. Troubleshooting these common challenges helps you reclaim your freedom to clean effectively without relying on harsh chemicals.
Frequently Asked Questions
Can Homemade Grease Cleaners Damage Delicate Surfaces?
Did you know that 65% of people who try homemade cleaners report mixed results on delicate surfaces? When using homemade cleaner effectiveness comes down to your recipe and application. You need to take delicate surface precautions, like testing a small area first and avoiding abrasive ingredients. If you’re aiming for freedom from harsh chemicals, just remember that not all DIY solutions are gentle, so handle fragile materials with care to avoid damage.
How Long Can I Store Homemade Grease Cleaner Safely?
You can usually store homemade grease cleaner safely for up to a month, depending on your ingredients. For the best shelf life, keep it in an airtight container away from heat and sunlight. Those storage tips help maintain its effectiveness and prevent spoilage. If you want freedom from constantly making new batches, just label your container with the date so you know when to toss it and keep your cleaning game strong.
Are Homemade Grease Cleaners Safe for Septic Systems?
Did you know that over 20 million homes in the U.S. rely on septic systems? When using homemade cleaner ingredients like vinegar and baking soda, you’re generally safe for septic system safety—they’re natural and biodegradable. Just avoid harsh chemicals or excessive oils that can clog or harm your system. So, if you want freedom from harmful chemicals and septic worries, homemade cleaners can be a smart, eco-friendly choice.
Can I Use Homemade Grease Cleaner on Outdoor Grills?
You can definitely use homemade grease cleaner for outdoor grills, but make sure it’s gentle enough not to damage grill parts. It’s perfect for grill maintenance, cutting through grease while being eco-friendly. Just spray, let it sit briefly, then scrub and rinse well. This keeps your grill clean without harsh chemicals, giving you freedom to enjoy outdoor cleaning with peace of mind and a sparkling grill ready for your next cookout.
What Are Natural Alternatives to Vinegar in Grease Cleaners?
If you’re looking to ditch vinegar, you can turn to natural alternatives like baking soda and citric acid. Baking soda benefits include its gentle abrasiveness and ability to neutralize odors, making it perfect for cutting through grease without harsh chemicals. Citrus acid, found in lemon or lime juice, offers a fresh scent and powerful grease-cutting power. Both give you freedom to clean naturally and effectively, keeping your space fresh and chemical-free.