How to Remove Chair From Oven
First, identify your oven type and chair materials, then clear the oven of racks and verify it’s powered off. Protect your hands with gloves and kneel on a padded surface. Gently rock the chair back and forth, increasing motion without forcing it. Apply lubricants like silicone spray to contact points if needed. If stuck, consider carefully dismantling removable oven parts. If extraction risks damage or safety, getting expert help is wise. Understanding these steps prepares you to manage this challenge effectively.
Assess the Situation and Oven Type
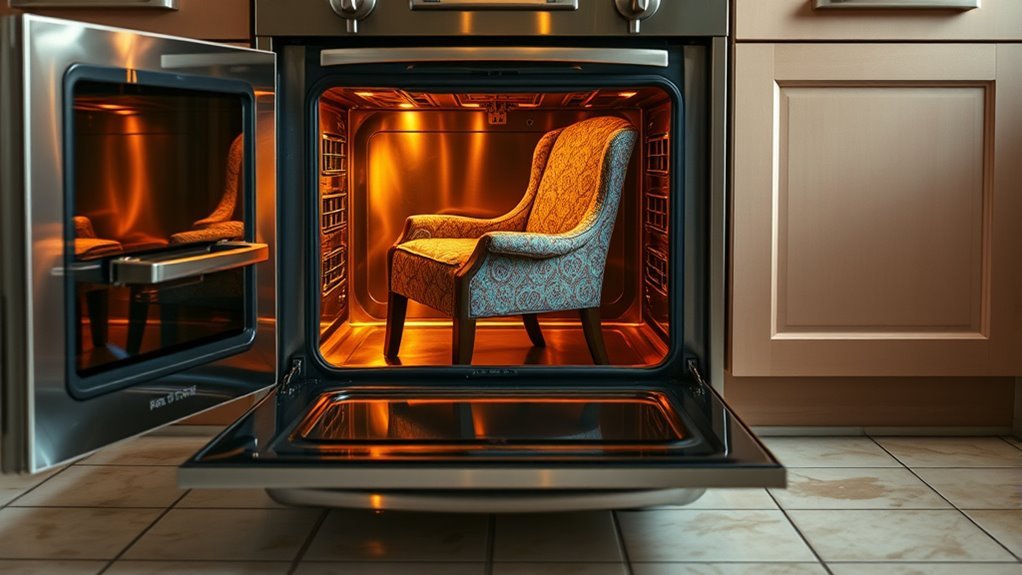
Before attempting to remove the chair from the oven, you need to assess the situation carefully and identify the oven type. Different oven types—conventional, convection, or microwave—have varying internal structures and heat retention characteristics, which affect your approach. Next, examine the chair materials. Is the chair wooden, metal, or plastic? Each material responds differently to heat and pressure, influencing removal tactics. Understanding chair materials helps prevent damage and safety hazards. Note any deformation or heat damage to the chair and oven interior, as this may complicate extraction. By systematically identifying oven types and chair materials, you gain control over the process, allowing you to plan a safe, efficient removal strategy that preserves freedom of movement and minimizes risk. This initial assessment is essential before proceeding.
Clear the Oven and Surrounding Area
Start by removing all detachable racks, trays, and accessories from the oven to maximize your workspace and prevent obstruction. This step guarantees you have clear access to maneuver and reduces the risk of damaging oven components during the chair removal. Next, inspect the surrounding area for any obstacles or hazards that might hinder movement or cause injury. Clear away items such as kitchen utensils, flammable materials, or clutter that could compromise oven safety. Verify that the oven is completely powered off and cooled down to avoid burns or electrical risks. Maintaining a tidy, hazard-free environment around the oven not only protects you but also preserves the appliance’s integrity. Taking these precautions methodically supports a safe and efficient chair extraction process.
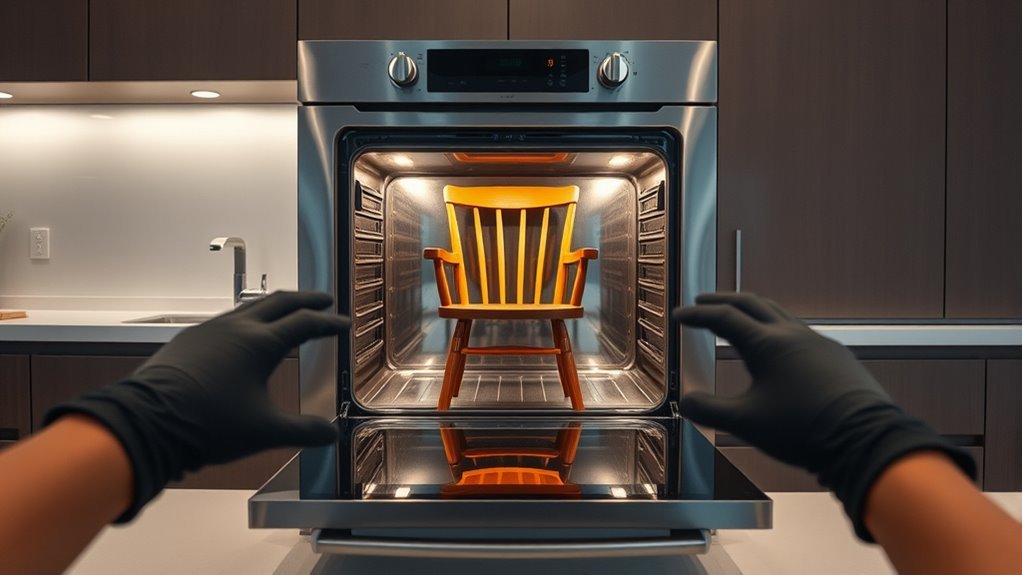
Protect Your Hands and Knees
Two key areas require protection during the removal process: your hands and knees. Prioritize hand protection by wearing durable gloves with a non-slip grip to prevent injury from sharp edges or hot surfaces inside the oven. This guarantees you can maintain a secure hold without risking cuts or burns. For knee support, use a cushioned pad or knee pads to reduce strain and discomfort while kneeling. This will help you maintain stability and control throughout the task, allowing for precise movements. Proper hand protection and knee support not only safeguard your body but also enhance your ability to maneuver the chair freely. By preparing these protective measures, you minimize risk and increase efficiency during the removal process.
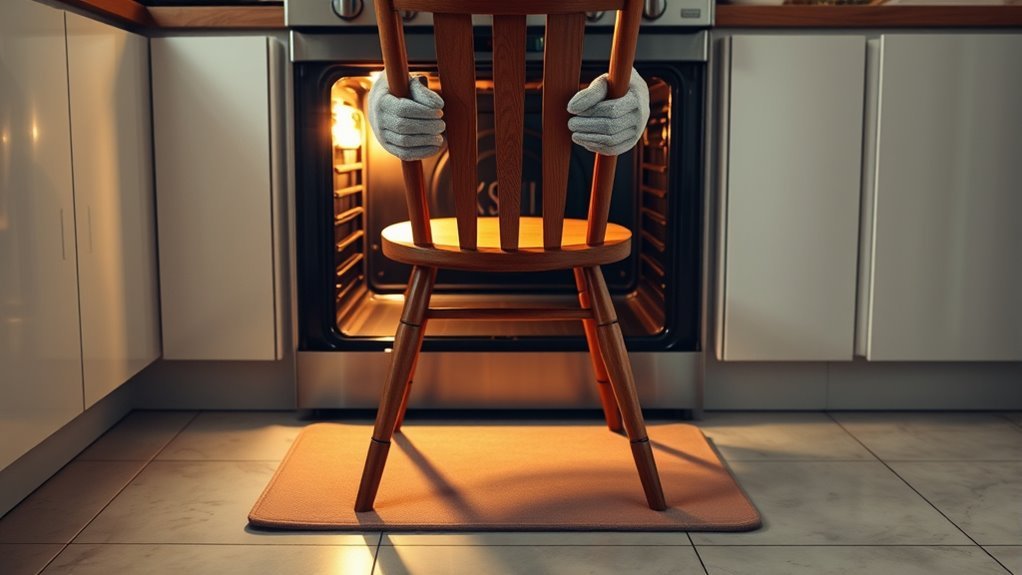
Try Gentle Rocking and Pulling Motions
Start by gently rocking the chair back and forth to loosen its position without forcing it. Use slow, controlled movements to avoid damaging the oven or chair. Once loosened, apply steady pulling pressure to carefully extract the chair.
Use Slow Rocking
When using slow rocking to remove the chair from the oven, you’ll want to apply gentle, controlled back-and-forth movements. This rocking technique reduces friction and prevents damage to both the chair and oven surfaces. Focus on maintaining chair safety by avoiding sudden or forceful actions that could cause structural strain or instability.
Keep these points in mind:
- Initiate with minimal amplitude to assess movement response.
- Increase rocking range gradually, ensuring no excessive force.
- Monitor chair stability continuously to prevent tipping.
- Pause periodically to evaluate progress and adjust technique.
Apply Steady Pulling
Combine gentle rocking with steady pulling to gradually ease the chair out of the oven. Begin by securing a steady grip on the chair’s frame to maintain control without causing damage. Use a pulling technique that applies consistent, moderate force—avoid sudden jerks that could worsen the situation. As you gently rock the chair back and forth, integrate smooth pulling motions to slowly disengage it from tight spots. This methodical approach minimizes resistance and prevents further entrapment. Pay close attention to the chair’s movement; if it resists, pause and reassess your grip and angle. By combining a steady grip with controlled pulling and rocking, you’ll effectively free the chair, reclaiming your space with precision and care.
Use Lubricants to Ease the Chair Out
You can use lubricants like silicone spray or WD-40 to reduce friction and help slide the chair out more easily. Apply a small amount around the contact points between the chair and oven surfaces, avoiding electrical components. Let the lubricant sit for a few minutes before attempting to move the chair again.
Types of Effective Lubricants
Lubricants play an essential role in loosening tight spaces and reducing friction, making it easier to slide the chair out of the oven. Choosing the right oil types or spray options guarantees efficient movement without damaging surfaces. You want a lubricant that offers adequate slip while being safe on metal and plastic parts.
Consider these effective lubricant types:
- Silicone spray: Provides long-lasting lubrication without attracting dust.
- WD-40: Multi-purpose spray that penetrates rust and loosens stuck joints.
- Light machine oil: Ideal for precise, controlled application on metal fittings.
- Graphite powder: Dry lubricant that avoids mess and reduces friction effectively.
Selecting the right type helps you regain freedom of movement quickly and safely.
Application Tips for Lubricants
Selecting the appropriate lubricant is just the first step; applying it correctly determines how effectively the chair will slide out of the oven. After lubricant selection, focus on targeted application techniques. Apply a thin, even layer directly on contact points between the chair legs and oven surfaces. Avoid excessive amounts that can cause mess or attract debris. Use a brush or nozzle for precision, ensuring the lubricant penetrates tight spaces where friction is highest. Allow the lubricant to sit for several minutes to reduce resistance fully. Reapply as needed, especially if initial attempts don’t free the chair. Consistent, methodical application maximizes movement and preserves both the chair and oven, granting you the freedom to resolve the issue without damage or struggle.
Utilize Tools for Leverage and Grip
A sturdy pry bar or a pair of locking pliers can greatly enhance your ability to free the chair stuck in the oven. Employ leverage techniques combined with grip tools to maximize force while minimizing effort. Position your tools strategically to avoid damaging the oven or chair. Use slow, controlled pressure to gradually shift the chair’s position.
Use leverage and grip tools like a pry bar or locking pliers for controlled, damage-free removal of the stuck chair.
- Select tools with ergonomic handles for secure grip and comfort.
- Apply leverage at points where the chair exerts the most resistance.
- Use locking pliers to clamp firmly onto chair parts for steady control.
- Avoid sudden, forceful movements that could cause damage or injury.
Mastering these leverage techniques and grip tools accelerates the extraction process, granting you the freedom to reclaim your oven space efficiently.
Consider Disassembling Oven Components
While leverage and grip tools can often free the chair, there are cases where the oven’s structure limits movement. In these situations, consider disassembling oven components to create sufficient clearance. Begin by unplugging the oven and removing accessible panels or racks according to your model’s manual. Use appropriate disassembly techniques—such as unscrewing fasteners or detaching clips—to methodically remove obstructing parts without damaging delicate wiring or insulation. Focus on components surrounding the chair’s entrapment point, like the oven door, racks, or inner linings. Keep track of all screws and parts for reassembly. This approach gives you better access to maneuver the chair free, restoring control over the situation. By carefully dismantling necessary oven components, you increase your freedom to resolve the jam efficiently and safely.
When to Call a Professional
If you’ve attempted all safe removal methods and the chair remains stuck, it’s time to contemplate calling a professional. Recognizing signs needing help early can prevent damage to your oven or injury to yourself. Professional services bring expertise, proper tools, and experience necessary for complex removals.
Consider contacting a specialist when you observe:
- Chair lodged beyond reach or visible disassembly points
- Risk of damaging oven seals, wiring, or structural integrity
- Previous removal attempts causing scratches, dents, or misalignments
- Lack of proper tools or unclear removal procedures
Engaging professional services guarantees the chair is extracted without compromising your oven’s function, restoring your freedom to use your appliance safely and efficiently. Don’t risk further complications—seek expert assistance when needed.
Frequently Asked Questions
Can Leaving a Chair in the Oven Cause Permanent Damage?
Yes, leaving a chair in the oven can cause permanent damage depending on chair materials. Oven heat reaches temperatures far beyond what most materials like wood, plastic, or fabric can tolerate. Exposure may cause warping, melting, or combustion, compromising structural integrity. If you want to maintain your freedom to reuse or repurpose the chair, avoid subjecting it to oven heat. Always check material specifications before exposing items to high temperatures.
Is It Safe to Operate the Oven After Removing the Chair?
Think of your oven as a trusted tool—once compromised, its reliability falters. After chair removal, inspect the interior thoroughly for damage or debris to guarantee oven safety. Check heating elements, vents, and controls; any deformity or residue can affect performance and safety. If everything looks intact and clean, you can safely operate the oven. When in doubt, consult a professional to maintain your freedom from hazards and keep your appliance functioning properly.
What Types of Chairs Are Most Likely to Get Stuck in Ovens?
You’re most likely to encounter issues with folding chairs and upholstered chairs getting stuck in ovens due to their compact, collapsible design and bulky padding. Wooden chairs, being rigid, may fit tightly but usually don’t compress, while plastic chairs can warp or melt under heat, increasing the risk. Understanding these materials helps you avoid situations restricting your freedom to maneuver or remove objects efficiently in confined spaces like ovens.
How Can I Prevent a Chair From Accidentally Entering the Oven?
Imagine your kitchen as a harmonious dance floor where every piece knows its step. To guarantee chair safety and oven maintenance, create clear zones: keep chairs away from oven doors and mark boundaries with visual cues. Regularly check oven seals and hinges to avoid accidental entrapment. By methodically organizing your space and maintaining appliances, you free yourself from mishaps, letting your kitchen flow smoothly without unexpected chair-oven encounters.
Are There Specific Oven Models More Prone to This Issue?
You’ll find that ovens with shallow cavities or wide door openings can have oven design flaws making them more prone to objects like chairs getting stuck. If the chair dimensions closely match the oven’s interior size, the risk increases. To avoid this, focus on ovens with deeper interiors and narrower door frames. This technical approach gives you more freedom to prevent accidental entrapment by considering both oven design and chair size.