How to Remove Stubborn Stains From Windowsills
To remove stubborn stains from your windowsills, first identify the stain type—whether ink, grease, mold, paint, or hard water deposits. Use appropriate cleaning tools like soft brushes, microfiber cloths, and mild solutions such as white vinegar or rubbing alcohol. Apply the solution, let it sit to loosen grime, gently scrub without damaging the surface, then wipe and dry thoroughly. Knowing these basics guarantees effective stain removal and prepares you to tackle even the toughest spots with confidence.
Identifying Different Types of Stains on Windowsills
How can you tell what type of stain you’re dealing with on your windowsill? Start by observing the stain’s color and texture. Ink stains usually appear as dark, concentrated spots that may bleed into surrounding areas. They’re often smooth to the touch but deeply set into the surface. Grease marks, on the other hand, tend to have a translucent, oily appearance and feel slick or sticky. Consider recent activities near the windowsill: writing or drawing might explain ink stains, while cooking or handling oily substances could cause grease marks. Identifying the exact stain type lets you choose the right removal method without wasting effort. By accurately recognizing ink stains versus grease marks, you gain control over the cleaning process and maintain your windowsill’s cleanliness on your own terms. Using the right tools and gentle cleaning solutions can help remove these stains effectively without damaging the surface.
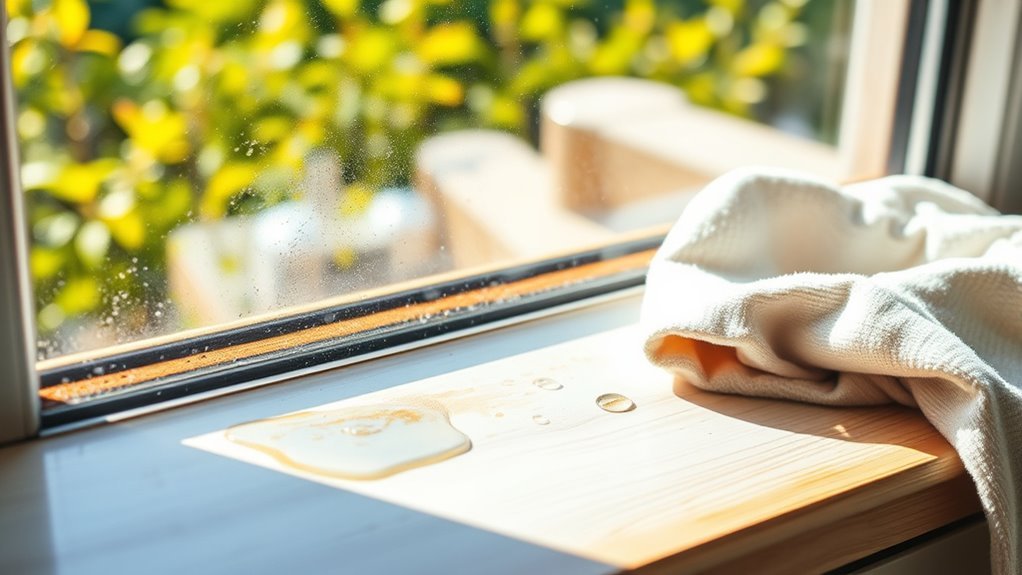
Essential Cleaning Tools and Materials
Once you’ve identified the type of stain on your windowsill, gathering the right cleaning tools and materials becomes the next step. Having the proper items guarantees efficiency and preserves your windowsill’s surface. Focus on tools designed for effective stain removal without causing damage.
Identifying the stain type first ensures you choose the right tools for effective, damage-free cleaning.
Essential items include:
- Mild, multi-purpose cleaning solutions suited for different stain types
- Soft and medium bristle scrubbing brushes for targeted stain removal
- Microfiber cloths for gentle wiping and drying
- Protective gloves to safeguard your skin from harsh chemicals
These tools empower you to tackle stains confidently and maintain control over the cleaning process. Choose cleaning solutions carefully, matching them to your stain, and use scrubbing brushes to apply the right amount of pressure. This methodical approach helps you achieve a spotless windowsill with minimal effort. Additionally, always select cleaning products that are compatible with your windowsill material to avoid surface damage.
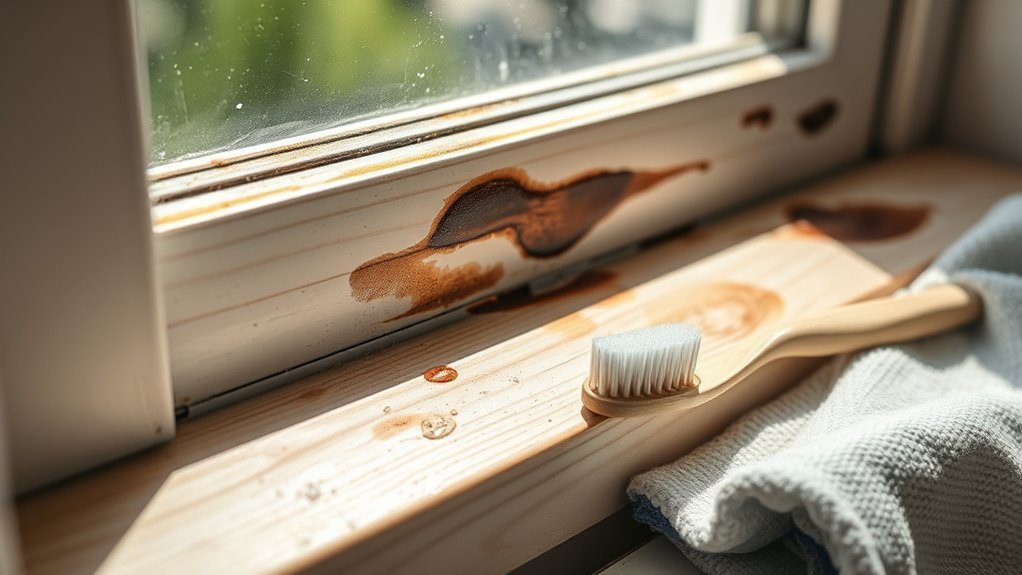
Removing Dirt and Mold From Windowsills
Dirt and mold often accumulate in the corners and crevices of your windowsills, creating stubborn spots that can be tough to remove. Start by applying an effective cleaning solution, such as a mix of water and white vinegar or a commercial mold remover, directly onto the affected areas. Let it sit for 10–15 minutes to break down grime and kill mold spores. Use a soft brush or cloth to scrub gently, ensuring you reach into tight spaces. Afterward, wipe the surface with a damp cloth and dry thoroughly to prevent moisture buildup. Consistent cleaning and proper ventilation are key for mold prevention, helping you maintain fresh, stain-free windowsills without harsh chemicals or excessive effort. This method keeps your space clean and your freedom intact. To further guard against mold, consider applying mold-resistant paint on your windowsills for added protection.
Techniques for Eliminating Paint Splatter
Besides dirt and mold, paint splatter is another common issue that can mar the appearance of your windowsills. To tackle paint removal effectively, you need the right splatter techniques. Start by softening the paint with warm, soapy water to avoid damaging the surface. Then, carefully scrape off the softened paint using a plastic scraper to prevent scratches. For stubborn spots, apply a small amount of rubbing alcohol or a commercial paint remover designed for delicate surfaces. Finally, wipe the area clean with a damp cloth to remove all residue. Using a non-abrasive cleaner ensures the surface remains undamaged while effectively removing paint.
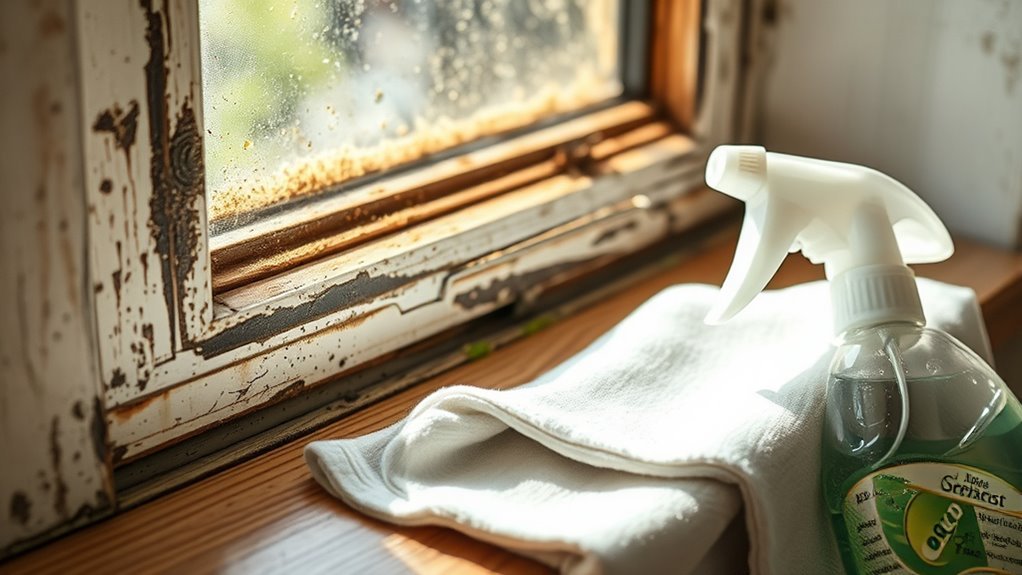
Getting Rid of Hard Water Deposits Effectively
Although hard water deposits can be tough to remove, you can restore your windowsills with the right approach. Start by selecting an effective cleaning solution, such as white vinegar or a commercial descaling product, specifically designed to dissolve mineral buildup. Apply the solution directly onto the affected area and let it sit for 10–15 minutes to break down the hard water deposits. Next, use a non-abrasive scrub brush or sponge to gently scrub the surface, avoiding damage to the windowsill material. Rinse thoroughly with clean water and dry with a soft cloth to prevent new deposits from forming. Regular maintenance with these cleaning solutions will help you maintain spotless windowsills and enjoy the freedom of a fresh, clean space. Understanding the nature of mineral deposits can help you choose the best cleaning method for your windowsills.
Frequently Asked Questions
Can I Use Bleach Safely on Painted Windowsills?
Imagine trying to erase a marker on a whiteboard with sandpaper—it might do more harm than good. Using bleach on painted surfaces, like windowsills, can be just as abrasive, potentially stripping paint or causing discoloration. Instead, you might want to explore bleach alternatives such as vinegar or baking soda solutions. These gentler options protect your paint’s freedom to shine while effectively tackling stains without harsh side effects.
How Often Should I Clean My Windowsills to Prevent Stains?
You should clean your windowsills regularly—ideally once every one to two weeks—to keep stains at bay. Regular cleaning prevents dirt buildup and moisture, which cause stubborn stains. By maintaining this routine, you’ll preserve the paint and materials, reducing the need for harsh chemicals later. Staying consistent gives you freedom from tough cleaning sessions and keeps your windowsills looking fresh and cared for effortlessly.
Are Natural Cleaning Products Effective on Stubborn Windowsill Stains?
Imagine natural cleaners as gentle rivers that slowly carve away stubborn stains, freeing your windowsills without harsh chemicals. You’ll find that natural cleaners like vinegar and baking soda are effective for stain removal, especially if you let them sit and work methodically. While they may require patience, they offer a safer, eco-friendly way to restore your windowsills. You’ll enjoy the freedom of a clean space without sacrificing your health or the environment.
What Precautions Should I Take When Cleaning Windowsills With Mold?
When cleaning windowsills with mold, you should wear gloves and a mask to protect yourself from spores. Use appropriate cleaning supplies like a mold-specific cleaner or diluted bleach solution. Confirm proper ventilation to avoid inhaling fumes. After cleaning, dry the area thoroughly to prevent mold recurrence. To support mold prevention, consider sealing any leaks and improving airflow around windows. These steps help keep your space safe and mold-free.
Can Weather Conditions Affect the Cleaning Process of Windowsills?
Think of cleaning windowsills like tending a delicate garden; weather plays an essential role. High humidity levels can make surfaces damp, causing cleaning solutions to be less effective and prolong drying times. Temperature extremes, whether too hot or too cold, can also impact stain removal, as they affect how cleaners react and dry. To guarantee success, clean on mild, dry days where conditions allow your efforts to shine without interference.


