How to Remove Wood From Baby Items
To remove wood from baby items safely, first identify the wood type and finish to choose the right tools like fine saws or sandpaper. Work slowly, wearing gloves and goggles to protect yourself. Carefully sand or chisel the wood, smoothing edges with fine-grit sandpaper afterward. Clean the item and apply a baby-safe finish if needed. If you want to keep the item safe and stylish, there are thoughtful ways to handle each step that you can explore further.
Identifying the Type of Wood and Finish
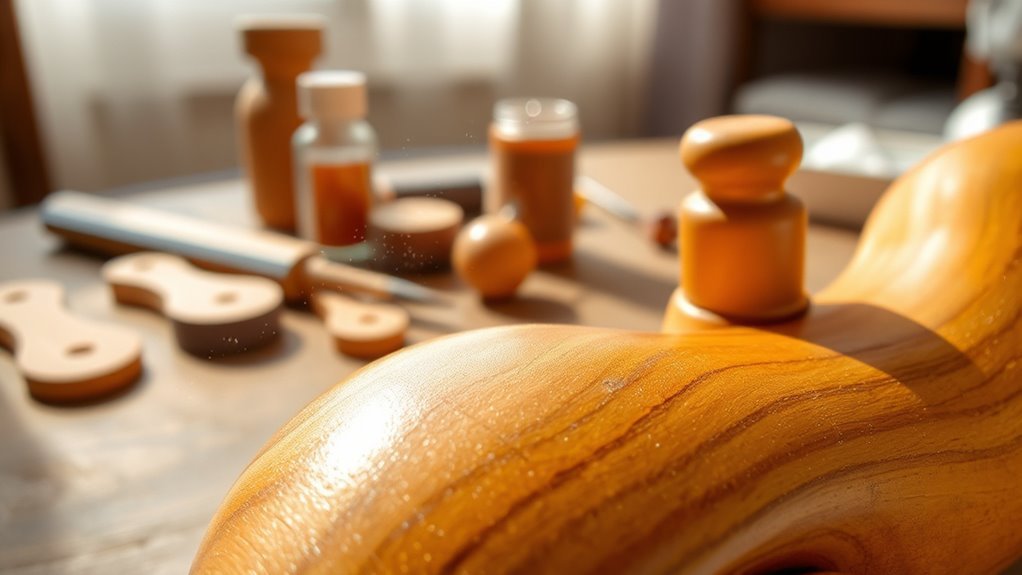
Before you begin removing wood from baby items, you’ll need to identify the type of wood and finish used. Knowing the wood types—like pine, oak, or maple—helps you choose the best approach without damaging the item. Each wood has its own grain and hardness, so recognizing these characteristics sets you free to work confidently. Finish types also play a significant role. Whether it’s varnish, lacquer, or paint, understanding the finish determines how easily it can be stripped or sanded away. Some finishes dissolve with solvents, while others require gentle abrasion. By pinpointing both wood and finish types, you’ll avoid guesswork and protect the baby item’s integrity, allowing you to remove wood safely and effectively while preserving the freedom to customize or restore it as you please.
Essential Tools for Removing Wood Safely
Before you start removing wood from baby items, make sure you have the right protective gear like gloves and a mask to stay safe. You’ll also need specific hand tools, such as sandpaper or a scraper, designed for gentle wood removal. Using the proper techniques with these tools will help you avoid damage and keep the process safe.
Protective Gear Essentials
While removing wood from baby items, you’ll want to gear up properly to protect yourself from dust, splinters, and sharp tools. Start with a good pair of protective gloves—they’ll shield your hands from unexpected splinters and minor cuts, letting you work freely without worry. Next, don’t skip safety goggles. Wood dust can irritate your eyes, and goggles create a reliable barrier so you can focus on your task without distractions. Choosing comfortable, well-fitting gear is key; when you feel unrestricted, you work better and faster. This gear isn’t about slowing you down—it’s about giving you the freedom to remove wood safely and confidently. Protecting yourself means you can keep enjoying your creative projects without setbacks or injuries.
Recommended Hand Tools
Wearing the right protective gear sets the stage for working confidently with hand tools designed to remove wood safely from baby items. To keep your woodworking techniques effective and guarantee baby safety, equip yourself with these essentials:
- Fine-toothed saw – for precise cuts without splintering.
- Chisels – to gently pare away unwanted wood.
- Sandpaper or sanding block – to smooth rough edges and prevent splinters.
- Utility knife – for delicate scraping and trimming.
These tools give you the freedom to carefully modify wooden baby items without risking damage or hazards. Choosing the right instruments helps maintain control, confirming every cut respects both the material and your child’s safety. With these hand tools, you’re set to refine and protect, embracing woodworking techniques that prioritize gentle, precise work.
Safe Wood Removal Techniques
Although working with wood on baby items requires care, using the right techniques will help you remove material safely and accurately. Start by selecting sharp, precise tools like a fine rasp or sanding block to gently shape or reduce wood without splintering. Always wear protective gloves and a dust mask to avoid irritation. When removing wood, work slowly, keeping your focus on smooth edges to prevent rough patches that might harm your baby. Remember, after removal, consider applying safe finishes or exploring wood alternatives like bamboo or silicone components for added safety and durability. These choices not only protect your child but also give you freedom to customize with confidence. Embracing these methods guarantees you maintain both safety and style in every baby item you create or refurbish.
Preparing the Baby Item for Wood Removal
Before you start removing wood from a baby item, you’ll need to prepare the surface carefully to guarantee safety and effectiveness. Begin with a thorough pre removal inspection to identify any delicate parts or finishes that require extra care. Next, follow the necessary item disassembly steps to make the wood more accessible and avoid damage to other components. Here’s how to get ready:
Prepare the surface carefully with a thorough inspection and proper disassembly before removing wood from a baby item.
- Clean the item gently to remove dust and dirt.
- Inspect for nails, screws, or adhesives holding wood parts.
- Carefully disassemble removable parts as needed.
- Set up a well-ventilated workspace with protective coverings.
Techniques for Sanding Wooden Surfaces
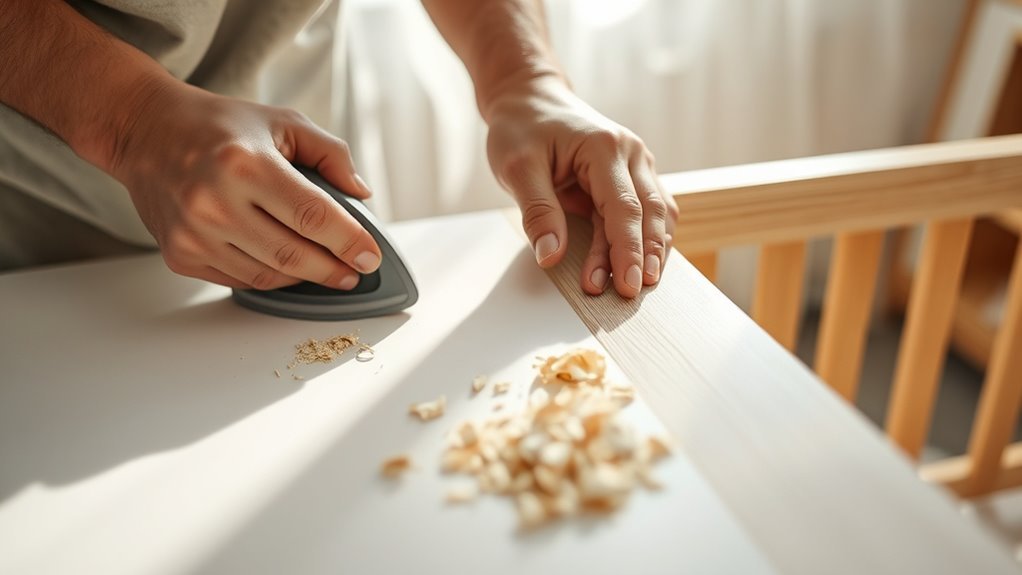
Start by selecting the right sandpaper grit to match the wood’s condition on your baby item. If the surface is rough, begin with a coarser grit like 80 or 100, then gradually move to finer grits such as 220 for a smooth finish. These sanding techniques guarantee effective surface preparation without damaging the item. Always sand in the direction of the wood grain to avoid scratches and maintain the integrity of the material. Use gentle, even pressure and check your progress frequently to avoid over-sanding. Remember, thorough surface preparation makes any further treatment or removal easier and safer. By mastering these simple sanding techniques, you gain the freedom to restore or modify your baby item exactly as you envision it—smooth, safe, and ready for the next step.
Using Hand Tools to Remove Wood Components
You’ll need a few essential hand tools to carefully remove wood components without damaging the item. Using safe techniques guarantees you avoid injury and protect the baby’s safety. Once the wood is removed, finishing touches like sanding will smooth the surface and prepare it for any further work.
Essential Hand Tools
Three essential hand tools will make removing wood components from baby items much easier: a handsaw, a chisel, and a hammer. Knowing your hand tool types lets you pick the right one for each job, giving you freedom and control. To keep things smooth, regular tool maintenance is a must—sharp blades and clean handles make all the difference. Here’s what you’ll need:
- Handsaw – for cutting through wood precisely.
- Chisel – perfect for prying or shaving wood away.
- Hammer – to tap the chisel or remove nails.
- Sandpaper – to smooth rough edges after removal.
Mastering these tools empowers you to safely and effectively modify baby items, freeing you from relying on expensive replacements or professionals.
Safe Wood Removal Techniques
When removing wood components from baby items, using hand tools carefully is key to preventing damage and ensuring safety. You’ll want to choose sharp, appropriate tools like a small chisel or a fine saw to control each cut precisely. Take your time and work slowly, avoiding forceful moves that can splinter the wood or harm the item. Keep baby safety in mind by ensuring no sharp edges or loose fragments remain after wood removal. Wearing protective gloves helps you maintain a steady grip and avoid slips. Always work in a well-lit area, so you can see exactly where you’re cutting. By staying patient and focused, you’ll free the baby item from unwanted wood elements while keeping it safe and intact for use.
Finishing Touches After Removal
After removing the wood components, smoothing the surfaces is essential to assure safety and a polished look. You want those finishing touches to confirm the baby item is free from splinters and sharp edges. Here’s how you can wrap it up confidently:
- Use fine-grit sandpaper to gently smooth any rough spots.
- Wipe the surface clean with a damp cloth to remove dust.
- Apply a baby-safe sealant or non-toxic finish if needed.
- Conduct a thorough final inspection, checking every corner for safety.
Chemical Methods for Softening or Removing Wood
Although chemical methods can be effective for softening or removing wood from baby items, you’ll need to choose products that are safe and non-toxic, especially since these items are meant for infants. You want to avoid harsh chemicals that could harm your little one. Look for gentle chemical softeners specifically designed for baby-safe materials. These softeners can help break down the wood fibers without compromising safety. If you’re concerned about chemicals, consider using natural wood alternatives like bamboo or untreated softwoods, which often require less aggressive removal methods. By selecting safe chemical softeners and exploring wood alternatives, you maintain freedom in customizing baby items while ensuring they remain safe, clean, and comfortable for your child’s use. Always follow instructions carefully and rinse thoroughly.
Ensuring Smooth Edges After Wood Removal
Once you’ve removed the wood, it’s essential to smooth the edges using proper sanding techniques to prevent splinters. Make sure you use fine-grit sandpaper and sand gently in one direction. Don’t forget to wear a mask and work in a well-ventilated area to keep things safe.
Sanding Techniques
Sanding is one of the most important steps you’ll take to guarantee your baby items have smooth, safe edges after removing wood. Different wood types may require varied sanding techniques to achieve the best finish. Here’s how you can master it:
- Start with coarse-grit sandpaper (60-80 grit) to quickly remove rough spots.
- Switch to medium-grit (120-150 grit) for refining the surface and edges.
- Finish with fine-grit (220 grit or higher) to assure a silky smooth feel.
- Always sand along the grain to prevent scratches and preserve the wood’s integrity.
Safety Precautions
Before handling any tools or finishing touches, you’ll want to prioritize safety to confirm the edges of your baby items are truly smooth and hazard-free. Always wear protective gloves to avoid splinters and use fine-grit sandpaper for gentle smoothing—this maintains material safety without compromising the wood’s integrity. Check for any leftover rough spots by running your fingers carefully along the edges. For child safety, ascertain all surfaces are rounded and free from sharp corners or splinters that could cause harm. After sanding, clean the item thoroughly to remove dust and debris before applying any non-toxic finishes. Taking these safety precautions not only protects your little one but also lets you enjoy the freedom of crafting baby items that are as safe as they are beautiful.
Cleaning and Finishing the Modified Baby Item
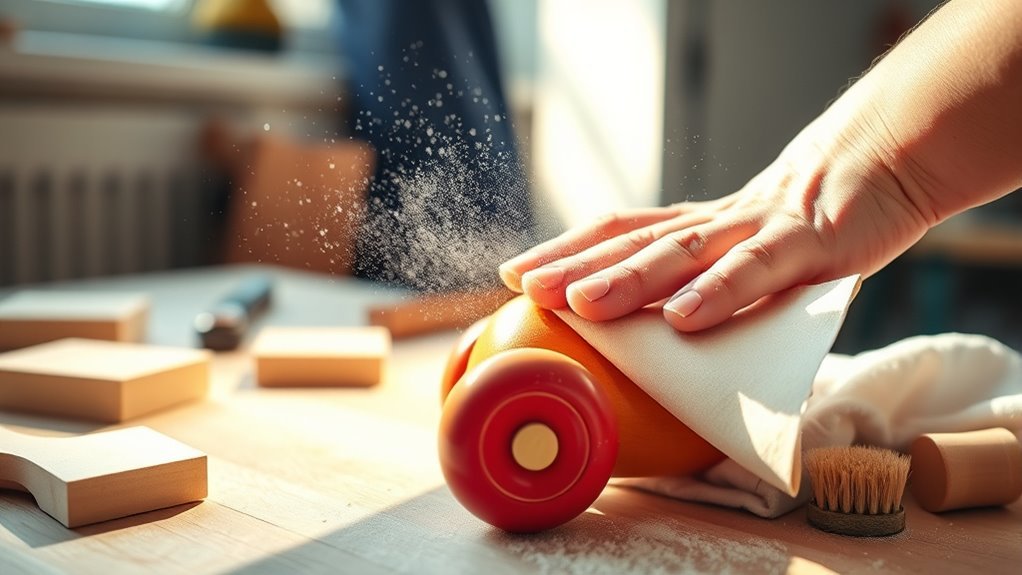
Although you’ve removed the wood carefully, you’ll want to thoroughly clean the baby item to remove any dust or residue left behind. Proper cleaning methods guarantee the item is safe and ready for finishing techniques that protect and enhance its surface. Here’s how to proceed:
- Wipe down the item with a damp cloth to catch loose particles.
- Use a mild soap solution if needed, then rinse and dry completely.
- Lightly sand any rough spots to smooth the surface.
- Apply a non-toxic, baby-safe finish like beeswax or water-based sealant.
Following these steps frees you to transform the item confidently, maintaining both its look and safety for your little one.
Safety Precautions When Working on Baby Items
Every step you take when working on baby items should prioritize safety to protect your little one from harm. When dealing with wood removal, make sure to use non-toxic tools and materials, as wood safety is essential for baby products. Avoid harsh chemicals that could leave harmful residues. Always wear protective gear like gloves and masks to prevent inhaling dust or splinters. Work in a well-ventilated space to minimize exposure to airborne particles. After modifying the item, thoroughly clean it to remove any wood dust or debris, ensuring it’s safe for your baby to use. Remember, your goal is to maintain the freedom to customize while upholding the highest safety standards for your child’s environment.
Alternatives to Wood for Baby Products
When you’re concerned about safety and want to avoid the challenges that come with removing or treating wood, exploring other materials for baby products can be a smart move. You’ll find plenty of eco friendly materials and safe alternatives that offer peace of mind and freedom from harmful chemicals.
Here are four great options to evaluate:
- Organic cotton – soft, breathable, and free from toxins
- Silicone – durable, easy to clean, and BPA-free
- Stainless steel – sturdy, non-toxic, and recyclable
- Bamboo fiber – naturally antimicrobial and sustainable
Choosing these safe alternatives lets you provide comfort and security without compromising on your values. Plus, they’re often easier to maintain, making your life—and your baby’s—simpler and safer.
Frequently Asked Questions
Can Removing Wood Affect the Structural Integrity of Baby Items?
You might worry that removing wood could compromise structural stability, especially in baby items where safety’s essential. If you’re altering parts, it’s important to guarantee the item remains sturdy to protect your little one. Sometimes, even small changes can weaken the frame, risking baby safety. So, you’ll want to assess carefully or consult experts to keep the freedom of customizing without sacrificing the item’s strength and security.
How to Dispose of Wood Shavings Safely After Removal?
You want to protect your home, protect your family, and protect the environment. For safe disposal of wood shavings, gather them in a breathable bag or container to keep them dry. Avoid burning them indoors or near your living space to prevent harmful fumes. Instead, compost them if untreated, or check local waste guidelines for proper disposal. By handling wood shavings responsibly, you maintain freedom from hazards and contribute to a cleaner world.
Are There Specific Types of Wood to Avoid in Baby Products?
You’ll want to avoid toxic wood like cedar, walnut, or oak in baby products since their oils can irritate sensitive skin or cause allergies. Instead, opt for safe alternatives such as maple, birch, or beech, which are less likely to cause reactions and are durable. Choosing non-toxic, untreated woods gives you peace of mind and lets your baby explore freely without harmful exposure, keeping their environment safe and natural.
How Long Does Wood Removal Usually Take on Average?
Think of wood removal like peeling an onion—you can’t rush it without tears. The timing factors depend on the wood type, thickness, and techniques you use, such as sanding or chemical stripping. On average, it takes a few hours to a day, but your freedom to choose gentle methods may stretch that. When you embrace patience, you gain control, ensuring the job’s done right without harming the item or your peace of mind.
Can Wood Removal Impact the Item’s Warranty or Resale Value?
If you’re thinking about wood removal, you should know it might have warranty implications. Manufacturers often consider alterations as grounds to void warranties, so you could lose official support. From a resale considerations standpoint, any modifications can lower the item’s value since buyers prefer original condition. If you want freedom in customizing, weigh these risks carefully—sometimes keeping the item intact preserves both your warranty and its resale appeal.