Deep Cleaning Guide for Windowsills Flooring
To deep clean your windowsills and flooring, first assess their materials and condition to choose safe cleaning methods. Remove dust using a soft brush or vacuum, then apply suitable solutions—mild detergent or vinegar for windowsills, pH-neutral cleaners for flooring—to tackle grime without damage. Use damp cloths sparingly, dry surfaces promptly to avoid streaks, and finish with polish for shine. Maintaining regular cleaning and protective measures helps avoid buildup and wear. Keep going to discover detailed techniques tailored to various materials.
Assessing the Condition of Your Windowsills and Flooring

Before you begin deep cleaning your windowsills, it’s important to carefully assess their condition along with the surrounding flooring. Start by identifying the windowsill materials—wood, vinyl, or metal—since each requires specific care to avoid damage. Check for signs of wear such as cracks, peeling paint, or water damage. Simultaneously, examine the flooring types adjacent to your windowsills—hardwood, tile, carpet, or laminate—to determine if moisture or debris has affected them. Noticing discoloration, warping, or stains is vital before cleaning. This evaluation helps you choose appropriate cleaning methods and prevents unintentional harm. By understanding the materials and their current state, you’ll maintain the integrity of both your windowsills and flooring, preserving your space’s freedom from damage and unnecessary repairs.
Gathering Essential Cleaning Supplies
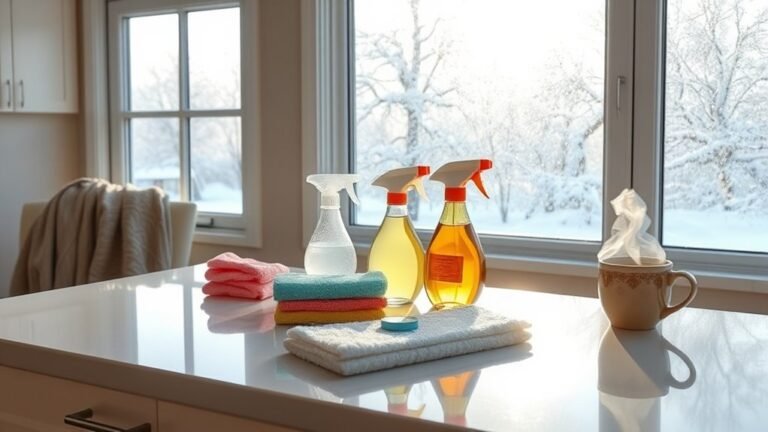
Before you start cleaning, make sure you have the right tools on hand, like a soft brush, microfiber cloths, and a vacuum with a brush attachment. Choose cleaning solutions suitable for your windowsill material, such as mild detergent or vinegar-based cleaners. Don’t forget protective gear like gloves and a mask to keep yourself safe during the process.
Must-Have Cleaning Tools
To tackle deep cleaning your windowsills effectively, you’ll need five essential tools that streamline the process and assure thorough results. Having the right cleaning tools guarantees you work efficiently without missing hidden dirt or dust. These essential gadgets help you maintain freedom from grime buildup and keep your windowsills looking pristine.
- Microfiber cloths for gentle, streak-free wiping
- A soft-bristle brush to loosen dust in corners and grooves
- A handheld vacuum with crevice attachment for thorough debris removal
- A spray bottle to apply cleaning solutions evenly
- Rubber gloves to protect your hands and improve grip
Equip yourself with these tools, and you’ll make the deep cleaning task precise and manageable, saving time and effort.
Recommended Cleaning Solutions
Several effective cleaning solutions are essential for tackling various types of dirt and grime on your windowsills. To maintain a fresh and safe environment, consider eco friendly solutions that minimize chemical exposure. Homemade cleaners, such as a mixture of white vinegar and water, work well for general dirt removal and are easy to prepare. For tougher stains, combine baking soda with water to form a gentle abrasive paste. Avoid harsh chemicals that can damage surfaces or indoor air quality. Always test your chosen solution on a small, inconspicuous area first to guarantee compatibility with your windowsill material. By selecting these versatile, eco friendly solutions and homemade cleaners, you’ll enjoy a thorough clean while preserving your freedom from harmful substances.
Protective Gear Essentials
Although cleaning windowsills might seem straightforward, equipping yourself with the right protective gear is vital for safety and efficiency. Wearing protective gloves shields your hands from harsh chemicals and dirt, while safety goggles protect your eyes from splashes and dust. To maintain freedom of movement and prevent injury, gather these essentials:
- Durable protective gloves
- Clear safety goggles
- A dust mask to avoid inhaling particles
- Comfortable, non-slip footwear
- Long sleeves to protect your arms
Using this gear guarantees you clean thoroughly without compromising safety. Each item plays a significant role in creating a secure and effective cleaning environment, allowing you to work freely and confidently. Prioritize protection to make your deep cleaning task both safe and successful.
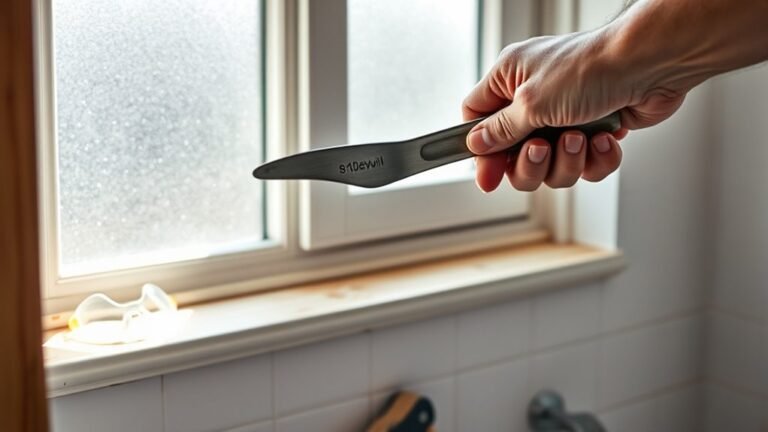
Removing Dust and Loose Debris
Start by clearing away the loose dust and debris from your windowsills using a soft-bristled brush or a handheld vacuum with a brush attachment. This initial step targets dust accumulation that settles in corners and crevices, preventing it from spreading during deeper cleaning stages. Focus on thorough debris removal, ensuring you reach every nook without scratching surfaces. If you have textured or grooved windowsills, brush gently to dislodge trapped particles. Avoid using a stiff brush, as it may damage the finish. After brushing or vacuuming, inspect the windowsill for remaining dust, repeating the process if needed. Proper dust and debris removal sets the foundation for effective cleaning and maintains the freedom to enjoy a fresh, dust-free space effortlessly.
Cleaning Windowsills With Appropriate Solutions

Once you’ve removed all dust and loose debris, the next step is to clean your windowsills using solutions suited to their material and condition. Choosing eco friendly solutions or DIY cleaners lets you maintain cleanliness without harsh chemicals, preserving both your space and freedom.
After dusting, clean windowsills with eco-friendly solutions tailored to their material for a fresh, chemical-free shine.
Consider these tips for effective cleaning:
- Test a small area first to verify compatibility.
- Use a mixture of vinegar and water for painted or wooden sills.
- Try baking soda paste on stubborn stains.
- For metal sills, a mild soap solution works well.
- Avoid excess water to prevent damage or warping.
Deep Cleaning Different Types of Flooring Near Windows
When cleaning near your windows, you’ll want to adjust your approach based on the flooring type. Hardwood requires gentle products to avoid damage, while tile and laminate can handle stronger cleaners but still need careful rinsing. Understanding these differences guarantees you protect your floors while achieving a thorough clean.
Hardwood Floor Care
Caring for hardwood floors near your windows requires specific attention to prevent moisture damage and maintain their finish. Proper hardwood floor maintenance guarantees longevity and preserves the beauty of hardwood floor finishing. To deep clean and protect these areas, follow these steps:
- Use a soft broom or vacuum with a hardwood floor attachment to remove dust and debris.
- Wipe with a damp (not wet) microfiber mop to avoid excess moisture.
- Immediately dry any water spills to prevent warping.
- Apply a high-quality hardwood floor polish periodically to restore shine.
- Inspect and repair any finish damage to maintain a protective barrier.
Tile and Laminate Tips
Two key flooring types near windows—tile and laminate—require distinct cleaning methods to maintain their durability and appearance. For effective tile care, focus on grout cleaning and avoid harsh chemicals that erode surfaces. Laminate maintenance demands gentle cleaning to prevent swelling or warping from moisture. Use a damp mop rather than soaking the floor.
| Flooring Type | Cleaning Tips |
|---|---|
| Tile | Use pH-neutral cleaner |
| Tile | Scrub grout with soft brush |
| Laminate | Avoid excess water |
| Laminate | Use microfiber mop |
| Both | Dry immediately after cleaning |
Following these targeted steps guarantees your flooring near windows stays in top condition, letting you enjoy a cleaner, more vibrant space without restrictions.
Dealing With Stubborn Stains and Grime

Although regular cleaning can keep windowsills looking fresh, stubborn stains and grime often require targeted techniques. To tackle these challenges, you’ll want to employ effective stain removal methods and trusted grime fighters. Here’s how to approach it:
- Use a soft-bristle brush to gently loosen dirt without damaging surfaces.
- Apply a mixture of baking soda and water to lift tough stains naturally.
- For persistent grime, a diluted vinegar solution can break down buildup efficiently.
- Consider commercial grime fighters designed for your windowsill material, following instructions carefully.
- Always test any cleaner on a small, hidden area first to avoid discoloration or damage.
Drying and Polishing Techniques for a Sparkling Finish
Once you’ve thoroughly cleaned your windowsills, drying and polishing are essential steps to guarantee a streak-free, gleaming finish. Start by employing effective drying techniques—use a clean, lint-free microfiber cloth to absorb moisture quickly and prevent water spots. Avoid air drying, which can leave streaks or mineral deposits. For polishing methods, select a suitable polish based on your windowsill material—wood, metal, or painted surfaces each require specific products. Apply polish sparingly with a soft cloth, working in gentle circular motions to enhance shine without damaging the surface. Allow the polish to set briefly, then buff with a dry cloth to reveal a sparkling finish. By mastering these drying techniques and polishing methods, you’ll maintain your windowsills’ pristine appearance and enjoy the freedom of a fresh, polished space.
Preventive Measures to Keep Windowsills and Floors Clean
After achieving a polished, streak-free finish on your windowsills, it’s important to focus on preventing dirt and grime buildup to maintain their cleanliness. Preventive maintenance not only preserves your windowsills but also enhances window insulation, reducing drafts and energy costs. To keep your windowsills and floors clean, consider these key steps:
- Use door mats to minimize dirt tracked indoors.
- Wipe down windowsills regularly with a damp cloth.
- Seal gaps around windows to improve insulation and block dust.
- Avoid placing plants directly on windowsills to prevent water damage.
- Use protective floor coverings near windows to catch debris.
Scheduling Regular Maintenance for Long-Lasting Results
To guarantee your windowsills stay pristine and functional over time, you’ll need to establish a regular maintenance schedule. Begin by determining the appropriate maintenance frequency based on your environment—dusty or humid areas may require weekly attention, while cleaner spaces might only need monthly care. Consistency is key; stick to your cleaning schedule to prevent buildup that can cause damage or discoloration. Use a checklist to track tasks like dusting, wiping down with appropriate cleaners, and inspecting for damage. This methodical approach reduces the risk of costly repairs and preserves the aesthetic appeal of your windowsills. By prioritizing regular maintenance, you free yourself from intensive deep cleaning sessions and guarantee your home stays fresh and inviting with minimal effort.
Frequently Asked Questions
Can I Use a Steam Cleaner on Wooden Windowsills?
You can use a steam cleaner on wooden windowsills, but you need to be cautious. Steam cleaning benefits include effective dirt removal and sanitizing without harsh chemicals. However, wooden surface care demands minimizing moisture exposure to avoid warping or damage. So, use the steam cleaner on a low setting, keep sessions brief, and dry the area immediately. This way, you maintain your windowsills’ integrity while enjoying steam cleaning benefits.
How Often Should I Replace Cleaning Cloths and Sponges?
You should replace cleaning cloths and sponges based on cleaning frequency and cloth lifespan. If you clean daily or frequently, swapping them weekly keeps things hygienic. For less frequent cleaning, every two weeks may suffice. Always check for wear, odors, or discoloration—these signs mean it’s time to replace. Staying methodical guarantees you avoid bacteria buildup, giving you freedom from worries and maintaining a fresh, effective cleaning routine.
Are Natural Cleaning Products Effective for Deep Cleaning?
You might wonder if natural cleaning products pack enough punch for deep cleaning. They often use natural ingredients like vinegar, baking soda, and essential oils, which can be quite effective at breaking down dirt and grime. While they may not always match the power of harsh chemicals, their cleaning effectiveness is impressive for most tasks, plus they’re safer and eco-friendly. You’ll enjoy a thorough clean without sacrificing your health or freedom from toxins.
Can Pets Cause Specific Damage to Windowsills or Flooring?
You might think pet behaviors could wreck your home faster than a tornado, and honestly, they can. Scratching, chewing, or digging can cause scratches, dents, and stains on windowsills and flooring. To prevent damage, you’ll want to trim nails regularly, use protective covers, and clean messes promptly. By taking these steps, you maintain your space’s freedom and beauty without sacrificing your furry friend’s comfort.
What Are the Best Tools for Cleaning Window Tracks?
When tackling window tracks, you’ll want to use a combination of cleaning brushes and vacuum attachments. Start with a narrow vacuum attachment to suck up loose dirt and debris. Then, grab a small, stiff cleaning brush to scrub away stubborn grime from tight corners and crevices. This method frees you from tedious scrubbing and guarantees every nook is spotless. With the right tools, window tracks become effortless to clean and maintain.