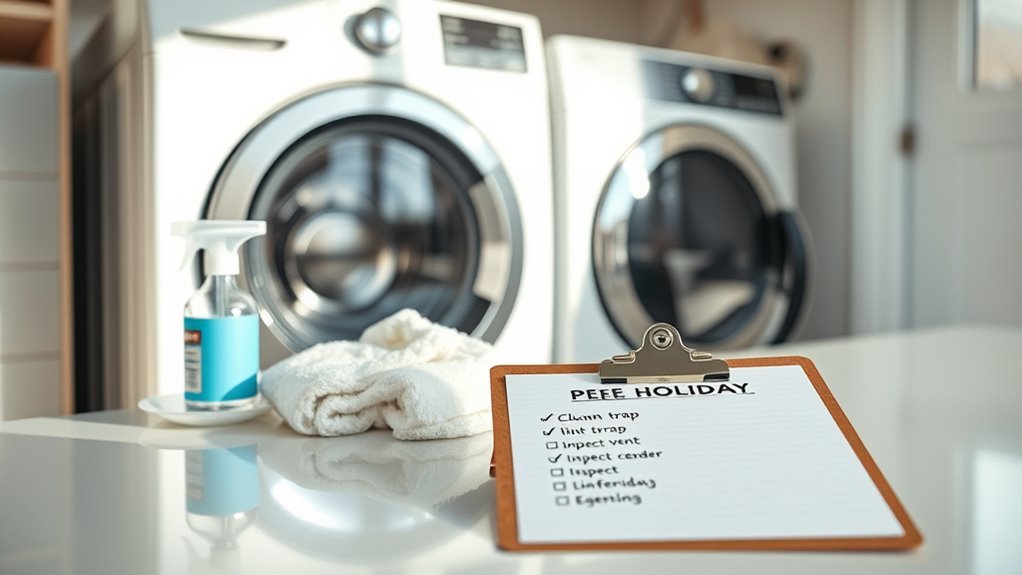
Pre-Holiday Cleaning Checklist for Dryer
Before the holidays, make sure you clean your dryer’s lint filter thoroughly and clear out the vent and exhaust duct to prevent fire hazards and improve efficiency. Vacuum behind and beneath your dryer to reduce dust buildup, and wipe down the drum and door seal to keep everything running smoothly. Don’t forget to check the exterior vent flap and clean the dryer’s surface and control buttons. Scheduling professional maintenance can catch hidden issues early. Keep going to discover how to keep your dryer holiday-ready and safe.
Inspect and Clean the Lint Filter

Before you begin any deep cleaning, make sure you inspect and clean the lint filter thoroughly. Regular lint filter maintenance is your first step toward ensuring dryer safety and smooth operation. You don’t want to be tied down by unexpected malfunctions or fire hazards, especially when freedom means having time for what truly matters. Remove the filter and clear away all lint buildup, even the stubborn bits. A clean filter lets your dryer breathe, improving efficiency and cutting drying time. Don’t forget to check the filter frame and housing for hidden lint deposits. By staying on top of this simple task, you’re protecting your home and gaining peace of mind. Taking control of lint filter maintenance is a small effort that frees you from bigger problems later.
Clear the Dryer Vent and Exhaust Duct
Once you’ve thoroughly cleaned the lint filter, it’s equally important to clear the dryer vent and exhaust duct. This step is essential for vent blockage prevention, ensuring your dryer runs efficiently and safely. You don’t want restrictions that could cause overheating or even fires. Here are three effective duct cleaning techniques to keep your system clear:
- Disconnect the vent hose and use a vacuum with a long attachment to remove lint buildup.
- Use a vent cleaning brush to reach deep inside the duct and dislodge stubborn debris.
- Check the exterior vent flap to make sure it opens freely and isn’t clogged.
Vacuum Behind and Beneath the Dryer
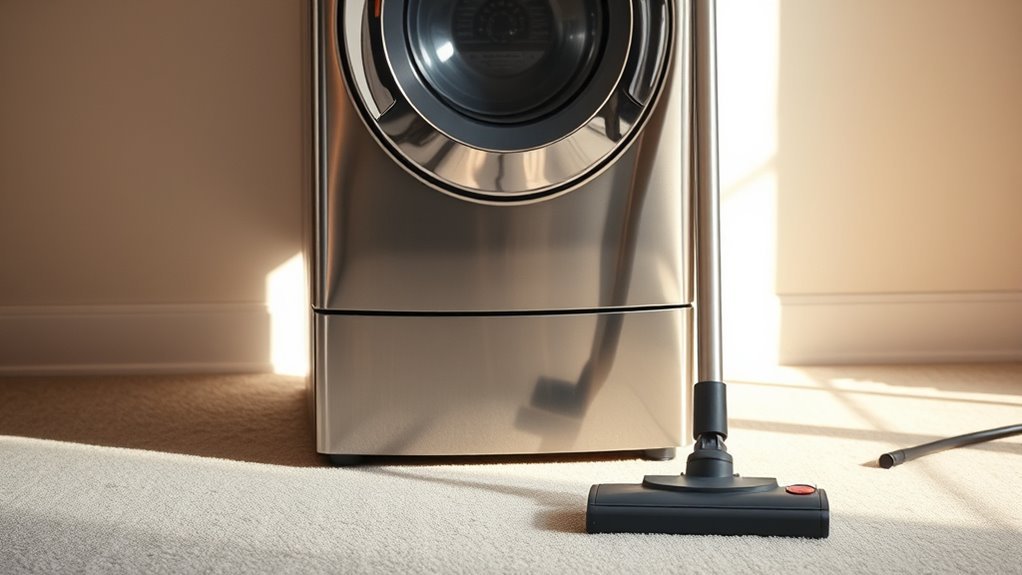
Though it’s easy to overlook, vacuuming behind and beneath your dryer can prevent dust and lint buildup that affects air quality and appliance efficiency. To keep your laundry space fresh and your dryer running smoothly, pull your dryer away from the wall carefully. Use a vacuum with a crevice tool attachment to reach tight spots where dust and lint hide. This simple step is one of the key dryer maintenance tips that helps reduce fire risks and prolongs your appliance’s life. Make sure you have the right cleaning supplies on hand—like a vacuum with strong suction and a flexible hose. Taking these few minutes to clean behind and under your dryer gives you freedom from worry and keeps your home safer this holiday season.
Wipe Down the Drum and Door Seal
Now’s a great time to wipe down the dryer drum to remove any residue that might affect performance. Don’t forget to carefully inspect and clean the door seal, as dirt or damage there can cause leaks or inefficiency. Keeping these parts clean helps your dryer run smoothly throughout the busy holiday season.
Cleaning Drum Residue
A quick wipe down of the drum and door seal is essential to keep your dryer running efficiently and prevent odors. Regular drum maintenance not only extends your dryer’s life but also frees you from unnecessary repairs. To remove residue effectively, follow these steps:
- Use a soft cloth dampened with mild soap and water to wipe the drum’s interior thoroughly.
- Focus on any visible buildup or lint, ensuring residue removal for ideal airflow.
- Dry the drum completely with a clean, dry cloth to prevent moisture-related issues.
Inspecting Door Seal
Inspecting the door seal is essential to keeping your dryer airtight and efficient. Start by wiping down the drum and the door seal with a damp cloth to remove any lint, dirt, or detergent residue. This simple step in door seal maintenance prevents air leaks that can reduce drying performance and increase energy use. While you’re at it, look closely at the seal for cracks, tears, or stiffness—signs it might need a seal replacement. Maintaining a tight seal guarantees your dryer runs smoothly and safely, giving you the freedom to rely on it without worry. Don’t let a worn-out door seal hold you back; regular checks keep your dryer in top shape, ready for all your holiday laundry needs.
Check the Dryer Vent Cap Outside
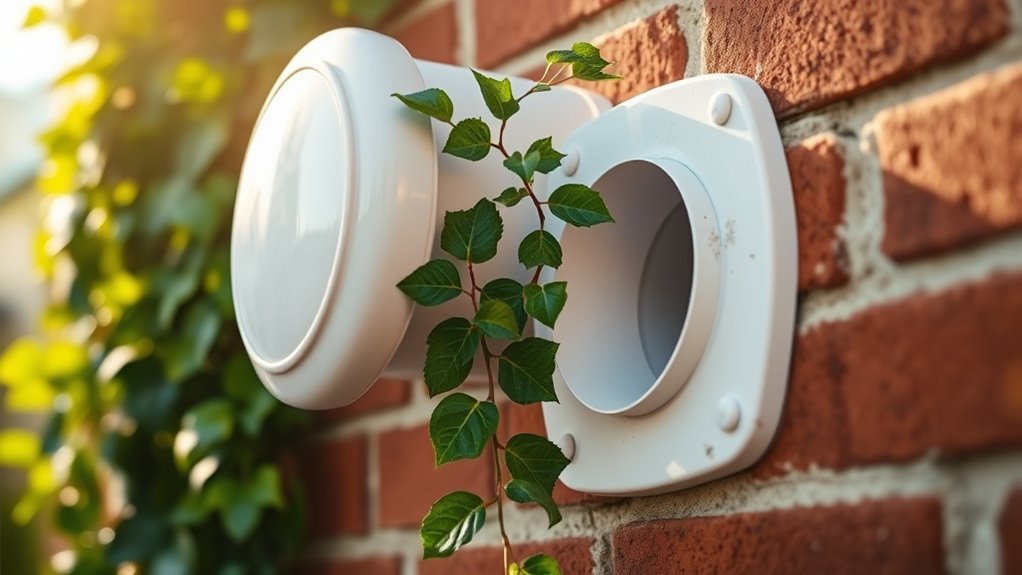
Before you start your holiday laundry routine, make certain you check the dryer vent cap outside. This small but vital part guarantees your dryer vents properly, preventing lint buildup and potential fire hazards. Conducting a thorough outdoor inspection frees you from unexpected dryer issues during the busy season. Here’s what to focus on:
Check your dryer vent cap before holiday laundry to prevent lint buildup and ensure safe, efficient drying.
- Confirm the vent cap is securely attached and not cracked or damaged.
- Clear any debris, lint, or nests blocking the vent opening.
- Make certain the vent flap moves freely to allow airflow but closes tightly when the dryer’s off.
Examine the Dryer Drum Belt and Rollers
Take a close look at the dryer drum belt and rollers to guarantee they’re in good shape. The belt is essential for spinning the drum smoothly, so check for any signs of belt wear like cracks or fraying. If you spot damage, it’s best to replace it now to avoid a breakdown during your busy holiday season. Next, evaluate roller functionality by spinning them manually. They should turn freely without noise or resistance. Worn rollers can make your dryer noisy and strain the motor, risking more serious issues. Keeping these components in top form gives you the freedom to run your dryer efficiently, hassle-free, and ready for all your holiday laundry loads. Don’t overlook this step—it’s key to smooth, worry-free drying.
Test the Dryer’s Moisture Sensor
After checking the belt and rollers, you’ll want to make certain the dryer’s moisture sensor is working properly. This sensor helps prevent over-drying and energy waste by detecting moisture levels accurately. To test its moisture calibration and confirm sensor functionality:
Ensure your dryer’s moisture sensor works correctly to avoid over-drying and save energy.
- Run a short drying cycle with a damp cloth inside the dryer.
- Observe if the dryer stops automatically when the cloth feels dry.
- If it runs too long or cuts off too soon, adjust or clean the sensor strips.
Clean the Dryer’s Exterior Surfaces
Now’s a good time to wipe down your dryer’s panels to keep it looking fresh. Don’t forget to clean around the control buttons where dust can easily build up. A quick exterior wipe helps maintain both its appearance and function.
Wipe Down Panels
Start by wiping down the dryer’s exterior panels to remove dust, lint, and spills that can accumulate over time. Regular panel maintenance keeps your dryer looking fresh and prevents buildup that could affect its performance. For effective surface cleaning, follow these steps:
- Use a soft cloth dampened with mild soap and water to gently clean the panels.
- Avoid harsh chemicals that might damage the finish or leave residues.
- Dry the panels thoroughly to prevent moisture from seeping into seams or controls.
Taking a few minutes for this routine frees you from stubborn grime and maintains your dryer’s sleek appearance. Clean panels not only enhance your laundry area’s look but also contribute to your appliance’s longevity and efficiency.
Clean Control Buttons
Keeping the dryer’s panels clean sets a solid foundation for tackling the control buttons next. For effective control button maintenance, you’ll want to use gentle button cleaning techniques that avoid moisture seeping inside. Start by unplugging your dryer to guarantee safety. Use a soft cloth slightly dampened with a mild soap solution to wipe each button carefully, removing dirt and grime without forcing water into gaps. Cotton swabs work well to reach tight spaces around buttons. Avoid harsh chemicals that can damage the surface or interfere with button function. Regular attention to your dryer’s control buttons not only keeps them looking fresh but also guarantees they respond smoothly, giving you the freedom to operate your dryer without hiccups during the busy holiday season.
Remove Dust Buildup
Although the control buttons are essential, you shouldn’t overlook the dryer’s exterior surfaces, where dust and grime can quickly accumulate. Keeping these areas clean not only enhances your dryer’s appearance but also helps maintain its efficiency. To tackle dust buildup effectively, follow these dust prevention tips using effective cleaning tools.
- Use a microfiber cloth dampened with a mild cleaner to wipe down all exterior surfaces, avoiding abrasive materials that might scratch.
- Don’t forget to clean around vents and seams where dust tends to settle unnoticed.
- Regularly dust the dryer with an electrostatic duster to prevent buildup between deeper cleans.
Verify Proper Dryer Ventilation
Before you plunge into cleaning, make sure your dryer’s ventilation system is working properly, as poor airflow can lead to longer drying times and even pose a fire hazard. Ventilation issues often stem from airflow restrictions caused by lint buildup or crushed ducts. Checking for proper airflow helps you avoid costly repairs and keeps your laundry routine free and smooth.
| Common Ventilation Issues | Signs to Watch For | Quick Fixes |
|---|---|---|
| Lint buildup | Longer drying cycles | Clean lint trap and ducts |
| Crushed or kinked ducts | Overheating or burning smell | Straighten or replace ducts |
| Blocked vent outside | Poor airflow or moisture | Clear vent and check exterior |
Stay proactive—clear airflow means safer, faster drying and more freedom for your busy days.
Schedule a Professional Dryer Maintenance
You should schedule a professional dryer maintenance to catch any hidden issues early. Regular servicing helps keep your dryer running efficiently and safely. This simple step can prevent costly repairs and extend your dryer’s lifespan.
Importance of Professional Inspection
Since your dryer works hard all year, scheduling a professional inspection guarantees it runs safely and efficiently during the busy holiday season. A professional assessment helps identify hidden issues that could compromise safety or performance. Meeting safety standards isn’t just about compliance—it’s about protecting your home and loved ones.
Here’s why you should prioritize a professional inspection before the holidays:
- Detect lint buildup or vent blockages that increase fire risk.
- Verify all components meet safety standards and function correctly.
- Confirm peak efficiency, saving you time and energy.
Benefits of Regular Servicing
Although it might seem like an extra step, scheduling regular professional dryer maintenance can save you from costly repairs and unexpected breakdowns. When you keep up with servicing, you’re investing in cost savings by catching small issues before they escalate. This means fewer emergency calls and more freedom to focus on what matters during the busy holiday season. Plus, regular servicing plays an essential role in fire prevention. Lint buildup and worn parts increase the risk of dryer fires, but a professional check keeps your appliance running safely. By committing to routine maintenance, you’re not just protecting your home—you’re freeing yourself from stress, knowing your dryer works efficiently and safely whenever you need it most.
Frequently Asked Questions
How Often Should I Replace My Dryer’S Lint Filter?
Think of your dryer’s lint filter as a gatekeeper guarding freedom from fire hazards. You shouldn’t replace it too often; instead, focus on lint filter maintenance by cleaning it after every load. This keeps dryer efficiency high and prevents blockages. Replace the filter only when it’s damaged or worn out, usually every year or two. By caring for it well, you’re ensuring your dryer runs smoothly and safely, giving you more freedom from laundry worries.
Can Dryer Sheets Cause Lint Buildup?
You might not realize it, but dryer sheet effects can actually contribute to lint accumulation. When you use dryer sheets, they leave behind a thin, waxy residue on your lint filter and dryer drum. This residue traps lint fibers, making it harder for lint to escape and causing buildup over time. If you want to keep your dryer running freely, consider using alternatives or regularly cleaning the lint trap to prevent excess lint accumulation.
What’S the Best Way to Prevent Static Cling in the Dryer?
Ever wondered how to escape the clingy trap of static in your dryer? The secret’s in using smart static reduction techniques and choosing the right dryer fabric options. Avoid over-drying clothes, add a damp cloth or wool dryer balls, and pick fabrics less prone to static. These simple moves give your clothes freedom from that annoying cling, letting you enjoy softness without the zap. You’ve got the power to keep static at bay!
Is It Safe to Clean the Dryer Vent Myself?
Yes, it’s generally safe to clean the dryer vent yourself if you follow proper dryer vent maintenance steps. DIY cleaning can save you money and gives you control over your home’s safety. Just make sure to unplug the dryer, disconnect the vent, and use a vent brush or vacuum to remove lint buildup. If you notice any damage or persistent blockages, it’s best to call a professional for help.
How Do I Know if My Dryer Is Overheating?
When it comes to your dryer, don’t let things get out of hand. Dryer maintenance is key to avoiding overheating. Watch for overheating signs like your dryer feeling hotter than usual, clothes taking longer to dry, or a burning smell. If your dryer’s vent is clogged or you notice excessive lint buildup, it’s a red flag. Staying on top of these signs means you’ll keep your freedom from costly repairs and potential fire hazards.