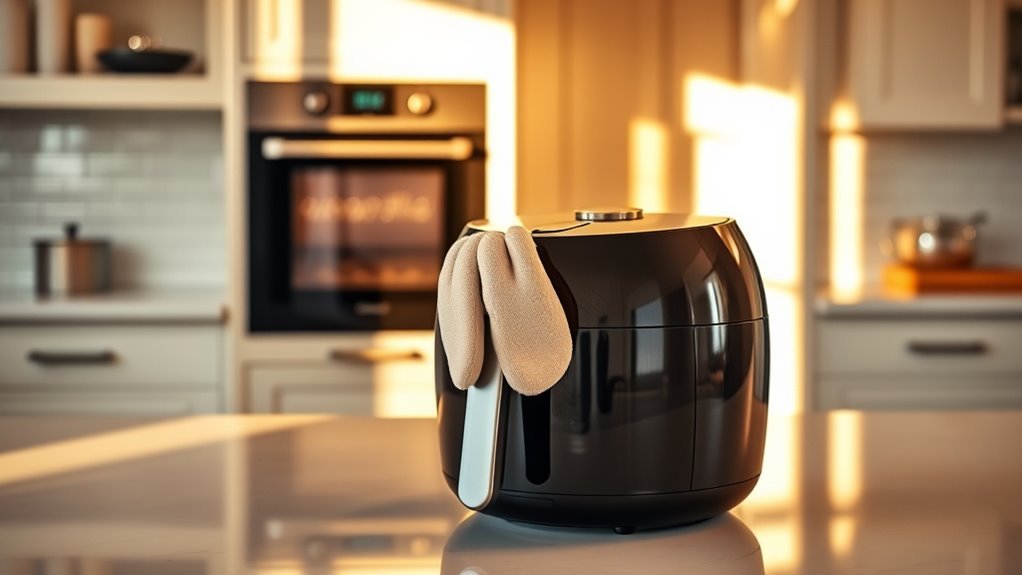
Removing Air Fryer From Oven Effectively
When removing your air fryer from the oven, first make sure it’s stable on the rack and the oven is off and cooled. Always wear heat-resistant gloves or sturdy mitts to protect your hands. Open the air fryer basket slowly, grip the handle firmly, and pull it out levelly to avoid spills or tipping. Place it on a heat-resistant surface right away. Following these steps helps you prevent burns and damage. Keep going to discover tips for safe handling and efficient storage.
Understanding Your Oven and Air Fryer Compatibility
Before you remove your air fryer from the oven, it’s important to understand whether your oven and air fryer are compatible. Different air fryer types vary in size and design, so you need to check if your oven can accommodate your model safely. Not all ovens have the same interior space or rack configuration, so measuring your air fryer against the oven’s dimensions is essential. Also, oven settings play a vital role; some ovens have convection modes that might overlap or interfere with your air fryer’s function. Knowing your oven’s temperature limits and ventilation options guarantees you won’t damage either appliance or compromise cooking performance. Taking these steps lets you freely enjoy the convenience of air frying without risking mishaps during removal.
Preparing Your Oven for Safe Air Fryer Removal
Once you’ve confirmed that your oven and air fryer work well together, it’s important to get your oven ready for removing the air fryer safely. Start by ensuring the oven is turned off and has cooled to a safe temperature to prevent burns. Check the air fryer placement inside the oven; it should be stable and centered on the rack to avoid tipping. Clear the surrounding area of any flammable items to maintain oven safety. You want to move freely and confidently, so make sure the oven door opens fully without obstruction. Taking these steps not only protects you from accidents but also preserves your kitchen’s freedom of movement, letting you handle your air fryer with ease and confidence every time.
Essential Tools for Handling Hot Air Fryers
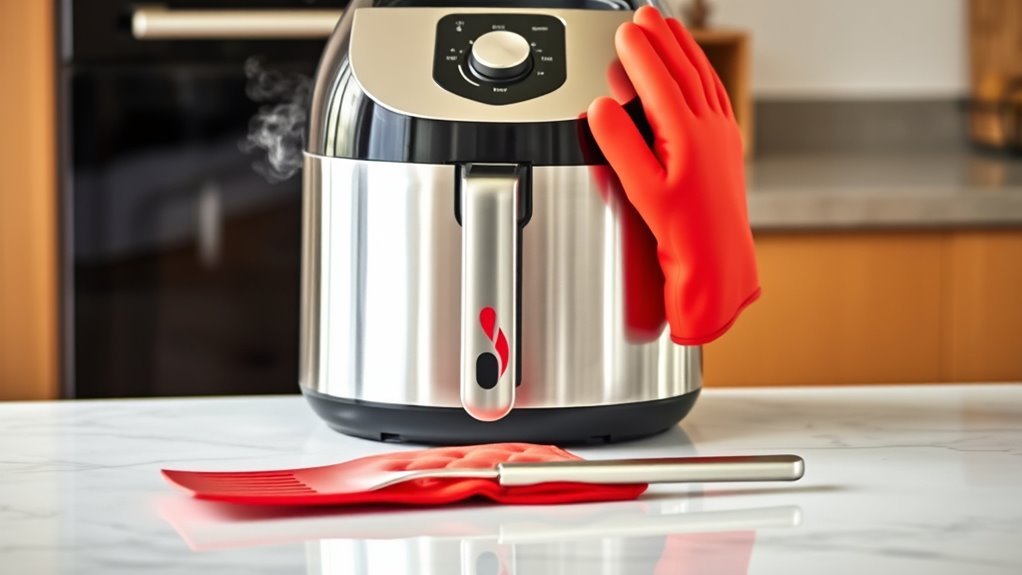
When you’re taking a hot air fryer out of the oven, protecting your hands is essential. You’ll want to use heat-resistant gloves or sturdy oven mitts to prevent burns. These tools give you a secure grip and keep you safe while handling the hot appliance.
Heat-Resistant Gloves
Although your air fryer might seem easy to handle, you’ll want heat-resistant gloves to protect your hands from burns when removing it from the oven. These gloves offer the freedom to grab your hot appliance confidently without risking injury. When choosing gloves, consider:
- Heat resistance: Confirm they can withstand high temperatures for safe handling.
- Glove materials: Look for silicone, Kevlar, or aramid fibers that combine durability and flexibility.
- Grip: Opt for textured surfaces to prevent slipping.
- Comfort and fit: A snug fit lets you maneuver easily without bulk.
With the right heat-resistant gloves, you maintain control and freedom, making the task safer and smoother every time you take your air fryer out of the oven. Don’t compromise on protection when handling hot kitchen gear.
Sturdy Oven Mitts
Heat-resistant gloves provide great protection, but sometimes you need the extra coverage and insulation that sturdy oven mitts offer. When you’re pulling a hot air fryer from the oven, these mitts let you move freely without worrying about burns. Look for oven mitt materials like silicone, cotton with heat-resistant lining, or aramid fiber—they all offer strong protection and flexibility. Safety features such as longer cuffs guard your wrists and forearms, while textured surfaces improve grip, so your fryer won’t slip. Choosing the right oven mitts means you can confidently handle hot items and keep your hands safe without sacrificing freedom of movement. Don’t settle for less—equip yourself with mitts that bring both security and ease to your kitchen tasks.
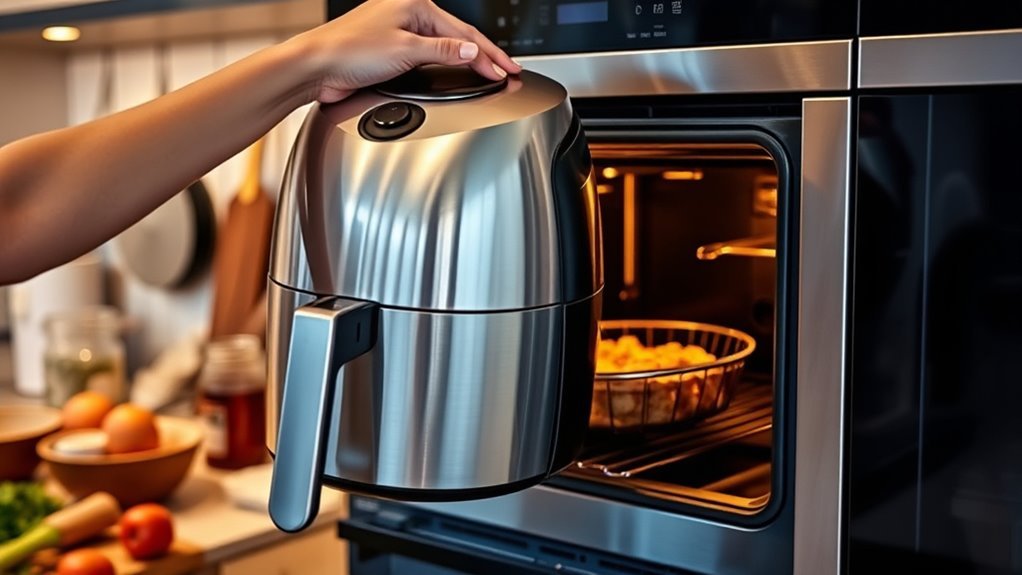
Step-by-Step Guide to Removing the Air Fryer Basket
Removing the air fryer basket is a simple process that you’ll want to master for safe and efficient use. Proper air fryer safety and basket handling guarantee you enjoy your cooking without worry. Here’s how to do it confidently:
- First, put on your sturdy oven mitts to protect your hands from heat.
- Open the air fryer drawer slowly to avoid hot air bursts.
- Firmly grip the basket handle and gently pull it out, keeping it level to prevent spills.
- Place the basket on a heat-resistant surface immediately after removal.
Tips for Avoiding Common Hazards During Removal
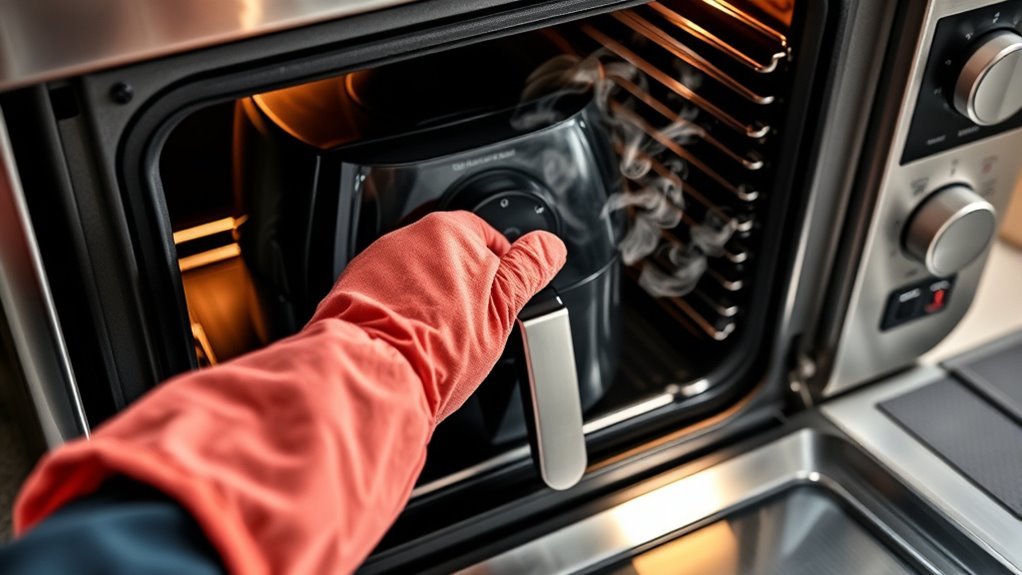
When you take the air fryer basket out, you’ll want to be mindful of steam and hot surfaces to prevent burns. Always use oven mitts or heat-resistant gloves as a core safety precaution. Avoid rushing—steady hands and slow, deliberate removal techniques reduce spills and accidents. Keep your workspace clear of clutter to maintain control and avoid tripping hazards. Don’t forget to pull the basket straight out, preventing hot food from tipping or spilling. If you notice excessive steam escaping, step back briefly to let it dissipate safely. By following these safety precautions and removal techniques, you’ll protect yourself and stay in control, enjoying the freedom of cooking without worry or injury.
Cleaning and Maintenance After Removing the Air Fryer
Once you’ve removed the air fryer from the oven, it’s important to clean its components thoroughly to keep it working well. Don’t forget to wipe down the oven surface to prevent any leftover grease or crumbs from causing issues. Finally, store the air fryer properly to protect it and make your next cooking session easier.
Cleaning Air Fryer Components
After you’ve taken the air fryer out of the oven, it’s important to focus on cleaning its components properly. To keep your appliance running smoothly and extend its life, pay attention to the cleaning frequency based on how often you use it. Consider the component materials—some parts may need gentle care, while others can handle a more thorough wash. Here’s how to approach it:
- Clean the basket and tray with warm, soapy water after each use to avoid buildup.
- Wipe down the exterior and interior with a damp cloth to remove grease and crumbs.
- Use a soft brush to clear any stuck food from the heating element carefully.
- Avoid abrasive sponges to protect non-stick coatings and delicate surfaces.
Sticking to these steps gives you freedom from stubborn messes and keeps your air fryer in top shape.
Oven Surface Maintenance
Although removing the air fryer from your oven is a simple step, maintaining the oven surface afterward is essential to prevent grease buildup and lingering odors. You’ll want to wipe down the interior with a damp cloth and a mild cleaner right after use. This quick action saves you from scrubbing stubborn stains later. Follow these oven cleanliness tips: avoid harsh chemicals that can damage the oven’s finish and always clean spills promptly. To guarantee surface protection, consider placing a heat-resistant mat or liner beneath the air fryer during use—this reduces direct contact and potential mess. Keeping your oven surface clean and protected not only extends its life but also keeps your kitchen fresh, so you can enjoy hassle-free cooking freedom every time.
Proper Storage Tips
Three key steps will help you properly store your air fryer after cleaning to keep it in top condition. First, verify the appliance is completely dry to prevent mold and odor. Next, focus on air fryer organization to maintain a clutter-free kitchen. Finally, choose a spot that guarantees safe storage away from moisture and high heat.
Here’s what you can do:
- Wrap the power cord neatly to avoid damage.
- Store accessories like baskets separately but nearby.
- Place the air fryer on a stable, flat surface.
- Use a breathable cover to protect from dust.
Storage Solutions to Keep Your Air Fryer Accessible and Safe
When you remove your air fryer from the oven, finding a storage spot that’s both accessible and safe becomes crucial. You want a place that respects your kitchen space while keeping your air fryer organization straightforward and hassle-free. Consider dedicating a lower cabinet or a sturdy shelf near your prep area—this keeps your air fryer within easy reach without cluttering countertops. Use drawer dividers or bins to keep cords and accessories tidy, preventing damage and saving time. If space is tight, a wall-mounted rack or a rolling cart can offer flexibility, letting you move and store your air fryer wherever you need it most. With smart storage solutions, you maintain freedom in your kitchen and guarantee your air fryer stays protected and ready to use.
Frequently Asked Questions
Can I Use Oven Mitts Instead of Specialized Tools for Removal?
You can definitely use oven mitts instead of specialized tools for removal, as long as they offer good oven mitt effectiveness. Just make sure they’re thick and heat-resistant to protect your hands properly. Safety considerations are key—you don’t want to risk burns or dropping the hot item. With the right mitts, you’ll enjoy freedom from extra gadgets and still handle your cooking gear confidently and safely.
How Long Should I Let the Air Fryer Cool Before Removing It?
You should let your air fryer cool for about 10 to 15 minutes before removing it to guarantee safety precautions are met. This cooling time helps prevent burns or accidents, giving you the freedom to handle it comfortably. While it’s tempting to grab it right away, waiting a bit lets the appliance cool down enough to protect your hands and surfaces. Always prioritize safety so you can enjoy cooking worry-free!
Is It Safe to Remove the Air Fryer While the Oven Is Still Hot?
You might wonder if it’s safe to remove the air fryer while the oven’s still hot. With proper safety precautions, you can, but you’ve gotta be careful. Use heat-resistant gloves or mitts to protect your hands, and make sure your grip is secure. The air fryer and oven will be hot, so don’t rush it. Taking these steps lets you handle it confidently and keep your freedom to cook without worry.
Can Removing the Air Fryer Damage My Oven Racks?
Think of your oven racks as the delicate branches of a tree—supportive but not invincible. If you’re not careful when removing your air fryer, its weight can strain or bend those branches. To guarantee oven rack protection, always lift the air fryer straight up instead of dragging it across the racks. This way, you’ll keep your freedom to cook without worrying about damage or costly repairs.
What Should I Do if the Air Fryer Gets Stuck in the Oven?
If your air fryer gets stuck in the oven, don’t panic. First, give it some time to cool down, as metal contracts when hot. Then, gently wiggle and pull using safe removal techniques like applying a bit of lubricant or warm soapy water on the edges. Avoid forcing it to prevent damage. You deserve an easy, damage-free solution, so take your time and stay calm while freeing your stuck air fryer.


