Removing Living Room From Wood Effectively
To remove wood from your living room effectively, first identify the wood type and installation method—nailed, glued, or floating. Gather essential tools like pry bars, chisels, and safety gear such as goggles and gloves. Clear the space, protect surfaces with drop cloths, and ventilate well. Use precise prying or cutting techniques to minimize wall or floor damage, then sort and dispose of wood responsibly. Following these steps guarantees a clean, safe removal process; further guidance can enhance your approach.
Assessing the Type of Wood and Installation

Before you begin removing wood flooring in your living room, you need to accurately identify the type of wood and its installation method, as this determines the appropriate removal technique. Start by examining the wood types—solid hardwood, engineered wood, or laminate—each demands a different approach. Next, assess installation methods: nailed, glued, or floating. Nailed flooring requires careful prying to avoid subfloor damage; glued floors need solvent or heat for adhesive softening; floating floors can be dismantled plank by plank. Understanding these variables allows you to plan efficiently and work with precision, granting you the freedom to execute removal without unnecessary damage or effort. Accurate assessment saves time and preserves the integrity of both the wood and your living room’s underlying structure.
Gathering Essential Tools for Wood Removal
Before starting wood removal, you’ll need to assemble essential hand tools like pry bars, hammers, and utility knives. Don’t forget protective gear such as gloves, safety glasses, and dust masks to guarantee safety during the process. Additionally, plan for proper disposal methods and cleanup materials to handle debris efficiently.
Necessary Hand Tools
Essential hand tools form the backbone of any successful wood removal project in your living room. Selecting the right tools guarantees efficiency and precision, so consider tool selection tips carefully. Maintain each tool properly to extend its lifespan and optimize performance. Here’s the essential list for precise wood removal:
- Chisels: For detailed carving and shaping.
- Hand saw: To cut through wood fibers cleanly.
- Pry bar: To lift and separate wood panels.
- Hammer: For controlled force application.
- Utility knife: For scoring and trimming edges.
Each tool requires regular sharpening and cleaning as part of tool maintenance advice. Proper upkeep not only enhances safety but also secures smoother, more controlled work. With these hand tools, you’ll achieve clean removal, giving you freedom to reshape your living room space as you envision.
Protective Gear Essentials
While selecting and maintaining your hand tools guarantees effective wood removal, protecting yourself during the process is equally important. First, always wear safety goggles to shield your eyes from flying debris and wood splinters, which can cause serious injury. Next, use dust masks to prevent inhalation of fine wood particles and dust, which pose respiratory hazards. Choose masks rated for particulate filtration to guarantee ideal protection. Additionally, consider gloves to protect your hands from splinters and abrasions, and wear long sleeves for skin coverage. Confirm all protective gear fits well to avoid gaps that compromise safety. By methodically equipping yourself with these essentials, you maintain control and freedom during wood removal while minimizing health risks. Safety isn’t restrictive—it’s enabling.
Disposal and Cleanup
Gather the necessary tools for efficient disposal and cleanup to streamline your wood removal process. Efficient wood recycling and disposal methods rely on proper preparation and equipment. You’ll want to gather:
- Heavy-duty trash bags or bins for debris containment
- A sturdy broom and dustpan for collecting sawdust and small fragments
- A reciprocating saw or handsaw for cutting oversized wood pieces
- Gloves and safety goggles to protect against splinters and dust
- A vehicle or trailer for transporting recyclable wood to designated centers
Preparing the Living Room for Safe Work
Before you begin removing any wood elements in your living room, you’ll need to confirm the space is fully prepared to maintain safety and efficiency. Start by clearing all furniture and valuables to create an unobstructed workspace. Implement essential safety measures: wear protective gear such as gloves, goggles, and dust masks. Ensure proper ventilation by opening windows or using fans to reduce airborne particles. Organize your workspace by designating areas for tools, debris, and removed wood, minimizing trip hazards and enhancing workflow. Check for hidden electrical wiring or plumbing behind wood surfaces to avoid accidents. Finally, lay down drop cloths to protect floors and facilitate cleanup. These methodical preparations empower you to work safely and efficiently, preserving your freedom to manage the project on your terms. Using non-abrasive cleaning techniques can help maintain surfaces you want to preserve during the project.
Techniques for Removing Wooden Paneling
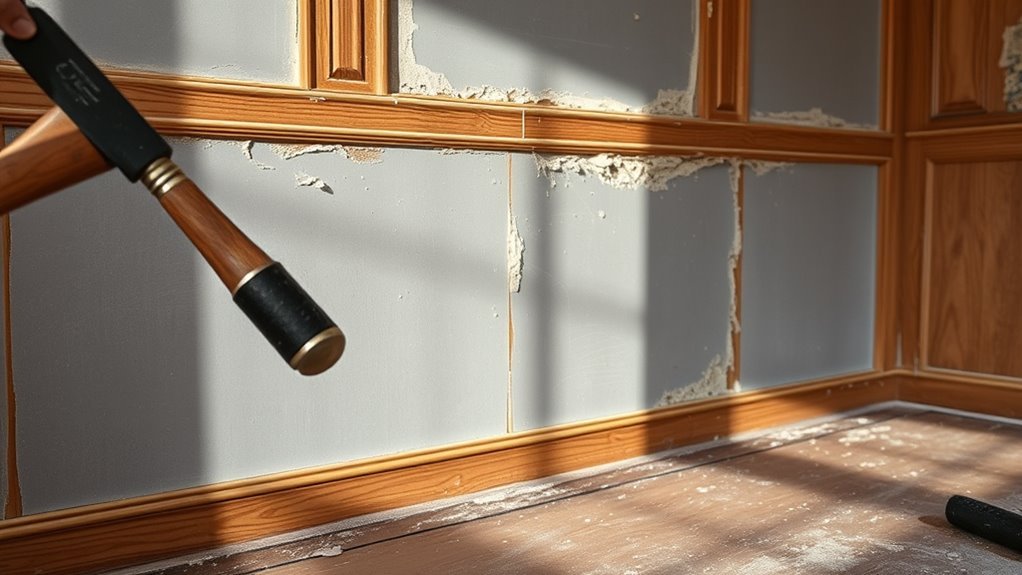
Start by locating the paneling’s attachment points, typically nails or screws, to determine the best removal approach. When tackling wood paneling removal techniques, you want to proceed methodically to avoid damage and maintain control. Use these steps:
- Pry gently at a corner with a putty knife to loosen the panel.
- Use a crowbar or flat bar to carefully disengage nails or screws.
- Cut caulk or paint seals around edges with a utility knife.
- Work panel by panel to prevent wall damage.
- Remove leftover nails or screws from the wall before refinishing.
This precise approach grants you freedom to remove wood paneling efficiently while preserving the underlying structure. Follow these removal techniques to maintain safety and control throughout the process.
Steps to Remove Hardwood Flooring Efficiently
Once you’ve carefully removed wooden paneling without damaging the walls, you can apply a similar methodical approach to hardwood flooring removal. Start by identifying the hardwood types present, as solid hardwood and engineered wood require different removal techniques. For solid hardwood, begin at a loose board or along a seam, using a pry bar and hammer to gently lift planks, minimizing damage. Engineered hardwood may require cutting into sections with a circular saw set to plank thickness, then prying up pieces. Always work systematically, row by row, to maintain control and efficiency. Remove adhesives or nails as you proceed to avoid hazards. This precise, step-by-step method guarantees you retain control over the process, granting you the freedom to repurpose or replace the flooring with confidence. Additionally, maintaining a well-ventilated workspace and using protective gloves can help ensure safety and comfort during removal.
Handling Built-in Wooden Furniture Removal
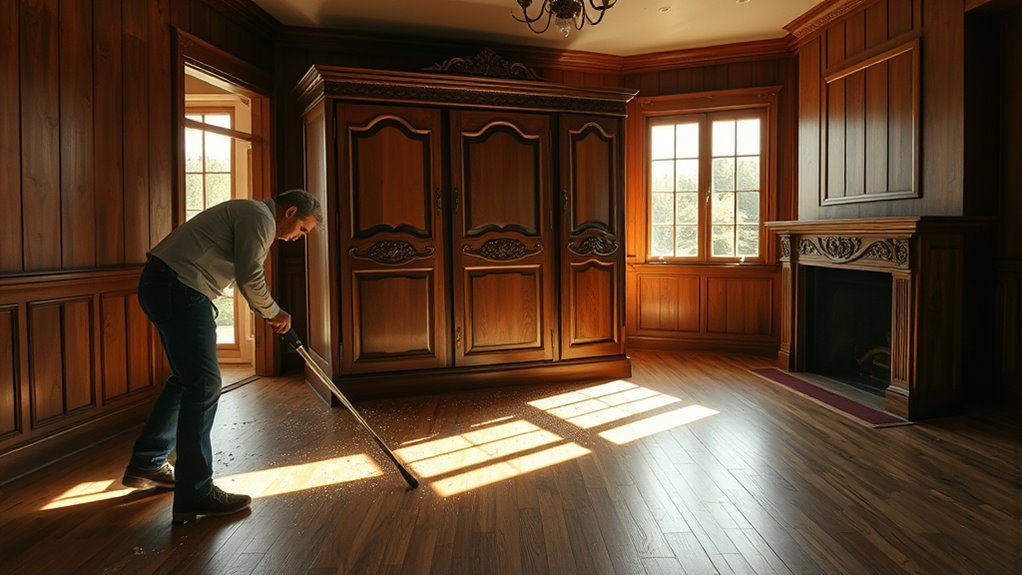
When removing built-in wooden furniture, start by carefully disassembling cabinets to avoid damage. You’ll need to identify and unscrew all fasteners securing the units. Throughout the process, protect surrounding woodwork with padding or barriers to prevent scratches or dents.
Disassembling Built-in Cabinets
Although built-in cabinets are designed for permanence, you can disassemble them by carefully removing the trim and hardware to access the fasteners securing the components. Start by identifying the cabinet style to anticipate hidden nails or screws typical in built in storage. Follow these steps methodically:
- Remove doors and drawers to lighten the structure.
- Pry off decorative trim gently to expose fastening points.
- Unscrew hinges, brackets, and any mounting hardware.
- Detach cabinet boxes from wall studs cautiously.
- Label all parts for potential reuse or disposal.
Protecting Surrounding Woodwork
Since built-in wooden furniture is often integrated closely with surrounding woodwork, you’ll need to take deliberate measures to prevent damage during removal. Prioritize wood protection and finish preservation by gently detaching adjacent panels and using protective barriers. Employ precision tools to minimize impact.
| Step | Tool/Material | Purpose |
|---|---|---|
| Assess joints | Flashlight, magnifier | Identify attachment points |
| Apply protective film | Painter’s tape, plastic | Shield finish |
| Loosen fasteners | Screwdrivers, pry bars | Prevent splintering |
| Separate panels | Soft mallet, wedges | Avoid surface damage |
| Inspect surfaces | Fine sandpaper, cloth | Restore minor abrasions |
Following this methodical approach guarantees surrounding woodwork remains intact, granting you the freedom to remove built-ins without compromising the room’s aesthetic integrity.
Tips for Minimizing Damage to Walls and Floors
To minimize damage to your walls and floors during the removal of wood elements, you’ll need to carefully prepare the area and use the right tools. Prioritize wall protection and floor preservation by establishing clear boundaries and cushioning vulnerable surfaces. Consider these essential tips:
- Apply protective coverings like painter’s tape or foam strips to edges adjoining walls.
- Lay down sturdy drop cloths or specialized floor mats to shield flooring from scratches.
- Use pry bars with plastic or rubber tips to avoid gouging surfaces.
- Work incrementally, loosening wood panels gently to prevent forceful impacts.
- Keep debris contained and promptly cleared to avoid accidental abrasions.
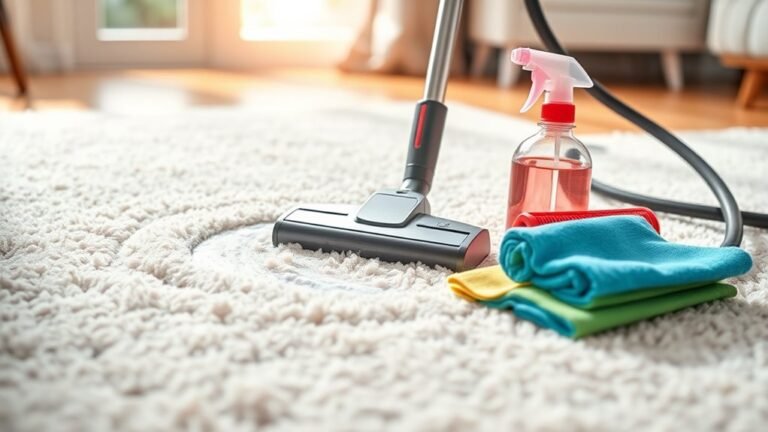
- Additionally, sweeping or vacuuming the area before and after removal helps reduce dirt and prevent scratches on your floors.
Disposal and Recycling of Removed Wood
Once you’ve carefully removed the wood elements while protecting your walls and floors, the next step is handling the disposal or recycling of the material. Start by sorting the wood based on condition—solid, untreated pieces can enter wood recycling streams, while treated or painted wood requires special facilities to prevent toxic release. Contact local waste management services to identify drop-off points dedicated to eco friendly disposal. Avoid landfill dumping to reduce environmental impact and reclaim valuable resources. If feasible, consider repurposing wood offcuts for DIY projects or donating salvageable pieces to community workshops. Document disposal methods to guarantee compliance with municipal regulations. By following these precise steps, you maintain your freedom to manage waste responsibly while contributing to sustainable wood recycling practices that minimize your ecological footprint. Choosing non-toxic products supports a healthier planet and personal well-being through sustainable practices.
Final Cleaning and Surface Preparation After Removal
Although the wood has been removed, you’ll need to thoroughly clean the area to eliminate residual dust, adhesive, and debris. This step guarantees a smooth base for any subsequent surface treatment and assures longevity. Begin with a final inspection to identify imperfections or remaining contaminants. Then, follow these precise actions:
- Vacuum the entire surface to remove loose particles.
- Use a scraper or adhesive remover to eliminate stubborn residues.
- Wipe down with a damp cloth and mild detergent for surface cleanliness.
- Sand the area evenly to smooth rough patches or adhesive remnants.
- Allow the surface to dry completely before applying any treatment.
To protect the surface integrity, always use gentle cleaning methods during this process.
Frequently Asked Questions
Can I Remove Wood Paneling Without Professional Help?
Yes, you can remove wood paneling without professional help by using DIY techniques. Start by gathering paneling tools like a pry bar, hammer, and utility knife. Carefully cut along seams, then gently pry panels away from the wall to avoid damage. Work methodically from top to bottom, ensuring studs remain intact. With patience and the right tools, you’ll gain freedom from costly labor and complete the project efficiently on your own.
How Long Does Wood Removal Typically Take?
The length of your wood removal project depends on the wood removal techniques you choose and the project’s scale. For small areas, manual methods like prying and scraping might take a few hours. Power tools speed things up, but prep and cleanup add time. On average, expect a project timeline ranging from a day to several days. Planning thoroughly guarantees you stay on track and maintain control throughout the process.
Are There Eco-Friendly Alternatives to Disposing of Removed Wood?
Oh sure, because tossing wood into a black hole seems like the only option, right? You’ve got better choices: recycling wood is a top eco-friendly method, where wood gets transformed into new products, conserving resources. Composting wood, especially untreated pieces, breaks them down naturally, enriching soil without toxins. By choosing these, you’re methodically reducing waste and embracing freedom from landfill dependence, all while supporting sustainable cycles.
What Safety Gear Is Essential During Wood Removal?
When working with wood removal, you should always wear safety goggles to shield your eyes from flying debris and dust masks to prevent inhaling harmful particles. These essentials protect your respiratory system and vision, allowing you to work freely and confidently. Additionally, consider wearing gloves and sturdy footwear to guard your hands and feet. Prioritizing this gear guarantees you maintain safety without compromising your sense of independence during the task.
Can Wood Removal Increase My Home’s Resale Value?
Imagine your home as a blank canvas—removing outdated wood elements can reveal a fresher, modern surface. Strategically executed wood removal is a powerful home improvement step, enhancing aesthetic appeal and structural integrity. When done methodically, it aligns with top resale tips, increasing your home’s market value by appealing to buyers seeking freedom from dated styles. Precision in this process guarantees your investment translates to tangible resale gains.