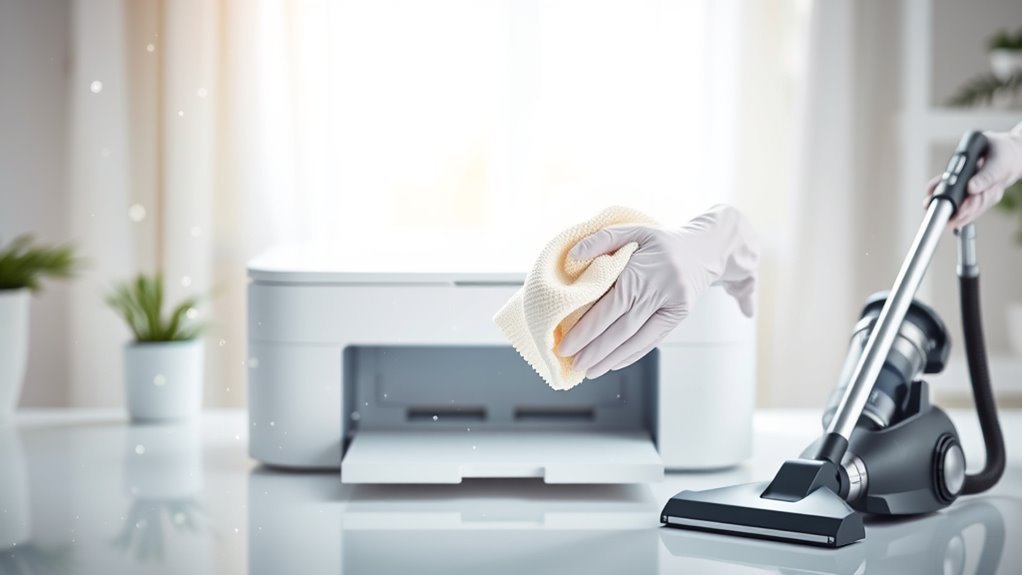
Removing Printer From Dust Effectively
To remove dust from your printer effectively, first power it down and unplug it. Remove cartridges and paper to avoid damage. Use a microfiber cloth, soft brush, and compressed air to clean external and internal parts carefully, avoiding sensitive areas like printhead nozzles. Clean rollers with isopropyl alcohol swabs and vacuum with an anti-static attachment. Maintaining this routine prevents buildup and guarantees smooth operation. Keep following for detailed steps to optimize your printer’s dust management and performance.
Tools Needed for Cleaning Your Printer

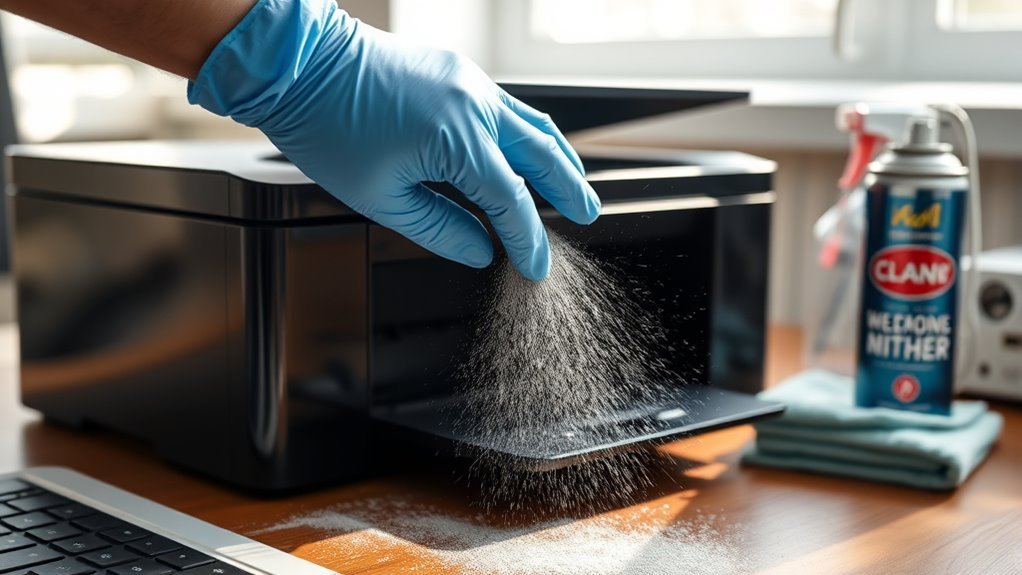
Before you begin cleaning your printer, you’ll need to gather specific tools designed to remove dust without damaging delicate components. Essential cleaning supplies include a microfiber cloth, soft-bristle brushes, and compressed air cans to dislodge particles from tight spaces. Use isopropyl alcohol wipes sparingly for stubborn grime, guaranteeing they’re safe for electronic parts. Equally important is wearing proper protective gear: antistatic gloves prevent oil transfer and reduce static discharge risk, while a dust mask protects your respiratory system from airborne particles. Avoid abrasive materials that might scratch surfaces or interfere with printer mechanisms. By assembling these precise tools and protective gear, you guarantee an effective, damage-free cleaning process that maintains your printer’s functionality and longevity, giving you the freedom to operate without worry.
Preparing Your Printer for Dust Removal
Although dust removal might seem straightforward, properly preparing your printer guarantees you avoid damage and achieve thorough cleaning. Start by powering off and unplugging your device to guarantee safety. Remove all paper and cartridges as these components are sensitive. Position your printer on a flat surface with ample lighting for clear visibility. This preparation step is vital for effective printer maintenance and dust prevention. Additionally, ensure your cleaning materials include eco-friendly microfiber cloths to prevent scratches and maintain device care.
| Step | Action | Purpose |
|---|---|---|
| 1 | Power off and unplug | Prevent electrical hazards |
| 2 | Remove paper and cartridges | Avoid component damage |
| 3 | Position on flat surface | Stability during cleaning |
| 4 | Use adequate lighting | Enhance visibility |
| 5 | Gather cleaning tools | Guarantee readiness |
Following this methodical setup will streamline your dust removal process.
Step-by-Step Guide to Cleaning Printer Components
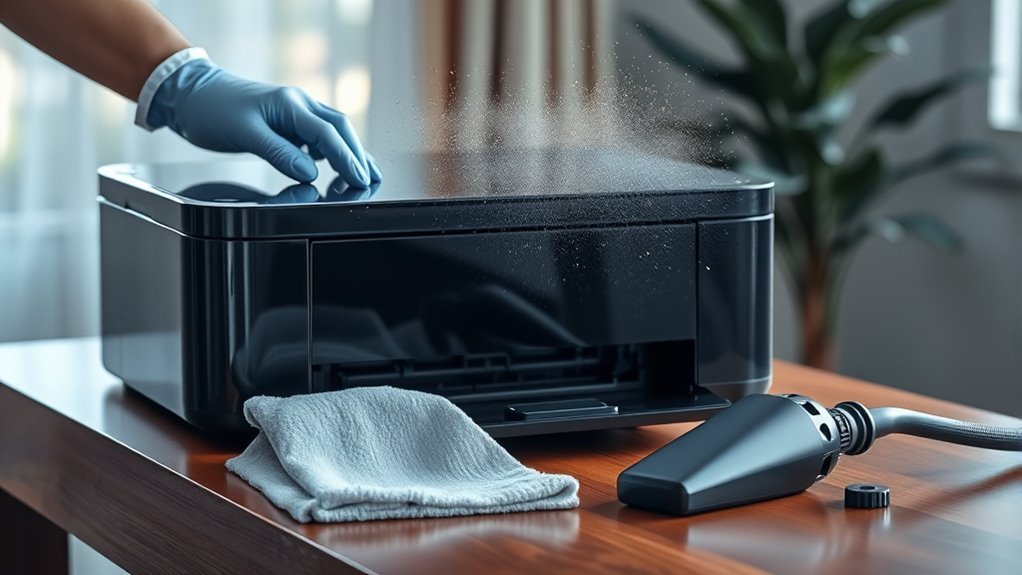
Once you’ve prepared your printer, you can begin cleaning each component systematically to guarantee peak performance. Start by removing the ink cartridges carefully to avoid damage. Use a soft, lint-free cloth slightly dampened with distilled water to wipe the cartridge slots and surrounding areas. Next, clean the paper feed rollers with a cotton swab dipped in isopropyl alcohol, rotating each roller to remove accumulated dust. Open the printer’s access panel and gently vacuum dust from internal components, ensuring you use a low-powered vacuum designed for electronics. Avoid touching sensitive parts like the print head nozzles. This methodical approach to printer maintenance not only removes dust effectively but also supports dust prevention, preserving your printer’s longevity and print quality. Follow these steps regularly to maintain peak functionality. Always remember to power off and unplug the printer before beginning the cleaning process to ensure safety.
Tips for Maintaining a Dust-Free Printer Environment
To maintain a dust-free printer environment, you’ll need to implement consistent cleaning routines and control the surrounding air quality. Applying effective printer dustproofing techniques helps preserve your device’s performance and extends its lifespan. Here’s how to proceed with ideal cleaning frequency:
- Schedule cleanings every 2-4 weeks, adjusting based on your workspace’s dust levels to prevent accumulation.
- Use air purifiers or maintain proper ventilation to reduce airborne dust particles near the printer.
- Store the printer in a closed cabinet or cover it when not in use to minimize exposure.
Regular dusting with microfiber cloths can effectively trap dust without spreading particles, maintaining a cleaner printer surface.
Troubleshooting Common Dust-Related Printer Issues
When dust infiltrates your printer, it can cause a range of issues such as paper jams, print quality degradation, and sensor malfunctions. To troubleshoot, first inspect the paper path for debris obstructing rollers or sensors. Clean optical sensors gently with a microfiber cloth to restore accurate detection. If print quality suffers, check the printhead and cartridges for dust accumulation and use manufacturer-recommended cleaning cycles. Regular dust prevention measures, like using covers and controlling environmental dust levels, are crucial to sustain peak printer performance. Additionally, verify internal components are free of dust by carefully vacuuming with an anti-static brush attachment. Following these precise steps will help you maintain reliable operation, minimize downtime, and extend your printer’s lifespan, granting you the freedom to focus on your tasks without interruption. It is also beneficial to schedule quick cleanings weekly to catch dust before it settles deep inside.
Frequently Asked Questions
Can Dust Damage the Internal Circuitry of My Printer?
Oh sure, let dust throw a wild party inside your printer’s circuits—sounds like a great idea, right? But seriously, dust accumulation isn’t just harmless fluff; it can cause internal damage by clogging sensitive components and interfering with electrical connections. If you want your printer to keep running freely without glitches, you need to methodically clean it. Neglecting this invites malfunction and shortens your device’s lifespan. Don’t let dust hold your freedom hostage.
How Often Should I Schedule Professional Printer Maintenance?
You should schedule professional printer maintenance every six to twelve months, depending on your printer’s usage intensity. Regular maintenance frequency is key to extending your printer lifespan, catching wear and tear before it becomes critical. If you print heavily, opt for biannual check-ups; for light use, annual service suffices. This methodical approach guarantees your printer operates reliably, freeing you from unexpected breakdowns and preserving peak performance over time.
Are Certain Printer Models More Prone to Dust Accumulation?
Think of your printer as a magnet for dust, especially laser printers. Due to their internal fuser units and vents, laser printers tend to attract more dust compared to inkjet printers, which have fewer airflow components. You’ll notice dust settling faster inside laser models, potentially affecting print quality and lifespan. To maintain freedom from frequent breakdowns, you should clean laser printers more regularly, focusing on vents and rollers, while inkjet printers require less intensive dust control.
Can Using Compressed Air Void My Printer Warranty?
Using compressed air to clean your printer generally won’t void your warranty if you follow the manufacturer’s warranty guidelines carefully. Most warranties allow basic maintenance, but avoid using excessive force or spraying directly into sensitive components. Check your printer’s manual for specific instructions on cleaning methods. By adhering to these guidelines, you can free your device from dust without risking warranty invalidation or damaging delicate internal parts.
What Are the Health Risks of Inhaling Printer Dust Particles?
When you inhale printer dust particles, the health effects can include respiratory irritation, coughing, and even exacerbation of asthma or other lung conditions. Prolonged dust exposure may lead to chronic bronchitis or allergic reactions. It’s essential you minimize exposure by using proper ventilation and protective masks. Staying informed about these risks helps you maintain your freedom to work safely without compromising your respiratory health or overall well-being.