Step-By-Step Guide to Cleaning Bathroom
Start by gathering all cleaning supplies and clear your bathroom of personal items. Dust and sweep surfaces to remove debris, then tackle the shower and bathtub with appropriate cleaners, scrubbing corners and grout lines. Thoroughly scrub the toilet, wipe down sinks, countertops, and mirrors using disinfectants and glass cleaner. Finish by mopping the floor, working from the farthest corner toward the exit. This systematic method guarantees a spotless bathroom, with more tips to help you make the process even smoother.
Gather Your Cleaning Supplies

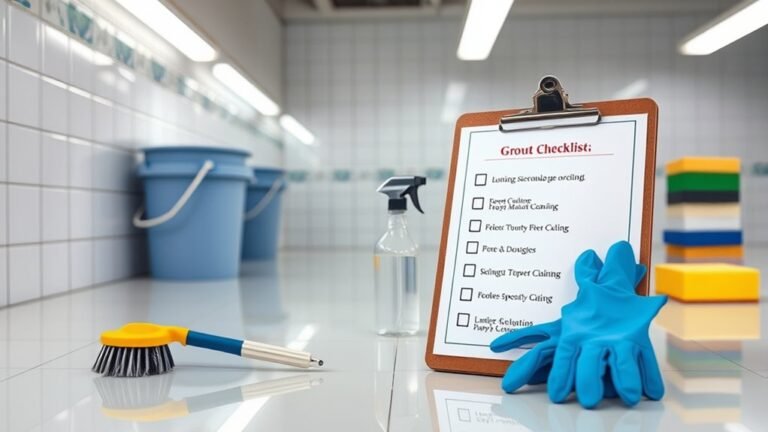
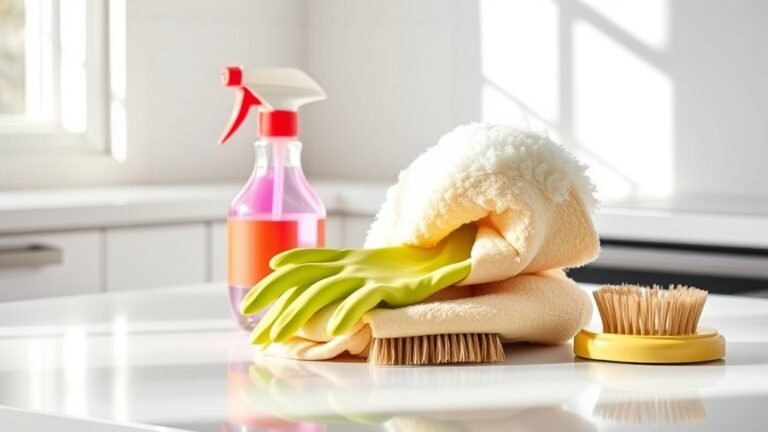
Before you begin cleaning your bathroom, make certain you’ve gathered all the necessary supplies. Start by selecting effective cleaning products suited for various surfaces—glass cleaner for mirrors, disinfectant for toilets, and mildew remover for tiles. Don’t forget gloves, scrub brushes, microfiber cloths, and a sturdy bucket. Organization tips will help streamline your process: arrange your cleaning products in a portable caddy, so you can move easily around the space without backtracking. Keep similar items grouped together to avoid confusion and save time. Preparing these tools ahead will give you the freedom to work efficiently without interruptions. A well-prepared setup guarantees you maintain focus, making the cleaning task smoother and more rewarding. This methodical approach sets the foundation for a pristine bathroom.
Clear and Declutter the Bathroom
With your cleaning supplies ready and organized, the next step is to clear and declutter the bathroom. Start by removing all items from countertops, shelves, and shower areas. Sort through toiletries, cosmetics, and cleaning products, deciding what to keep, toss, or relocate. Use decluttering tips like grouping similar items and discarding expired products to simplify choices. Aim for a minimalist setup that promotes easy access and visual calm. Next, focus on bathroom organization by designating specific spots for essentials—use containers or trays to keep items neat. Clear surfaces not only ease cleaning but also create a sense of freedom and order. This methodical approach guarantees your bathroom feels spacious and functional, setting a solid foundation for the cleaning steps ahead.
Dust and Sweep the Surfaces

Start by pinpointing areas that collect dust easily, like shelves, vents, and corners. Use tools suited for each surface—microfiber cloths for delicate spots and a broom with soft bristles for floors. Sweep carefully to avoid scattering dust and guarantee you reach every nook and cranny.
Identify Dust-Prone Areas
Dust tends to settle in specific spots throughout your bathroom, making it essential to pinpoint these areas before cleaning. Focus on flat surfaces like countertops, shelves, and window sills where dust accumulation is most noticeable. Don’t forget corners and behind fixtures, as these often harbor hidden dust. Pay attention to vents and exhaust fans, since poor humidity control can increase dust buildup. Regularly check light fixtures and the top edges of doors and mirrors, as dust clings there easily. By identifying these dust-prone zones, you can target your efforts efficiently, minimizing effort while maximizing cleanliness. Staying vigilant about these areas helps maintain a dust-free bathroom, giving you the freedom to enjoy a fresher, healthier space without unnecessary hassle.
Choose Appropriate Cleaning Tools
Choosing the right cleaning tools is essential to effectively dust and sweep your bathroom surfaces. Start by selecting tools that suit the specific materials you’ll clean, such as microfiber cloths for surfaces and a soft-bristle duster for vents and corners. Opt for eco-friendly options like reusable cloths and natural fiber brushes to reduce waste and exposure to harsh chemicals. Proper tool maintenance is vital—clean your dusters and cloths regularly to prevent spreading dirt back onto surfaces. Store your tools in a dry place to avoid mildew and damage, ensuring they remain effective for repeated use. By choosing wisely and maintaining your tools, you’ll enjoy a cleaner bathroom with less effort, preserving your freedom to focus on what truly matters.
Sweep Thoroughly and Safely
To sweep your bathroom surfaces thoroughly and safely, you’ll need to follow a systematic approach that minimizes dust spread and protects your health. Start by wearing a dust mask and gloves as essential safety precautions to avoid inhaling particles. Use a soft-bristle broom or a microfiber dust mop to gently loosen dust without scattering it. Begin from the farthest corner and sweep toward the exit, ensuring you cover every surface methodically. For tight spaces, use a small brush to dislodge dirt. Avoid vigorous sweeping that sends dust airborne; instead, use slow, controlled sweeping techniques. Finally, collect debris carefully with a dustpan and dispose of it immediately to maintain cleanliness. These steps guarantee a dust-free bathroom while keeping you safe and free from irritants.
Clean the Shower and Bathtub

Although cleaning the shower and bathtub can seem intimidating, breaking the task into specific steps makes it manageable. Start by removing the shower curtain to prevent mildew buildup and wash it separately. Next, tackle the bathtub grime using a suitable cleaner—apply it generously and let it sit for a few minutes to loosen dirt. Then, scrub thoroughly with a non-abrasive brush, paying attention to corners and grout lines. Finally, rinse everything with warm water, ensuring no residue remains.
- Remove and launder the shower curtain to avoid mildew
- Apply cleaner to bathtub grime and let it sit
- Scrub all surfaces thoroughly and rinse well
Scrub the Toilet Thoroughly
Since the toilet is one of the most frequently used fixtures, scrubbing it thoroughly is crucial for maintaining hygiene. Start by applying a strong disinfecting agent inside the bowl, guaranteeing it reaches under the rim where germs accumulate. Let it sit for a few minutes to break down bacteria and stains. Use effective toilet brush techniques—scrub vigorously in a circular motion, focusing on the bowl’s interior and under the rim. Don’t forget the water line, where buildup often occurs. Once the interior is clean, flush to rinse. For the exterior, spray disinfectant on the seat, lid, and base, then wipe with a clean cloth. This detailed approach guarantees you eliminate harmful microbes, keeping your bathroom fresh and safe while giving you freedom from worries about cleanliness.
Wipe Down the Sink and Countertops
Begin by clearing all items from the sink and countertops to expose every surface. This step guarantees thorough sink sanitization and countertop care. Use a disinfectant spray or a mixture of mild detergent and water to wipe down the sink basin, faucet, and handles meticulously. Pay special attention to edges and crevices where grime accumulates.
For effective cleaning, focus on:
- Removing toothpaste residue and soap scum
- Wiping down all countertop surfaces, including corners and seams
- Drying surfaces with a microfiber cloth to prevent water spots
This methodical approach assures a hygienic sink and spotless countertops, letting you enjoy a fresh, clutter-free bathroom environment.
Clean the Mirrors and Fixtures
Several simple tools and the right technique will make cleaning your bathroom mirrors and fixtures efficient and streak-free. Start with mirror maintenance by spraying a glass cleaner directly onto a microfiber cloth—not the mirror—to avoid excess drips. Wipe in a circular motion, then finish with vertical strokes to eliminate streaks. For fixture care, use a mild, non-abrasive cleaner suitable for your fixture’s material. Apply it with a soft cloth, gently scrubbing to remove water spots and grime. Rinse fixtures with warm water and dry thoroughly to prevent mineral buildup. Pay close attention to edges and crevices where dirt accumulates. Consistent mirror maintenance and fixture care not only enhance your bathroom’s appearance but also prolong their lifespan, giving you freedom from frequent replacements or repairs.
Mop the Bathroom Floor
Mopping the bathroom floor requires a systematic approach to guarantee every corner is thoroughly cleaned without leaving residue behind. Begin by selecting an appropriate mop and a cleaning solution suitable for your floor type. Use effective mopping techniques to maximize cleanliness and efficiency.
A systematic approach and the right tools ensure every bathroom floor corner is clean and residue-free.
Focus on these key steps:
- Start mopping from the farthest corner, working your way toward the exit to avoid stepping on wet areas.
- Apply gentle, overlapping strokes to lift dirt without damaging the surface.
- Rinse or change mop water frequently to prevent spreading grime.
Frequently Asked Questions
How Often Should I Deep Clean My Bathroom?
Think of deep cleaning your bathroom like tuning a classic car—it needs attention beyond the routine to keep it running smoothly. For ideal results, stick to a weekly schedule for surface cleaning, but deep clean about once a month. This cleaning frequency prevents grime buildup and maintains a fresh space, freeing you from stubborn messes. Consistency in your routine gives you control and lets you enjoy your bathroom without stress or extra work later.
What Natural Cleaners Are Safe for Bathroom Surfaces?
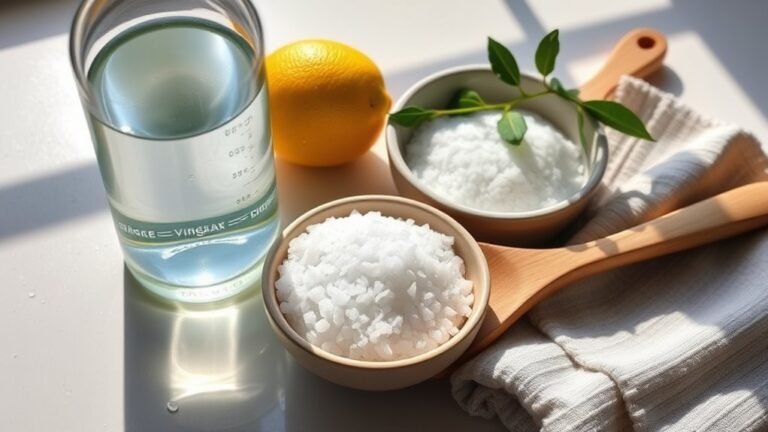
You’ll find vinegar solution and baking soda are excellent natural cleaners safe for most bathroom surfaces. Vinegar solution works wonders on glass and tiles, breaking down grime without harsh chemicals. Baking soda acts as a gentle abrasive, perfect for scrubbing sinks and tubs without scratching. Mix baking soda with vinegar solution for tough stains, but avoid using vinegar on natural stone to keep your surfaces protected while enjoying freedom from synthetic cleaners.
How to Prevent Mold and Mildew Buildup?
To guarantee effective mold prevention and mildew resistance, you’ll want to keep your bathroom well-ventilated; open windows or use exhaust fans during and after showers. Wipe down wet surfaces regularly to remove moisture, which mold loves. Consider applying natural mold-resistant sprays or vinegar solutions to problem areas. Fix leaks promptly and use mildew-resistant paint or caulk in damp zones. These steps help you maintain a fresh, mold-free bathroom environment with minimal hassle.
Can I Use Bleach on All Bathroom Materials?
You might think bleach works on everything, but it’s not safe for all bathroom materials. Bleach can damage natural stone, wood, and some metals, causing discoloration or corrosion. Instead, consider bleach alternatives like vinegar or hydrogen peroxide for delicate surfaces. Always check material compatibility before applying any cleaner to avoid damage. Testing a small area first helps guarantee freedom to clean without ruining your bathroom’s finishes or textures.
What Are the Best Tools for Cleaning Grout?
When tackling grout cleaning, you’ll want the right tools to make the job easier. Grout brushes are essential—they’re designed with stiff, dense bristles that reach deep into grout lines, loosening dirt and mildew effectively. Pair these with a good grout cleaner or a baking soda and vinegar paste for thorough results. Using these tools methodically, you can restore your grout’s appearance without harsh chemicals, giving you freedom from stubborn stains and a fresh, clean look.


