
Step-By-Step Guide to Cleaning Ceilings
First, identify your ceiling type—smooth, textured, or popcorn—and gather supplies like a microfiber mop, vacuum with brush attachment, and gentle cleaners. Clear furniture and cover floors before dusting with a soft cloth or vacuuming to remove cobwebs. For textured ceilings, dab spots lightly with a damp sponge; for smooth ones, use mild soapy water in gentle motions. Rinse carefully and dry thoroughly. Keep a regular cleaning schedule to maintain freshness, and you’ll find more tips to keep your ceiling spotless.
Assess the Type of Ceiling Surface

Before you begin cleaning, you’ll need to assess the type of ceiling surface you have. Different ceiling materials and surface textures require unique approaches to avoid damage. For example, a smooth drywall ceiling is easier to wipe down, while textured or popcorn ceilings need gentler care to preserve their finish. You’ll want to identify whether your ceiling is painted, tiled, or made of plaster, as each reacts differently to moisture and cleaning agents. Knowing the exact texture—be it flat, stippled, or patterned—lets you choose the right technique and tools that won’t compromise your ceiling’s integrity. Taking this step guarantees your cleaning effort stays effective and your ceiling looks fresh, giving you the freedom to maintain a pristine space without worry.
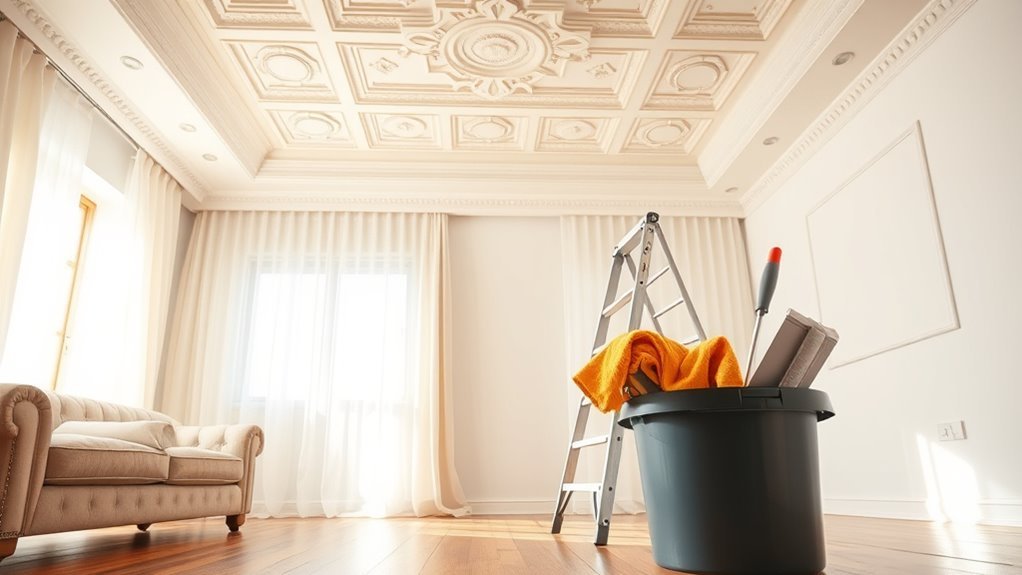
Gather Necessary Cleaning Supplies
Although cleaning ceilings might seem straightforward, having the right supplies on hand makes the process much easier and more effective. Before you start, gather cleaning tools suited to your ceiling materials. For smooth drywall or plaster, a soft-bristle brush or microfiber mop works best to avoid damage. If you have textured or popcorn ceilings, opt for a vacuum with a brush attachment to gently remove dust without crumbling the surface. You’ll also want a sturdy ladder or extension pole to reach high spots safely. Depending on your ceiling materials, mild cleaners or a simple water-and-vinegar solution can help tackle stains without harsh chemicals. By choosing the right cleaning tools based on your ceiling’s composition, you’ll save time and keep your space looking fresh without hassle.
Prepare the Room for Cleaning
Before you start cleaning, move furniture and decor out of the way to avoid damage or mess. Cover the floors and any remaining surfaces with drop cloths or plastic sheets for protection. Taking these steps will make the process safer and easier.
Clear Furniture and Decor
To get your ceiling cleaning started smoothly, you’ll want to clear the room of furniture and decor. This step frees up space, making your movement unrestricted and your cleaning process more efficient. Begin by evaluating your current furniture arrangement and decide what can be temporarily moved or rearranged. Next, pack away smaller decor pieces safely to avoid damage.
Here’s a quick checklist to help you clear the space:
- Shift large furniture to the center or another room, if possible.
- Use sturdy boxes or bins for decor storage, labeling them for easy unpacking.
- Remove wall hangings or light fixtures that might get in your way.
Protect Floors and Surfaces
Three simple steps can protect your floors and surfaces from dust, dirt, and cleaning solutions during ceiling cleaning. First, lay down floor coverings like drop cloths or plastic sheets to shield hardwood, carpet, or tile from spills and debris. Make sure they cover the entire work area for complete surface protection. Second, secure the coverings with painter’s tape to prevent slipping, giving you the freedom to move without worrying about accidents. Finally, use masking or painter’s tape on baseboards and any nearby surfaces to keep cleaning agents from causing damage. By taking these straightforward precautions, you’ll preserve your room’s integrity and enjoy a hassle-free ceiling cleaning experience without stressing about stains or scratches on your floors and furnishings.
Remove Dust and Cobwebs
Although it might seem like a small detail, removing dust and cobwebs from your ceiling is essential for maintaining a clean and healthy home. Taking this step frees your space from hidden grime and helps your ceiling maintenance routine run smoothly. You’ll want the right cleaning tools: a long-handled duster, microfiber cloths, and a vacuum with a brush attachment work best. When you start, remember:
- Gently sweep away cobwebs without damaging the surface.
- Use slow, deliberate motions to catch dust without spreading it.
- Check corners and light fixtures where buildup is common.
Clean Textured or Popcorn Ceilings
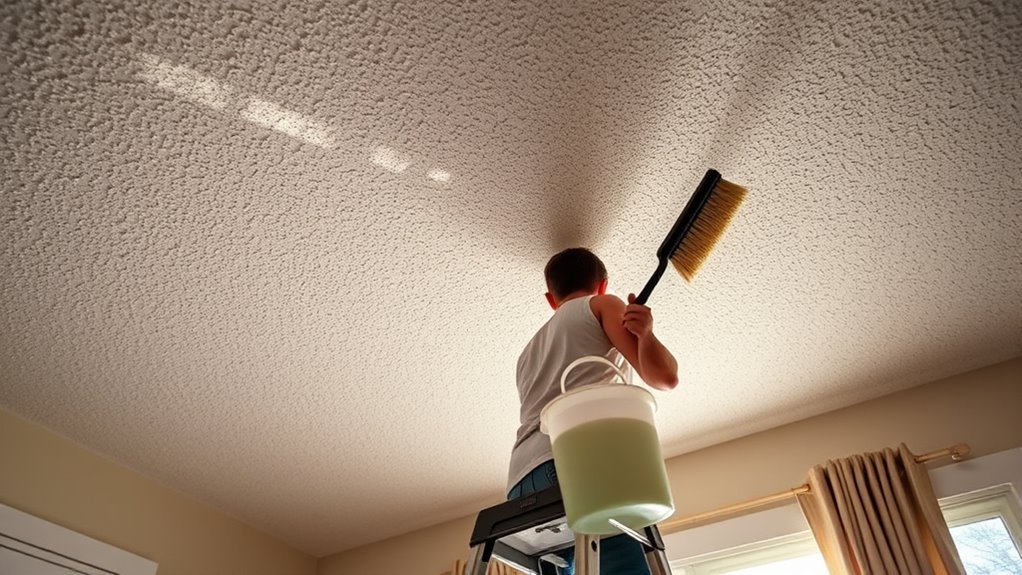
Once you’ve cleared away dust and cobwebs, it’s time to focus on cleaning textured or popcorn ceilings, which require a bit more care. Avoid harsh scrubbing to keep the texture intact. Use a soft brush or vacuum with a brush attachment for textured ceiling cleaning, gently removing dirt.
For popcorn ceiling maintenance, lightly mist a sponge with water and mild detergent, then dab softly. Avoid soaking the ceiling to prevent damage.
| Step | Tip |
|---|---|
| Dust Removal | Use a vacuum brush attachment |
| Spot Cleaning | Dab gently with a damp sponge |
| Avoid Moisture | Prevent over-wetting to keep texture safe |
| Routine Maintenance | Clean twice a year for best results |
Following these steps lets you maintain your ceilings freely and effectively.
Clean Smooth Painted Ceilings
When cleaning smooth painted ceilings, you’ll want to gather the right supplies like a soft sponge, mild detergent, and a sturdy ladder. Using gentle, circular motions helps avoid damaging the paint while removing dirt and stains. Let’s explore the best techniques to keep your ceiling looking fresh without causing harm.
Necessary Cleaning Supplies
To clean smooth painted ceilings effectively, you’ll need a few essential supplies that make the job easier and prevent damage. Choosing the right cleaning tools is key to preserving your ceiling materials while freeing you from unnecessary hassle. Here’s what you should have on hand:
- A soft microfiber mop or cloth to gently lift dust and dirt without scratching.
- A mild, non-abrasive cleaner diluted in water to avoid harming the paint finish.
- A sturdy, extendable pole or ladder to safely reach those high spots without strain.
With these supplies, you’ll maintain your ceiling’s smooth surface and enjoy the freedom to clean confidently and efficiently. Using the right tools guarantees your efforts pay off without risking damage or exhaustion.
Effective Cleaning Techniques
Cleaning smooth painted ceilings requires a gentle touch and the right approach to avoid damage. First, identify your ceiling materials to choose suitable cleaning solutions—water mixed with mild dish soap usually works well. Avoid harsh chemicals that can strip paint or cause discoloration. Use a soft sponge or microfiber cloth dampened, not soaked, to gently wipe the surface. Start at the edges and work your way inward, using circular motions to lift dirt without scrubbing aggressively. For stubborn spots, apply a bit more cleaning solution but rinse frequently to prevent residue. Always test a small area first to guarantee compatibility. By treating your ceiling with care and the right techniques, you maintain its look while enjoying the freedom of a fresh, clean space.
Address Stubborn Stains and Spots
How do you tackle those stubborn stains and spots that refuse to come off your ceiling? The key lies in choosing the right stain removal techniques and cleaning solutions that empower you to reclaim your space effortlessly. Start by evaluating the stain type, then pick a gentle approach to avoid damage. Remember these essentials:
- Test a small area with your cleaning solution to verify it won’t harm the ceiling surface.
- Use a soft sponge or cloth to apply the solution, gently working in circular motions.
- For tougher spots, let the solution sit briefly before wiping, but never scrub aggressively.
Rinse and Dry the Ceiling
Once you’ve treated those stubborn stains, it’s important to remove any leftover cleaning solution to prevent residue buildup. Grab a clean, damp cloth or sponge and gently rinse the ceiling, paying attention to your specific ceiling materials—some may be more delicate and require less moisture. Avoid soaking the surface to protect finishes and avoid damage. After rinsing, use a dry microfiber cloth or a soft towel to carefully dry the ceiling. This step helps prevent streaks and water spots, leaving your ceiling looking fresh and spotless. Remember, the effectiveness of rinsing and drying depends on your cleaning frequency; sticking to a regular schedule makes this process easier and keeps your ceilings free from grime without heavy scrubbing.
Maintain Clean Ceilings Regularly
Although it might seem like a chore, keeping your ceilings clean regularly saves you time and effort in the long run. Embracing ceiling maintenance as part of your routine helps you enjoy a fresher, brighter space without overwhelming work. To stay on top of regular upkeep, focus on these key practices:
Regular ceiling cleaning may seem tedious but actually saves time and keeps your space fresh and bright effortlessly.
- Dust your ceilings every few weeks to prevent buildup.
- Check for stains or spots and address them immediately.
- Schedule a deeper clean every few months to maintain appearance.
This simple routine gives you freedom from last-minute scrambles and keeps your ceiling looking its best. By committing to regular upkeep, you avoid stubborn grime and costly repairs. Remember, consistent care is the easiest path to a clean, inviting home environment where you feel truly free.
Frequently Asked Questions
Can I Use a Pressure Washer to Clean Ceilings?
You might be tempted to use a pressure washer to clean ceilings, but you should be careful. Pressure washer safety is essential because the powerful spray can easily cause ceiling damage, especially on delicate surfaces. If you want freedom to clean effectively without risking harm, consider gentler methods first. Using a pressure washer indoors could lead to water damage or paint stripping, so weigh your options before diving in.
How Often Should I Repaint Ceilings to Keep Them Clean?
You should consider repainting your ceilings every 5 to 7 years to keep them fresh and clean, depending on ceiling maintenance and paint durability. If you live in a humid area or your ceilings get dirty quickly, you might want to do it sooner. Choosing high-quality paint can extend durability, giving you more freedom from constant upkeep. Keep an eye out for stains or peeling—that’s your cue to refresh and maintain your space’s vibe.
What Are the Best Ceiling Cleaning Methods for Mold Prevention?
Want to keep your ceilings mold-free and fresh? You’ll want to use effective cleaning solutions like a mix of water and vinegar or a mild bleach solution for mold prevention. Regularly wiping down your ceilings and ensuring good ventilation helps stop mold before it starts. Don’t forget to address any leaks or moisture issues promptly—after all, freedom from mold means freedom to enjoy your space without worry!
Are There Any Ceiling Materials That Should Never Be Wet-Cleaned?
You should avoid wet cleaning certain ceiling materials like delicate plaster, untreated wood, and acoustic tiles since water can damage them or cause warping. Instead, stick to dry cleaning methods such as dusting or vacuuming with a soft brush attachment. This way, you keep your ceilings safe while enjoying the freedom to maintain them without worrying about ruining the materials. Dry cleaning is the best choice when you want to protect sensitive ceiling surfaces.
Can Ceiling Cleaning Improve Indoor Air Quality?
Absolutely, cleaning your ceiling can boost indoor air quality. When you remove ceiling dust, you’re cutting down on allergens and particles that float around, making it easier to breathe freely. It’s like a natural form of air purification without any gadgets. Keeping your ceiling dust-free lets you enjoy fresher air and a healthier space, giving you the freedom to live comfortably without worrying about hidden pollutants.


