Step-By-Step Guide to Cleaning Printer
To clean your printer, first identify its type—inkjet or laser—to choose the right method. Power it off and unplug all cables. Use a soft cloth and gentle cleaners for the exterior, then carefully remove ink or toner cartridges to wipe them with distilled water or avoid shaking. Clear any paper jams by pulling paper gently. Clean rollers with a damp cloth and reassemble everything snugly. You’ll keep your printer working well, and there’s more to learn to maintain it perfectly.
Understanding Your Printer Type
Before you start cleaning, it’s important to know what kind of printer you have. Inkjet printers and laser printers require different care, and understanding your model frees you from guesswork. Inkjet printers use liquid ink sprayed onto paper, so they can clog if not cleaned properly. You’ll want to handle ink cartridges gently and avoid harsh chemicals. Laser printers, on the other hand, use toner powder fused with heat. Their cleaning involves managing toner residue and dust but avoiding moisture. Knowing your printer type empowers you to clean effectively without risking damage. This awareness lets you maintain your device’s performance and extend its life, giving you the freedom to print with confidence whenever you need.
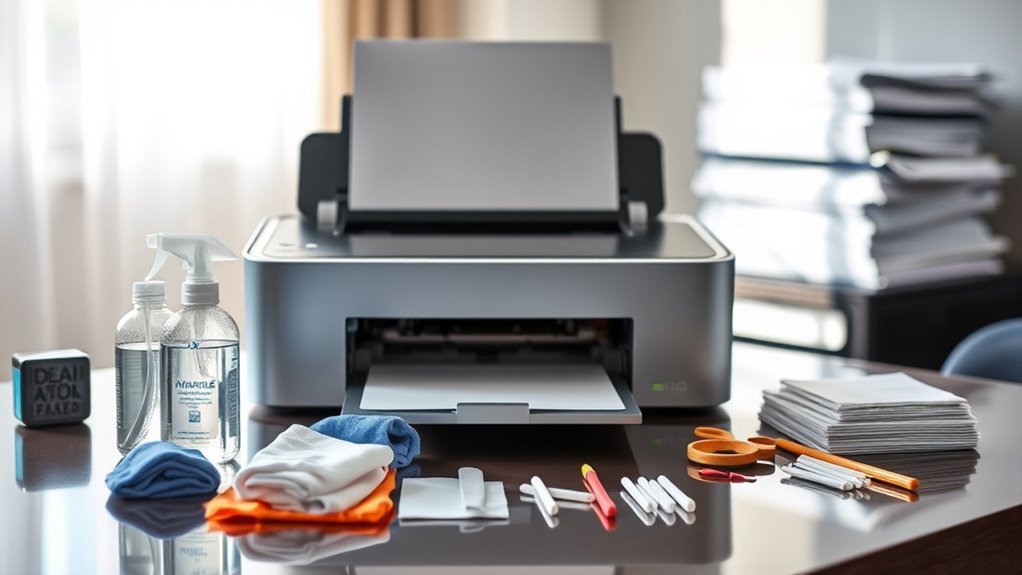
Gathering Necessary Cleaning Supplies
Before you start cleaning your printer, you’ll need to gather a few essential tools like microfiber cloths and cotton swabs. It’s also important to choose the right cleaning solutions that won’t damage your printer’s components. Having these supplies ready will make the process smoother and more effective.
Essential Cleaning Tools
Gathering the right cleaning supplies is essential to keep your printer running smoothly and extend its lifespan. To free yourself from unnecessary hassles, you’ll want a few key maintenance tools on hand. Start with lint-free microfiber cloths—they’re perfect for wiping away dust without scratching delicate parts. Cotton swabs help you reach tight spaces, while a small, soft-bristled brush can loosen stubborn debris. Don’t forget a can of compressed air to blow out dust from hard-to-reach areas without touching sensitive components. These cleaning supplies form the core of your printer upkeep kit, empowering you to maintain your device effortlessly. Having these tools ready means you’re in control, able to keep your printer clean and functioning without relying on costly technician visits.
Recommended Cleaning Solutions
While having the right tools is important, choosing the proper cleaning solutions is just as essential to keep your printer in top shape. You want solutions that effectively remove dust, ink residue, and grime without damaging delicate parts. Luckily, there are plenty of eco friendly options available that protect both your device and the environment. Look for alcohol-free, biodegradable cleaning solutions designed specifically for electronics. These minimize harmful fumes and reduce waste. Avoid harsh chemicals that can eat away at plastic or metal components. Using the right cleaning solutions not only extends the life of your printer but also gives you peace of mind knowing you’re caring for it responsibly. So, gather your eco friendly cleaning solutions and get ready to maintain your printer with freedom and confidence.
Powering Down and Unplugging the Printer
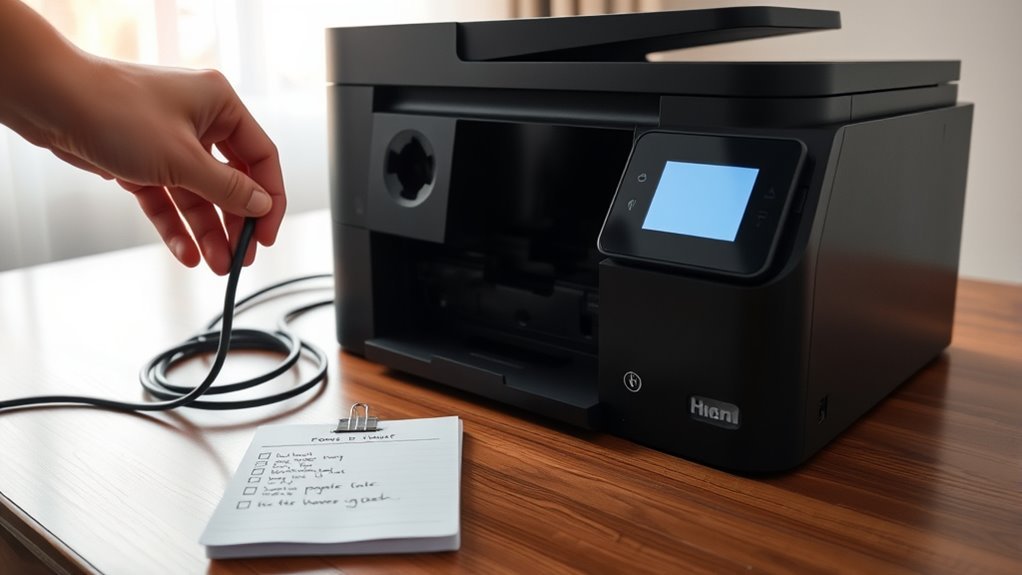
Before you start cleaning, make sure your printer is completely turned off. Unplug the power cord from the outlet to avoid any electrical hazards. Don’t forget to disconnect any other cables connected to the printer as well.
Ensure Printer Is Off
To start cleaning your printer safely, you’ll need to make certain it’s completely powered off. This step is essential for printer safety and effective power management. By shutting down your device properly, you prevent any electrical hazards and avoid damaging sensitive internal components. Don’t just hit the power button—wait until the printer fully powers down, indicated by all lights turning off. This guarantees it’s not in a standby mode that could activate during cleaning. Taking control of your printer’s power state gives you the freedom to clean confidently without risking your machine or yourself. Prioritizing this simple yet important step sets the foundation for a smooth, safe cleaning process every time.
Disconnect Power and Cables
Once your printer is completely off, you’ll want to unplug it from the power source and disconnect any attached cables. This step is essential for printer safety, protecting both you and your device from electrical hazards during cleaning. Take a moment to gently remove USB, Ethernet, or other cords, avoiding any yanks that could damage ports or cables. As you disconnect, consider organizing your cables—use twist ties or Velcro straps to keep them neat and tangle-free. Good cable organization not only simplifies reconnection but also reduces clutter, giving you the freedom to move around easily while cleaning. By carefully powering down and unplugging, you’re setting a safe, efficient stage for maintaining your printer without risk or hassle.
Cleaning the Exterior Surfaces
A clean printer not only looks better but also helps maintain its performance. When tackling the exterior surfaces, you want to use gentle cleaning techniques to avoid damage. Start by wiping down the outside with a soft, lint-free cloth slightly dampened with water or a mild soap solution. Avoid harsh chemicals that can strip the finish or seep inside. Pay attention to buttons, vents, and crevices where dust tends to accumulate. For stubborn spots, a cotton swab dipped in isopropyl alcohol works wonders without risking harm. Keep liquids away from openings and never spray directly onto the printer. By regularly cleaning the exterior surfaces with these simple techniques, you free your printer from dust and grime, helping it run smoother and last longer without hassle.
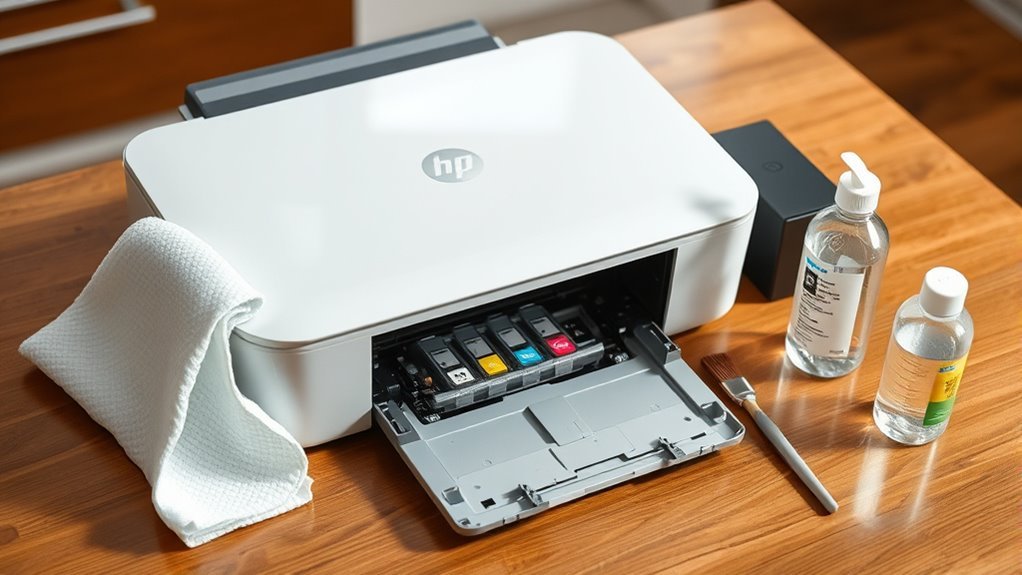
Removing and Cleaning the Ink or Toner Cartridges
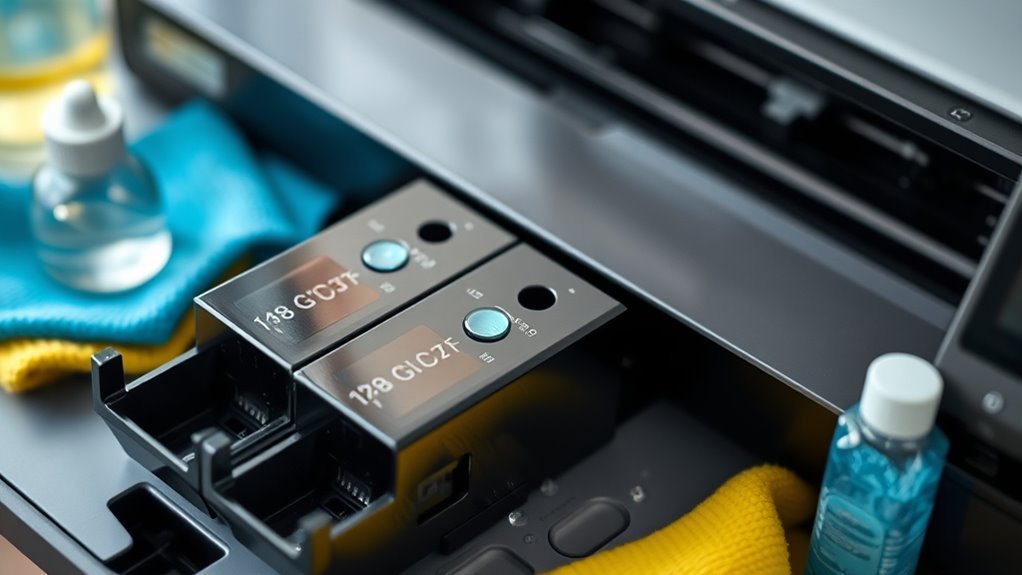
Although it might seem intimidating, removing and cleaning your printer’s ink or toner cartridges is a straightforward process you can handle yourself. Start by turning off your printer and unplugging it for safety. Open the cartridge access door and gently lift out the cartridges. For ink cartridge maintenance, use a lint-free cloth slightly dampened with distilled water to wipe away any dried ink or dust. Toner cartridge replacement is simple, too—just remove the old cartridge carefully and avoid shaking it to prevent toner spills. Clean the cartridge slot with a dry cloth before reinserting the cartridges. Regularly performing these steps guarantees smooth printing and extends your printer’s life, giving you the freedom to print without interruptions or costly repairs.
Cleaning the Print Heads or Nozzles
Three common issues with print quality stem from clogged or dirty print heads and nozzles. To keep your printer running smoothly and maintain your freedom from frustration, regular print head maintenance is essential. You’ll want to master effective nozzle cleaning techniques to restore sharp, vibrant prints.
Here’s what to focus on:
- Identify clogged nozzles by printing a test page and looking for gaps or streaks.
- Use the printer’s built-in cleaning function for a quick, automated flush.
- For stubborn clogs, gently clean the print head with a lint-free cloth and isopropyl alcohol.
Clearing Paper Jams and Debris From Paper Path
When you notice a paper jam, start by locating exactly where the paper is stuck in the printer. Carefully remove any jammed paper without tearing it to avoid further issues. Don’t forget to clean the rollers and guides to keep your paper path clear and your printer running smoothly.
Identifying Paper Jam Locations
Where exactly do paper jams usually happen inside your printer? Pinpointing the jam location is key to quick paper jam identification and effective troubleshooting techniques. Typically, jams occur in these spots:
- Input Tray: Paper can misfeed or stack unevenly, causing a block.
- Inside the Printer Body: Sheets may crumple or tear while passing through rollers.
- Output Area: Paper might get stuck as it exits, especially if stacked improperly.
Knowing these common trouble zones frees you to tackle jams confidently without guesswork. By focusing on these areas, you can swiftly identify where the paper is stuck and take the right steps to restore your printer’s smooth operation. This approach empowers you to maintain your printer efficiently, ensuring freedom from interruptions every time you print.
Removing Stuck Paper Safely
Clearing out stuck paper can be straightforward if you handle it carefully to avoid damaging your printer. First, turn off your printer and unplug it to guarantee safety. Gently pull the jammed paper in the direction of the paper path to prevent tearing. Avoid yanking or forcing it out, especially if you’re dealing with delicate paper types like photo or card stock. Check the printer settings to confirm they match your paper type; incorrect settings often cause jams. Remove any small scraps or debris you spot along the path. If you can’t access the jam easily, consult your printer manual for specific instructions. Taking these steps will free your printer from jams without compromising its mechanics, giving you the freedom to print smoothly again.
Cleaning Rollers and Guides
After you’ve removed any stuck paper, the next step is to clean the rollers and guides inside your printer. Proper roller maintenance guarantees smooth paper feeding, preventing future jams that can disrupt your workflow. Don’t forget guide lubrication; it keeps the paper path running freely and quietly. Here’s how to handle it:
- Use a lint-free cloth dampened with water or isopropyl alcohol to wipe rollers, removing dust and debris.
- Check the guides for any buildup and apply a small amount of silicone-based lubricant if recommended by your printer’s manual.
- Rotate the rollers manually while cleaning to reach all surfaces evenly.
Taking these steps gives you control over your printer’s performance, letting you print freely without interruptions.
Wiping the Rollers and Feed Mechanism
Before you start wiping the rollers and feed mechanism, make sure your printer is turned off and unplugged to avoid any damage. Roller maintenance is essential for smooth paper feeding and avoiding jams. Grab a lint-free cloth slightly dampened with water or isopropyl alcohol. Gently wipe each roller, rotating them manually to clean every part. Focus on the feed mechanism too—it’s the heart of your printer’s paper movement. Dirt and dust can build up here, causing misfeeds or stuck paper. Avoid using harsh chemicals or soaking the components; a light touch is key. Regularly wiping these parts frees you from frustrating print errors, giving you the freedom to print confidently whenever you need. Keep your printer running smoothly with this simple, effective care.
Reassembling and Testing the Printer
Once you’ve carefully wiped the rollers and feed mechanism, it’s time to put your printer back together. Getting the reassembly right is key to restoring full printer functionality. Use precise reassembly techniques to guarantee every part fits snugly and securely. Take your time to align components properly, avoiding any forced movements that could cause damage.
Here’s what to focus on during reassembly:
- Securely reinstall the toner or ink cartridges without touching sensitive areas
- Snap all covers and panels back into place, guaranteeing no gaps
- Reconnect any cables or wires firmly to maintain electrical connections
After reassembly, power on your printer and run a test print to confirm everything’s working smoothly. You’ll enjoy your printer’s freedom to print clearly again!
Regular Maintenance Tips to Keep Your Printer Clean
Although reassembling your printer correctly is essential, maintaining its cleanliness regularly will help prevent many common issues. To enjoy hassle-free printing, set a cleaning frequency that fits your usage—weekly for heavy users, monthly for occasional printing. Stick to a maintenance schedule to keep dust, ink buildup, and paper debris from causing jams or poor print quality. Use gentle tools like microfiber cloths and compressed air to clean delicate parts without damage. Don’t forget to wipe the exterior and clean the rollers to guarantee smooth paper feeding. By committing to these simple, consistent steps, you’ll free yourself from unexpected breakdowns and extend your printer’s life, giving you the freedom to print whenever you want without worry.
Frequently Asked Questions
How Often Should I Replace My Printer’S Ink or Toner Cartridges?
Think of your printer’s ink replacement frequency like the fuel gauge on a road trip—it’s all about knowing when to refill to keep moving freely. You’ll want to replace cartridges based on their lifespan, which varies with usage. If you print often, expect to swap ink or toner more frequently to avoid unexpected stops. Staying aware lets you maintain your printer’s flow without getting stuck, giving you the freedom to print whenever inspiration strikes.
Can Using Third-Party Ink Cartridges Damage My Printer?
You might be tempted to use third-party ink cartridges to save money, but you should know they can affect ink quality and potentially harm your printer. Some third-party inks may clog nozzles or cause poor printouts. Plus, using them might void your warranty, leaving you unprotected if something goes wrong. If you value freedom, just weigh the risks and benefits carefully before deciding to go third-party.
What Should I Do if My Printer Software Won’T Recognize the Cartridge?
When your printer software won’t recognize the cartridge, it’s like a locked door blocking your creative flow. First, check for cartridge compatibility issues—non-genuine or expired cartridges often cause this. Then, run through troubleshooting steps: remove and reinstall the cartridge, update your printer drivers, and restart your device. If freedom means hassle-free printing, ensuring the cartridge matches your printer’s specs is key to unblocking smooth operation and endless creativity.
How Do I Update My Printer’S Firmware or Drivers?
If you want your printer to run smoothly, you’ll need to check for printer firmware and driver updates regularly. Head to your printer manufacturer’s official website, find your model, and download the latest software. Installing these updates can enable new features and fix bugs. Don’t worry—you’ve got control over when and how you update, giving you the freedom to keep your printer working just the way you want.
Is It Safe to Clean the Printer With Compressed Air?
When it comes to giving your printer a little freshening up, using compressed air can be a gentle breeze if done carefully. It’s a clever addition to your printer maintenance tips but should be used sparingly to avoid pushing debris further inside. Keep your cleaning frequency moderate—too often might ruffle delicate components, while too little can invite trouble. This balance lets you enjoy the freedom of smooth printing without unnecessary risks.


