Weekly Cleaning Routine for Printer
To keep your printer running smoothly, start by powering it off and unplugging it. Remove any paper and cartridges carefully. Use a soft cloth and mild cleaner to wipe the exterior, then clean the print head and cartridges with isopropyl alcohol. Clear the paper paths, trays, and feed rollers of dust and debris. Reassemble everything securely and run a test print. Following these steps weekly guarantees peak performance and reliability; more detailed tips can help you maintain your printer even better.
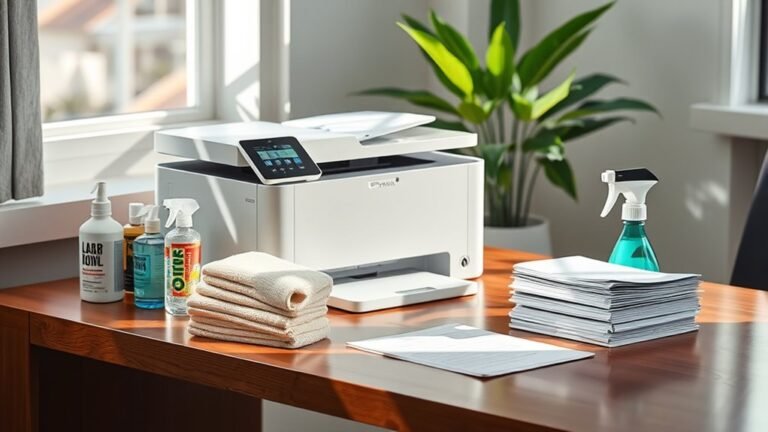
Gather Necessary Cleaning Supplies
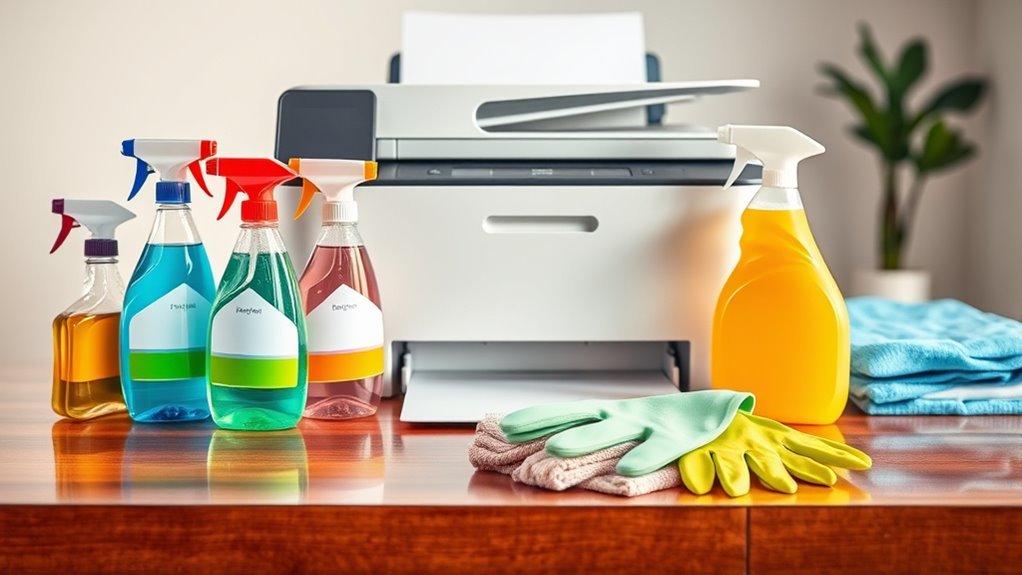
Before you begin cleaning your printer, you’ll need to gather the necessary supplies to guarantee an effective and safe process. Start by collecting essential cleaning tools such as microfiber cloths, lint-free wipes, and soft brushes. These help remove dust and debris without damaging sensitive components. Include maintenance supplies like isopropyl alcohol for disinfecting and cleaning ink smudges, along with compressed air to clear out hard-to-reach areas. Avoid using harsh chemicals that may harm your printer. Having these tools ready guarantees you can perform thorough maintenance quickly, minimizing downtime. Organizing your cleaning tools and maintenance supplies beforehand gives you the freedom to maintain your printer efficiently, keeping it in prime condition for reliable performance every week. Using non-abrasive cleaners and gentle materials is key to protecting delicate printer parts during cleaning.
Power Down and Unplug the Printer
To guarantee your safety and protect your printer’s internal components, start by powering down the device completely. This step is essential for printer safety and helps avoid electrical hazards. Once off, unplug the printer from the power source to eliminate any risk of electric shock or damage while cleaning. Always perform these electrical precautions before proceeding to any maintenance task. Regularly following these safety measures ensures a healthier workspace and prevents damage to your equipment.
| Step | Action | Reason |
|---|---|---|
| 1 | Power off the printer | Prevents electrical damage |
| 2 | Wait for complete shutdown | Ascertains internal components rest |
| 3 | Unplug power cable | Eliminates shock risk |
| 4 | Avoid touching cables | Minimizes accidental discharge |
| 5 | Confirm device is off | Verifies safety before cleaning |
Follow these steps to maintain freedom from electrical issues.
Remove Paper and Cartridges
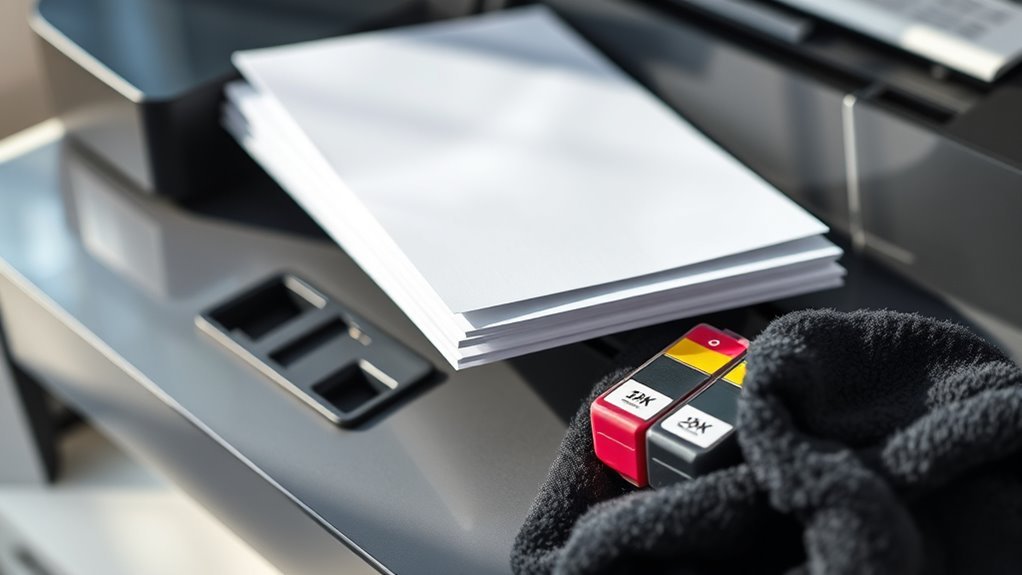
Before you start cleaning, carefully remove any paper from the tray to prevent jams or damage. Next, handle the cartridges gently, avoiding contact with the nozzles to maintain print quality. Following these steps guarantees a smooth cleaning process and protects your printer’s components.
Paper Removal Steps
Start by carefully removing any loose or jammed paper from the printer to prevent damage. This step is essential to avoid printer jams and maintain smooth operation. Always check for different paper types, as using the wrong one may cause frequent jams. Handle paper gently and pull it out slowly to prevent tearing.
| Step | Action | Tip |
|---|---|---|
| 1 | Open printer cover | Confirm power is off |
| 2 | Gently extract jammed paper | Pull paper slowly and evenly |
| 3 | Inspect paper tray | Use recommended paper types |
Cartridge Handling Tips
Handling printer cartridges properly involves three key steps to guarantee both your device’s performance and longevity. First, remove any jammed or leftover paper carefully to avoid damaging the cartridge or printer components. Next, gently take out the cartridges, holding them by their sides to prevent smudging or contact with the ink nozzles. Finally, store cartridges in a cool, dry place if not replacing them immediately to preserve ink quality and extend cartridge lifespan. Avoid exposing cartridges to direct sunlight or extreme temperatures, as this can degrade ink and reduce print quality. Following these steps guarantees you maintain ideal cartridge function, allowing your printer to deliver consistent, high-quality prints while giving you the freedom to focus on your tasks without interruptions.
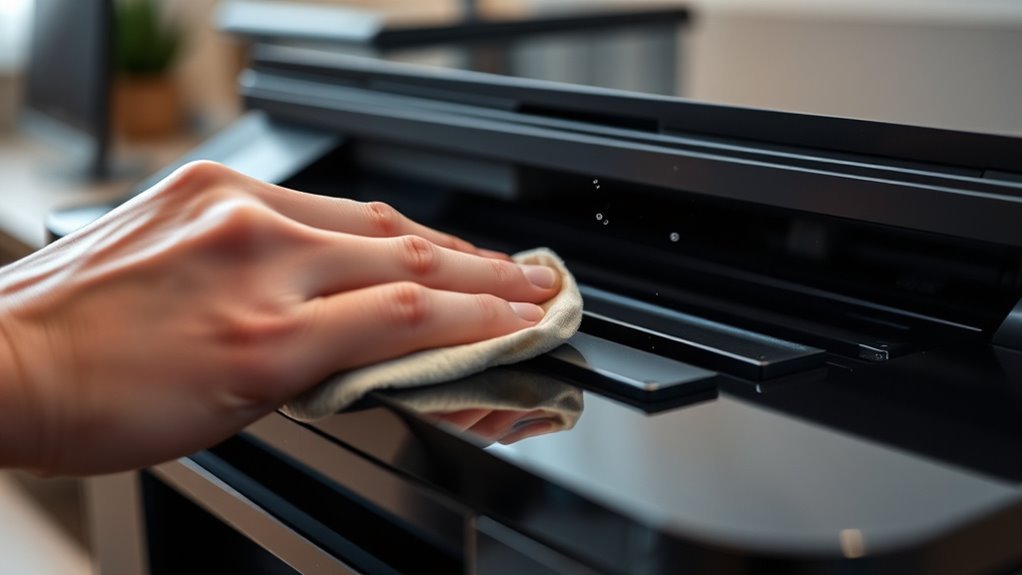
Clean the Exterior Surfaces
A clean exterior not only improves your printer’s appearance but also helps prevent dust and debris from entering its internal components. Start by unplugging the printer to guarantee safety. Use a soft, lint-free cloth for exterior dusting, gently removing particles from all surfaces, including vents and control panels. Avoid harsh chemicals; instead, opt for a mild cleaning solution or water. After dusting, proceed with surface polishing to restore a sleek finish and protect the casing from wear. Pay attention to crevices and buttons where dust can accumulate. Regular exterior cleaning extends your printer’s lifespan and keeps it running smoothly without interruptions. By maintaining these simple habits, you gain freedom from frequent breakdowns and enjoy consistent performance day after day.
Wipe the Paper Feed Rollers
Confirm your printer reliably feeds paper by regularly wiping the paper feed rollers. This essential step prevents jams and guarantees smooth operation. Use a lint-free cloth dampened with water or isopropyl alcohol for effective roller maintenance. Follow cleaning frequency recommendations to keep your printer performing at its best. Regular maintenance helps avoid common issues such as paper jams and misfeeds.
Clean the Print Head and Cartridges
You’ll want to clean the print head regularly to maintain print quality and prevent ink clogs. Start by following the manufacturer’s steps for removing and cleaning both the print head and cartridges. Consistent cleaning helps avoid blockages that can disrupt your printer’s performance.
Importance of Print Head
Print heads play an essential role in ensuring your printer produces sharp, clear images and text. Proper print head maintenance directly impacts ink quality and overall print performance. When you regularly clean and maintain the print head, you prevent clogs and ink buildup that can cause streaks or faded prints. Neglecting this vital component can lead to costly repairs or reduced printer lifespan. By staying on top of print head care, you maintain consistent ink flow and vibrant colors, ensuring your documents reflect professionalism. Taking this simple step in your weekly cleaning routine frees you from print quality issues and unexpected downtime, giving you the reliability and freedom to print whatever you need, whenever you need it.
Cartridge Cleaning Steps
Cleaning the print head and cartridges involves a few essential steps that help maintain ideal ink flow and prevent clogs. First, power off your printer and remove the cartridges carefully, noting the cartridge types to handle each correctly. Use a lint-free cloth slightly dampened with distilled water or isopropyl alcohol to gently wipe the nozzles and contacts. Avoid harsh chemicals that may damage ink quality. For stubborn residue, soak cartridges briefly in warm water, then dry thoroughly. Next, clean the print head by running the printer’s built-in cleaning utility, ensuring any dried ink is flushed out. After cleaning, reinstall the cartridges securely. Regular attention to these steps preserves cartridge performance, extends printer lifespan, and guarantees consistent print quality without restricting your freedom to print anytime.
Preventing Ink Clogs
Maintaining your printer’s print head and cartridges as described earlier helps reduce the risk of ink clogs that can disrupt your printing. To prevent ink clogs effectively, make it a habit to clean the print head regularly using your printer’s built-in cleaning function or gently wipe it with a lint-free cloth dampened with distilled water. Avoid letting cartridges sit unused for long periods, as dried ink can block nozzles. Follow ink maintenance tips such as using high-quality ink and storing cartridges properly when not in use. These steps guarantee smooth ink flow and enhance printer performance by minimizing smudges and streaks. By incorporating this routine, you maintain freedom from frustrating print errors and extend your printer’s lifespan with minimal effort.
Clear Paper Paths and Trays
A crucial step in keeping your printer running smoothly is to clear the paper paths and trays regularly. By doing this, you reduce the risk of paper jams that can halt your workflow and cause frustration. Start by removing the paper tray and checking for any misaligned sheets or dust buildup that could obstruct smooth feeding. Regular tray maintenance guarantees your paper stacks evenly, preventing feeding errors. Next, inspect the paper path for any obstacles or debris that might cause jams during printing. Clearing these areas assures your printer operates without interruption, giving you the freedom to print efficiently. Maintaining clean paths and trays not only boosts performance but also extends your printer’s lifespan, supporting your need for reliable, hassle-free printing every week.
Inspect and Remove Paper Debris
Once you’ve cleared the paper paths and trays, take a close look for any small bits of paper or debris that might be stuck inside. These tiny fragments can cause paper jams or disrupt smooth printing. Use a flashlight if needed to inspect hard-to-see areas thoroughly. Gently remove any debris with tweezers or a soft brush, avoiding damage to sensitive components. This step is essential in your weekly maintenance tips to keep your printer running freely and efficiently. Ignoring paper debris can lead to frequent jams, wasting time and resources. By routinely inspecting and removing these particles, you reduce the risk of malfunctions and extend your printer’s lifespan. Staying proactive with this simple task helps you maintain freedom from unexpected printing interruptions.
Reassemble and Test the Printer
Carefully reassemble your printer by putting all parts and covers back in their proper places, ensuring each component clicks or fits securely. Use precise reassembly techniques to avoid misalignment or loose connections, which can compromise printer functionality. Take your time to align trays, cartridges, and panels correctly, as this guarantees smooth operation. Once reassembled, power on the printer and initiate a test print to verify everything works as expected. Pay attention to any unusual noises or error messages that might indicate incomplete reassembly or lingering issues. By methodically reassembling and testing, you maintain your printer’s peak performance and extend its lifespan. This routine gives you the freedom to rely on your device without interruptions, ensuring consistent, high-quality printing results every time. Additionally, using a soft bristle brush can help clean small crevices during reassembly, preventing dust buildup that might affect printer performance.
Frequently Asked Questions
How Often Should I Replace My Printer Cartridges?
Imagine you print daily reports and notice fading colors after a week. You’ll want to replace your cartridges based on their lifespan, which varies by usage and printer type. Regular cartridge replacement is vital for effective printer maintenance and guarantees consistent print quality. Typically, cartridges last several hundred pages, but monitoring print clarity helps you decide. Staying on top of this keeps your printer running smoothly and frees you from unexpected disruptions.
Can I Use Household Cleaners on My Printer?
You shouldn’t use household cleaners on your printer because they can damage sensitive parts. For effective printer cleaning, stick to safe materials like a soft, lint-free cloth slightly dampened with water or isopropyl alcohol. Avoid harsh chemicals, as they might harm the internal components or finish. Using the right products helps keep your printer in great shape without risking damage, giving you the freedom to print confidently and efficiently.
What Should I Do if My Printer Jams Frequently?
Think of your printer as a well-tuned orchestra; each part must play its role flawlessly. If it jams frequently, you need to become the conductor of printer maintenance tips. Regularly clear paper paths and use quality paper to avoid misfeeds. Implement jam prevention techniques like aligning paper properly and keeping the rollers clean. By mastering these steps, you’ll free yourself from constant interruptions and keep your printing flowing smoothly.
How Do I Update My Printer’S Firmware?
To update your printer’s firmware, first check the manufacturer’s website or your printer software for available firmware updates. Download the latest version compatible with your model. Connect your printer to your computer or network, then follow the prompts within the printer software to install the update. Keeping your firmware updated guarantees your device runs smoothly and securely, giving you the freedom to print without interruptions or compatibility issues.
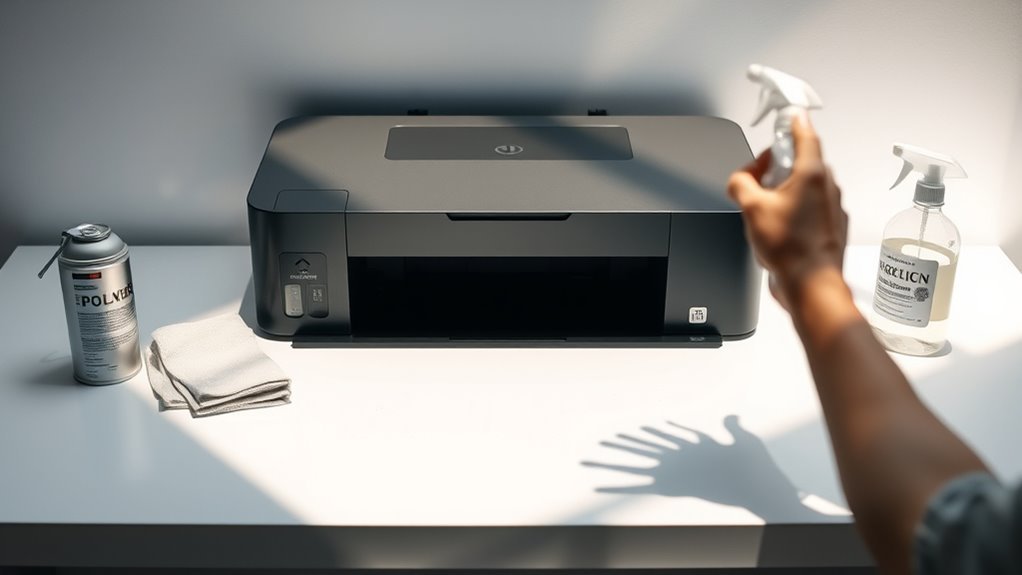
Is It Safe to Clean the Printer With Compressed Air?
Think of your printer as a delicate garden; compressed air is like a gust of wind—use it carefully. Compressed air safety is essential; too strong a blast can damage sensitive parts or push debris further inside. For effective printer maintenance, hold the can upright and spray in short bursts, avoiding direct contact with components. Following these tips keeps your printer healthy and guarantees your freedom from unexpected breakdowns.