How to Properly Clean an HVLP Paint Gun
Cleaning an HVLP paint gun is essential for maintaining its performance and longevity. To clean your gun effectively, you need to disassemble it, flush it with the appropriate solvent, and ensure all parts are free of paint residue. This guide will provide you with step-by-step instructions and tips to tackle the cleaning process efficiently, ensuring that your HVLP paint gun remains in optimal condition for your next painting project.
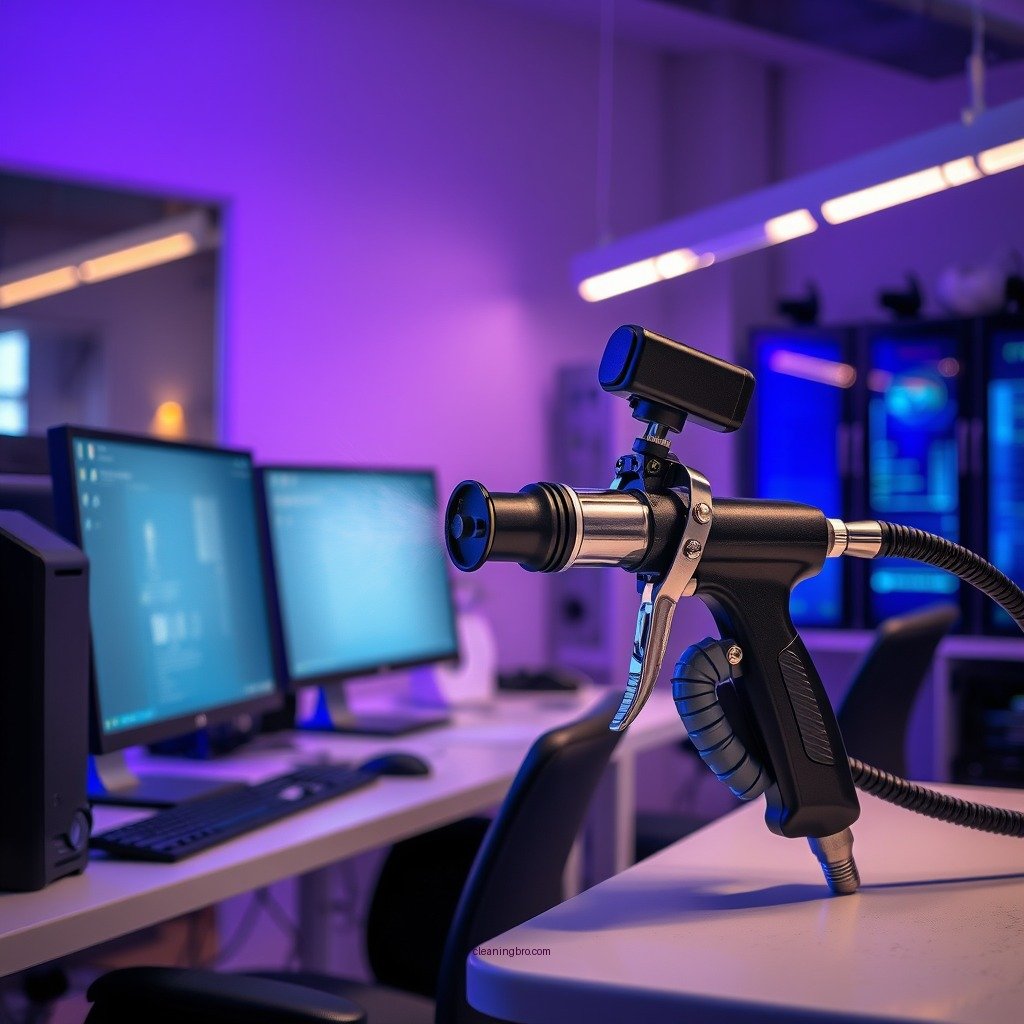
Understanding Your HVLP Paint Gun

To properly clean an HVLP (High Volume Low Pressure) paint gun, it’s crucial to understand its components. The main parts include the nozzle, cup, and air cap. Each of these components plays a vital role in the spraying process, and paint residue can significantly impact their efficiency. The nozzle controls the flow and atomization of the paint, the cup holds the paint, and the air cap directs airflow to create a fine spray.
Moreover, knowing the type of paint you used is equally important. Different paint types, such as water-based, oil-based, or solvent-based paints, require specific cleaning solvents and methods. For instance, water-based paints can typically be cleaned with water, while solvent-based paints necessitate the use of mineral spirits or specialized cleaning agents. Understanding these elements will make the cleaning process more effective and efficient.
Essential Cleaning Supplies


Before you start cleaning your HVLP paint gun, gather the necessary tools and supplies. Here’s a list of essential items you will need:
– Cleaning Solvent: Choose a solvent based on the type of paint used. For water-based paints, plain water will suffice. For oil-based or solvent-based paints, use mineral spirits or a dedicated paint gun cleaner.
– Brushes: A variety of brushes, including a small detail brush and a larger cleaning brush, will help you access the hard-to-reach areas of your paint gun.
– Lint-free Cloths: These are crucial for wiping down surfaces and preventing any lint from being left behind.
– Protective Gear: Gloves and goggles are recommended to protect your skin and eyes from harsh chemicals and paint particles.
Using the right cleaning supplies not only makes the job easier but also prolongs the life of your paint gun by preventing buildup and residue that can cause damage.
Step-by-Step Disassembly

Disassembling your HVLP paint gun correctly is the first step in the cleaning process. Follow these instructions to ensure a safe and efficient disassembly:
1. Release the Pressure: Begin by releasing any residual pressure in the gun. This is typically done by pulling the trigger while the gun is off and ensuring the air supply is disconnected.
2. Remove the Cup: Unscrew the paint cup from the gun. If the cup is attached with a latch, unlock it carefully.
3. Take Off the Nozzle and Air Cap: Use the appropriate tools to remove the nozzle and air cap. Be gentle, as overtightening can strip the threads.
4. Keep Parts Organized: As you disassemble, lay out the parts in the order they were removed. This organization will help you during reassembly and ensure that no components are lost.
5. Consult the Manual: If you are unsure about any steps, refer to the manufacturer’s manual for specific instructions on disassembly.
Following these steps will not only make cleaning more straightforward but also help maintain the integrity of your HVLP paint gun.
Flushing the Paint Gun
Once disassembled, the next step is to flush the gun to remove any remaining paint. Here are some recommended techniques:
1. Rinse the Cup: Pour a small amount of the appropriate cleaning solvent into the paint cup and swirl it around. This will help dissolve any paint residue.
2. Flush the Gun: Reattach the cup to the gun (without the nozzle) and spray the solvent into a waste container. This will help clear out any leftover paint in the internal components.
3. Check the Nozzle: After flushing, inspect the nozzle for any clogs. You can use a brush or a thin wire to clean out any stubborn residue.
4. Repeat if Necessary: If you still see paint residue, repeat the flushing process until the solvent comes out clean.
This thorough flushing process is crucial for ensuring that your HVLP paint gun operates smoothly during future uses.
Cleaning the Components
After flushing the gun, it’s time to clean the individual components thoroughly. Here’s how to do it:
1. Clean the Nozzle: Use a small brush dipped in the appropriate solvent to scrub the nozzle carefully. Ensure that you reach all crevices.
2. Air Cap Maintenance: The air cap can often accumulate paint, affecting the spray pattern. Use a soft brush to clean it gently and ensure all holes are clear.
3. Needle Care: The needle is a delicate part of the gun. Wipe it down with a lint-free cloth soaked in solvent, avoiding excessive force to prevent damage.
4. Dry Thoroughly: After washing all parts, dry them completely with a clean, lint-free cloth. Moisture can lead to rust or corrosion, affecting the performance of your gun.
Taking the time to clean each component thoroughly will enhance the gun’s performance and extend its overall lifespan.
Reassembly and Maintenance Tips
Now that all components are clean and dry, it’s time to reassemble the paint gun:
1. Reattach the Needle: Carefully insert the needle back into its housing, ensuring it fits snugly.
2. Attach the Nozzle and Air Cap: Screw the nozzle back on, followed by the air cap. Ensure they are tightened securely but not overly tight, which can cause damage.
3. Reattach the Paint Cup: Finally, reattach the paint cup. Make sure it is properly secured.
4. Routine Maintenance: To prolong the life of your HVLP paint gun, establish a routine cleaning schedule. Cleaning after every use is ideal, but at minimum, ensure a thorough cleaning after every major project.
Implementing these steps will ensure your HVLP paint gun is always ready for your next project.
Troubleshooting Common Issues
Even with proper cleaning, issues can arise. Here are some signs of a poorly cleaned gun and their implications:
– Clogged Nozzle: If you notice uneven spraying or splattering, it may be due to paint buildup in the nozzle. Regular cleaning can prevent this issue.
– Inconsistent Paint Flow: If the paint flow is inconsistent, it could be a sign that the air cap or needle is clogged. Ensure both are thoroughly cleaned.
– Poor Spray Pattern: An inadequate spray pattern often indicates that the gun is not clean. Ensure all components, especially the air cap and nozzle, are free of residue.
For any persistent issues, consult the manufacturer’s troubleshooting guide or seek assistance from a professional.
Cleaning your HVLP paint gun not only enhances its efficiency but also extends its lifespan. By following the outlined steps and tips, you can ensure your paint gun remains in top condition for your next painting project. Make cleaning a regular part of your maintenance routine to enjoy better results with every use.
Top 7 HVLP Paint Gun Brands by Popularity (2024)
| # | Brand | Model | Price | User Rating |
|---|---|---|---|---|
| 1 | Wagner | Control Pro 130 | $229.00 | ★★★★☆ |
| 2 | Graco | TrueCoat 360 | $399.00 | ★★★★★ |
| 3 | Devilbiss | FinishLine | $250.00 | ★★★★☆ |
| 4 | Fuji | Semi-PRO 2 | $699.00 | ★★★★★ |
| 5 | Astro Pneumatic | Paint Spray Gun | $125.00 | ★★★☆☆ |
| 6 | HomeRight | Finish Max | $149.00 | ★★★☆☆ |
| 7 | Titan Tools | HVLP Spray Gun | $99.99 | ★★★★☆ |
HVLP Paint Gun Cleaning Efficiency (%)
Wagner vs Graco vs Fuji: HVLP Paint Gun Comparison
| Feature | ⭐ Wagner | Graco | Fuji |
|---|---|---|---|
| Price | $229.00 | $399.00 | $699.00 |
| User Rating | ★★★★☆ | ★★★★★ | ★★★★★ |
| Weight | 3.4 lbs | 5.3 lbs | 5.0 lbs |
| Air Pressure | 20 PSI | 15 PSI | 25 PSI |
| Paint Cup Volume | 1.5 quarts | 0.5 quarts | 1 quart |
| Max Viscosity | 120 DIN | 100 DIN | 150 DIN |
| Warranty | 1 year | 3 years | 2 years |
| Cleaning Ease | ✅ Easy | ❌ Moderate | ✅ Easy |
| Best For | DIYers and Hobbyists | Professional Painters | Advanced Users |
In summary, maintaining and cleaning your HVLP paint gun is crucial for achieving high-quality finishes and prolonging the lifespan of the equipment. By following this guide, you can ensure your paint gun operates efficiently and remains in excellent condition for all your painting needs. Regular cleaning and maintenance will not only enhance performance but also save you money in the long run by preventing costly repairs or replacements.
Frequently Asked Questions
How do I properly clean my HVLP paint gun after use?
To properly clean your HVLP paint gun after use, first disassemble the gun by removing the cup, nozzle, and needle. Rinse the parts with the appropriate solvent, such as water for water-based paints or mineral spirits for oil-based paints. Use a soft brush or cloth to remove any remaining paint, and then reassemble the gun once all components are completely dry.
What solvents should I use to clean an HVLP paint gun?
The solvents you should use to clean an HVLP paint gun depend on the type of paint you are using. For water-based paints, warm soapy water is effective, while for oil-based paints, mineral spirits or paint thinner are recommended. Always refer to the manufacturer’s instructions for specific cleaning guidelines to ensure proper maintenance.
Why is it important to clean my HVLP paint gun thoroughly?
It is important to clean your HVLP paint gun thoroughly to prevent paint buildup that can clog the nozzle and affect the spray pattern. Neglecting to clean your paint gun can lead to poor finish quality on future projects and may even damage the gun over time. Regular cleaning ensures optimal performance and extends the lifespan of your equipment.
What is the best way to prevent clogs in my HVLP paint gun?
The best way to prevent clogs in your HVLP paint gun is to ensure that you are using the correct viscosity of paint and strain the paint before pouring it into the cup. Additionally, cleaning the gun immediately after use and regularly checking for any dried paint in the nozzle will help maintain smooth functionality. Always follow the manufacturer’s guidelines for maintenance to avoid clogs.
Which cleaning tools are essential for maintaining an HVLP paint gun?
Essential cleaning tools for maintaining an HVLP paint gun include a soft-bristle brush, cleaning rags, and a set of small brushes for reaching tight areas. You may also want to invest in a cleaning kit specifically designed for paint guns, which often includes solvents and specific tools to make the process easier. Keeping these tools on hand will help you maintain your gun effectively.
References
- Spray painting
https://en.wikipedia.org/wiki/Paint_sprayer - https://www.uwm.edu/sarup/wp-content/uploads/sites/313/2020/04/How-to-Clean-an-HVLP-Paint-Gun.pdf
https://www.uwm.edu/sarup/wp-content/uploads/sites/313/2020/04/How-to-Clean-an-HVLP-Paint-Gun.pdf - https://www.woodmagazine.com/materials-guide/finishes/how-to-clean-a-paint-spray-gun
https://www.woodmagazine.com/materials-guide/finishes/how-to-clean-a-paint-spray-gun - https://www.hgtv.com/how-to/how-to-clean-a-paint-spray-gun
https://www.hgtv.com/how-to/how-to-clean-a-paint-spray-gun - Google Scholar Google Scholar
https://scholar.google.com/scholar?q=how+to+clean+hvlp+paint+gun - Google Scholar Google Scholar
https://scholar.google.com/scholar?q=HVLP+spray+gun+maintenance - Google Scholar Google Scholar
https://scholar.google.com/scholar?q=cleaning+paint+spray+equipment - https://www.sciencedirect.com/topics/engineering/spray-gun
https://www.sciencedirect.com/topics/engineering/spray-gun - Spray gun | Airbrush, Automotive Painting, Industrial Coating | Britannica
https://www.britannica.com/technology/spray-gun - how to clean hvlp paint gun – Search results
https://en.wikipedia.org/wiki/Special:Search?search=how+to+clean+hvlp+paint+gun


