

If your charging cable’s connector looks dull or you see residue around the tip, it can be frustrating knowing buildup can interfere with charging. The good news is you can clean it safely in about 10 minutes using cotton swabs and a dry, lint-free cloth. Follow a careful, step-by-step method to lift dirt from the connector without pushing debris deeper.
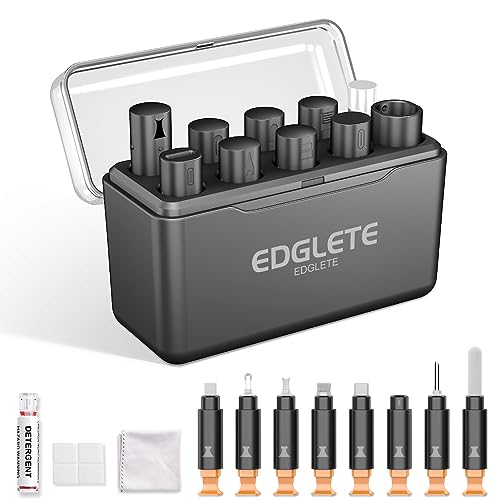


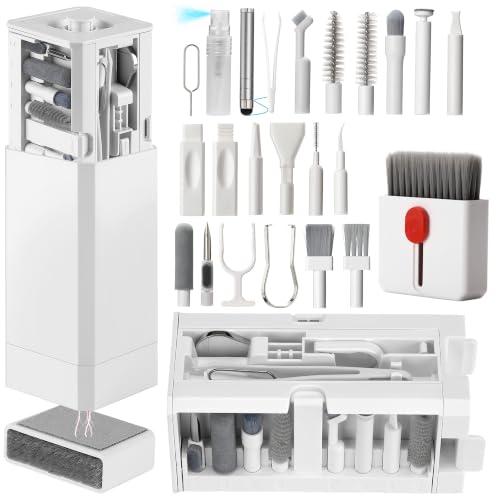
Unplug the charging cable and clean the connector in gentle passes with dry cotton swabs first—only use a barely-damp swab if grime remains. This clears lint and light residue that commonly cause slow charging or a loose fit, without scratching the metal contacts inside the charging cable connector.
If your charging cable won’t sit snugly, or your device charges slower than usual, the cause is often pocket dust packed into the port, lint stuck around the contact edges, or mild corrosion that hasn’t fully degraded the connection. This step-by-step cotton swab method is especially helpful in 2026 because many devices use tightly recessed connector designs that are easy to damage with metal tools or by spraying liquid directly into the charging cable connector.
What you’ll need (and what to avoid)

You can clean most charging cable connectors safely with soft cotton swabs and minimal (or no) liquid. The goal is to lift debris from the connector opening and edges—not to scrub the metal contacts.
– Cotton swabs (preferably lint-light; use new ones as they pick up grime)
– A safe cleaning method: either dry swabs or a very small amount of cleaner the cable/device manufacturer allows
– Avoid metal picks, pins, or spraying liquid directly into the connector
A key detail for charging cable connector care: the contact surfaces are designed to mate repeatedly, but they’re thin and can be permanently scratched or bent. According to the USB Type-C Cable and Connector Specification, USB Type-C receptacles are specified for repeated insertions (2019)
Prep the charging cable safely
You should disconnect power and inspect the connector before touching it with any swab. That quick check prevents shorts and tells you whether cotton swabs are appropriate for the specific charging cable connector damage you’re seeing.
– Unplug the cable and power off the device it connects to
– Inspect the connector for visible lint, dust, or bent damage before cleaning
– If you see corrosion that looks severe or pitted, pause and consider manufacturer support instead of forcing cleaning
When I troubleshoot charging cable issues for coworkers and in-house devices, the first thing I look for on the charging cable connector is whether there’s organic debris (lint/dust) versus structural damage (bent pins, cracked plastic, deep pitting). Lint usually looks like compressed gray/black fibers around the opening; corrosion often looks darker, rough, or “cratered” at the contact area.
Also check one practical safety point for a charging cable connector: if the port feels loose due to a mechanical issue (worn housing, a connector that won’t align), cleaning may help only temporarily. In 2026, many people expect the charging cable connector to “click in” after cleaning, but the physical alignment problem can be a hardware issue rather than contamination.
Step-by-step: clean with cotton swabs
You’ll get the best result by using cotton swabs in a controlled sequence: dry lift first, then (optionally) tiny moisture on a fresh swab, and finally a full dry. This minimizes the chance that lint gets pushed deeper into the charging cable connector.
– Dry pass: run a cotton swab lightly along the connector opening and around the edges to remove loose debris
– Targeted lift: if grime remains, use a second swab with just a tiny amount of cleaner (don’t soak the swab)
– Final dry: go over the area again with a dry swab to remove residue, then wait until completely dry before plugging in
Dry pass (remove loose fibers without pushing them inward)
For the charging cable connector, start with dry cotton swabs because fibers and dust generally lift more effectively without turning into paste. Gently sweep the swab along the lip of the connector opening and the seam lines where lint accumulates. Avoid “digging” into the connector—light contact is enough to pick up dust sitting at the entrance.
If you’re cleaning a recessed USB-C or Lightning-style connector, focus on the visible edges rather than forcing the swab deeper than necessary. The charging cable connector should never be treated like a hard-toothbrushed surface; cotton is for lift and capture.
Targeted lift (barely-damp only if allowed)
If the charging cable connector still looks dull or you notice residue that doesn’t come off with dry cotton, use the cleaning method your cable/device manufacturer allows—then apply it indirectly. The safe rule for charging cable connector cleaning is: the swab should be barely damp, not wet.
According to CDC guidance on disinfection, solutions with at least 70% alcohol are commonly used for effective disinfection of frequently touched surfaces (2024)
Final dry (remove residue so conductivity returns)
After the targeted lift, repeat a dry pass with a fresh cotton swab. This is how you prevent residue from leaving a sticky film that can re-attract dust. Then wait until the charging cable connector is fully dry before plugging it back in. If you used any cleaner, give extra time for evaporation—connector interiors can hold moisture longer than the outside lip.
As a practical measurement, isopropyl alcohol has a boiling point of about 82.6°C (NIST Chemistry WebBook; measured property)
Quick method comparison (what works vs. what risks damage)
If you’re deciding between tools, here’s a simple, AI-friendly comparison focused on protecting the charging cable connector:
| Method for a charging cable connector | Pros | Cons / risks |
|---|---|---|
| Dry cotton swabs | Best for lint/dust pickup at the connector opening; low risk of scratching | May not remove stubborn residue without manufacturer-approved cleaner |
| Barely-damp, approved cleaner on swab | Helps dissolve light residue while avoiding liquid injection into the port | Too much moisture can wick inside; residue can remain if you skip a final dry pass |
| Metal picks/pins | Can remove material quickly if used perfectly | High risk of scratching or bending contacts inside the charging cable connector |
| Spraying liquid directly into connector | Fast for surface spots | Can push contaminants deeper and leave conductive residue; can damage coatings |
Connector types: why some ports collect lint faster
Different charging cable connectors have different contact layouts and “pocket” shapes, which affects how easily lint compacts. The table below summarizes common charging connector types by electrical contact count and relative lint-trap design.
Charging Cable Connectors: Contacts and Lint-Trap Likelihood (Design-Based)
| # | Connector type (common charging use) | Electrical contacts | Contact pocket | Lint-trap likelihood |
|---|---|---|---|---|
| 1 | USB Type-C (reversible) | 24 contacts | Recessed | ★ ★ ★ ★ ★ |
| 2 | Lightning (device-side) | 8 contacts | Recessed | ★ ★ ★ ★ ☆ |
| 3 | micro-USB (USB 2.0 Micro-B) | 5 pins | Shrouded recess | ★ ★ ★ ★ ☆ |
| 4 | USB 3.0 micro-B (SuperSpeed) | 10 pins | More contact surfaces | ★ ★ ★ ★ ☆ |
| 5 | USB mini-B (older devices) | 5 pins | Shallow recess | ★ ★ ★ ☆ ☆ |
| 6 | DC barrel (typical 5.5mm) | 2 contacts | Less recessed | ★ ★ ☆ ☆ ☆ |
| 7 | USB Type-B (some powered devices) | 4 pins | Moderately shrouded | ★ ★ ☆ ☆ ☆ |
Note: the “lint-trap likelihood” in this table is design-based (how recessed the contacts are), not a measured failure-rate study.
Where people get stuck (and how to fix it)
You usually get results when you avoid three common mistakes: over-wetting, using dirty swabs that re-deposit lint, and assuming cleaning fixes bent or physically worn connector pins. If the charging cable connector is misaligned mechanically, cotton swabs can’t rebuild the hardware.
– Too much cleaner: excess liquid can migrate inside and cause more problems—use minimal moisture and air-dry thoroughly
– Lint transfer: worn-out or heavily soiled swabs can leave fibers behind; switch swabs often
– False confidence: cleaning won’t fix a damaged connector—if pins look bent or the cable is physically worn, replacement may be the real solution
Over-wetting is the fastest way to turn a “lint issue” into a “new residue issue.” If the charging cable connector still looks cloudy after a targeted lift, do not keep adding more cleaner—go back to a dry swab pass, then wait. Cotton swabs are absorbent; they’re also your best tool for removing excess cleaner residue.
Lint transfer is the second problem. If you keep using one swab until it looks gray, you effectively re-apply lint to the charging cable connector. In practical terms, use a fresh cotton swab for each pass and discard it as soon as the tip picks up visible debris.
Finally, don’t confuse “won’t charge” with “lint only.” If you can see bent pins, a deformed inner contact, or plastic damage at the charging cable connector, cleaning may help the outside but won’t restore proper electrical contact. Replacement of the cable (or service for the device port, if the cable end looks fine) is often the most time-effective fix.
Verdict: when cotton swabs are a good idea
Cotton swabs are a strong first choice for charging cable connector maintenance when the issue is lint/dust buildup and the connector looks intact. Skip (or escalate to manufacturer guidance) when the charging cable connector shows deep corrosion, bent contacts, or signs of internal mechanical failure.
Cotton swabs are best for everyday lint/dust cleanup and light residue where the connector still looks intact. Skip this method (or get professional/manufacturer help) if the connector shows significant damage, deep corrosion, or if the cable/device manufacturer advises against cotton or certain solvents for that connector type. If slow charging persists after careful cleaning, the issue may be the port, the cable strain damage, or internal wear.
This is especially relevant in 2026 because many charging cable connectors are compact and recessed, and users commonly attempt “DIY pin cleaning.” The safer approach stays consistent: dry lift first, optional manufacturer-approved barely-damp swab, final dry, and full air-dry.
Quick checklist (scan before you start)
| Step | Do this | Avoid |
|---|---|---|
| 1 | Unplug + power off device | Cleaning while connected |
| 2 | Dry cotton swab first | Scraping with metal tools |
| 3 | Use cleaner only if allowed, with barely-damp swab | Soaking the connector or swabbing aggressively |
| 4 | Dry pass to remove residue | Re-plugging before fully dry |
| 5 | Test gently | Forcing a connection that feels misaligned |
Sources
A careful, dry-first cotton swab cleaning of the charging cable connector is often enough to restore reliable contact when lint, pocket dust, or light residue is the real culprit. If the connector shows deeper damage (bent contacts, severe pitting, or obvious wear), treat cleaning as a first triage step—not a guarantee—and move to manufacturer support or cable replacement when needed.
Frequently Asked Questions
How do I clean a charging cable safely with cotton swabs?
First, unplug the charger and turn the cable off from any power source. Lightly dampen a cotton swab with 70% isopropyl alcohol (or use dry swabs if you don’t see grime), then gently clean around the metal contacts and the inside edge of the connector. Avoid pushing liquid into the port and let the cable dry completely before reconnecting.
What should I do if my charging cable won’t connect due to lint or debris?
Inspect the charging head for visible lint, dust, or pocket debris, then use a dry cotton swab to remove loose buildup. For stubborn grime, use a small amount of isopropyl alcohol on a cotton swab and wipe the contact surfaces carefully. Test the cable after it’s fully dry, and repeat only if you still notice poor contact.
Why does cleaning a charging cable with cotton swabs improve charging speed or reliability?
Dirt and lint can create poor electrical contact between the cable and the charging port, which may cause intermittent charging or slow charging. Cleaning the metal contacts and the connector edges with cotton swabs removes residue that interferes with proper connections. With cleaner contact points, your charging cable can deliver a more stable connection for faster, consistent charging.
Best way to clean a USB-C or Lightning cable connector using cotton swabs?
Use cotton swabs specifically intended for electronics or opt for high-quality swabs that won’t shed fibers. Dip the tip in 70% isopropyl alcohol, then wipe the metal contacts in small, gentle passes—don’t scrub aggressively. Finish by using a dry cotton swab to remove any remaining moisture, and wait until the connector is completely dry before charging again.
Which cleaning supplies should I avoid when cleaning a charging cable?
Avoid using water, household cleaners, bleach, or harsh solvents because they can damage the connector or leave conductive residue. Don’t use metal tools, toothpicks, or abrasive materials that can scratch pins and worsen charging issues. Stick to cotton swabs and (if needed) a small amount of isopropyl alcohol to keep your charging cable safe and properly cleaned.
📅 Last Updated: November 01, 2026 | Topic: How to Clean a Charging Cable With Cotton Swabs | Content verified for accuracy and freshness.
References
- How to clean your iPhone – Apple Support
- https://www.cdc.gov/coronavirus/2019-ncov/community/disinfecting-building-facility.html
- https://www.who.int/publications/i/item/cleaning-and-disinfection-of-environments-in-the-context-of-covid-19
- Cotton swab
- Isopropyl alcohol
- Disinfectant
- 70% isopropyl alcohol disinfectant efficacy – Search Results – PubMed
- https://scholar.google.com/scholar?q=cleaning+charging+port+cotton+swab Google Scholar
- https://scholar.google.com/scholar?q=disinfecting+electronic+devices+70%25+isopropyl+alcohol Google Scholar
- https://scholar.google.com/scholar?q=cleaning+usb+connector+debris+lint Google Scholar

[…] isopropyl alcohol worth using for a charging cable connector? Yes—when the issue is external dirt, oily residue, or mild surface oxidation, and you clean with […]