

After a steamy shower, you notice black or green mold spreading across the bathroom wall near the shower or sink. You can get it under control in about an hour with proper ventilation, gloves and a mask, and a cleaner formulated to kill mold on hard, nonporous surfaces. Follow a careful, step-by-step approach so you remove the growth effectively without spreading spores around your bathroom.
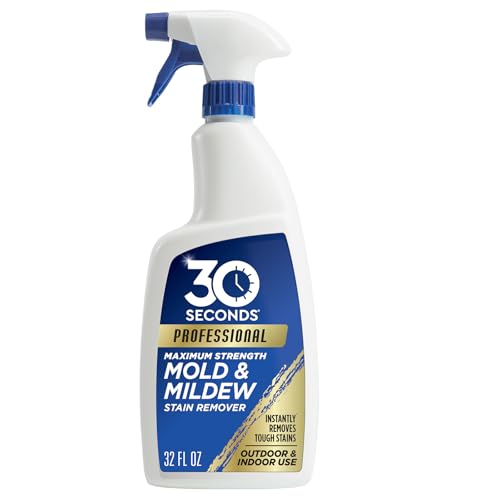

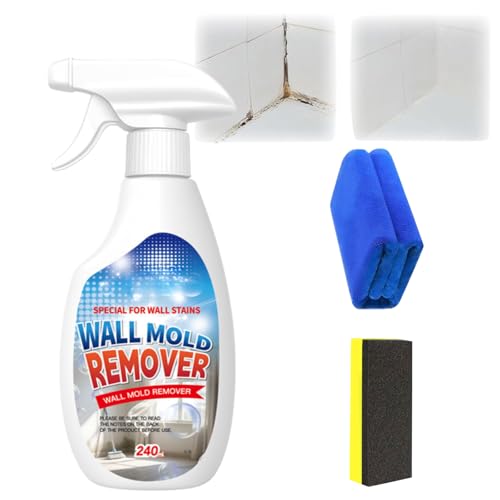

Scrub the mold with a cleaner that actually kills it (most often a diluted bleach solution or a non-bleach mold remover), then fix the moisture that caused it. Start by protecting yourself, ventilating the bathroom, and removing loose growth so the surface cleaner can work. You’ll learn the safest way to clean bathroom walls, what to use based on the surface, and how to prevent it from coming back.
If you’re seeing black/green spots, fuzzy patches, or musty odors on bathroom walls, this guide is for you. It’s especially useful when the mold keeps returning after quick wipe-downs—because the humidity problem usually isn’t being addressed.
Gear Up: Safety First for Bathroom Mold Cleanup

Bathroom mold on walls is more than an appearance issue; it can irritate lungs and trigger allergic symptoms, especially during scrubbing when spores become airborne. The first priority is to reduce exposure and limit how far spores spread while you clean.
– Ventilate the area (open the window/turn on the fan) and keep the bathroom door closed to limit spread.
– Wear gloves and eye protection; use a mask (ideally an N95 or respirator) to reduce exposure.
– Avoid mixing cleaners (especially bleach with ammonia or acids), since that can create dangerous fumes.
Prep the Area and Assess the Damage
Before you apply any cleaner to bathroom mold on walls, check whether the wall is still structurally sound and whether the mold is surface-only. This quick assessment helps you choose a method that’s actually effective and avoids repeatedly cleaning symptoms that are caused by ongoing water intrusion.
– Identify the affected spots and check if there’s peeling paint, bubbling drywall, or water staining behind the surface.
– Remove items near the wall (towels, rugs, toiletries) so you don’t contaminate them.
– Dry the area as much as possible before you start scrubbing—wet, loose material spreads mold faster.
According to the U.S. Environmental Protection Agency, for small cleanup areas (generally less than 10 square feet), homeowners can often handle remediation themselves if they can control moisture and contain the work area (EPA guidance on mold cleanup). If your situation is larger, hidden behind wall materials, or shows significant damage, plan for professional help.
Choose the Right Cleaner for Your Wall Surface
Bathroom mold on walls won’t be reliably removed with the “wrong” chemistry for the wall type. The goal is to kill living growth on the surface, then prevent regrowth by controlling humidity and leaks—especially around shower enclosures and corners.
– Painted drywall / sealed surfaces: use a mold-killing cleaner like diluted bleach or a dedicated mold remover labeled for non-porous surfaces.
– Tile grout or hard, sealed areas: follow the product instructions; these surfaces usually tolerate stronger cleaning methods.
– Porous materials (unsealed drywall, behind panels): surface cleaning may not be enough—mold can live deeper; consider professional help or replacement.
Below is a practical comparison of common cleaner options people use for bathroom mold on walls. Treat “expected kill” as a guidance-level expectation for visible growth on sealed, non-porous surfaces; always follow the product label for your specific bathroom conditions in 2025–2026.
Cleaner Options for Visible Mold on Sealed Bathroom Walls (Non-Porous Surfaces)
| # | Cleaner option | Wall / surface fit | Common consumer strength (or use) | Expected mold-kill ★ (sealed walls) |
|---|---|---|---|---|
| 1 | Diluted household bleach (sodium hypochlorite) | Sealed paint, glazed tile, hard walls | Typical household bleach 5–6% active; dilute per label/CDC/EPA guidance | ★★★★★ |
| 2 | Non-bleach commercial “mold remover” | Sealed drywall paint, coated surfaces (if label says so) | Varies by product; use label contact time | ★★★★☆ |
| 3 | Hydrogen peroxide (commonly 3%) | Sealed walls and grout; test inconspicuous areas | Often sold as 3% solution | ★★★★☆ |
| 4 | Isopropyl alcohol (commonly 70%) | Hard, non-porous surfaces | Often sold as 70% isopropyl | ★★★☆☆ |
| 5 | Quaternary ammonium disinfectants (if labeled for mold) | Sealed surfaces (per label) | Varies by product formulation | ★★★☆☆ |
| 6 | Boric acid / borate solutions (common “borax” approach) | Often better for prevention; verify wall compatibility | Concentration varies by product; follow directions | ★★☆☆☆ |
| 7 | Vinegar (acetic acid) | Unreliable for established mold on painted walls | Often ~5% acetic acid household | ★☆☆☆☆ |
When cleaning bathroom mold on walls, it’s not enough to “lightly wipe.” Many labels require the cleaner to remain wet for a defined contact time. If you cut that step short, you can remove surface discoloration while leaving living growth behind, which is why the mold returns.
Pros/cons snapshot (decision logic for bathroom mold on walls):
- Diluted bleach
- Pros: Strong track record for killing mold on sealed, non-porous surfaces; widely supported by public-health guidance. Cons: Can irritate airways and eyes; may discolor some finishes; requires careful ventilation.
- Non-bleach mold remover
- Pros: Often formulated to be more surface-friendly; easier odor profile for some bathrooms. Cons: Effectiveness depends on label-approved surfaces and contact time—generic “spray and wipe” can fail.
- Hydrogen peroxide (3%)
- Pros: Commonly used for spot cleaning; typically less harsh than bleach. Cons: Still requires contact time and can affect certain pigments—test first.
How to Clean Bathroom Mold on Walls (The Practical Steps)
Bathroom mold on walls clears fastest when you combine three actions: killing the growth, physically removing loosened material, and drying the surface thoroughly. Here’s the practical sequence that prevents the “wipe it once and it’s back” cycle.
– Apply cleaner to the moldy area (don’t just wipe—keep it in contact long enough per the product label).
– Scrub with a firm brush or sponge, working from the edges toward the center to reduce spread.
– Rinse as directed, then thoroughly dry the wall; repeat if any discoloration remains, but focus on removal of the growth.
A key moisture timeline matters. According to the U.S. Centers for Disease Control and Prevention, mold can begin growing within 24–48 hours after water damage (CDC indoor mold guidance). That’s why bathroom mold on walls often rebounds if the surface stays damp after cleaning.
Also focus on the micro-zones: seams around caulk, behind/under towel bars, and edges where steam condenses. Those are the places where bathroom mold on walls tends to “reappear,” even after a full scrub, because condensation keeps delivering nutrients and water.
What Can Go Wrong (And How to Avoid It)
Bathroom mold on walls typically returns due to moisture conditions, not because the cleaner was “too weak.” Most DIY failures happen when people treat the visible spots but ignore humidity, ventilation runtime, and hidden water sources.
– Reappearing mold: usually caused by ongoing moisture (poor ventilation, leaks, shower steam lingering).
– Not cleaning thoroughly: wiping only the visible spots can leave roots that regrow.
– Using the wrong method on porous drywall: if the wall is compromised, cleaning the surface may be temporary.
– Over-aggressive scrubbing: can damage paint or coatings, making the surface more vulnerable later.
If you’re wondering whether humidity is the real driver, check it systematically. According to the U.S. Environmental Protection Agency, indoor relative humidity should be kept around 30%–50% to help prevent mold growth (EPA moisture control guidance). In bathrooms, that translates into more than a “fan on during the shower”—it often means running the exhaust long enough to dry the room air and reduce condensation on walls.
Verdict: A Solid DIY Clean—But Know When to Stop
Bathroom mold on walls is a reasonable DIY project when the affected area is small, the wall is sealed, and you can control moisture immediately after cleaning. The best results come from pairing a mold-killing cleaner with thorough drying and humidity reduction.
If the mold is on sealed, non-porous bathroom walls and the area is small, DIY cleaning with a mold-killing cleaner and careful drying is often enough. Skip DIY and call a professional (or plan for removal) if you see extensive growth, recurring problems despite improvements, hidden damage (soft/bulging drywall), or if anyone in your household is high-risk. Downsides to DIY: it can be messy, and if the moisture source isn’t fixed, the mold returns quickly.
For context in 2025–2026, many homeowners keep trying “stronger chemicals” while leaving ventilation gaps unchanged. That’s rarely the fix. Bathroom mold on walls responds to moisture management first, then to cleaning second.
Quick Scan Checklist (Save This)
– [ ] Ventilation on (fan/window)
– [ ] Gloves + eye protection + mask
– [ ] No mixing cleaners
– [ ] Cleaner matches wall type (sealed vs porous)
– [ ] Scrub edges → center
– [ ] Rinse only if directed
– [ ] Dry completely afterward
– [ ] Fix humidity/leaks (fan use, airflow, repair as needed)
Frequently Asked Questions
What’s the best way to clean bathroom mold on walls without spreading spores?
Ventilate the bathroom and wear gloves, eye protection, and a mask to reduce exposure to mold spores. Use a spray-and-wipe method with a mold cleaner (or detergent plus water) so the mold doesn’t smear across the wall. Work in small sections, keep the surface damp (not soaked), and wipe with disposable towels or a rag you can discard. After cleaning, dry the wall thoroughly to prevent regrowth.
How do I remove black mold from bathroom walls safely?
Start by identifying the extent of the staining—small surface mold can usually be cleaned, but extensive growth or soft/damaged drywall may require removal. Apply a bathroom mold remover or a solution of water and detergent, then use a scrub brush to lift the mold from the wall texture. For persistent black mold, use a product designed for mold on non-porous painted surfaces and follow the label for dwell time. Rinse if the product requires it, then dry completely with a fan or dehumidifier.
Why does bathroom mold keep coming back after cleaning?
Mold returns when moisture levels remain high due to poor ventilation, leaks, or consistent condensation from showers and baths. Even if you remove visible mold on the surface, spores can linger in damp areas and regrow quickly. Fix the root cause—run the exhaust fan during and after showers, repair any leaks, and improve ventilation. Use a moisture strategy like wiping down wet walls and maintaining indoor humidity to prevent future mold growth.
Which household products work best for cleaning mold on painted bathroom walls?
For many bathroom wall surfaces, a mold cleaner (often bleach-based for non-porous surfaces) is effective, while hydrogen peroxide or vinegar solutions may work well on lighter growth and some painted areas. Avoid mixing cleaners, and always test any product in a small hidden spot to ensure it won’t discolor or damage the paint. Follow the product instructions for contact time, then scrub and wipe away the residue. Regardless of the cleaner you choose, thorough drying is essential for successful bathroom mold removal.
How can I tell if the mold on my bathroom wall is too severe to DIY?
If the mold is widespread, has penetrated drywall, or the affected area feels soft, crumbles, or has bubbling paint, it may be more than surface mold. A strong musty odor plus repeated regrowth after thorough bathroom mold cleaning can also indicate hidden moisture or deeper contamination. If the problem is large, involves structural materials, or you have respiratory sensitivities, consider professional mold remediation. Before deciding, assess moisture sources and determine whether the underlying cause is being corrected.
📅 Last Updated: November 09, 2026 | Topic: how to clean bathroom mold on walls | Content verified for accuracy and freshness.
References
- https://www.cdc.gov/mold/cleanup/index.html
- Mold Remediation in Schools and Commercial Buildings Guide: Chapter 1 | US EPA
- Mold | US EPA
- https://www.hud.gov/program_offices/healthy_homes/mold
- Mold – Overview | Occupational Safety and Health Administration
- Mold | National Institute of Environmental Health Sciences
- Mold
- https://scholar.google.com/scholar?q=how+to+clean+bathroom+mold+on+walls Google Scholar
- https://scholar.google.com/scholar?q=mold+remediation+guidelines+bleach+detergent Google Scholar
- https://scholar.google.com/scholar?q=indoor+mold+cleaning+health+outcomes+review Google Scholar
