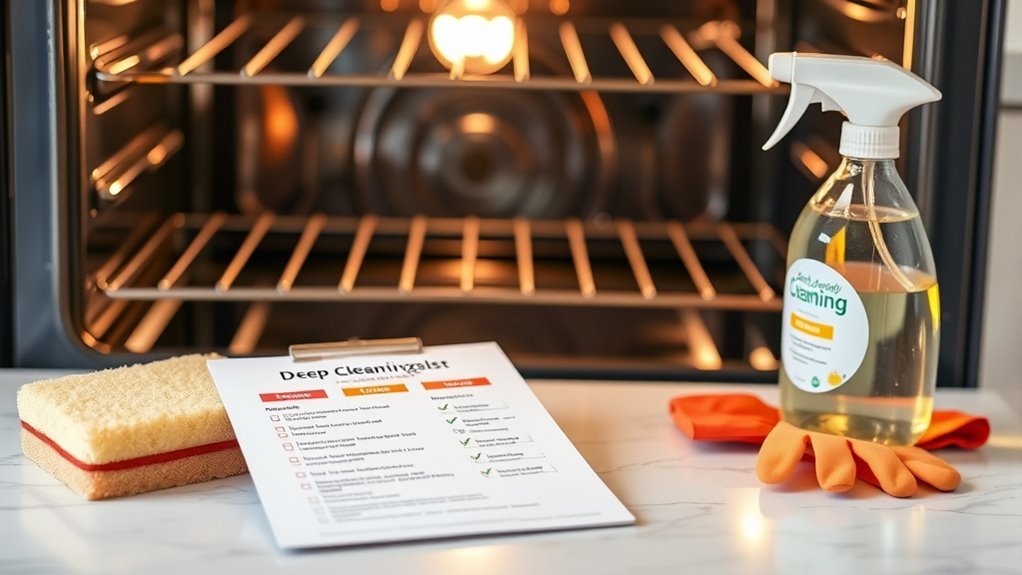
Deep Cleaning Checklist for Oven
To deep clean your oven, first gather supplies like heavy-duty cleaner, gloves, scrub brushes, and microfiber cloths. Make sure the oven is cool, unplugged, and well-ventilated. Remove racks and soak them in warm, soapy water. Apply cleaner to the interior, focusing on grime, then scrub gently. Clean the door glass with a gentle paste and wipe heating elements carefully without abrasion. Finish by thoroughly rinsing and drying all surfaces to avoid residue. For a complete guide, keep exploring each step in detail.
Gather Necessary Cleaning Supplies
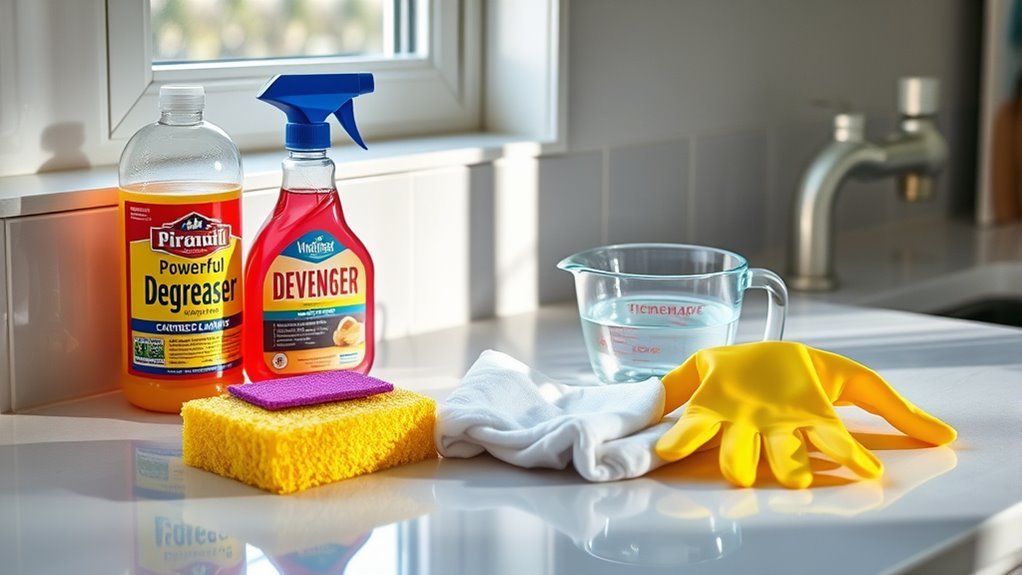
Before you begin cleaning your oven, gather five essential supplies to guarantee an efficient process: a heavy-duty oven cleaner, rubber gloves, a scrubbing brush or sponge, a microfiber cloth, and a bucket of warm water. These cleaning supplies are the essential tools that assure thorough removal of grease and baked-on residue. The heavy-duty oven cleaner tackles tough grime, while rubber gloves protect your skin from harsh chemicals. Choose a scrubbing brush or sponge with enough abrasion to loosen dirt without damaging surfaces. A microfiber cloth is perfect for wiping down and polishing, leaving no streaks. Finally, the bucket of warm water will aid in rinsing and diluting residues. Having these essential tools ready streamlines your work, giving you control and freedom to clean efficiently and effectively. It is also important to ensure the oven is completely cool and unplugged before starting the cleaning process to avoid injury and damage to the appliance, a key step in preparing your oven.
Prepare the Oven for Cleaning
Once you’ve gathered your cleaning supplies, you’ll want to make certain the oven is completely cool and disconnected from power to guarantee safety. Proper preparation is key to efficient oven maintenance. Follow these steps:
- Remove any loose debris from the oven floor using a soft brush or cloth to prevent scratching during cleaning.
- Check the oven door seal for damage or dirt buildup, as maintaining a tight seal enhances performance and extends appliance life.
- Ventilate the area by opening windows or turning on an exhaust fan to minimize exposure to cleaning fumes.
Using gentle cleaning solutions helps protect surfaces and promotes a cleaner lifestyle during the cleaning process.
Adhering to these oven maintenance tips and establishing a consistent cleaning frequency will help you preserve your oven’s functionality and freedom from stubborn grime.
Remove Oven Racks and Accessories
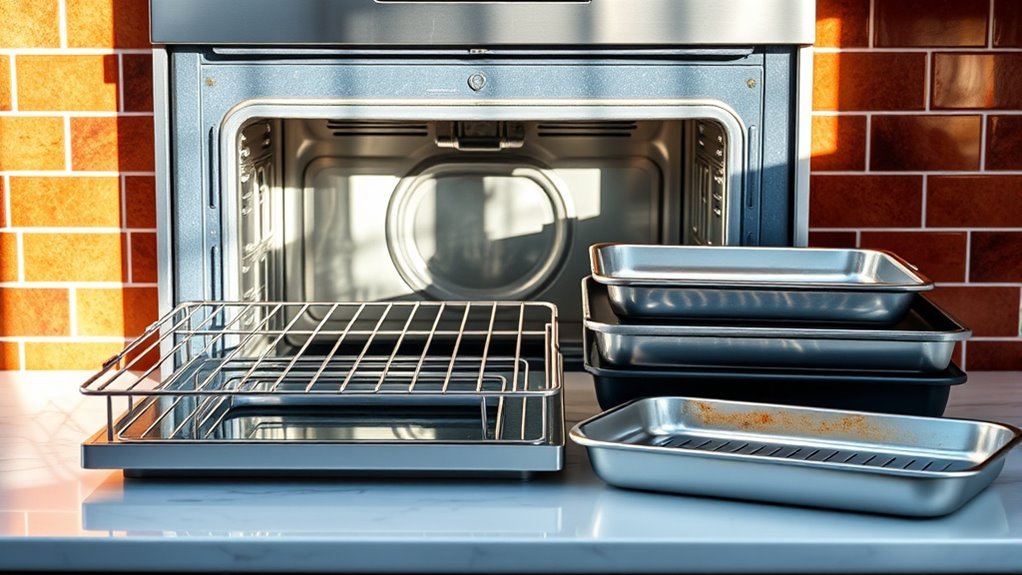
Start by carefully removing all oven racks and any accessories to give you full access for cleaning. Place the racks in a sink or tub filled with warm, soapy water to soak and loosen grime. While they soak, inspect each accessory for any signs of damage or wear that might need attention. Soaking racks in warm, soapy water is recommended for easier cleaning and to prevent scratching or bending.
Take Out All Racks
To effectively deep clean your oven, remove all racks and accessories carefully. This step guarantees thorough access to every corner, preventing grime buildup and maintaining peak oven performance. Follow these precise actions:
- Identify each rack’s position to maintain rack organization during reassembly, making future cleaning sessions quicker and more efficient.
- Gently pull each rack straight out to avoid scratching the oven walls or bending the racks, preserving their integrity.
- Inspect accessories for damage or excessive buildup, noting cleaning frequency to develop a consistent maintenance routine that keeps your oven in prime condition.
Soak Racks for Cleaning
Two key steps will help you effectively soak your oven racks for cleaning: selecting the right soaking solution and ensuring complete submersion. First, identify your rack materials—whether chrome, stainless steel, or porcelain-coated—as this determines which soaking solutions are safe and effective. Avoid harsh chemicals on delicate finishes to prevent damage. Next, fill a large container or bathtub with warm water and your chosen soaking solution, such as baking soda and vinegar or a commercial oven cleaner formulated for your rack materials. Fully submerge the racks, allowing them to soak for several hours or overnight. This method loosens baked-on grease and grime, making subsequent scrubbing easier. By following these steps precisely, you’ll restore your racks’ cleanliness while preserving their integrity, giving you the freedom to maintain your oven efficiently.
Inspect Accessories for Damage
Before you begin deep cleaning, carefully remove all oven racks and accessories to inspect them for damage. This accessory inspection is essential to guarantee your oven functions safely and efficiently. Look out for any damage signs that might compromise performance or safety.
- Check for Warping or Bending: Warped racks won’t sit properly and can cause uneven cooking or fall hazards.
- Inspect Coating Integrity: Chips or peeling on non-stick surfaces can release harmful particles during use.
- Examine Handles and Attachments: Loose or broken parts may lead to accidents or difficulty handling.
Clean Oven Racks Thoroughly

To clean your oven racks thoroughly, start by soaking them in a solution of hot water and a suitable cleaning agent to loosen grime. Use a sturdy scrub brush or scouring pad to remove any remaining residue, focusing on stubborn spots. This method guarantees your racks are free of grease and buildup before drying and replacing.
Soaking Techniques
One effective way to tackle stubborn grime on your oven racks is through soaking, which loosens baked-on grease and food particles for easier removal. To maximize results, follow these soaking techniques precisely:
- Choose your soaking solution recipes carefully; a mix of hot water, dish soap, and baking soda works wonders for breaking down grease without harsh chemicals.
- Submerge the racks fully in the solution, ensuring all surfaces are covered to allow even loosening of grime.
- Adhere to soaking duration tips—typically, 1 to 4 hours is sufficient, but for tougher buildup, an overnight soak can free your racks completely.
Scrubbing Tools
Although soaking loosening grime is essential, you’ll need the right scrubbing tools to clean oven racks thoroughly and efficiently. Start with a sturdy brush featuring stiff nylon bristles; it’s perfect for dislodging baked-on food without damaging the metal. Pair this with a non-abrasive scrub pad to tackle tougher spots. When choosing effective materials, avoid steel wool, which can scratch and leave residue. For corners and crevices, a toothbrush or small detailing brush offers precise scrubbing techniques. Gloves protect your hands while giving you firm grip and control. By combining these tools thoughtfully, you’ll restore your racks to a clean, free state without excessive effort. Choosing the proper scrubbing tools releases freedom from stubborn grime, making your oven maintenance both effective and straightforward.
Apply Cleaning Solution to Oven Interior
Start by selecting a cleaning solution that suits your oven type, whether it’s a commercial oven cleaner or a homemade mixture. Proper application techniques guarantee effective loosening of grime without damaging surfaces. Follow these steps for precise application:
- Ventilate: Open windows and turn on exhaust fans to keep air fresh during the cleaning process.
- Apply Evenly: Using a spray bottle or sponge, distribute the cleaning solution uniformly across the oven interior, focusing on heavily soiled areas.
- Allow Dwell Time: Let the solution sit for the recommended period, usually 15-30 minutes, to penetrate baked-on residues.
Always ensure the oven is completely cool before applying any cleaning solution to avoid damage and ensure safety during the process, which is a key aspect of preparing the oven.
Scrub and Wipe Down Oven Walls and Floor
Grab a sturdy scrub brush or non-abrasive sponge to tackle the oven walls and floor. Start with oven wall cleaning by gently scrubbing in circular motions to loosen baked-on grease and grime. Focus on corners and crevices where residue tends to accumulate. For the oven floor scrubbing, apply moderate pressure to remove stubborn burnt spots without damaging the surface. Rinse your brush or sponge frequently, ensuring you don’t spread dirt around. Once you’ve scrubbed the entire interior, use a damp cloth to wipe away loosened debris and cleaning solution residue. Repeat as necessary until the walls and floor are spotless. This methodical approach frees you from lingering messes, restoring your oven’s interior for safer, more efficient cooking. Be sure to remove loose debris before applying any cleaning solution to make the process more effective.
Clean the Oven Door and Glass
When cleaning the oven door and glass, you’ll want to carefully remove grease and baked-on residue without scratching the surface. Effective oven cleaning techniques focus on preserving the integrity of the door glass while restoring its clarity. Follow these steps for thorough door glass maintenance:
Carefully remove grease and residue from oven glass to preserve clarity without scratching the surface.
- Apply a gentle, non-abrasive cleaner or a baking soda paste to the glass surface, letting it sit for 15 minutes to loosen grime.
- Use a soft microfiber cloth or a sponge to gently scrub away residue, avoiding harsh scrubbing pads that can cause scratches.
- Wipe the door frame and seals with a damp cloth to remove any lingering dirt, ensuring all cleaning agents are fully removed. Using natural ingredients like baking soda and vinegar helps avoid harsh chemicals and keeps your kitchen safe.
Address Oven Heating Elements With Care
After you’ve carefully cleaned the oven door and glass, it’s important to turn your attention to the heating elements. Proper oven element maintenance guarantees your appliance functions efficiently and safely. Before you begin, make certain the oven is completely cool and unplugged to avoid accidents. Use safe cleaning techniques by gently wiping the elements with a soft, damp cloth—never scrub or use abrasive materials, as this can damage the delicate surface. Avoid spraying liquids directly onto the elements; instead, apply cleaning solutions to your cloth first. Inspect each element for signs of wear or damage during cleaning, and replace any faulty parts promptly to maintain peak performance. By addressing the heating elements with care, you uphold both safety and longevity in your oven’s operation.
Final Rinse and Drying Process
Completing the final rinse and drying process involves carefully removing all cleaning residues to prevent streaks and buildup inside your oven. You want to guarantee every surface is spotless to maintain peak performance and cleanliness freedom. Follow these steps for an effective final rinse and drying techniques:
- Use a damp microfiber cloth to thoroughly wipe down all oven surfaces, removing any remaining cleaner or grime.
- Rinse the cloth frequently with warm water to avoid spreading residue.
- After rinsing, dry all surfaces immediately with a clean, dry microfiber cloth to prevent moisture buildup and streaks.
Frequently Asked Questions
How Often Should I Deep Clean My Oven for Best Performance?
You don’t want your oven to turn into a volcanic disaster, do you? For best performance, stick to oven maintenance tips by deep cleaning it every 3 to 6 months. Cleaning frequency depends on how often you use it and what you cook. Regular deep cleaning prevents buildup, guarantees even heating, and extends your oven’s life. You’ll enjoy cooking freedom with a spotless, efficient oven ready whenever you need it.
Can I Use Natural Cleaning Products Instead of Chemical Cleaners?
You can definitely use natural alternatives to clean your oven effectively. Eco friendly cleaners like baking soda, vinegar, and lemon juice work well to break down grime without harsh chemicals. These options give you the freedom to maintain a clean oven safely, avoiding toxins. Just make a paste with baking soda and water, apply it, let it sit, then wipe with vinegar. This method is thorough, precise, and gentle on your appliance and the environment.
What Safety Precautions Should I Take During Oven Cleaning?
When cleaning your oven, it’s best to play it safe rather than sorry. Always wear protective gear like gloves and goggles to shield your skin and eyes from harsh chemicals or debris. Guarantee good ventilation to avoid inhaling fumes. Double-check that the oven is completely off and cool before starting. Keep a fire extinguisher nearby to cover fire safety, especially if you’re using heat or chemical cleaners. Taking these steps gives you freedom to clean confidently and safely.
How Do I Prevent Smoke or Odors During Cleaning?
To prevent smoke and odors during oven cleaning, prioritize smoke management by ensuring good ventilation—open windows and turn on exhaust fans. Use natural cleaning agents like baking soda and vinegar for odor elimination, avoiding harsh chemicals that can emit fumes. Wipe away all cleaning residues thoroughly before using the oven. Taking these steps lets you clean effectively while keeping your space fresh and breathable, so you maintain your freedom without unwanted smells or smoke.
Is It Necessary to Clean the Oven Thermostat or Sensors?
Think of your oven’s thermostat and sensors as the navigators steering your cooking ship. Regular thermostat maintenance guarantees they don’t go off course, while sensor calibration keeps temperature readings true. Skipping their cleaning can cause erratic heating, limiting your freedom to cook perfectly. So, methodically wipe these parts gently with a soft cloth and avoid harsh chemicals. This careful upkeep assures your oven performs reliably, freeing you to create with confidence.


