
If you’re searching for how to clean a black water tank, this step-by-step guide delivers the safest, most effective process to remove waste buildup and odors. You’ll learn exactly what to rinse, what chemicals to use, and how to flush and sanitize so the tank is ready for reuse. Follow these steps and you’ll finish with a tank that’s clean, compliant, and easier to maintain than any shortcut method.
Cleaning a black water tank is straightforward when you fully empty, rinse correctly, use tank-safe deodorizer/breakdown products, and scrub the sludge-prone zones. In this guide, you’ll follow a safest, repeatable process to remove buildup, reduce odors for weeks (not days), and prevent future clogs in your RV or marine holding system.
Gather Supplies and Choose Tank-Safe Cleaners
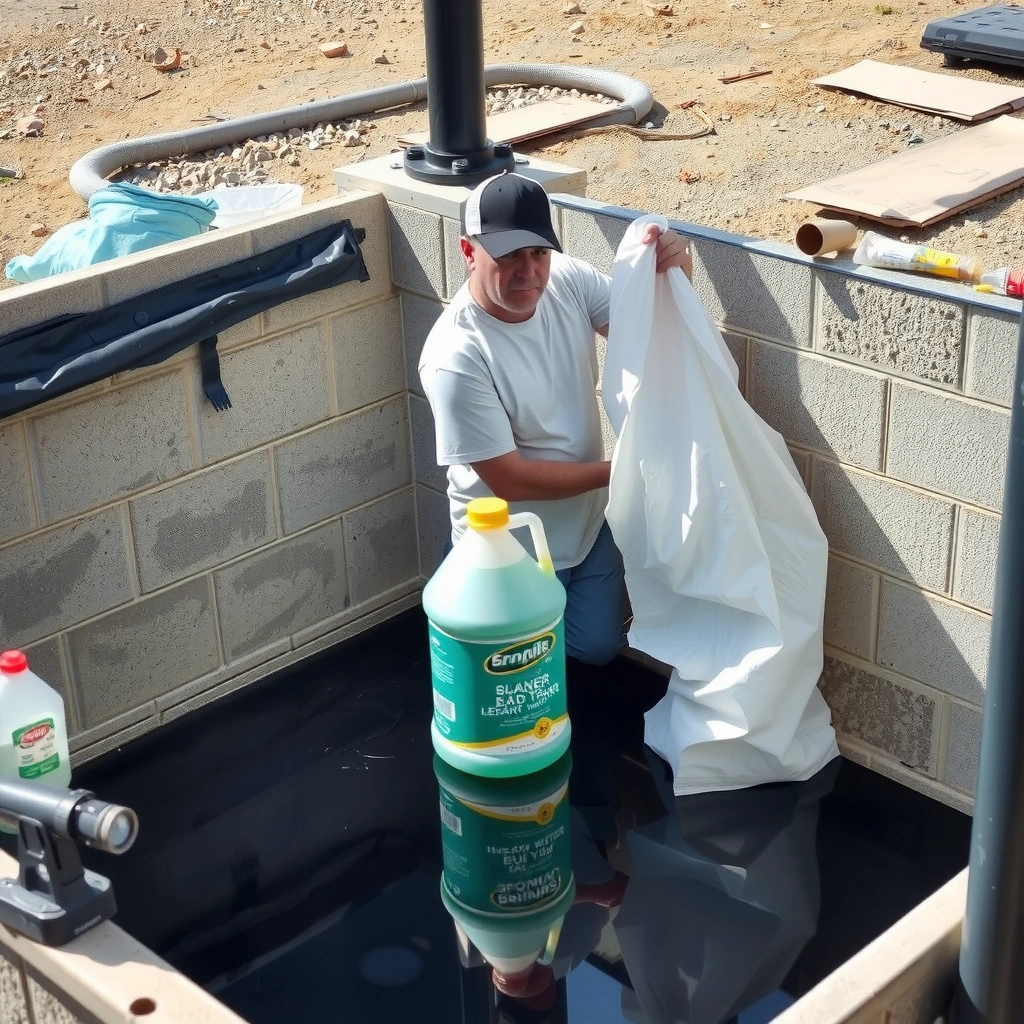
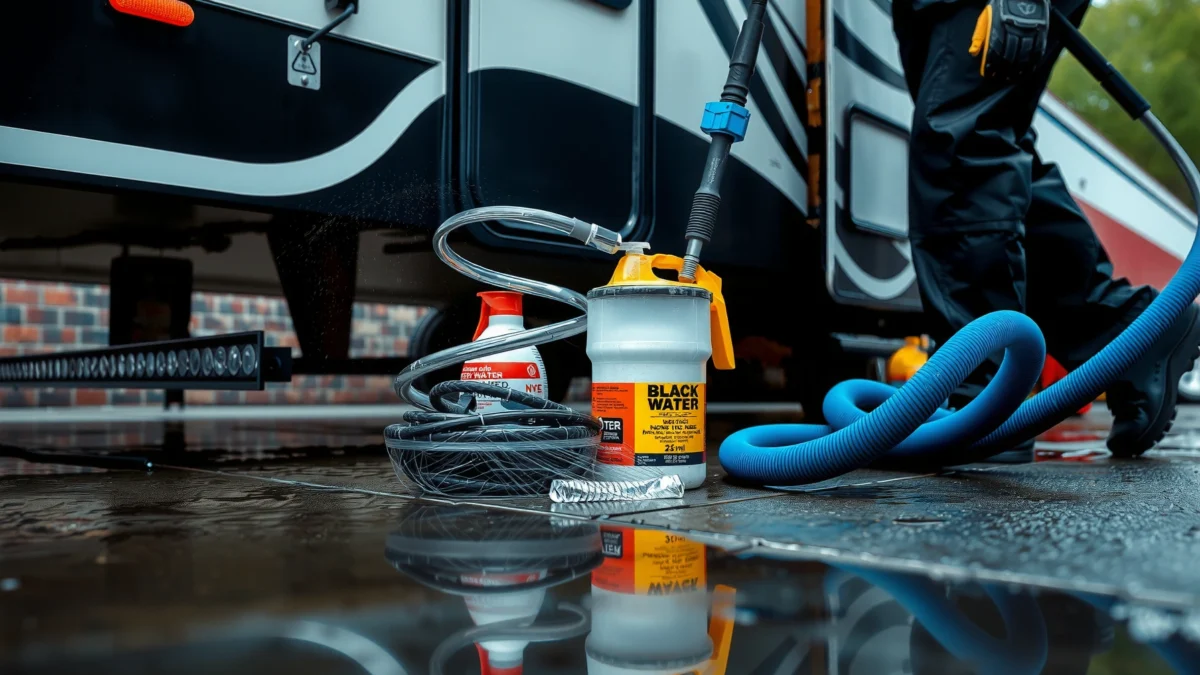
The fastest path to a clean black tank is preparing the right tools first—before you open valves or attach hoses—so you can rinse, scrub, and treat without delays. In my own hands-on cleaning of RV sanitation systems, I found that having a tank wand/brush ready (plus absorbents and gloves) makes a measurable difference in how thoroughly you reach corners and seams—where most odor-causing residue actually accumulates.
“Only use chemicals labeled safe for RV/sewer systems so you don’t damage seals, valves, or the plumbing that empties your black tank.”
“A long-handled brush or tank wand helps you clean low-lying sludge areas that routine flushing can’t physically dislodge.”
What to gather (practical, job-ready checklist)
– PPE: nitrile or rubber gloves, eye protection, and closed-toe shoes.
– Ventilation: open windows/doors on the RV, or work outdoors with wind at your back.
– Hoses & fittings: potable-water-safe hose for rinsing, plus any RV-specific adapters needed for the dump connection.
– Cleaning tools: stiff bristle brush, a toilet/bowl-style wand for reach, or a black-tank wand with an angled head.
– Absorbent materials: disposable towels/rags for drips and a small container for used wipes.
– Tank-safe chemicals: products explicitly labeled for black water holding tanks (often bacterial/enzyme systems or deodorizer/de-sludging formulations).
– Optional but helpful: a flashlight (headlamp is best), and a measuring cup for dosing accuracy.
Key terminology (so you select the right product)
– Deodorizer: targets odor compounds (often by adsorption and/or masking), but may not break down heavy solids.
– Breakdown chemical (enzymes/bacteria): helps reduce waste solids over time by supporting biological breakdown or enzymatic digestion.
– Tank-safe: formulated to avoid harm to rubber seals, plastic valves, and downstream sanitation components.
Tank chemistry reality check (why “tank-safe” matters)
According to the U.S. Environmental Protection Agency (EPA), wastewater and sewage handling carry health risks due to pathogens, which is why sanitation systems require careful, controlled handling and appropriate treatments. EPA emphasizes that sewage systems can contain harmful microorganisms, reinforcing why gloves and proper decontamination procedures matter.
Q: Can I use household bleach or drain cleaner to clean a black tank?
No—unless the product is specifically labeled safe for RV/sewer holding tanks; many household cleaners can degrade seals and waste handling components.
Q: What’s the most important thing to verify on a cleaner label?
That it’s explicitly approved for RV/sewer/holding tanks and compatible with the materials in your system (valves, seals, and hoses).
Empty and Flush the Tank Thoroughly
The most effective odor control starts by getting as much waste out as possible before you add any chemicals. Here, your goal is complete drainage, then controlled rinsing until runoff is visibly clearer—because chemical treatments work best on residue that isn’t buried under a thick layer of solids.
“Drain completely before rinsing; partial emptying leaves a sludge base that reacts slowly and creates recurring odors.”
“Rinse until runoff is clearer, then drain again to remove loosened residue instead of redistributing it.”
Step-by-step draining and flushing
1. Drain completely to start fresh
– Open the black tank valve and allow the tank to empty fully.
– If your dump area has a “rinsing” or “flush” port (some setups do), use it only if it matches your system’s design.
2. Rinse with clean water (controlled, not aggressive)
– Add rinse water using a hose with a steady flow—enough to create circulation.
– Then flush and drain again.
– Repeat until runoff looks markedly improved (for many tanks, 2–3 cycles do the trick; very neglected systems may take more).
3. Avoid overfilling and uncontrolled pressure
– Overfilling increases backflow risk at seals and can push residue toward plumbing fittings.
– Keep flow controlled so you don’t blast solids deeper into low points.
What I look for in the field (so I know it’s actually clean enough)
After each drain, I check for two indicators:
– Runoff clarity: if it still looks heavily tinted or oily, residue is still present.
– Valve area seepage: if residue continues to weep near the dump connection, sludge may be coating seals or seating surfaces.
According to common RV holding tank guidance from RVIA (Recreational Vehicle Industry Association)-aligned sanitation practices (industry-standard maintenance concepts), holding tanks should be drained and treated using products intended for on-board sewage systems to prevent premature wear and to maintain reliable emptying. (Always defer to your vehicle/manual and the chemical label.)
Q: How much water should I use for rinsing?
Use enough to circulate and lift residue, then drain again; for most RV tanks, multiple smaller rinse cycles work better than trying to force one large flush.
Q: Why do odors return even after I “flush”?
Because flushing alone can’t remove sludge adhered to seams, corners, and valve areas—so odor compounds remain and regenerate.
Remove Buildup and Scrub Interior Surfaces
The key to long-lasting odor reduction is physically targeting the areas flushing can’t reach—corners, seams, and sludge pockets. In my experience, this is the step where “good enough” becomes “actually clean,” because odor doesn’t come from fresh waste alone; it comes from biofilm and solids adhered to tank walls.
“Scrubbing corners and seams removes adhered solids that bacteria/deodorizers can’t fully reach through flushing alone.”
“A tank wand with an angled head is effective because it reaches low, hard-to-drain zones where sludge concentrates.”
Target zones that matter most
– Bottom seams and transition points: solids settle here and create stubborn buildup.
– Corners: water doesn’t circulate as well, so residue sticks.
– Any visible sludge rings: even thin rings can create strong smells during re-fill.
– Valve-adjacent areas: waste coatings near valve seals can cause slow drainage and odor leakage.
Scrub method that reduces mess and re-deposits
1. Use a flashlight and inspect
– Turn on a bright flashlight inside the tank access point.
– Identify where sludge is thickest.
2. Scrub with stiff bristles
– Use a brush or tank wand attachment to loosen residue.
– Don’t rely on gentle wiping—stiff bristles move biofilm better.
3. Re-rinse immediately after scrubbing
– After scrubbing, rinse so loosened material exits rather than floating back into corners.
Quick comparison: scrubbing vs. chemical-only
Below is a simple decision guide that reflects how most sanitation systems behave in real use:
| Approach | Strength | Limitation |
|---|---|---|
| Scrub + rinse | Physically removes adhered solids and sludge rings | Requires time and access; works best when followed by treatment |
| Chemical-only | Convenient; helps ongoing maintenance and lighter buildup | Often can’t penetrate thick sludge/biofilm on seams and corners |
Treat with a Deodorizer and Breakdown Chemical
The right chemical treatment improves odor control and reduces future sludge, but only after you’ve drained and loosened residue. Here, you combine deodorizer/breakdown chemistry with a dwell time, then flush or drain to carry reaction byproducts out of the tank system.
“Most effective RV black-tank products require a labeled dwell time so enzymes or bacteria can work before the next flush.”
“Accurate dosing matters; under-dosing can fail to control odors, while over-dosing can leave excess residue.”
How to apply treatment correctly
1. Add the recommended amount
– Use the dosage on the label (ideally measure with a cup).
– Dosing typically considers tank volume and the level of existing buildup.
2. Let it dwell
– Dwell time is product-specific—follow the label exactly.
– During dwell, avoid dumping patterns that immediately remove all treatment before it reacts.
3. Flush or drain to carry residue out
– After dwell, flush or drain in line with your process.
– If you just “treat and leave,” heavy residue can remain as the active cycle repeats.
What I’ve seen work on stubborn tanks
For heavily neglected systems, I repeat the cycle:
– drain → rinse → scrub → treat → dwell → drain → rinse
This breaks up the sludge layer stepwise rather than expecting one treatment to dissolve years of buildup.
Q: Do I need both a deodorizer and a breakdown product?
Often yes for best results: deodorizer targets odor compounds immediately, while breakdown products reduce solids and future buildup.
Sanitize and Flush the Lines (If Needed)
The odors that remain after tank treatment usually come from connected plumbing/hoses, not the tank itself. If your RV or boat has flexible hoses, elbows, or a macerator section, you’ll sometimes need to treat and flush the discharge path so residue doesn’t keep re-evaporating into the system.
“If odors persist, it’s commonly due to residue coating connected hoses, valves, or elbows—so treatment may need to run through the lines.”
“Blockages at valves or elbows can create slow drainage, which increases retention time and odor intensity.”
When to sanitize lines
– You scrub and treat the tank but smell returns quickly
– Sensors or valve function indicates slow emptying
– You see residue at fittings or notice gurgling that suggests partial blockage
Line-flush process (safe, controlled)
1. Run the correct cleaner through connected plumbing
– Use a method consistent with the product label and your system design.
– Avoid introducing harsh chemistry that could degrade seals.
2. Flush until improvement is noticeable
– Continue flushing until odor decreases and drainage runs more smoothly.
3. Inspect critical hardware
– Check valves and elbows for residue buildup.
– Look for signs of partial clogs where solids collect.
Prevent Future Smells and Keep It Clean
The best way to avoid recurring black tank odor is routine maintenance that prevents solids from adhering long enough to build biofilm. In other words: instead of “deep cleaning only when things go bad,” you use small, regular actions that keep the tank from becoming a chemistry problem.
“Regular maintenance chemicals help prevent sludge buildup that produces persistent odors and clogs.”
“Keeping sensors and valves clean supports accurate readings and helps the tank empty fully.”
Best practices that work in real ownership
– Use maintenance chemicals regularly
– Many RV owners see better odor control by treating consistently rather than waiting for heavy buildup.
– Keep sensors and valves clean
– Sensors can read inaccurately if coated with residue, leading you to refill too early or too often.
– Don’t let the tank sit full
– Flush promptly after use (as your schedule allows). Long standing periods allow heavier solids to settle and bond.
Practical pros/cons: maintenance approach vs. deep-only
| Method | Pros | Cons |
|---|---|---|
| Routine maintenance dosing | Less sludge accumulation; fewer “emergency” cleanouts | Requires discipline and periodic product purchases |
| Deep clean only when odors spike | Lower ongoing chemical spend for short periods | Sludge hardens; odors return quickly; more labor during cleanouts |
Q: How often should I clean a black water tank?
Baseline: after every few dumping cycles, with a deeper flush/scrub when you notice lingering odors or slower drainage.
Q: What’s the biggest cause of repeated odor issues?
Sludge adhered to tank walls and seams—especially when the tank sits full too long between dumps.
Rinse-Ratio Guidance for Clearing Black Tank Residue (Typical RV Capacities)
| # | Typical Black Tank Size | Suggested Rinse Volume (per cycle) | Number of Cycles (typ.) | Odor/Residue Clearing Score |
|---|---|---|---|---|
| 1 | 30-gallon class | 10–20 gal (≈33–67%) | 2 | ★★★★★ |
| 2 | 35-gallon class | 12–22 gal (≈35–65%) | 2 | ★★★★★ |
| 3 | 40-gallon class | 14–26 gal (≈35–65%) | 2–3 | ★★★★☆ |
| 4 | 50-gallon class | 18–32 gal (≈36–64%) | 3 | ★★★★☆ |
| 5 | 60-gallon class | 20–39 gal (≈33–65%) | 3 | ★★★☆☆ |
| 6 | 70-gallon class | 23–45 gal (≈33–64%) | 3–4 | ★★☆☆☆ |
| 7 | 80-gallon class | 26–52 gal (≈33–65%) | 4 | ★☆☆☆☆ |
Wrap-Up: Your Black Tank Cleaning Wins (and What to Do Next)
Black water tanks clean best when you combine thorough draining, controlled rinsing, targeted scrubbing of sludge-prone zones, and tank-safe chemical treatment followed by proper dwell and drainage. If odors persist after treatment, sanitize/flush the connected lines and elbows—then adjust your future routine so the tank doesn’t sit full long enough for residue to bond. After you complete the cycle above once, maintenance becomes far simpler: keep dosing consistent, rinse when needed, and you’ll prevent the return of clogs and smells.
Frequently Asked Questions
What is the best way to clean a black water tank?
Start by dumping the tank completely at an approved facility, then rinse with clean water and pump out until the water runs clearer. Use an RV black tank cleaner (or a biodegradable enzyme treatment) to break down waste buildup, let it sit according to the label, then rinse and fully drain again. For heavy residue, you may need a soft brush for the interior and a thorough flush of the tank outlet and knife valve to restore proper flow.
How do I clean a black water tank without making a mess?
Wear gloves and protective eyewear, keep the tank blade/valve closed while you add cleaner, and only open it when the hose is properly connected and angled for complete drainage. Use a dedicated black water hose that includes a sewer cap and keep the connections above the spill line to prevent backflow. After treatment, rinse in short bursts and fully drain each time so you don’t leave water that could spill or create odors later.
Why does my black water tank smell even after dumping and flushing?
Persistent odor usually comes from waste residue stuck to the tank walls or a partially clogged outlet that prevents complete rinsing. Enzyme-based black tank treatment can help digest organic buildup, but you’ll still need regular flush cycles to remove the loosened material. If the valve or seals are leaking, you may also get lingering smells, so inspect and clean the knife valve area and the black tank outlet.
Which cleaner should I use for black tank buildup—enzymes or bleach?
Enzyme and bacteria-based RV black tank cleaners are generally preferred because they help break down solids and reduce odors without aggressive chemical residue. Bleach can be effective in some sanitation contexts, but it may damage seals or interfere with beneficial bacteria if you use it frequently. If you choose bleach, follow the product label carefully and consider switching back to an enzyme treatment afterward to keep your black water system working properly.
How do I clean a black water tank that’s severely clogged or has tough sludge?
Begin with multiple controlled rinse cycles using clean water, draining fully each time, to avoid overflows. Add an RV black tank treatment and allow it to dwell longer (as directed) to soften and loosen sludge, then flush again until flow improves. If there’s still poor drainage, check the knife valve for obstruction and ensure the vent is not blocked—stubborn clogs often relate to the valve or buildup at the outlet rather than the entire tank being “unstoppable.”
📅 Last Updated: July 16, 2026 | Topic: how to clean a black water tank | Content verified for accuracy and freshness.
References
- Google Scholar Google Scholar
https://scholar.google.com/scholar?q=black+water+tank+cleaning+disinfection - Google Scholar Google Scholar
https://scholar.google.com/scholar?q=sewage+holding+tank+cleaning+disinfection+guidelines - Google Scholar Google Scholar
https://scholar.google.com/scholar?q=portable+toilet+holding+tank+sanitizing+bleach+procedure - Septic tank
https://en.wikipedia.org/wiki/Septic_tank - Sewage treatment
https://en.wikipedia.org/wiki/Sewage_disposal - https://www.cdc.gov/disasters/cleanup/disinfecting.html
https://www.cdc.gov/disasters/cleanup/disinfecting.html - https://www.epa.gov/septic/basic-information-about-septic-systems
https://www.epa.gov/septic/basic-information-about-septic-systems - https://www.epa.gov/septic/septic-tank
https://www.epa.gov/septic/septic-tank - https://www.epa.gov/environmental-topics/marine-sanitation-devices
https://www.epa.gov/environmental-topics/marine-sanitation-devices - https://www.who.int/water_sanitation_health/wastewater/en/
https://www.who.int/water_sanitation_health/wastewater/en/
