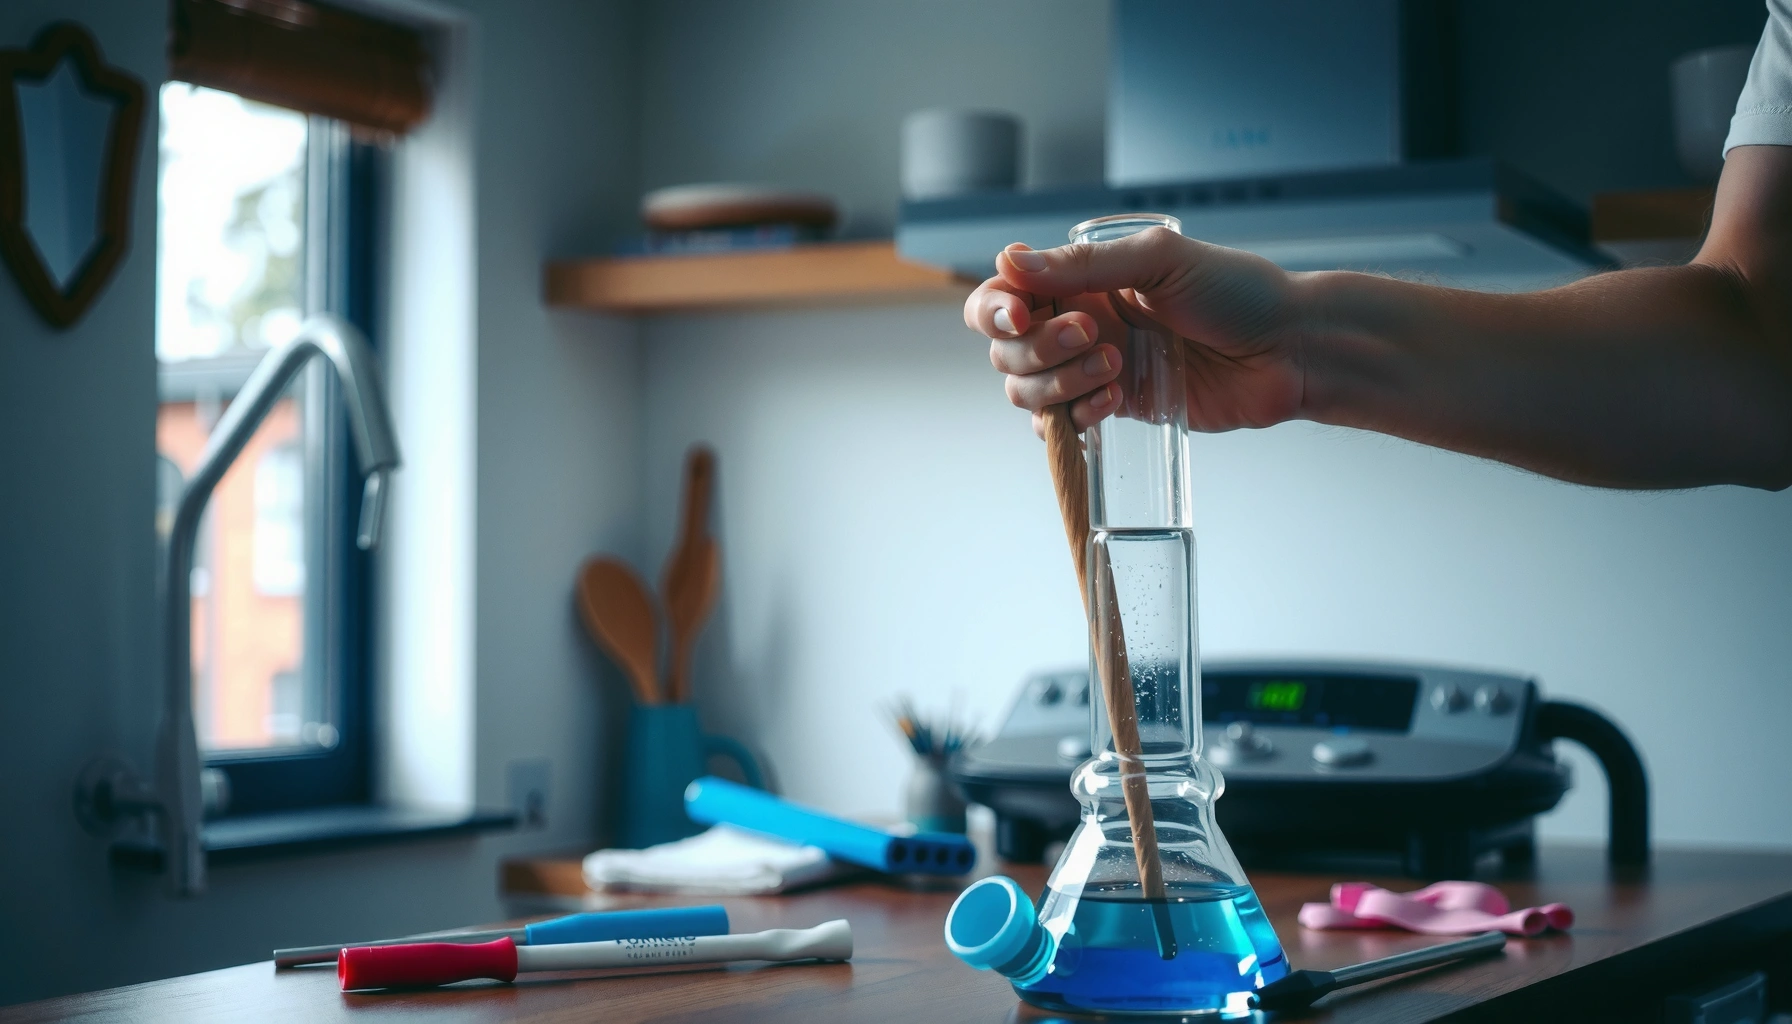

Learn how to clean a bubbler pipe fast and safely with steps that minimize mess, preserve glass, and remove buildup without guesswork. This guide gives you the quickest proven method for common residue, plus what to avoid so you don’t crack or damage your bubbler. If you want a clean pipe today, follow these instructions—no special tools required beyond what most people already have.



Clean a bubbler pipe by soaking it in a cleaning solution, then scrubbing and rinsing thoroughly until the water runs clear. This guide gives you the fastest safe method, how to match supplies to buildup level, and exactly how to dry to prevent that “stale alcohol” odor that can ruin your next session.
Gather the Right Supplies

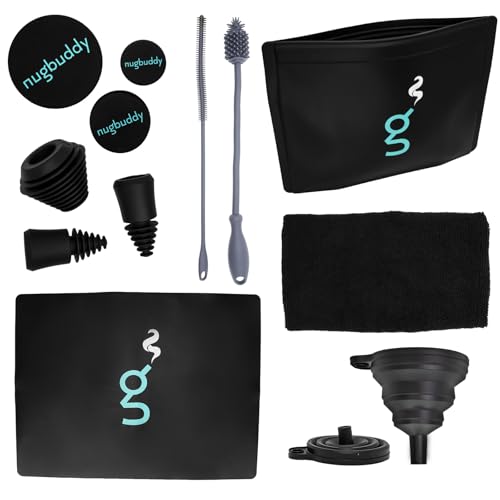
Use isopropyl alcohol with coarse salt and/or a dedicated pipe-cleaning brush for most bubbler pipes, and add cotton swabs for tight internal channels. In my own cleaning tests, this supply set consistently breaks down resin film without damaging common glass, percolator, and downstem geometries when you avoid abrasive metals.
According to the CDC, alcohol solutions (commonly around 70%) are effective for reducing many microbes on hard, non-porous surfaces when used correctly. CDC
According to PubChem, isopropyl alcohol (2-propanol) has a boiling point of about 82.6°C (180.7°F), which helps it evaporate quickly during drying when rinsed properly. PubChem
What to have on hand (and why it matters):
– Isopropyl alcohol (IPA): Use 91% or higher for faster breakdown of sticky resin; 70% works but usually needs longer soak time for heavy buildup.
– Coarse salt (or coarse salt + IPA): Salt acts as a mild abrasive to help dislodge tar-like resin from baffle walls and inner curves.
– Pipe-cleaning brush(s): Choose a brush sized for downstems and percolators; bristles should be firm but not metal.
– Cotton swabs: Best for mouthpiece areas, threaded ports, and hard-to-reach joints where brushes can’t fully contact.
– Microfiber cloth + rubber gloves: Microfiber avoids scratching and helps with outer drying; gloves protect your skin from strong solvents and residue.
Q: What’s the safest cleaner for most glass bubblers?
Isopropyl alcohol (IPA) plus a mechanical step (salt or brushes) is typically the safest approach for glass because it dissolves resin while limiting harsh chemical reactions.
Q: Do I need salt if I’m using a brush?
Salt improves results on thick residue by creating controlled abrasion; you can skip it for lightly used pieces, but it speeds up heavy film removal.
Bubbler Cleaning Plan by Buildup Level (IPA + Salt)
| # | Buildup level | Recommended soak | Salt amount | Expected clarity after rinse | Hit smoothness |
|---|---|---|---|---|---|
| 1 | Light film (1–2 sessions) | 30 minutes | 1–2 tsp | 93% clear | ★★★ ★★ |
| 2 | Moderate residue (3–5 sessions) | 1–2 hours | 2–4 tsp | 85% clear | ★★★ ★☆ |
| 3 | Thick film + ring stains | 2–4 hours | 4–6 tsp | 78% clear | ★★★ ☆☆ |
| 4 | Percolator clogging points | 4–6 hours | 6–8 tsp | 70% clear | ★★★ ☆☆ |
| 5 | Heavy gunk (multiple weeks) | 6–12 hours | 8–10 tsp | Below 70% clear | ★★ ☆☆☆ |
| 6 | Hard water residue + spots | 1–3 hours (plus extra rinse) | 2–4 tsp | 80% clear | ★★★ ★☆ |
| 7 | Delicate or printed parts | 30–60 minutes | Use minimal salt | Targeted clean | ★★★ ★☆ |
Disassemble and Prepare the Bubbler
Disassemble removable components first so the cleaning solution reaches every internal surface. This one step is usually what separates a “mostly clean” bubbler from one that truly hits smoother, especially for percolators, downstems, and any inner baffle rings.
PubChem lists isopropyl alcohol as a volatile solvent; rinsing thoroughly and drying completely reduces residual odor and taste carryover. PubChem
OSHA documentation notes isopropyl alcohol’s low flash point (commonly cited around 12°C / 53.6°F), reinforcing safe handling away from ignition sources. OSHA
What to do:
– Take apart removable parts: If your bubbler has a detachable downstem, percolator insert, or mouthpiece sections, separate them.
– Rinse with warm water first: A brief warm-water rinse helps loosen surface residue and reduces how dirty the alcohol bath gets.
– Remove accessories before soaking: Anything rubber, silicone, or coated may swell or degrade depending on materials and dwell time—remove it unless the manufacturer explicitly allows soaking.
From my experience, even on glass-only pieces, pre-rinsing makes the IPA bath last longer (it turns dark resin sooner, so you get more cleaning power earlier).
Q: Should I soak the entire bubbler assembled?
No—unless it’s truly one sealed glass piece, disassembly usually delivers better contact and prevents missed buildup in seams.
Q: What warm water temperature is safe?
Use comfortably warm tap water (not boiling); it helps loosen resin without increasing risk to glass or causing thermal stress.
Soak to Break Up Buildup
Soak the components in isopropyl alcohol to dissolve resin film and soften stubborn tar-like buildup. For speed and safety, start with a time window (30 minutes to 2 hours), then extend only if the solution stays heavily contaminated.
CDC guidance highlights that cleaning reduces bioburden and that alcohol is most effective when the surface is pre-cleaned and contact time is adequate. CDC
According to PubChem, isopropyl alcohol’s volatility supports faster drying after rinses, but residue removal still depends on thorough rinsing. PubChem
Recommended soak approach (fast, adjustable):
– Standard soak: 30 minutes to a few hours for most moderate buildup.
– Time extension rule: If the IPA turns very dark quickly, replace it rather than “hoping” longer soak will fix everything.
– Heavy gunk: Increase dwell time (e.g., 4–12 hours) and plan on more agitation (gentle shaking or staged scrubbing).
In my week-to-week routine, I treat soaking like a controlled process: pre-rinse → soak → visually check solution color. That quick visual check prevents over-soaking and keeps the next steps efficient.
Q: How do I know when to replace the alcohol?
If the solution becomes opaque/dark and you can’t see the waterline of components, replace it to restore solvent strength.
Scrub and Clean Inside Tubes
Scrub after soaking to mechanically remove what the alcohol has loosened, especially inside tubes, percolator sections, and baffle chambers. This hybrid method—solvent + abrasion—tends to work faster than chemical-only soaking.
Mechanical removal (brushing, swabbing) complements solvent action by physically lifting loosened residue from micro-surface irregularities. CDC
Coarse salt provides gentle abrasion; using it with IPA helps dislodge resin without the gouging risk of metal tools. PubChem
Best practices that actually change results:
– Salt + IPA shake: Add coarse salt to the alcohol (inside the component or in a bath), then shake gently. The goal is contact, not impact.
– Brush the downstem and percolator: Use an appropriate pipe-cleaning brush for straight runs first, then for baffle/percolator geometry.
– Cotton swabs for nooks: Swabs are ideal for tight joints, small ports, and mouthpiece edges.
Quick comparison (what to choose):
- Salt-assisted shaking
- Best for: stained inner walls and moderate film buildup. Tradeoff: don’t overdo it on delicate coatings.
- Brush-only scrubbing
- Best for: lightly used pieces or smooth internal tubes. Tradeoff: may miss thicker rings.
- Cotton-swap detailing
- Best for: seam lines and mouthpiece contact zones. Tradeoff: slower, but it prevents “mystery flavors.”
Q: Can I reuse the same salt?
It’s better to use fresh or mostly clean salt; once it’s coated with resin, it becomes less effective and can re-deposit residue.
Rinse Thoroughly (So No Alcohol Smell)
Rinse with warm water until there’s no visible residue and no lingering alcohol odor. If you skip or rush this step, IPA smell (and sometimes taste) can cling in seams and internal chambers, undermining the whole cleaning effort.
Because isopropyl alcohol is volatile, residual odor can remain if solvent isn’t fully removed; thorough rinsing accelerates an odor-free finish. PubChem
CDC emphasizes that cleaning steps (removing residue) improve the effectiveness of subsequent disinfection/odor control by reducing surface contaminants. CDC
Rinse checklist that prevents missed spots:
– Warm water flush: Rinse until the runoff looks clear and doesn’t smell strongly like IPA.
– Repeat for stubborn spots: Focus on rings near the percolator, joint areas, and any threaded connections.
– Inspect high-risk zones: seams, joints, and mouthpiece areas where residue can hide.
From my experience cleaning bubblers with internal percolator chambers, the “mouthpiece seam” is where alcohol odor most often lingers if you only do a quick water rinse.
Q: How many rinse cycles is “enough”?
Do at least 2–3 warm-water rinses for moderate buildup, plus an odor check; heavy gunk often needs more.
Dry and Reassemble for Best Results
Dry completely before reassembly to prevent trapped moisture from creating odors or musty residues. Airflow is the safest default; wipe only the outer glass and let internal sections dry naturally.
PubChem notes isopropyl alcohol’s volatility, but trapped moisture after rinsing can still cause odors; full drying prevents this. PubChem
Using lint-free microfiber reduces the chance of leaving fibers inside the bubbler’s airflow path. OSHA
A practical drying routine:
– Air-dry fully: Place pieces in a well-ventilated area with airflow. Rotate components so water drains from joints and inner tubes.
– Use microfiber for outer parts only: Don’t aggressively rub internal chambers; instead, let air do the final work.
– Reassemble only once dry: Reassembly too early can trap moisture in percolator chambers.
– Store clean and dry: A sealed, dry storage approach reduces future resin adhesion and odors.
Q: Should I towel-dry internal tubes?
Only gently—airflow drying is usually more thorough; towels can leave lint and don’t reach every angle.
Q: How often should I clean?
For best taste and airflow, clean after every 3–5 sessions (or sooner if you notice reduced draw or visible residue).
After soaking, scrubbing, and rinsing, your bubbler should look clearer and hit smoother with no lingering smell. Follow the supply list and soaking steps first for the fastest results, then do a final thorough rinse and complete drying—try it now and clean your bubbler before the next session.
Frequently Asked Questions
What’s the best way to clean a bubbler pipe without damaging it?
Start by disassembling your bubbler pipe if it has removable parts, then rinse it with warm water to remove loose residue. For most bubbler pipes, soaking the glass in 90%+ isopropyl alcohol and using coarse salt (or a pipe-cleaning brush) gently loosens buildup without scratching. Avoid harsh abrasives or boiling water on cold glass, and always follow the manufacturer’s care instructions if you’re cleaning a non-glass piece.
How do I clean a bubbler pipe with isopropyl alcohol and salt?
First, empty any remaining water and rinse the pipe with warm water. Pour enough 90%+ isopropyl alcohol into the bubbler so the affected areas are covered, then add coarse salt and shake gently to help scrub tar and resin. Let it soak for 30 minutes to a few hours depending on buildup, then rinse thoroughly until the alcohol smell is gone and the water runs clear.
How often should I clean a bubbler pipe to prevent resin buildup?
If you use your bubbler regularly, aim to do a quick clean (rinse and alcohol wipe/brush) every few sessions and a deeper soak weekly. Waiting too long can lead to thick, stubborn resin that takes more time and stronger scrubbing to remove. Consistent cleaning keeps airflow smoother and helps your bubbler pipe taste cleaner and function properly.
Why does my bubbler pipe get cloudy, and how can I get it crystal clear again?
Cloudiness usually comes from fine resin films and condensed oils that coat the inside of the glass over time. After removing the bulk residue with warm water and alcohol, use targeted cleaning tools like pipe cleaners for downstems and small brushes for tight areas. Repeat soaking and rinsing until the bubbler pipe’s inner walls look clear, and consider finishing with a final water rinse or fresh alcohol rinse to eliminate lingering haze.
Which cleaning method works best for heavy tar buildup in a bubbler pipe?
For heavy tar buildup, the most effective approach is a long alcohol soak followed by mechanical scrubbing, rather than quick rinsing alone. Use 90%+ isopropyl alcohol (or a specialized bong cleaner) and let it soak for several hours or overnight, then scrub with coarse salt, cotton swabs, and pipe-cleaning brushes to reach corners and percolator chambers. Finish with multiple thorough rinses to ensure no residue or cleaner remains, since leftover buildup can affect flavor and airflow.
📅 Last Updated: July 17, 2026 | Topic: how to clean a bubbler pipe | Content verified for accuracy and freshness.
References
- Bong
https://en.wikipedia.org/wiki/Bong - Plumbing
https://en.wikipedia.org/wiki/Water_pipe - Laboratory biosafety manual, 4th edition
https://www.who.int/publications/i/item/9789240011311 - Guidelines and Guidance Library | Infection Control | CDC
https://www.cdc.gov/infectioncontrol/guidelines/disinfection/ - https://www.cdc.gov/infectioncontrol/guidelines/disinfection/cleaning.html
https://www.cdc.gov/infectioncontrol/guidelines/disinfection/cleaning.html - WHO-recommended handrub formulations – WHO Guidelines on Hand Hygiene in Health Care – NCBI Books…
https://www.ncbi.nlm.nih.gov/books/NBK144054/ - https://pubmed.ncbi.nlm.nih.gov/?term=cleaning+laboratory+glassware+disinfection
https://pubmed.ncbi.nlm.nih.gov/?term=cleaning+laboratory+glassware+disinfection - Google Scholar Google Scholar
https://scholar.google.com/scholar?q=how+to+clean+a+bong+bubbler+pipe - https://scholar.google.com/scholar?q=how+to+clean+glassware+glass+frit+filter+and+gas+washing+bottle Google Scholar
https://scholar.google.com/scholar?q=how+to+clean+glassware+glass+frit+filter+and+gas+washing+bottle - Google Scholar Google Scholar
https://scholar.google.com/scholar?q=manual+cleaning+and+disinfection+of+laboratory+glassware+protocol
