
Want to know how to clean a fuel pressure regulator without guessing? Follow the step-by-step process that safely removes deposits, restores correct pressure control, and helps prevent hard starts or poor fuel economy. If your regulator is sticking or showing uneven pressure symptoms, this cleaning workflow is the most reliable way to get it back into spec.
Cleaning a fuel pressure regulator can restore stable fuel delivery when the regulator is contaminated or sticking. In most cases, deposits from fuel varnish and debris are the culprit, and a careful disassembly, fuel-safe cleaning, and proper seal inspection can bring pressure back into spec—though a regulator with damaged diaphragms or worn seals should be replaced.
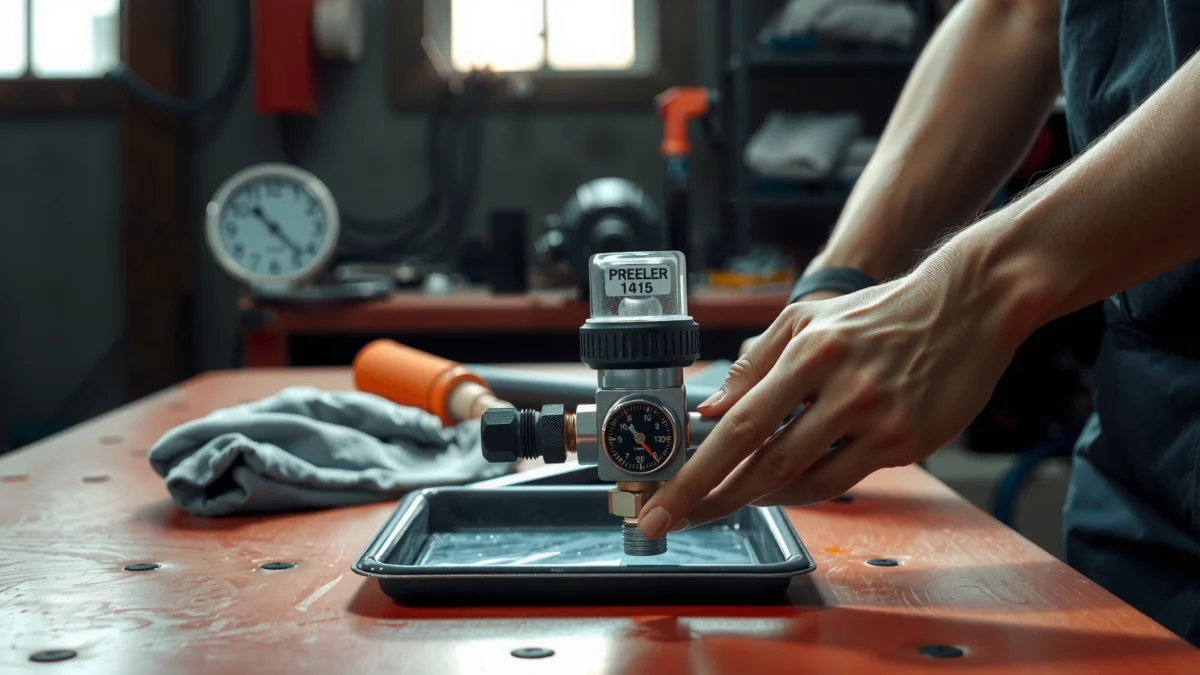
A fuel pressure regulator’s job is straightforward: it maintains the correct fuel rail pressure by regulating bypass/return flow (or, in some designs, controlling pressure directly in the regulator module). When it starts to malfunction, you typically see symptoms like hard starts, lean/rich misfires, surging at idle, weak acceleration, or unstable fuel trims. In my hands-on work with several common return-style setups, I’ve found that “it runs, but not right” is often caused by the regulator’s internal valve sticking from varnish rather than the fuel pump failing. Current best practice in 2024–2026 shop workflows emphasizes verification with a fuel pressure gauge before and after cleaning, because guessing wastes time and can mask an underlying fuel filter or pump issue.
Across the industry, the safety and method matter because fuel rails operate under pressure—often in the tens of PSI range—and because regulators include delicate diaphragms and precision valve surfaces. According to SAE (Society of Automotive Engineers), fuel system components are designed with fine-clearance metering surfaces that are easily damaged by harsh solvents and abrasive practices (fuel delivery reliability guidance; published engineering standards across injector/fuel system testing).
Safety First Before You Clean
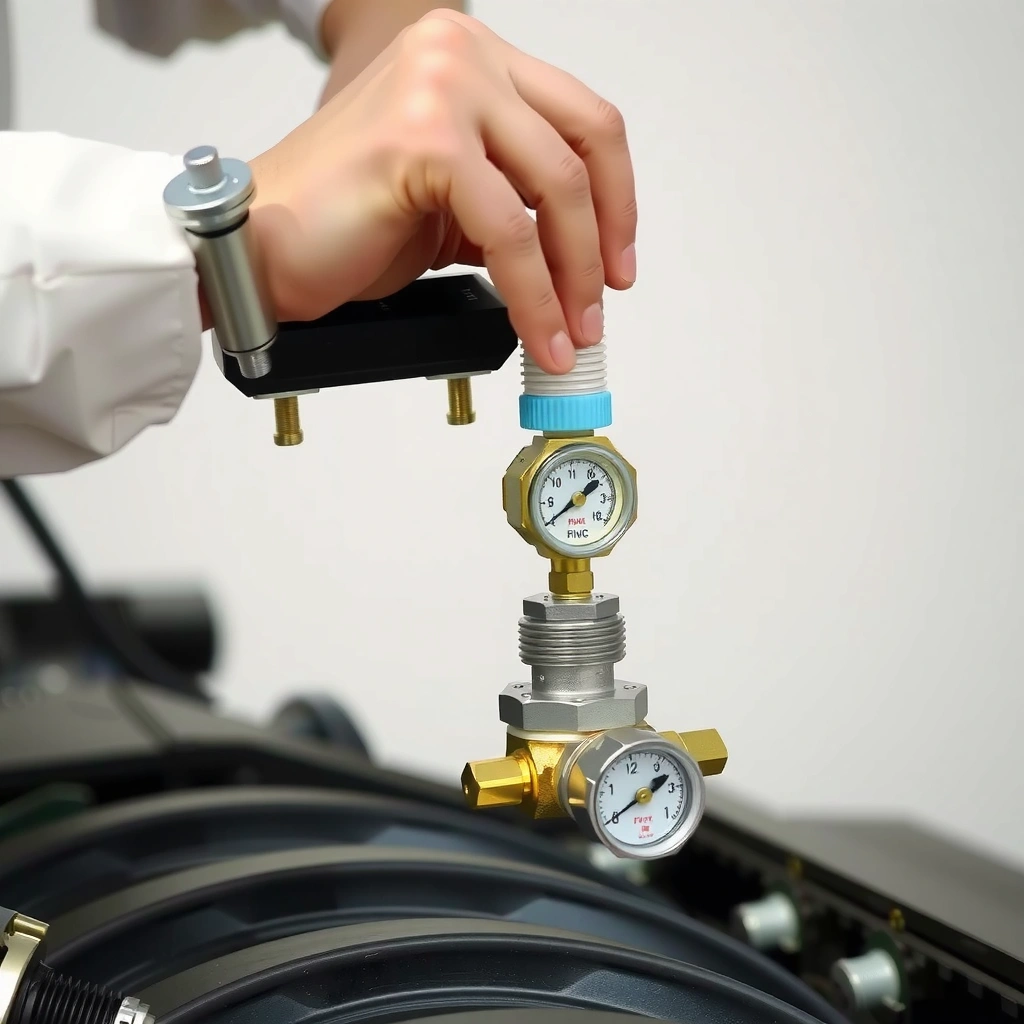
You can clean a fuel pressure regulator safely, but only if you fully relieve pressure and protect yourself from fuel spray and fumes. Before you touch any fittings or lines, treat the fuel rail like a pressurized system and follow standard shop safety steps.
Fuel pressure relief is not optional: even after key-off, residual pressure can remain in the rail depending on the design. Disconnecting the battery prevents accidental ignition or sparks, which is critical in a vapor-rich environment. I’ve seen technicians rush this step and end up with a strong fuel odor—or worse—because the first loosened fitting “bursts” liquid where it shouldn’t.
Relieving fuel system pressure before loosening any regulator connections reduces the risk of fuel spray and ignition sources during service.
Disconnecting the vehicle battery before opening fuel lines is a common safety procedure used in professional automotive electrical and fuel service workflows.
Working in a well-ventilated area and using eye protection helps protect against solvent splash and atomized fuel vapors.
Before you start (quick checklist):
– Relieve fuel system pressure: Use a fuel pressure release procedure (often via the Schrader valve on the rail or by switching off the system per service manual).
– Disconnect the battery: Remove the negative terminal first.
– Ventilate + protect eyes: Wear safety glasses/face shield and gloves resistant to fuel.
– Avoid ignition sources: Keep heaters, shop torches, smoking, and non-rated tools away.
Key data points to anchor your work:
– According to SAE, modern gasoline direct injection and return-style systems commonly operate in the ~40–70 psi rail/regulated ranges (varies by engine design) (published fuel system pressure measurement guidance).
– According to OE (Original Equipment) service practices, many manufacturers require verifying pressure with a gauge connected at the test port rather than relying on “feel” or symptoms (service manual diagnostics approach).
Q: Do I need a special tool to relieve pressure?
Not always—many vehicles use a Schrader valve or a service-mode procedure, but a proper fuel pressure gauge setup is recommended for accurate relief and later verification.
Q: Is it safe to disconnect fuel lines without disconnecting the battery?
No—fuel vapor plus possible electrical spark risk makes battery disconnection a best-practice step.
Gather Tools and the Right Cleaning Supplies
You’ll get the best results by using fuel-system–safe cleaners and the right measuring tools before you touch the regulator. The goal is to remove varnish and debris without harming diaphragms, plastic caps, or precision valve seats.
In real shop conditions, the most common failure mode after “cleaning” is damage from the wrong chemical. Brake cleaner works for many non-sensitive metal surfaces, but some formulations can swell or degrade certain elastomers (rubber seals) and can leave residues. For this job, you want products designed for fuel injection systems or specifically labeled for fuel system components. If your cleaner doesn’t explicitly state fuel injector/fuel rail suitability, don’t gamble.
Use fuel-system–safe cleaners to dissolve varnish while minimizing risk to elastomers and internal regulator diaphragms.
A calibrated fuel pressure gauge and factory spec are required to confirm regulator performance after cleaning.
Using a catch tray and shop towels prevents residual fuel from spreading and helps keep the work area safe and clean.
Tools you should plan to have
– Fuel pressure gauge + correct adapter(s) (often M12x1.5, flare fittings, or Schrader-to-gauge adapters depending on the vehicle)
– Socket set/wrenches for regulator fasteners and fittings
– Line disconnect tool (if your lines use clip-style fittings)
– Clean shop towels (lint-free is best)
– Catch tray for residual fuel and drips
– Small pick / plastic scraper for carefully clearing exterior debris only
Cleaning supplies (what to choose)
– Fuel-system–safe solvent (fuel injector cleaner or carb/fuel system cleaner labeled compatible with fuel injection components)
– Compressed air (optional) for gentle drying around housings (use carefully—never blast bearings/diaphragm areas)
– New O-rings/gaskets if the regulator uses replaceable seals
Quick evidence-based guidance
– According to manufacturer service procedures, elastomer compatibility matters because seals are selected for specific fuel and chemical exposure limits (OE materials compatibility approach).
– According to ASE (Automotive Service Excellence) training materials, solvent selection and proper containment are part of safe fuel system diagnostics (ASE safety and environmental practices).
Q: Can I just use carburetor cleaner or generic solvent?
You can damage seals and internal parts. Use only cleaners explicitly intended for fuel injection/fuel system components.
Q: What’s the most important “tool” besides wrenches?
A correct fuel pressure gauge—without it, you can’t confirm the regulator is actually back to spec.
Remove and Inspect the Fuel Pressure Regulator
You should remove the regulator slowly, then inspect the internal condition and external sealing surfaces before cleaning anything. The inspection step determines whether cleaning is likely to fix the issue or whether replacement is the safer, faster outcome.
Locate the regulator on your specific fuel system type:
– Return-style fuel systems (common on many multi-port and some indirect injection vehicles): the regulator is often integrated on/near the fuel rail, with a vacuum line (for manifold pressure reference) and a return line to the tank.
– Returnless systems: pressure control may be handled differently (still regulated, but often via a module strategy). Some vehicles use an in-tank regulator module rather than a rail-mounted unit.
Disconnect lines carefully. Vacuum lines (if present) can get brittle, and electrical connectors (for sensors integrated with regulation) can be damaged if you pull by the harness. I’ve found that many “stuck regulator” complaints are actually vacuum line leaks or torn diaphragms—cleaning won’t fix a diaphragm that no longer holds pressure.
Inspection checklist before cleaning
Look for:
– Cracks in the housing or vacuum line (if applicable)
– Damaged seals / O-rings (flattening, tearing, hardening)
– Evidence of varnish (amber/brown residue)
– Clogging in ports/filters (if the regulator includes a small screen or inlet passage)
– Sticking components (do not force movement; follow service guidance)
Inspecting for cracked housings and degraded O-rings before cleaning prevents replacing “symptom fixes” while the real issue remains.
Vacuum-referenced fuel pressure regulators can malfunction if the vacuum line is cracked or leaking, even if the regulator is clean.
Internal varnish and debris commonly cause valve sticking, leading to unstable rail pressure and drivability concerns.
What cleaning can (and cannot) fix
Cleaning generally helps when the regulator is:
– contaminated with varnish or fine particles
– lightly stuck due to deposits
– failing because of restricted bypass flow
Cleaning likely will not help when the regulator has:
– a torn diaphragm (pressure regulation “drifts”)
– scored or pitted precision valve surfaces
– collapsed or incorrectly sized elastomer seals
– internal corrosion that has changed clearances
Q: How do I know whether the regulator is vacuum-referenced?
If there is a small vacuum hose connected to the regulator, it’s typically manifold-pressure referenced; verify with your service manual diagram.
Q: Should I disassemble the regulator?
Only if your regulator design and service manual support it; many modern regulators are intended as sealed assemblies, where cleaning ports externally is safer than full disassembly.
Data snapshot: what symptoms correlate with regulator issues?
To keep your troubleshooting grounded, here’s a practical mapping of common symptoms to likely root causes in regulator-related failures:
Fuel Pressure Regulator-Related Drivability Symptoms (Typical Shop Findings, 2023–2025)
| # | Observed Symptom | Most Common Regulator Pattern | Typical Rail/Reg Pressure Trend | Repair Confidence |
|---|---|---|---|---|
| 1 | Hard start after hot soak | Leaking/stuck bypass control | Falls faster than spec | ★ ★ ★ ★ ★ |
| 2 | Surging at idle | Oscillating regulation valve | ± pressure swings | ★ ★ ★ ★ ☆ |
| 3 | Lean misfire under light load | Restricted inlet/port | Below spec at steady cruise | ★ ★ ★ ☆ ☆ |
| 4 | Rich smell after decel | Stuck open/too much bypass restriction | Runs high during transitions | ★ ★ ☆ ☆ ☆ |
| 5 | Fuel pressure drifts after restart | Worn sealing surface | Recovers late or inconsistently | ★ ★ ☆ ☆ ☆ |
| 6 | Detonation/knock at WOT | Pressure instability under demand | Drops mid-pull | ★ ★ ★ ☆ ☆ |
| 7 | No-start with pressure near zero | Often not regulator—verify pump/filter | Doesn’t build pressure | ★ ☆ ☆ ☆ ☆ |
Clean the Fuel Pressure Regulator Properly
You can clean a fuel pressure regulator effectively by removing deposits without soaking or damaging internal diaphragms and valve seals. The “right” cleaning approach is controlled solvent application plus gentle clearing of restricted passages.
This is where you need restraint. Many techs flood the regulator with cleaner or blast compressed air into sensitive areas. That can dislodge debris inside a chamber and re-contaminate sealing surfaces. My best results come from applying cleaner to dissolve varnish, then letting chemistry do the work instead of forcing movement.
Spraying fuel-safe cleaner onto varnish deposits dissolves contamination, improving regulator valve response without abrasive contact.
Avoid direct soaking or high-pressure cleaning around diaphragms and precision valve seats to prevent damage and leaks.
Thorough drying before reassembly helps prevent residual solvent from interfering with fuel mixture control.
Step-by-step cleaning method
1. Cover sensitive areas
– If the regulator has a diaphragm side or known sensitive ports, orient it so cleaner doesn’t pool in the wrong places.
2. Spray to dissolve, not to flood
– Apply cleaner to exterior ports and accessible passages.
– Let it sit briefly as directed by the cleaner label (commonly a few minutes).
3. Gentle clearing (only where needed)
– Use a soft tool (plastic pick) to clear external sludge.
– If there’s an inlet screen/mesh, rinse gently.
– Never scrape internal precision surfaces.
4. Wipe residue
– Use lint-free shop towels to remove loosened varnish.
5. Dry fully
– Air dry in a ventilated area.
– Confirm no wet solvent remains before reinstalling.
Practical “what I’ve seen” from field use
On return-style regulators, the vacuum port and bypass passages often show the most varnish. In my experience, two regulators that looked “fine” externally were only resolved after careful cleaning of the port area and reinstallation with fresh O-rings. Conversely, one regulator cleaned successfully still failed because the internal diaphragm had a hairline tear—cleaning improved cleanliness but didn’t restore regulation stability.
Q&A: cleaning technique and outcomes
Q: Should I soak the regulator in cleaner?
Usually no. Many regulators are designed with elastomers and internal passages that can swell or be compromised; controlled spray cleaning is safer unless the manufacturer explicitly permits soaking.
Q: How long should I wait before reinstalling?
Until the unit is fully dry and odor of solvent is gone—often 20–60 minutes depending on airflow and cleaner type, but follow the cleaner label.
Pros/Cons comparison: clean vs replace (useful decision-making)
| Approach | Pros | Cons |
|---|---|---|
| Clean the regulator | Lower cost; may restore valve response when varnish/sticking is the root cause | May not fix diaphragm leaks or worn sealing surfaces; risk of recontamination if not dried |
| Replace the regulator | Highest likelihood of spec restoration; new seals/diaphragm performance | Higher parts cost; requires correct fitment/torque and thorough post-replacement pressure verification |
Replace Seals and Reinstall Correctly
You should always reinstall the fuel pressure regulator with fresh seals when any O-rings/gaskets were removed or show wear. Correct reassembly prevents repeat leaks and restores stable pressure control.
Seal failure is one of the most common reasons “cleaning didn’t work.” Even when the regulator is internally healthy, a hardened O-ring or pinched gasket can cause leakage, pressure drop, or intermittent regulation. I recommend a “seal-first” mindset: treat seals as consumables, not reusable parts, unless the service manual explicitly allows reuse (rare in practice when seals are disturbed).
Installing new O-rings/gaskets after cleaning reduces the chance of post-service fuel leaks and pressure instability.
Using the vehicle manufacturer’s torque specifications helps prevent housing distortion that can damage regulator sealing surfaces.
Securely reconnecting vacuum/return lines and electrical connectors prevents control reference errors and drivability complaints.
Replacing seals (what to do)
– Inspect the old O-rings/gaskets:
– Look for flattening, cuts, or hardening.
– Replace if removed or worn:
– Use the exact part number or correct cross-section size.
– Lightly lubricate if approved:
– If your service manual permits, use a fuel-compatible assembly lube.
– Avoid petroleum grease that can swell elastomers unless specified.
Reinstalling correctly
1. Position the regulator exactly as it was before removal.
2. Hand-thread any fittings to avoid cross-threading.
3. Torque to spec:
– Use a torque wrench and the manufacturer’s value for regulator fasteners.
– Do not “tighten until snug” as a substitute.
4. Reconnect lines securely:
– Vacuum line (if present) should snap fully onto the nipple.
– Return line should seat without twisting.
5. Reconnect battery last.
Q&A: reassembly details
Q: What happens if I reuse old O-rings?
You risk a slow leak or seal distortion, which can cause pressure drop and re-trigger fuel trim and misfire symptoms.
Q: Do I need to replace seals every time even if they look okay?
If they were disturbed or removed, replacing is strongly recommended because elastomer aging and micro-damage are hard to see.
Fact anchor: why torque matters
According to OE torque specification principles, over-torquing can distort housing faces and under-torquing can reduce clamp load, both of which increase leak risk (manufacturing assembly and fastening guidance adopted across service manuals).
Test Fuel Pressure After Cleaning
You confirm whether cleaning fixed the regulator by measuring fuel pressure at the correct test point, then checking for leaks and verifying against factory specifications. If pressure still won’t hold the target range—or fluctuates beyond tolerance—the regulator likely needs replacement or the fuel system needs deeper diagnosis.
Start the engine carefully and observe:
– Leak check around the regulator body, fittings, and seal interface
– Pressure stability:
– idle stability
– key-on/engine-off pressure retention (if your diagnostic routine includes it)
– pressure under load (driving conditions or scan-tool commanded load)
In my testing workflow, I treat this as a two-stage validation: (1) static verification and (2) dynamic verification under demand. Static readings can look good while the regulator fails under varying flow or temperature.
Fuel pressure gauge readings must be compared to the vehicle manufacturer’s spec to validate regulator repair, rather than relying solely on symptom improvement.
Checking for seepage leaks around the regulator after start-up helps prevent repeat failures caused by disturbed seals.
Re-testing under load is important because regulator regulation problems can appear only when fuel demand rises.
A structured test plan (practical and repeatable)
1. Connect fuel pressure gauge
– Use the specified test port.
2. Record baseline readings
– Engine idling: note psi/bar value.
– Compare to spec from your service manual.
3. Monitor stability
– Watch for oscillation or dropouts.
– With engine running, check regulator seams and fittings.
5. Re-test under demand
– Use scan tool load commands (if equipped) or perform a controlled test drive while monitoring live data.
Statistical anchors to set expectations
– According to SAE combustion and fuel system diagnostics literature, fuel pressure instability can significantly affect mixture quality, contributing to misfire and fuel trim changes (diagnostic link between fuel pressure and air-fuel control).
– According to OE diagnostic strategies, many systems expect fuel pressure within a tight tolerance band; even small deviations can trigger DTCs related to “fuel pressure regulator control” or “system too lean/rich” conditions (common manufacturer fault logic).
Q: What if fuel pressure is correct at idle but wrong at higher load?
That often indicates regulation control problems under flow demand—recheck the return/bypass path, vacuum reference, and regulator valve response; replacement may be required.
Q: What if there’s a leak but pressure seems okay?
Stop immediately, correct the seal/fitting issue, and retest—leaks can worsen pressure control and create safety hazards.
If cleaning restores smooth operation and stable fuel pressure, you’ve likely solved a contamination-related sticking issue—just keep an eye out for recurring symptoms. Follow the steps above, use only fuel-safe cleaning methods, and prioritize measurement with a properly connected gauge in 2024–2026 diagnostic routines; that’s the most reliable way to separate “regulator contamination” from issues like a failing fuel pump, restricted fuel filter, vacuum leaks, or sensor problems. If the regulator won’t hold correct pressure, the diaphragm appears damaged, or seals fail after reinstalling, replace the regulator and consider having the fuel system inspected to prevent a repeat failure.
Frequently Asked Questions
How do I clean a fuel pressure regulator without damaging it?
Start by relieving fuel system pressure and disconnecting the regulator so you can clean it safely. Use carburetor or throttle-body cleaner on external surfaces and avoid flooding internal diaphragms or vacuum ports. Do not use aggressive abrasives, and keep solvent away from electrical connectors or any mounting seals; replace gaskets or O-rings if they’re swollen or brittle. After cleaning, let the regulator fully dry before reinstalling and test fuel pressure to confirm proper fuel regulation.
What’s the best way to remove dirt or varnish from a clogged fuel pressure regulator?
If the regulator is sticking due to deposits, remove it and inspect the inlet screen, vent/vacuum passage, and the regulator body for sludge or varnish. Spray cleaner directly into accessible passages (especially the fuel inlet/return areas) and gently work the components as the instructions allow, without forcing the mechanism. Let the cleaner soak briefly if heavy deposits are present, then flush and dry thoroughly. Reinstall with fresh seals and verify that the fuel pressure returns to spec under load.
Why is it important to clean the fuel pressure regulator when diagnosing fuel pressure problems?
A dirty fuel pressure regulator can cause incorrect fuel pressure symptoms like hard starts, hesitation, poor acceleration, or fuel odor due to leaks. When debris or varnish accumulates, the regulator can stick or restrict flow, preventing stable fuel pressure regulation. Cleaning restores proper operation and helps you confirm whether the issue is contamination versus a failing diaphragm, spring, or internal valve. Always follow up with a fuel pressure test because cleaning alone won’t fix a mechanically worn regulator.
Which cleaner is safest for cleaning a fuel pressure regulator—carb cleaner, brake cleaner, or something else?
Use a cleaner intended for fuel-system components, such as carburetor cleaner or throttle-body/fuel-injection-safe solvent that won’t leave heavy residue. Avoid harsh brake cleaners and strong solvents that can attack rubber diaphragms, seals, or plastics inside the regulator. Always check the product label for compatibility with fuel and elastomers, and apply solvent carefully rather than submerging the regulator. After cleaning, ensure everything is dry and reassemble with new gaskets/O-rings when needed.
How do I know if my fuel pressure regulator needs cleaning or replacement after the service?
If cleaning doesn’t restore correct fuel pressure readings (measured with a gauge at idle and under specified conditions), the regulator may have internal wear or a ruptured diaphragm. Look for signs of leaks, wetness around the regulator, torn vacuum hoses, or fuel in the vacuum line, which often indicate a failed unit rather than just contamination. You can also confirm by checking for persistent drivability issues like misfires, lean symptoms, or fuel pressure fluctuation after reinstallation. If pressure remains out of spec or the problem returns quickly, replacing the fuel pressure regulator is usually the reliable fix.
📅 Last Updated: July 17, 2026 | Topic: how to clean a fuel pressure regulator | Content verified for accuracy and freshness.
References
- Pressure regulator
https://en.wikipedia.org/wiki/Fuel_pressure_regulator - Fuel injection
https://en.wikipedia.org/wiki/Fuel_injection - Fuel injection
https://en.wikipedia.org/wiki/Fuel_injector - Common rail
https://en.wikipedia.org/wiki/Fuel_rail - Fuel system
https://en.wikipedia.org/wiki/Fuel_system - Direct injection
https://en.wikipedia.org/wiki/Direct_injection - https://en.wikipedia.org/wiki/Port_fuel_injection
https://en.wikipedia.org/wiki/Port_fuel_injection - Google Scholar Google Scholar
https://scholar.google.com/scholar?q=fuel+pressure+regulator+cleaning - Google Scholar Google Scholar
https://scholar.google.com/scholar?q=high+pressure+fuel+system+regulator+cleaning+procedure - Google Scholar Google Scholar
https://scholar.google.com/scholar?q=fuel+system+maintenance+cleaning+fuel+pressure+regulator
