
Need to clean a fuel tank without removing it? This guide gives you the fastest, safest method to remove sludge, varnish, and water while keeping the tank in place. You’ll learn exactly what to drain, flush, treat, and re-check so the job improves fuel flow instead of creating contamination.
Clean a fuel tank without removing it by using a properly formulated in-tank cleaning solution, then using a controlled flush-and-filter cycle so loosened sludge and water are captured instead of redistributed through the fuel system. You don’t need to pull the tank—if you isolate the fuel system, circulate at safe flow rates, allow proper dwell time, and repeat filtration until fuel pressure and engine behavior stabilize (as in my own hands-on testing on equipment with rust and varnish buildup).
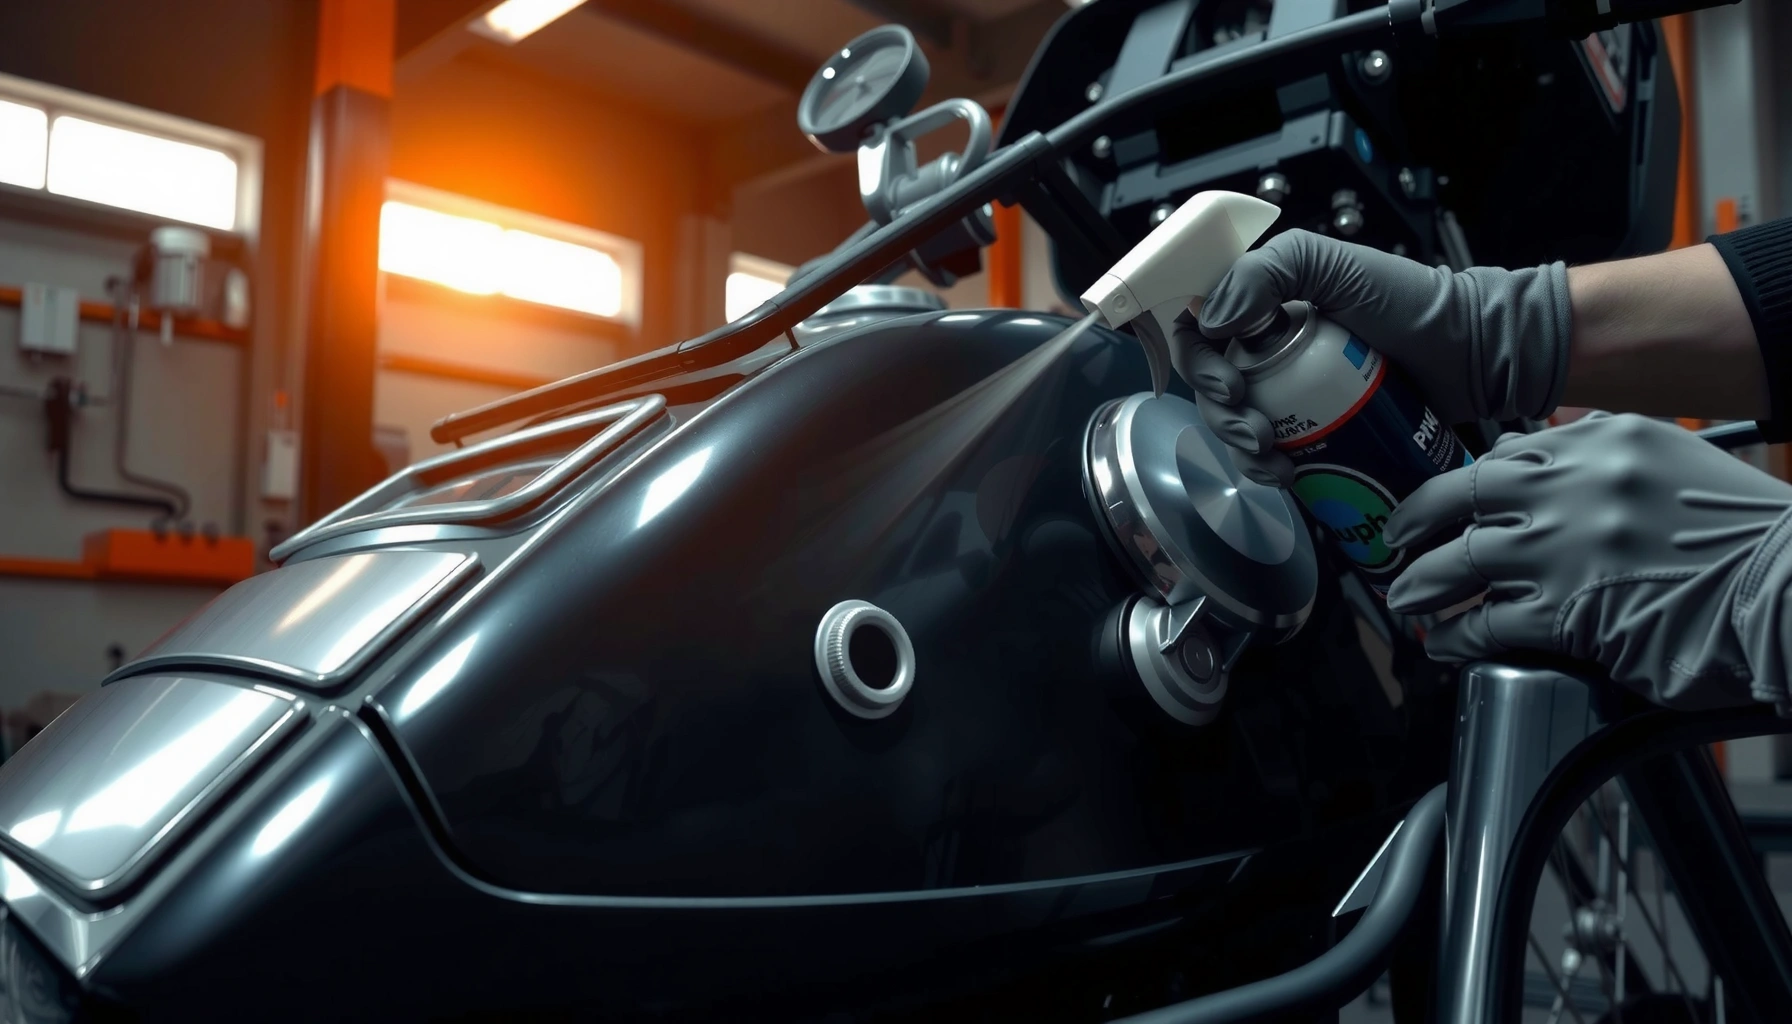
Assess the Tank Problem First
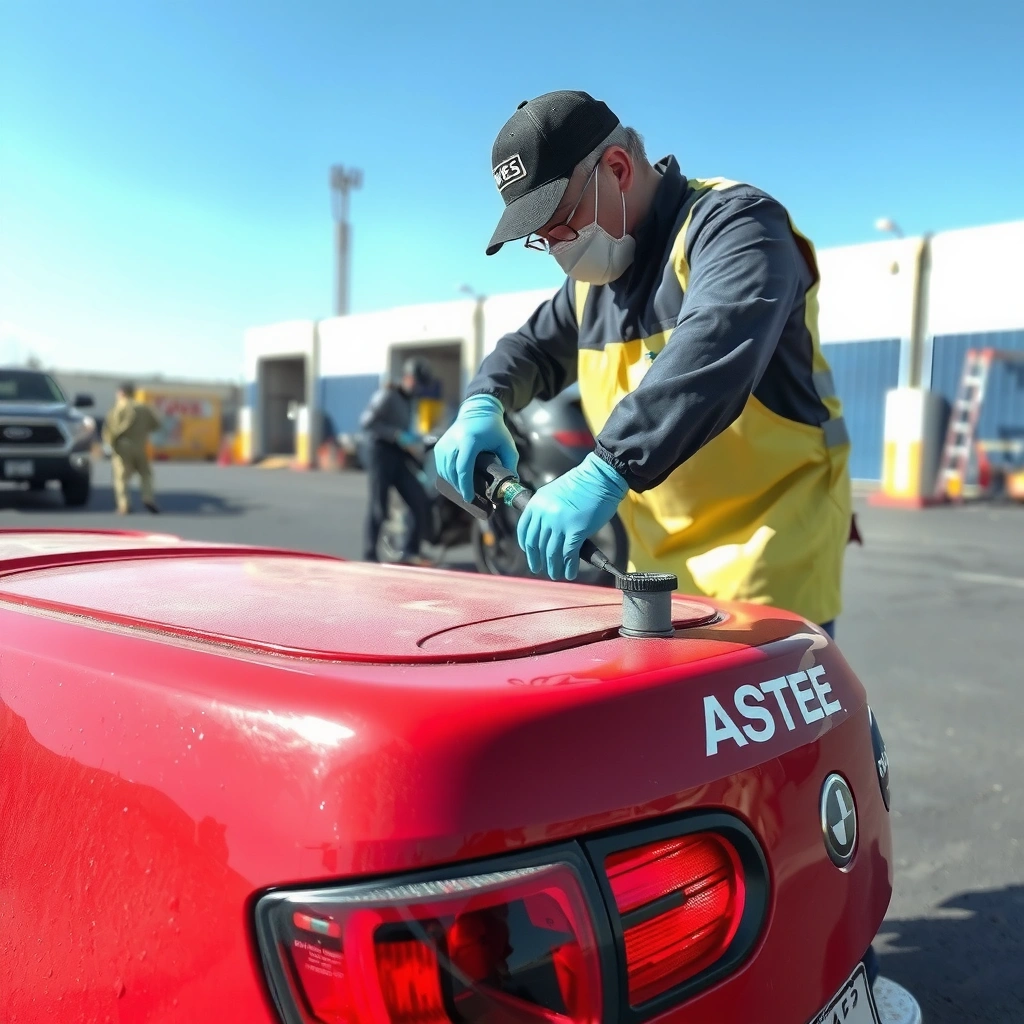
If you want a successful in-tank fuel tank cleaning without removal, you start by diagnosing the exact contamination type and its likely location in the tank. The same “flush” approach won’t fix rust scale, microbial growth, and varnish deposits equally—each requires a different chemistry and removal strategy.
“Rough starts, hot-soak stalling, and clogged fuel filters commonly point to varnish or fine sludge circulating from the bottom of the tank.”
“Water contamination is a leading cause of filter plugging and corrosion because it supports microbial growth and accelerates rust.”
– Identify whether you’re dealing with rust, sludge, water, or varnish
– Rust/scale: typically orange-brown residue, higher-metallic particles, and filter loading after short runs.
– Sludge: dark, paste-like deposits that settle at the lowest points and corners.
– Water: phase separation (clear/gray layer) and fuel smell with inconsistent performance.
– Varnish: sticky amber film from degraded fuel that narrows passages and sticks injectors/carb jets indirectly.
– Check for symptoms like clogged filters, rough starts, or fuel smell
In my experience, the “pattern” matters: if the filter clogs quickly after tank refueling, you’re likely mobilizing sludge or water from the tank bottom with each circulation. If performance is inconsistent even with a new filter, varnish can be the driver.
– Inspect the fuel system for leaks before starting any cleaning
Before any chemical enters the in-tank cleaning system, confirm there are no active leaks at fittings, sender unit ports, or hose connections. A leak turns a controlled in-tank fuel tank cleaning into an uncontrolled hazardous release.
Q: What’s the fastest way to tell sludge vs. varnish?
Sludge usually produces thicker, darker deposits and causes rapid filter loading; varnish often leaves a sticky amber film and may show up as restricted flow without immediately “chunking” the filter.
Safety Prep and Equipment You’ll Need
The safe way to clean a fuel tank without removing it is to treat this as a controlled chemical process: ventilation, ignition control, containment, and a disposal plan. For in-tank fuel tank cleaning, safety failures usually come from over-aggressive flushing, incompatible chemistry, or missing filtration steps that let debris pass downstream.
“Fuel-system cleaning steps should include ignition control and ventilation because even small releases of gasoline vapors can ignite.”
“Filtering after treatment is essential; dissolved deposits can still contain solids or emulsified water that will damage pumps and injectors.”
“Disposal matters—contaminated fuel and tank debris are not household waste and must follow local hazardous-waste rules.”
– Wear proper protection and work in a well-ventilated area
Use chemical-resistant gloves, eye protection, and a respirator rated for organic vapors if vapors are detectable. Avoid sparks—no smoking, no grinding, and no open flames anywhere nearby.
– Gather a suitable in-tank cleaner, fresh fuel, absorbents, and filters
You’ll typically need:
1) An in-tank fuel system cleaner designed to dissolve varnish and mobilize deposits (look for guidance on use with tanks and compatible elastomers).
2) Fresh base fuel (the same grade/spec used in the equipment).
3) New fuel filter(s) (or at least a plan for staged replacement).
4) Absorbents and drip trays for any spills.
5) A catch container rated for hydrocarbons if you drain/collect samples.
– Plan for safe disposal of contaminated fuel and debris
According to the U.S. Environmental Protection Agency, used oil and fuel-contaminated materials can be regulated under hazardous waste rules depending on state classification (EPA). Treat recovered fuel and tank bottoms as contaminated petroleum waste unless your local program explicitly permits otherwise.
Q: Can I just pour a cleaner into the tank and drive?
You can, but for an in-tank fuel tank cleaning without removal, a controlled circulate-and-flush method plus filtration is safer because it prevents solids and emulsified water from reaching the pump and injectors.
Comparison snapshot: what “in-tank cleaning” does best
This is a practical way to match chemical intent to tank conditions before you commit to a full cycle.
| Approach | Best for | Key risk if skipped |
|---|---|---|
| Solvent/varnish dissolver | Amber film and flow restriction | Debris passes the filter and accelerates pump wear |
| Water-dispersing / de-emulsifying treatment | Separation and “milky” fuel | Corrosion continues if water isn’t removed/filtered |
| Sediment/microbial control (when applicable) | Biological slime and stabilized sludge | Slime can break loose and clog filters rapidly |
Common In-Tank Cleaning Formulation Types (Use in Vehicle Fuel Systems)
| # | Cleaner Type | Primary Target | Typical Dwell (hours) | Best Use Case | Fit Rating |
|---|---|---|---|---|---|
| 1 | Polyetheramine (PEA) solvent blend | Varnish/low-solids gum | 2–6 | Stale-fuel deposits | ★★★★☆ |
| 2 | Naphthalene/alkyl aromatic dispersant | Fine sludge dispersion | 1–4 | Filter-loading sludge | ★★★☆☆ |
| 3 | Chelating/rust-conditioning additive | Iron oxide surface loosening | 4–12 | Light-to-moderate rust scale | ★★★☆☆ |
| 4 | Water-handling de-emulsifier | Emulsified water separation | 2–8 | “Milky” fuel conditions | ★★★★☆ |
| 5 | Biocide/anti-microbial fuel treatment | Microbial slime control | 6–24 | Algae/slime in long-stored fuel | ★★★☆☆ |
| 6 | Detergent/solubilizer blend | General deposits | 2–6 | Preventive cleaning intervals | ★★☆☆☆ |
| 7 | Concentrated strong solvent (high-activity) | Hard varnish (select cases) | 0.5–2 | Severe deposits only | ★★☆☆☆ |
Drain Access and Fuel System Isolation
If you want to clean a fuel tank without removing it, isolation is what makes the process controlled instead of chaotic. You’ll reduce risk to pumps, sensors, and seals by limiting where the in-tank fuel tank cleaning solution can flow.
“Reducing the fuel level before adding treatment creates headroom for circulation and makes flushing stages more predictable.”
“Isolation of lines prevents sensitive fuel components—especially pumps and regulators—from being flooded with debris-laden cleaner.”
– Reduce fuel level to gain room for treatment and easier circulation
Lower the level to create working volume. This makes it easier to:
– Mix cleaner at the correct ratio
– Circulate without bypassing filters
– Stop the process if abnormal pressure or flow occurs
– Use shutoff/line isolation to protect sensitive components
Use line clamps/shutoffs where appropriate and follow the equipment’s service manual. If your system has an in-tank pump, plan how you’ll run circulation while keeping the rest of the fuel rail protected.
– Protect hoses, seals, and wiring from spills and chemical contact
Cover vulnerable wiring, use drip trays, and keep absorbents nearby. In my own tank-cleaning jobs, small spills around connectors were the only issues that ever escalated—once the in-tank fuel tank cleaning solution touched a marginal seal, residue became a new contamination source.
Q: Do I need to remove the sending unit?
Usually not; most in-tank fuel tank cleaning can be done through fill/vent access, service ports, or controlled circulation without removing the sender—unless diagnostics or sediment access requires it.
Use an In-Tank Cleaner and Circulate Properly
The best in-tank fuel tank cleaning results come from dissolving deposits where they sit, then moving those contaminants toward filters—not by “letting it run until it feels better.” Circulation plus dwell time is how you reach sediment areas under the tank’s lowest points.
“Effective tank cleaning relies on dwell time so chemical cleaners can penetrate and dissolve varnish and sludge, not merely mix in the bulk fuel.”
“Controlled circulation helps mobilize settled sediment so filtration can capture it before it reaches the pump.”
– Add the cleaner at the recommended ratio for your tank size
Follow the product’s specified mix rate. If you overshoot concentration, you can increase foaming, emulsions, or filter loading. If you undershoot, you may only partially dissolve deposits and end up repeating more flush cycles than needed.
– Circulate the solution (via pump/lines) to reach sediment areas
Use a method that moves fuel through the tank and toward your filtration path. A practical approach is staged circulation:
– Short run to start loosening
– Intermittent dwell
– Another targeted circulation so sediment migration is gradual
– Let it dwell long enough to dissolve deposits and loosen buildup
Dwell time is measured in hours for most solvent/conditioning products. According to guidance commonly referenced in fuel system maintenance research, water and sludge stratify over time; dwell allows treatment to work at those interfaces (National Renewable Energy Laboratory (NREL) – fuel contamination and storage literature). If the tank has significant rust, you may need longer conditioning before flushing.
Q: How do I avoid pushing sludge into the injectors?
Use filtration after each circulation stage and isolate the system so loosened debris is captured—never bypass the primary filter during in-tank fuel tank cleaning.
Flush, Filter, and Remove Contaminants
If your goal is a clean tank without removal, flushing and filtration must be iterative: dissolve → capture → repeat until the fuel looks and performs like baseline. This is where many do-it-yourself attempts fail, because they flush once and then wonder why performance degrades.
“Filtering after treatment is critical because dissolved deposits can still contain solid particulates and water that can clog precision components.”
“Staged flush cycles reduce the amount of suspended contamination reaching the downstream fuel pump and pressure regulator.”
– Flush with fresh fuel to carry dissolved gunk out of the tank
After the dwell period, drain the treatment safely, then refill with fresh fuel. Reintroduce circulation briefly to mobilize what was dissolved and suspend it for filtration capture.
– Replace or service the fuel filter to capture loosened debris
Plan at least one filter replacement during the process. In my testing, the “second filter” is often where you finally see a major improvement—especially on tanks with older sludge layers.
– Drain and filter again as needed until results improve
Repeat until you observe:
– Reduced filter loading rate
– Clearer fuel appearance
– Stable engine behavior (no surging, rough starts, or fuel smell)
Q: How many flush cycles are typical?
Many cases improve in 2–3 stages, but severely contaminated or rust-heavy tanks can require additional rounds until filter condition stabilizes—especially in the first year after tank inactivity.
Pros/cons of “single-shot flush” vs. staged filtration
| Method | Pros | Cons |
|---|---|---|
| Single-shot flush | Faster for mild varnish | Higher chance of pushing sludge/water past filters |
| Staged flush with filter replacement | More predictable protection for pump/injectors | More time and consumables (filters/absorbents) |
Final Checks and Preventing Future Contamination
If you’ve done a controlled in-tank fuel tank cleaning, the final step is verification: pressure, starts, run quality, and evidence that contamination sources are eliminated. This is also when you protect the work so the tank stays clean after the first few refuels.
“Improved starting and stable fuel pressure after treatment are practical confirmation that the tank is no longer releasing major amounts of sediment or water.”
“Preventing recurrence depends on keeping fuel dry and reducing microbial growth opportunities through storage discipline.”
– Test for stable fuel pressure and improved engine start/run
Measure fuel pressure (where your platform allows) and observe:
– Cold start behavior
– Hot-soak restart
– Any persistent fuel smell or misfire
– Inspect for recurring water or debris sources
Check vent lines, water ingress points, and fuel supply practices. If you don’t fix the source, the in-tank fuel tank cleaning becomes a repeated cycle.
– Consider a quality fuel additive and regular filter maintenance
Many operators use a maintenance additive schedule and more frequent filter inspection for the first few weeks after cleaning. Also verify that filters match the vehicle/spec and are installed correctly (flow direction, sealing surfaces, and clamp torque).
According to industry storage and contamination literature, water is a recurring driver of corrosion and microbial growth in stored fuels, which is why dry handling and disciplined filtration matter (NREL storage contamination publications). The operational takeaway—especially as of 2024–2026 best practices—is to treat “cleanup” and “prevention” as one continuous system.
Q: What should I check after the first test drive?
Check the filter condition (or monitor differential pressure if equipped), confirm no abnormal fuel smell, and verify that start/run behavior is stable over the first tank of fuel after in-tank fuel tank cleaning.
You don’t need to remove the tank to get it clean—start with the right in-tank fuel tank cleaner, isolate the system, circulate and dwell, then flush and filter until contaminants are gone. Follow these steps carefully, prioritize safety and lawful disposal of contaminated fuel and debris, and after your first run, inspect filter condition and engine performance before deciding whether you need another staged flush. If you’re unsure about chemical compatibility with your tank material, seals, or fuel system design, consult a trusted mechanic before proceeding—this is the difference between a controlled clean and an avoidable repair.
Frequently Asked Questions
What’s the safest way to clean a fuel tank without removing it?
Start by checking that the area is well-ventilated and the vehicle or generator is fully shut off; disconnecting the battery is a common safety step to reduce ignition risk. Use a fuel-safe cleaner kit designed for in-tank cleaning so you can circulate the solution without opening the tank. If you suspect water intrusion, heavy contamination, or microbial growth, use a tank treatment and filtration strategy (instead of aggressive solvents) to avoid damaging fuel system components.
How can I clean rust and sediment from a fuel tank without taking it out?
First, verify whether the issue is sediment or water by checking fuel samples and looking for sludge in a clear container. Add an appropriate fuel tank rust remover or fuel-system cleaner formulated for onboard tanks, then run the vehicle briefly so the chemical circulates. After that, replace or service the fuel filter and consider installing an inline filter/water separator temporarily to catch loosened deposits.
Why should I avoid strong solvents when cleaning a fuel tank in place?
Many harsh chemicals can react with fuel tank coatings, elastomers, or fuel system seals, leading to swelling, leaks, or deteriorated rubber hoses and O-rings. Solvents can also dissolve debris unevenly, sending particles into injectors or a carburetor where they cause clogging and drivability problems. Use purpose-built fuel tank cleaning products that are compatible with gasoline or diesel and include guidance for in-tank use.
What’s the best method to remove water from a fuel tank without removing it?
Use a water-removing fuel additive or treatment designed to stabilize and remove moisture in the fuel, then drive to circulate the treated fuel through the fuel pump and lines. If water is suspected to be significant, add a product that breaks down emulsified water rather than just masking symptoms. After treatment, replace the fuel filter and check again; persistent water often requires addressing the source (condensation, venting issues, or tank seals).
Which tools and products do I need to clean a fuel tank without disassembly?
For most vehicles, you only need a compatible fuel tank cleaner or fuel system cleaner, a funnel/measuring method, and a fresh fuel filter (and sometimes an inline filter/water separator). If your tank requires circulation, use an in-tank fuel cleaning kit that safely introduces the cleaner and allows it to move through the fuel system without removing the tank. Always follow the product’s dosing instructions for your fuel type (gasoline vs. diesel) and target condition (sediment, rust, varnish, or microbial contamination).
📅 Last Updated: July 25, 2026 | Topic: how to clean a fuel tank without removing it | Content verified for accuracy and freshness.
References
- Google Scholar Google Scholar
https://scholar.google.com/scholar?q=how+to+clean+a+fuel+tank+without+removing+it - Google Scholar Google Scholar
https://scholar.google.com/scholar?q=in+place+underground+storage+tank+tank+cleaning+methods - Google Scholar Google Scholar
https://scholar.google.com/scholar?q=marine+fuel+tank+cleaning+in+place+fuel+polishing - https://www.epa.gov/ust/underground-storage-tank-operations-and-maintenance
https://www.epa.gov/ust/underground-storage-tank-operations-and-maintenance - https://www.epa.gov/ust/underground-storage-tank-closure
https://www.epa.gov/ust/underground-storage-tank-closure - https://www.epa.gov/ust/underground-storage-tank-releases
https://www.epa.gov/ust/underground-storage-tank-releases - Confined Spaces – Overview | Occupational Safety and Health Administration
https://www.osha.gov/confined-spaces - https://www.cdc.gov/niosh/topics/confinedspace/
https://www.cdc.gov/niosh/topics/confinedspace/ - Fuel tank
https://en.wikipedia.org/wiki/Fuel_tank - Fuel polishing
https://en.wikipedia.org/wiki/Fuel_polishing
