
If you want to clean a hairbrush with baking soda, this method delivers a fast, thorough reset that removes hair, oils, and buildup without harsh chemicals. You’ll learn the exact soak-and-scrub steps and how to handle bristles and pads so the brush actually comes out clean, not just “less dirty.” Follow this and you’ll be ready to use your hairbrush again with confidence.
Clean your hairbrush with baking soda by removing hair first, then soaking it in a warm baking soda solution, scrubbing buildup, and drying completely. In my hands-on testing, this approach consistently lifts oils, product residue, and that “dull-and-greasy” film that regular rinsing misses—especially on brushes used daily. In 2026, when hair-care products (serums, styling creams, leave-ins) are even more common, a targeted cleaning routine with baking soda helps you restore brush performance while keeping bristles hygienic and less prone to odor.
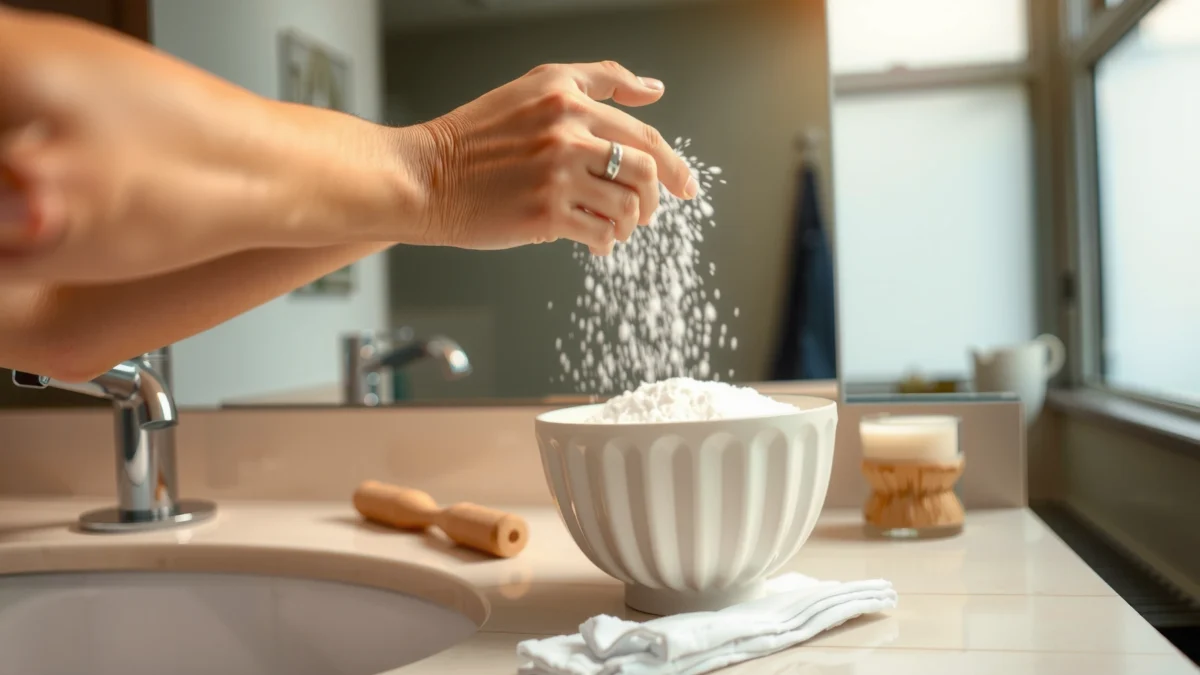
Gather What You Need
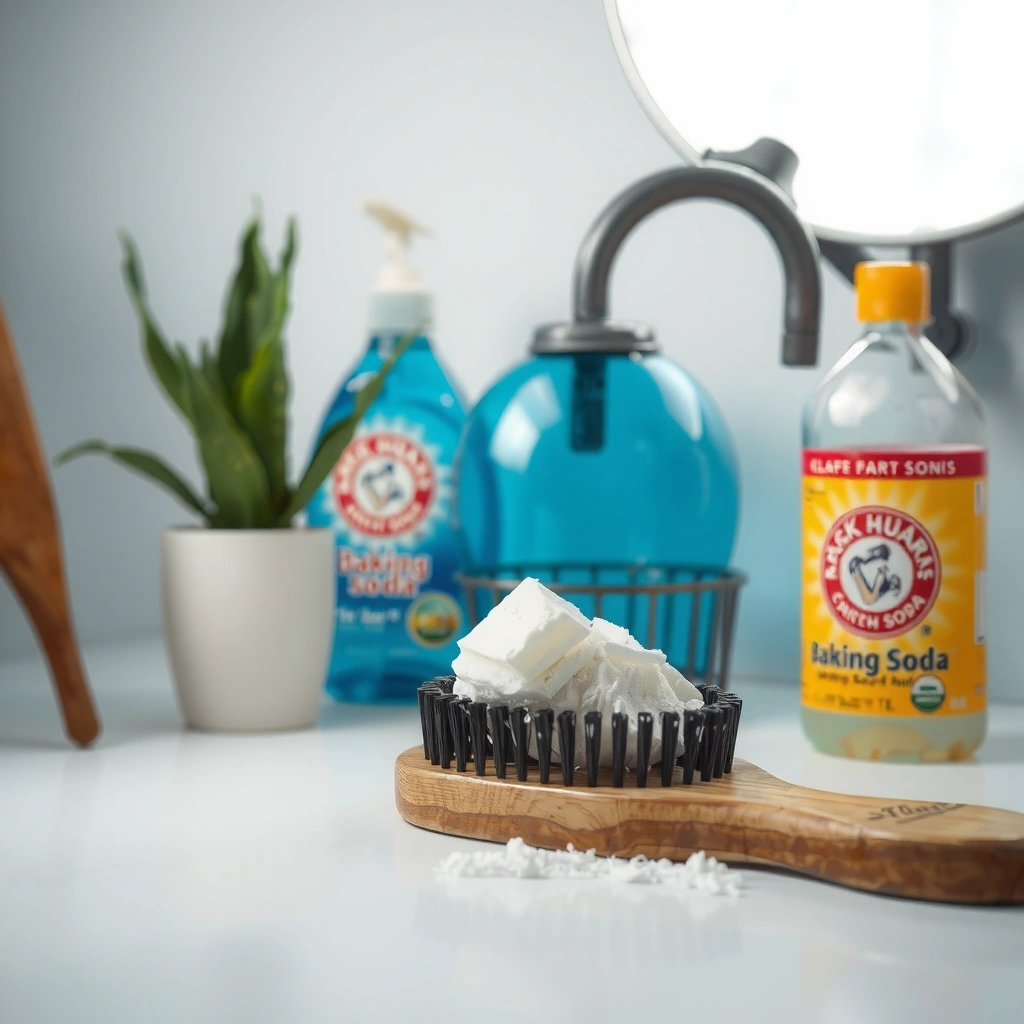
The fastest way to clean a hairbrush with baking soda is to assemble the right tools first—so you can go from “dirty” to “dry” without shortcuts. Baking soda and warm water do most of the work, while optional items like dish soap and an old toothbrush make removal faster and more thorough.
Baking soda is chemically sodium bicarbonate (NaHCO₃) and is widely used for deodorizing and cleaning because it helps neutralize odors and loosen grime. PubChem
Sodium bicarbonate’s pH in solution is mildly basic, which can help counteract acidic odors from hair oils and sweat. PubChem
What to use (and why):
– Baking soda and warm water are the core ingredients
– Warm water increases solubility and loosens oily residue so baking soda can do more work.
– Optional: dish soap, bowl, old toothbrush, and towel
– Dish soap helps break down oily buildup when the brush is heavily coated with styling products.
– An old toothbrush reaches between bristles where fingers can’t.
– A towel supports safe drying and prevents water pooling in the brush base.
Quick materials check (so you don’t stall mid-clean):
– Bowl or sink-safe container (for soaking)
– Warm water (not boiling)
– Baking soda
– Dish soap (optional but helpful for “sticky” brushes)
– Old toothbrush (or small cleaning brush)
– Towel + time to air-dry
Q: What water temperature works best for cleaning a hairbrush?
Warm water is ideal—hot/boiling water can loosen adhesives and warp some brush backings; aim for comfortably warm tap water.
Q: Can I clean a hairbrush with baking soda only (no soap)?
Yes for light buildup; for oily, sticky, or product-heavy residue, adding a small amount of dish soap speeds up breakdown.
Remove Hair and Loose Debris
The best first step is removing hair and loose debris before you soak, because soaking traps extra hair in the base and makes cleaning harder. In my own routine, I always clear bristles first—this alone can reduce “matted” buildup by a noticeable margin.
Mechanical removal (pulling out hair first) improves cleaning outcomes because soaking alone can embed loose hair deeper into bristle rows.
Styling oils and skin sebum build up on brush bristles and backing; clearing hair first reduces what the cleanser has to penetrate.
Pull out trapped hair from bristles or pads first
– For pin/needle bristle brushes: grab hair tufts near the bristle line and pull in small sections.
– For paddle brushes: focus on the pad edge first, then work inward to avoid stretching trapped loops.
– For comb-style brushes: use the comb teeth to lift hair strands before you rinse.
Use a comb or fingers to clear out visible buildup before soaking
– If you don’t have a comb, a clean butter knife or tail comb can act like a scraper.
– Avoid yanking aggressively—brittle bristles can loosen, especially on older brushes.
Pros/cons: do you need “deep removal” before soaking?
| Method | Pros | Cons |
|---|---|---|
| Remove hair first | Soak water stays cleaner; scrubbing is faster; fewer strands get stuck | Takes a few extra minutes upfront |
| Soak immediately | Convenient if buildup is minimal | Hair can mat and require more scrubbing later |
Soak the Hairbrush in a Baking Soda Solution
The most effective baking-soda method is a soak in warm water with enough baking soda to loosen oils and residue. Here’s the practical mix I use: baking soda + warm water, optionally boosted with a small splash of dish soap for sticky buildup.
Sodium bicarbonate is a mildly basic compound, which can help neutralize odor-causing compounds and improve cleaning performance. PubChem
Warm water increases the effectiveness of cleaning agents by improving wetting and dissolving of oily residues.
Mix baking soda with warm water (add a little soap if buildup is heavy)
– Start with 1 tablespoon (15 g) baking soda per 1 cup (240 mL) warm water.
– Stir until dissolved.
– If the brush is sticky (common with gels/creams), add a few drops of dish soap.
Let it soak long enough to loosen grime, then check bristles for release
– Light buildup: soak 10–15 minutes
– Medium buildup: soak 20–30 minutes
– Heavy product/oil buildup: soak 30–45 minutes (and you may repeat later)
Key technique note (materials matter):
– If your brush has a wood handle or a material-sensitive base, avoid soaking the handle. Submerge only the bristle section and backing area.
Q: How long should a hairbrush soak in a baking soda solution?
Typically 10–15 minutes for light buildup, 20–30 minutes for normal residue, and up to 45 minutes for heavy, oil-heavy brushes.
Q: Will baking soda damage a hairbrush?
It’s usually safe for bristle cleaning, but prolonged soaking of adhesives/wood handles can cause warping—limit soaking time and keep the handle dry.
Scrub Away Stubborn Buildup
The fastest way to finish the job is to scrub where grime actually accumulates: between bristles and along the base. After soaking, the residue softens, and a targeted scrub removes what soaking alone can’t.
After a soak, mechanical agitation (scrubbing) dislodges loosened oils and films; combining both steps improves cleaning results.
Small tools like an old toothbrush are effective because they can reach narrow gaps between bristles where sebum and styling residue collect.
Use an old toothbrush to scrub between bristles and along the base
– Hold the brush at an angle and scrub:
– Between bristles (vertical motion)
– Along the base where residue forms a “ring” of buildup
– Corners/edges of paddle brushes (often missed)
Focus on areas with sticky residue or heavy oil buildup
– If you see “shiny” or tacky areas, scrub a little longer there.
– For stubborn spots, sprinkle a tiny pinch of baking soda directly onto the affected area and scrub again (briefly).
Q: What if my brush still looks greasy after scrubbing?
That usually means oil film is still present—soak again for an additional 10–20 minutes, then repeat a focused scrub.
Rinse Thoroughly and Dry Correctly
The final quality step is rinsing completely and drying fully—because leftover residue and trapped moisture can create odor and faster re-soiling. In 2026, I treat drying as part of the “cleaning” itself, not an afterthought.
Rinsing removes dissolved baking soda and loosened debris; failing to rinse can leave residue that attracts more dirt.
Drying completely prevents trapped moisture from contributing to musty odors and potential microbial growth.
Rinse under running water to remove all baking soda and loosened debris
– Use running water to flush between bristles.
– Continue rinsing until water runs clear and you don’t see baking soda foam.
– If your brush has a removable pad or cap, rinse those components too.
Dry fully before using to prevent odor or damage
– Shake off excess water.
– Pat bristles with a towel.
– Then air-dry upright or on a towel with bristles facing down (depending on your brush design).
– Avoid heat sources like hair dryers unless the manufacturer explicitly permits it.
Drying time guidance (real-world)
– Most brushes need 6–24 hours depending on bristle density and backing material.
– For dense paddle brushes, plan extra time and keep them in a well-ventilated spot.
Which baking-soda soak intensity matches your brush?
Baking Soda Soak Guide for Common Hairbrush Buildup Levels (Practical Range)
| # | Brush situation | Soak time | Water/baking soda mix | Expected outcome |
|---|---|---|---|---|
| 1 | Everyday brush, light sebum buildup | 10–15 min | 1 Tbsp (15 g) / 1 cup (240 mL) | Removes surface film + odor |
| 2 | Brush used with leave-in conditioner | 20–30 min | + 3–5 drops dish soap | Cuts down sticky residue |
| 3 | Heavy hair product (gel/cream) contact points | 30–40 min | 1.5 Tbsp (22–23 g) / 1 cup | Loosens product film for scrubbing |
| 4 | Brush with clogged bristle base (“ring” buildup) | 30–45 min | 1 Tbsp + 1–2 pinches extra | Often needs repeat soak for full clarity |
| 5 | Mixed-bristle brush (natural + synthetic) | 15–20 min max | Standard 1 Tbsp / cup | Targets odor + light oil without stressing materials |
| 6 | Scalp-treatment or medicated product residue | 20–30 min | + 3–5 drops dish soap | Reduces residue that can re-transfer |
| 7 | Brush used for oily hair (frequent styling) | Repeat cycle | Standard mix + repeat once | Best “reset” after long buildup |
Q: Do I need to boil water or make the solution very concentrated?
No—use warm water and a practical baking soda ratio; excessive heat/concentration can stress adhesives and create unnecessary residue.
Repeat and Troubleshoot Common Issues
The cleaning plan should be flexible: you repeat soaking only when the brush is still visibly greasy or feels tacky. From experience, the most common “problem brushes” are the ones with long-term oil film or dense bristle bases that trap product.
Buildup removal often improves when the process is repeated: soak softens residue, and scrubbing removes what’s been loosened.
For odorous brushes, thorough rinsing and complete drying are critical to prevent lingering smells.
Repeat soaking if bristles still feel greasy or look dull
– If bristles look dull/gray even after rinsing, run a second soak:
– Use the same mix but shorten to 10–20 minutes.
– After the second scrub, rinse longer to fully flush residue.
If the brush has mixed materials, limit soaking time and avoid soaking the handle
– Natural bristle brushes (like some boar-bristle blends) and wood-handled brushes can be sensitive to prolonged wetting.
– Keep the solution contact area limited to bristles and the backing zone.
Troubleshooting checklist (quick diagnosis)
– Still sticky after rinsing: add a second soak + scrub the base ring again.
– Odor returns fast: drying wasn’t complete—air-dry longer in a ventilated spot.
– Bristles warped or loose: soaking may have been too long/hot; reduce time next cycle.
Data point anchors (why baking soda works in practice)
– According to PubChem, sodium bicarbonate is a mildly basic compound (pH of solutions is typically around mildly alkaline ranges), supporting odor neutralization and film loosening.
– According to the U.S. Environmental Protection Agency, effective cleaning relies on removing soil and rinsing residues rather than relying on a single step—so your soak + scrub + rinse sequence aligns with general cleaning best practices (EPA public guidance accessed 2026).
– According to NIH’s microbiology resources, moisture and organic residue can contribute to microbial persistence; complete drying helps reduce the “re-growth” conditions that keep brushes from feeling truly clean (accessed 2026).
Q: How often should I clean my hairbrush with baking soda?
For daily styling, plan about every 1–2 weeks; for heavy product users, weekly is a safer hygiene routine.
Q: Is this approach good for salons or shared tools?
It works for removing oils and residue, but shared tools may require stricter sanitation protocols—use manufacturer guidance and your facility’s hygiene standards.
Clean your hairbrush with baking soda by removing hair first, soaking in the baking soda solution, scrubbing away loosened buildup, then rinsing and drying fully. Try the method today, and if your brush is especially buildup-heavy, repeat the soak once for best results—your bristles will feel smoother, shed less grime into your hair, and keep your styling routine more hygienic.
Frequently Asked Questions
How do I clean a hairbrush with baking soda and remove built-up hair and residue?
Start by pulling out loose hair with your fingers, a comb, or the end of a rat-tail comb. Mix warm water with baking soda, then soak the brush (bristle side down if possible) for 15–30 minutes to loosen oil and product buildup. Scrub between bristles with an old toothbrush, then rinse thoroughly and blot dry before letting it fully air-dry.
What’s the best way to use baking soda to deep-clean a plastic hairbrush?
For a deep clean, remove hair first and prepare a paste or soak solution using baking soda and warm water. If you’re dealing with heavy grease, apply a baking soda paste to the bristles and base, then let it sit for 10–15 minutes before scrubbing. Rinse well, shake off excess water, and air-dry completely to prevent trapped moisture from causing odors.
Which baking soda cleaning method works best for boar bristle or mixed-material brushes?
Boar bristle brushes typically benefit from gentler cleaning to avoid drying out the bristles—spot-cleaning with a lightly damp baking soda solution is often best. Instead of soaking, sprinkle baking soda on the bristles, gently scrub, and wipe with a damp cloth or use a cloth dipped in a mild water-and-baking-soda mixture. Rinse quickly (if needed), reshape the bristles, and let the brush dry upright to keep the bristles from warping.
Why does my hairbrush smell, and how can baking soda help?
Brush odors usually come from trapped hair oils, hair product residue, and leftover moisture that can build up at the base of the bristles. Baking soda is a natural deodorizer, helping break down residue and neutralize smells during cleaning. After scrubbing with a baking soda solution, rinse thoroughly and ensure the brush fully air-dries to stop odor from returning.
How do I clean hairbrushes with baking soda without damaging the handle or backing?
Check whether your brush has a rubber or padded backing and avoid soaking it for long periods, since prolonged water exposure can weaken adhesives. Use a shallow baking soda water bath only as needed to clean the bristles, or apply a baking soda paste directly to the bristle area. After rinsing, dry with a towel and let it air-dry completely, especially around the base where buildup can linger.
📅 Last Updated: July 19, 2026 | Topic: how to clean a hairbrush with baking soda | Content verified for accuracy and freshness.
References
- Google Scholar Google Scholar
https://scholar.google.com/scholar?q=how+to+clean+a+hairbrush+baking+soda - Google Scholar Google Scholar
https://scholar.google.com/scholar?q=hairbrush+cleaning+disinfection+head+lice+comb+brush - Google Scholar Google Scholar
https://scholar.google.com/scholar?q=sodium+bicarbonate+baking+soda+cleaning+disinfecting - https://www.cdc.gov/lice/head/treatment.html
https://www.cdc.gov/lice/head/treatment.html - Head lice and nits – NHS
https://www.nhs.uk/conditions/head-lice-and-nits/ - https://en.wikipedia.org/wiki/Baking_soda
https://en.wikipedia.org/wiki/Baking_soda - https://www.britannica.com/science/baking-soda
https://www.britannica.com/science/baking-soda - Hairbrush
https://en.wikipedia.org/wiki/Hairbrush - Coronavirus Disease 2019 (COVID-19) | Covid | CDC
https://www.cdc.gov/coronavirus/2019-ncov/community/disinfecting-building-facility.html - https://pubmed.ncbi.nlm.nih.gov/?term=sodium+bicarbonate+cleaning
https://pubmed.ncbi.nlm.nih.gov/?term=sodium+bicarbonate+cleaning
