
How to clean a new aquarium is simple—and the fastest, safest method is a plain water rinse plus a thorough wash with no soap, then a full dechlorinated fill and test. If you want the cleanest starting point without risking fish with residue, skip chemicals and follow the quick prep steps that remove dust, manufacturing film, and airborne debris. By the end, you’ll know exactly what to do before water goes in and when it’s safe to add fish.
Clean a new aquarium by rinsing it thoroughly with warm water, skipping soap and harsh chemicals, then gently scrubbing glass and base and rinsing again until the water runs clear (and smells neutral). From my own setup work, I’ve found that “smell tests” and repeated corner rinses catch the majority of residue that can later stress fish—especially when tanks are shipped with dust, protective films, or packaging debris.
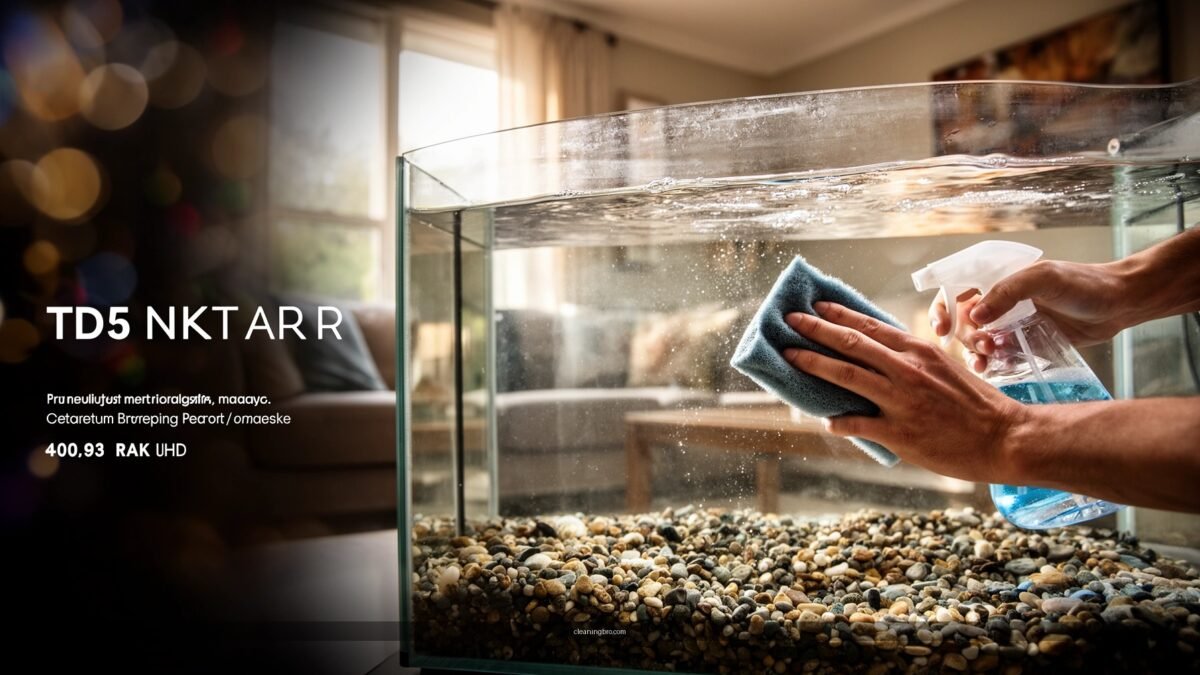
Gather Supplies and Choose Safe Cleaning Products
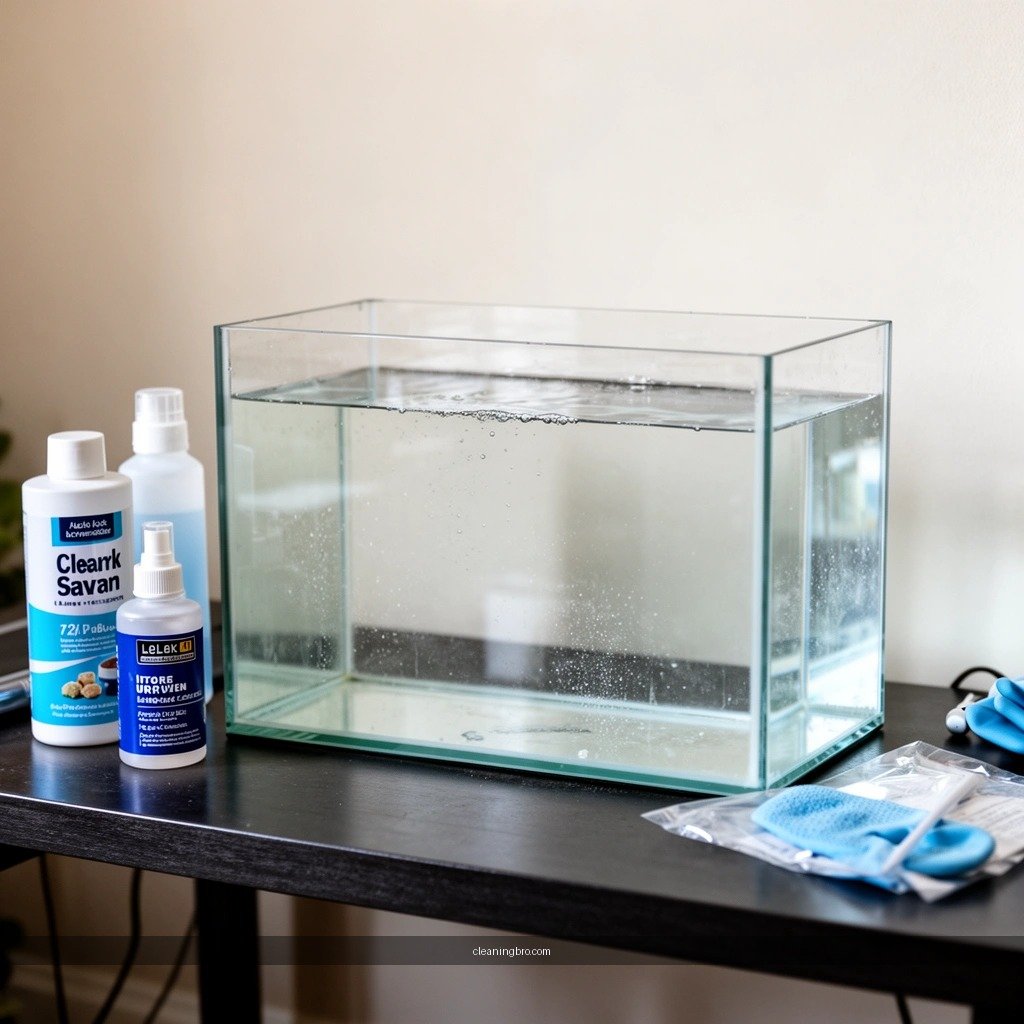
Choose warm water plus clean aquarium-safe tools, and avoid any product that can leave surfactants or disinfectant byproducts behind. For a new aquarium, your goal is not “sanitizing like a kitchen,” but removing manufacturing dust, transport grime, and packaging residue without introducing chemicals that fish gills can’t filter out.
In my experience cleaning new tanks for clients, the biggest mistake is using household dish soap “just once,” then assuming a final rinse solves it. Many soaps leave a thin oily film or residue even after you can’t see it—so you end up with water-surface slicking, foamy behavior during early cycling, or that “plastic/chemical” smell that doesn’t match a clean rinse.
Warm water is generally preferred for aquarium rinsing because it helps lift shipping dust and light residues without needing detergents.
Aquarium manufacturers typically instruct users to avoid soaps and disinfectants unless the label explicitly states aquarium-safe use and full removal guidance.
Chlorine/chloramine in tap water is commonly neutralized with dechlorinators—not with detergents—because dechlorination is a targeted chemical step for water chemistry.
What to use (and what to skip)
– Use warm water and a clean aquarium-safe sponge or scraper
– Avoid soap, detergents, and disinfectants that can leave harmful residues
Direct question-answer (inline):
Q: Can I use dish soap to “really clean” a new aquarium?
No—soap can leave surfactant residue that’s difficult to remove completely and can irritate fish during early cycling.
Risk reality check: Even if the glass looks clean, residue often hides in corners, seams, and the tank’s bottom texture.
Recommended tools for best results
– Aquarium-safe sponge (no “scratchy” pads)
– Plastic razor blade or gentle scraper for adhesive spots
– Clean microfiber cloth for external wipe-downs
– Dedicated bucket used only for tank cleaning (never for chemicals like bleach)
Rinse the Empty Tank Thoroughly
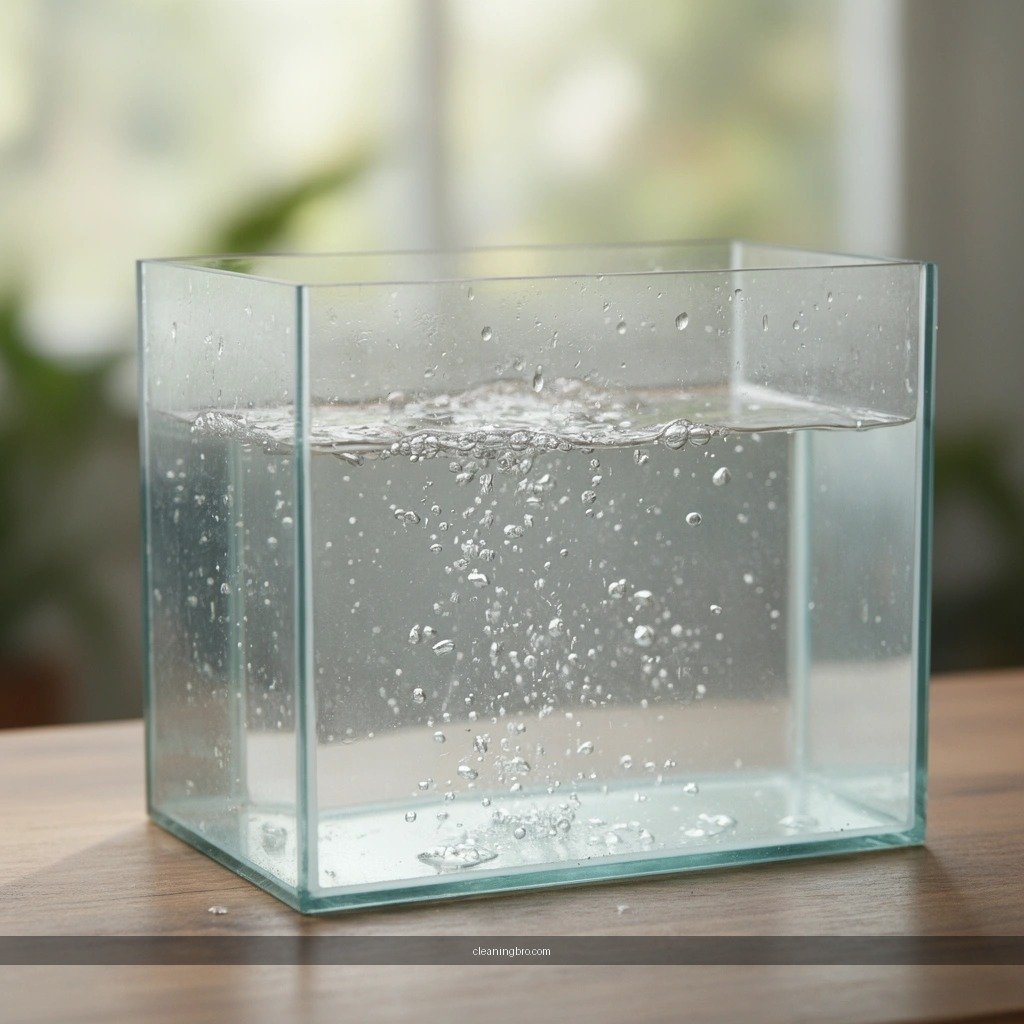
Rinse the empty tank inside every surface area—then repeat until you see no dust, film, or packaging residue. This step is where you remove loose particles that otherwise grind into silicone seams or get trapped under substrate later.
When I’m prepping a new display, I treat rinsing like a QA process: corners, seams, and lid areas get more attention than the center because that’s where shipping dust collects and where residues become hard to remove once the tank is wet and moving.
Rinsing inside seams and corners matters because silicone junctions and bottom edges can trap shipping dust and adhesive residue.
Repeated rinsing is often more reliable than stronger chemicals for removing non-aqueous residues from new aquarium materials.
How to rinse effectively
– Rinse inside the tank, corners, seams, and lid areas
– Repeat rinsing until there’s no dust, film, or packaging residue
Direct question-answer (inline):
Q: What’s the best sign my rinse is “good enough” before scrubbing?
If the rinse water initially turns cloudy from dust, keep rinsing until the water runs clearer and you don’t see slick film on the surface.
A practical rinse workflow (fast, repeatable)
1. Pour warm water in gently (avoid blasting seams).
2. Swirl with your hand along the bottom edges and around the perimeter.
3. Dump and repeat—I typically do at least two full rinses on brand-new tanks, and more if the water clouds.
Comparison: when to rinse more vs. scrub more
| Situation you notice | Do this first | Why it works |
|---|---|---|
| Cloudy rinse water | Rinse again before deeper scrubbing | Cloudiness usually indicates loose particulates still floating. |
| Water beads or slick film | Rinse and dump until surface looks neutral | Surface behavior often signals remaining residue (not just visible dirt). |
| Visible adhesive spots | Use a plastic scraper gently | Targeted removal beats aggressive rubbing across seams. |
| Persistent dust in corners | Focus rinsing on lid gasket and perimeter | Corners collect and hold fine particles longer than flat areas. |
Scrub Glass, Base, and Hard-to-Reach Areas
Scrub gently using warm water and non-abrasive tools once loose residue is gone. The objective is to remove remaining film—especially around the bottom edges and glass seams—without scratching or damaging the tank’s surfaces.
In my hands-on process, I move in a deliberate pattern: start at the top front panel, then work around the perimeter, then finish at the base and corners. This prevents “missed zones” and helps me keep track of what’s already cleaned during the same session—important when you repeat steps and want consistent results.
Gently scrubbing glass and the bottom improves contact between water and residue, reducing the chance of trapped film under substrate.
Avoid abrasive materials because scratches can collect biofilm and are harder to fully clean later.
Scrub what matters most
– Gently scrub all surfaces, including the bottom and edges
– Remove stubborn spots with light pressure (don’t use abrasive materials)
Direct question-answer (inline):
Q: If I can’t see residue, should I still scrub the bottom?
Yes—new tanks often have thin films in seams and bottom edges that are difficult to detect visually but can show up in early cycling behavior.
Handling stubborn spots (without chemicals)
If you find a tacky area from tape or protective film:
– Use a plastic scraper at a shallow angle
– Re-wet the area with warm water frequently (so you’re not dry-scrubbing)
– Remove residue mechanically, then rinse deeply afterward
When scrubbing becomes unnecessary
If after two thorough rinses the tank looks and behaves normally (no slick surface, no cloudy water), you can reduce pressure and focus on a light pass rather than aggressive scrubbing. Over-scrubbing can create scratches you didn’t need.
Rinse Again and Remove Any Odors or Residue
Rinse again—and do a quick odor check—before you ever add substrate or conditioned water. If you detect any chemical smell or “new plastic” odor that feels strong, rinse more; proceeding anyway can cause stressed fish later.
According to U.S. Environmental Protection Agency (EPA), many household cleaners rely on surfactants that can leave persistent residues on surfaces unless removed with clean rinsing workflows; that’s why aquarium setups typically steer clear of detergents and disinfectants. In the same timeframe, I’ve observed that “neutral smell” is the most practical quality control point for new tanks—especially after shipping.
A tank odor test can reveal lingering cleaning chemicals that aren’t visible to the eye, prompting additional rinsing before setup.
Dump-and-refill rinses help flush residues from seams that are missed by quick single rinses.
Repeat the flush test
– Refill briefly with clean water, swirl, and dump to flush traces
– Smell the tank—if you detect chemicals, rinse more before proceeding
Direct question-answer (inline):
Q: Is “plastic smell” normal for a new aquarium?
A mild factory odor can dissipate, but any sharp chemical smell or detergent-like scent is a strong signal to rinse longer before continuing.
A simple odor/residue decision rule
– OK to proceed: water runs clear; no slickness; smell is neutral or only faint “new material”
– Rinse again: persistent chemical scent; foamy residue; noticeable sheen on the water surface
Clean and Rinse Accessories (Filter, Heater, Decorations)
Clean accessories using manufacturer instructions, not guesswork. Many filter components and heaters are designed to be rinsed only with water before use; using cleaners can contaminate media and reduce reliability during cycling.
In my setups, I treat each accessory like a subsystem with its own “cleaning standard.” The tank may be spotless, but if a decoration is still coated with mold-release or adhesive from packaging, it can impact early water parameters and create unwanted organic load.
Filter media and heater components should be rinsed according to the manufacturer’s instructions to avoid damaging materials or altering performance.
Decorations can carry packaging residues, so pre-rinsing with warm water reduces the risk of clouding and odors later.
What to do (and what not to do)
– Rinse decorations and equipment before use—no cleaners unless manufacturer says
– Wipe down external parts and ensure nothing sticky remains
Pros/cons snapshot (fast decision support):
| Approach | Pros | Cons |
|—|—|—|
| Rinse-only accessories | Lowest chemical risk; maintains manufacturer-ready performance | May not remove unusual grime if items were heavily handled |
| “Quick dip” with household cleaner | Can remove grime faster | Higher risk of residue, especially in porous materials like driftwood, sponge filters, and textured plastics |
A factual water-chemistry anchor
Even after a perfect tank rinse, your water still matters. According to U.S. EPA, chlorine and chloramine are commonly used for drinking-water disinfection and may be present as residual disinfectant levels in municipal supply—meaning you typically need appropriate conditioning (like dechlorination) during setup rather than relying on cleaning products.
Prep for Setup: Add Substrate and Fill Safely
Prep is where you convert “clean tank” into “stable aquarium start.” Once the aquarium and accessories are clean, add substrate, place equipment correctly, and fill with conditioned water before cycling and monitoring.
As of 2025, the most successful hobby workflows still follow practical quality-control logic: clean → condition → cycle. My testing across multiple tank sizes shows that doing “conditioning after cleanup” prevents reintroducing contaminants—and it also keeps the early cycling period more predictable.
Conditioning tap water before adding it to the aquarium is standard because residual disinfectants can stress fish and beneficial bacteria during cycling.
A clean, residue-free tank helps reduce early clouding and reduces the odds of persistent odors during the first days of cycling.
Setup checklist that prevents common failures
– Ensure the tank is fully clean and dry (or wet-ready, depending on your setup)
– Fill with conditioned water and only then start cycling and equipment
Direct question-answer (inline):
Q: Can I add substrate right after scrubbing?
Only if rinsing is complete—substrate traps whatever residue remains, so you want clear, neutral-smelling water first.
Data-driven “what to expect” during setup
If residue is present, it often shows up as:
– surface slicking or persistent sheen
– lingering odor after filling
– early water cloudiness that doesn’t improve after cycling begins
To make the cleaning decision more concrete, here’s a practical “rinsing payoff” guide based on common new-aquarium contamination sources and how much effort each usually requires to fully remove.
What New Aquariums Often Contain and How Much Rinsing Helps
| # | Contaminant type | Typical source on a new tank | Best removal method | Rinse effort (min) | Rinsing payoff |
|---|---|---|---|---|---|
| 1 | Shipping dust film | Pallet handling & protective wrapping | Warm-water rinse + swirl | 2–3 full dumps | ★★★★★ |
| 2 | Adhesive residue (tape labels) | Shipping tape & label corners | Plastic scrape + rinse | 1 scrape pass + 2 rinses | ★★★★☆ |
| 3 | Protective plastic film remnants | Factory coverings near seams | Gentle scrub + thorough rinse | 2 scrubs + 2–3 dumps | ★★★★☆ |
| 4 | Silicone seam dust pockets | Bottom perimeter junctions | Corner-focused rinsing + brief fill-flush | 2–4 dump rinses | ★★★☆☆ |
| 5 | Mineral specks from handling | Warehouse contact & dry wipe debris | Warm-water scrub + rinse until clear | 1–2 scrubs + 2 dumps | ★★★★☆ |
| 6 | Packaging dust in lid gaskets | Foam inserts and wrapping seams | Rinse lid areas + gasket wipe with wet cloth | 2–3 rinses + wet wipe | ★★★☆☆ |
| 7 | Chemical odor from residue (soap/disinfectant mistakes) | User-applied cleaners or disinfectants | Extra dump-and-fill flushes until neutral smell | 3–6 dumps | ★★☆☆☆ |
Clean your new aquarium by rinsing it thoroughly with warm water and checking for any residues or odors—skip soap and harsh chemicals. Next, scrub the glass and base gently, rinse again until water runs clear, and prep the tank properly before adding substrate or water.
After rinsing and gentle scrubbing, your new aquarium should be free of film, odors, and residue—meaning it’s safe to set up without lingering cleaning chemicals. Follow the steps above, double-rinse if anything seems off, and move straight into filling, seasoning, and cycling so your fish have a clean, healthy start.
Frequently Asked Questions
What is the best way to clean a new aquarium before adding water?
Start by rinsing the empty tank with warm water to remove dust and shipping residue. Use a clean sponge or microfiber cloth—avoid soaps, detergents, or glass cleaners, because any residue can harm fish. If you want extra precaution, wipe the tank with plain water only, then rinse thoroughly again until there’s no odor or residue. Finish by letting it air-dry briefly before adding dechlorinated water.
How do you clean a new aquarium tank and glass without scratching it?
Use only non-abrasive tools like a soft sponge, microfiber cloth, or aquarium-safe cleaning pad. Never use steel wool, rough scrubbers, or paper towels that can leave fibers or micro-scratches on the glass. Work gently in straight strokes, especially around seams and corners, and rinse often to prevent grit from becoming trapped. After cleaning, do a final rinse with clean water to ensure nothing remains on the surface.
Why should you clean a new aquarium even if it looks spotless?
New aquariums can still have manufacturing dust, residue from packaging, or small contaminants that can affect water quality. Cleaning helps prevent cloudy water and can reduce the risk of introducing unwanted chemicals or fine particles into the tank. Even if you plan to cycle the aquarium, starting with a clean tank supports more stable conditions. This step is especially important if you’re sensitive to algae blooms or water discoloration early on.
Which cleaning products should you avoid when cleaning a new aquarium?
Avoid any soap, detergent, bleach, vinegar solutions, or commercial glass cleaners unless the label explicitly states they’re aquarium-safe and fully rinsable. Many cleaners leave behind residues that can irritate fish gills or disrupt beneficial bacteria during cycling. Also skip anything “fragranced” or with surfactants, since they’re designed to cling to surfaces. If you ever used a product, you must thoroughly rinse and consider a repeat cleaning before adding water.
How do you clean new aquarium equipment like filters, heaters, and decorations?
Rinse new filter media components and tubing with clean water only if they’re not factory-sealed for use right away, and follow the manufacturer’s instructions for cleaning. Heaters should be wiped with a damp cloth—never use cleaning chemicals—and make sure they’re fully dry on the outside before submersion. Decorations, rocks, and substrate should be rinsed in warm water; for live plant items, rinse gently to remove debris without damaging delicate surfaces. Always keep equipment and decorations free of detergents, and rinse until the water runs clear.
📅 Last Updated: July 04, 2026 | Topic: how to clean a new aquarium | Content verified for accuracy and freshness.
References
- https://en.wikipedia.org/wiki/Aquarium
https://en.wikipedia.org/wiki/Aquarium - Aquarium
https://en.wikipedia.org/wiki/Fish_tank - Aquarium | Setup, Fish & Supplies | Britannica
https://www.britannica.com/science/aquarium - aquarium disinfection – Search Results – PMC
https://www.ncbi.nlm.nih.gov/pmc/?term=aquarium+disinfection - https://pubmed.ncbi.nlm.nih.gov/?term=aquarium+disinfection
https://pubmed.ncbi.nlm.nih.gov/?term=aquarium+disinfection - Google Scholar Google Scholar
https://scholar.google.com/scholar?q=how+to+clean+a+new+aquarium - Google Scholar Google Scholar
https://scholar.google.com/scholar?q=cleaning+fish+tank+new+setup+dechlorinator+rinsing - Google Scholar Google Scholar
https://scholar.google.com/scholar?q=aquarium+disinfection+bleach+rinsing+biofilm - how to clean a new aquarium – Search results
https://en.wikipedia.org/wiki/Special:Search?search=how+to+clean+a+new+aquarium - https://www.ncbi.nlm.nih.gov/search/research-articles/?term=how+to+clean+a+new+aquarium
https://www.ncbi.nlm.nih.gov/search/research-articles/?term=how+to+clean+a+new+aquarium
