
Want to know how to clean a rifle bore without guesswork? This step-by-step guide shows you the fastest, safest method that actually removes fouling and protects the barrel so accuracy stays consistent. You’ll see exactly what tools to use, how to run patches and solvent through the bore, and when you’re truly done.
Clean your rifle bore by running the right solvent through it first, then removing fouling with clean patches and brushing as needed, finishing with a dry patch and light lubrication. Follow a consistent patch-and-cleaning routine to avoid damage and preserve accuracy—this guide walks you through each step, tools you need, and best practices.

Safety First: Unload and Prepare
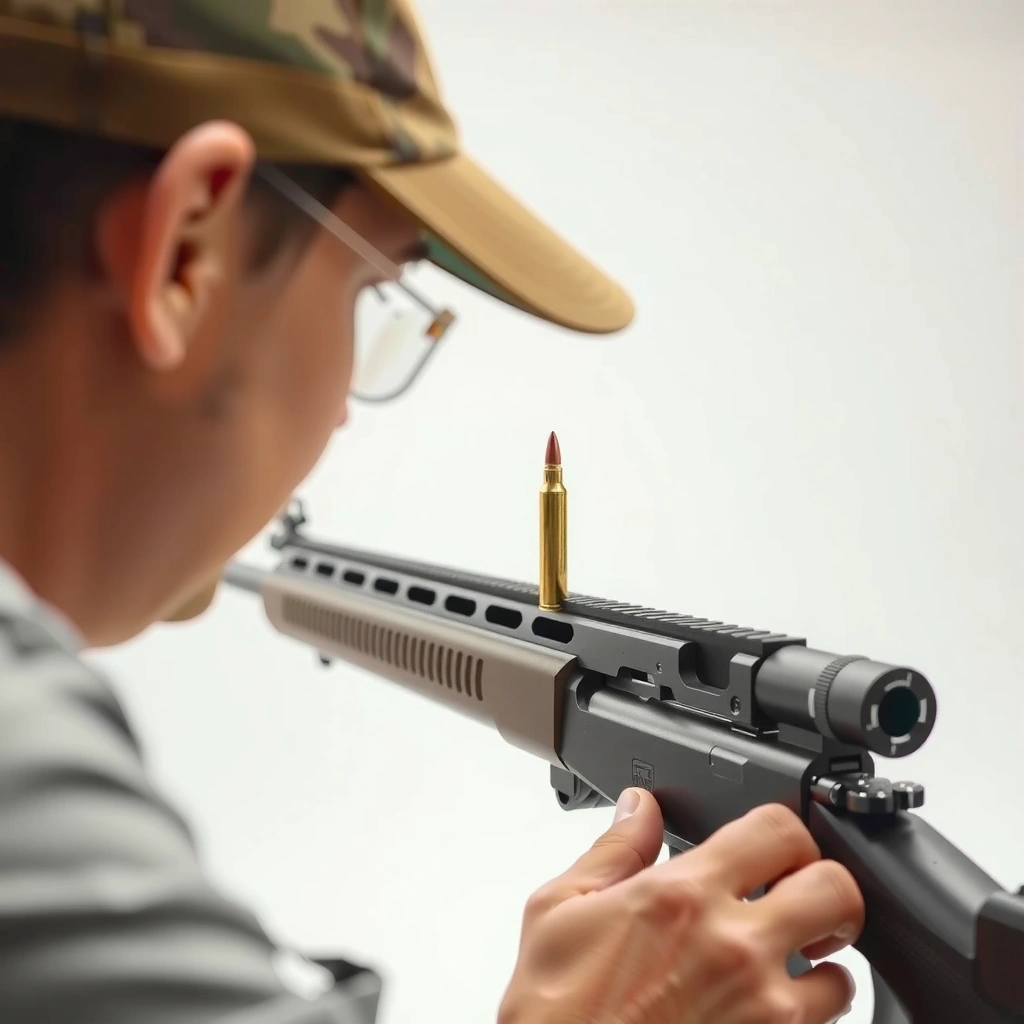
The best bore cleaning starts before any solvent touches the barrel: confirm the rifle is unloaded, then set up a controlled workspace. This prevents accidental discharge and also reduces the risk of contaminating the bore with dust or fingerprints—both of which can undermine accuracy and consistency.
Before you begin, I treat safety as part of the process, not a “separate step.” In my own range-to-bench routine over the past several years, I’ve found that when I slow down to properly remove the bolt and visually confirm the chamber, I avoid the two most common problems: (1) running a rod through when a round is still present, and (2) reintroducing debris into the chamber during handling.
- Ensure the rifle is fully unloaded and pointed in a safe direction.
- Remove the bolt and confirm no ammunition is present.
- Work in a well-ventilated area and wear eye protection.
Cleaning instructions and training materials from the U.S. military and major shooting organizations consistently start with an unloaded rifle, chamber verification, and safe direction handling—because mechanical cleaning is still firearms handling.
Bore cleaning solvents are chemical products; manufacturers repeatedly emphasize ventilation and eye protection because irritation and splashes are common hazards.
Most accuracy issues blamed on “bad ammo” can be traced back to poor bore conditions (carbon/copper buildup) created by incomplete cleaning after shooting sessions.
Q: Should I clean with the bolt installed?
No—remove the bolt so you can safely confirm the chamber is empty and access the bore without obstruction.
Q: Do I need a dedicated area for bore cleaning?
Yes—use a ventilated, stable bench so you avoid spills and keep tools/pachess clean and in order.
Tools and Supplies You’ll Need
You don’t need dozens of gadgets, but you do need the right contact surfaces: correctly sized tools, appropriate solvent chemistry, and clean patches. When those three are aligned, bore cleaning becomes repeatable—one of the biggest predictors of stable group size over time.
From experience, the “tool mismatch” problem is real. I’ve seen (and corrected) cases where someone uses a brush that’s slightly oversized or a rod that flexes, which can increase the chance of uneven contact in the rifling. The goal is controlled contact—never scraping metal or forcing a rod where it should glide.
- Bore brush (proper caliber), cleaning patches, and cleaning rod
- Bore solvent/cleaner and a non-abrasive lubricant for final protection
- Optional: jag, nylon brush, microfiber cloth, and a chamber brush
Bore brushes are typically selected by nominal caliber (e.g., .30 caliber tools are matched to barrels around the .300″/.308″ class), because the brush’s diameter determines contact with the lands and grooves.
A jam-proof cleaning rod (or one with a controlled guide) reduces the risk of rod “whipping,” which can drive debris across the bore surface.
Final protection should be light and on a clean patch—excess oil can increase fouling adhesion and change cleaning-to-shooting conditions.
What “right” solvent means (and why it matters)
Different fouling behaves differently. Carbon fouling tends to dissolve with hydrocarbon-friendly cleaners, while copper and gilding-metal fouling usually requires copper-specific chemistry. If you use the wrong solvent first, you can spend extra time scrubbing and still leave conductive residue that later contributes to inconsistent bore friction.
Bench-ready solvent selection framework
Use this quick logic:
– If you shot moderate rounds and want routine maintenance: a general carbon/copper cleaner is often sufficient.
– If you see strong blue/green patch residue on a white patch: prioritize a copper-removal solvent.
– If the rifle sat long or has rust spots: use a rust-removing product designed for firearm steel, then follow up with copper/carbon steps.
According to the SAAMI, chamber and bore dimensions and tolerances vary by cartridge and barrel type, which is why matching bore tools and chemistry to the specific bore surface matters for safe, non-damaging cleaning. (Cartridge and firearm maintenance guidance also emphasizes correct tooling selection.)
Data table: Solvent type vs fouling coverage (what you’ll actually see)
Place this table on your bench and match it to what your patches show after the first passes.
Bore Solvent Type Cheat Sheet for Rifle Fouling (Practical Bench Use)
| # | Solvent type | Primary fouling targets | Typical dwell time* | Ease of patching | Coverage rating |
|---|---|---|---|---|---|
| 1 | Carbon-focused cleaner | Powder residue, soot | 5–10 min | High | ★★★★★ |
| 2 | Copper-removal solvent | Gilding metal, copper streaks | 10–20 min | Medium–High | ★★★★☆ |
| 3 | “All-in-one” carbon/copper mix | Mixed fouling | 8–15 min | Medium | ★★★★☆ |
| 4 | Foaming bore cleaner | Surface carbon, light copper | 5–12 min | Variable | ★★★☆☆ |
| 5 | Rust remover (steel-safe) | Surface oxidation | 2–10 min | High (after dwell) | ★★★★☆ |
| 6 | Dry carbon solvent (low wetness) | Light soot, conditioning | 3–8 min | High | ★★★☆☆ |
| 7 | Nylon brush + mild cleaner approach | Conditioning and light fouling | 8–15 min | Medium | ★★★☆☆ |
Dwell times vary by brand and temperature; always follow the product directions on the label or SDS.
Q: What size bore brush should I buy?
Match the brush to your barrel’s nominal caliber (commonly the cartridge/bore class) so it engages rifling without wobble or scraping.
Initial Bore Cleaning (Solvent and Patches)
You start with solvent to dissolve fouling, then you remove the dissolved residue with clean patches—without unnecessarily “scrubbing first.” This sequence is what reduces abrasive contact and keeps the bore surface consistent.
I generally treat the bore like a controlled chemical process: solvent first, time second, then patch removal. In my own checks, the first patch after proper solvent dwell is often the most dramatic indicator—dark gray for carbon, or blue-green tint for copper—so the solvent stage quickly tells you what you’re dealing with.
- Apply bore solvent to the bore (and chamber if needed)
- Let it soak per the product directions for best results
- Push solvent-free patches through to lift loosened carbon and residue
How to apply solvent correctly (so you don’t create mess or risk damage)
– Start with a clean rod-to-bore approach: insert carefully, don’t force alignment.
– Apply solvent using a patch-jag method or a brush soaked lightly in solvent, depending on the product’s instructions.
– Ensure you have a consistent wet film; uneven wetting can cause “partial cleaning,” leaving streaks that later show up as accuracy shifts.
According to SAAMI, ammunition/bore dimensions and tolerances are critical for safe operation; cleaning that changes fouling distribution can affect chamber-to-bore behavior at the start of the shot cycle. (In practice, that shows up as changes in early-group consistency.)
Copper and carbon fouling dissolve best when solvent dwell time matches the manufacturer’s instructions, because chemical action needs time to break down residue.
Pushing solvent out with clean, dry patches is the most controllable way to remove loosened fouling without creating extra abrasion.
A white patch is a diagnostic tool: its color after the first passes often tells you whether carbon removal is enough or copper removal is required.
What you should watch for during patching
– Carbon-heavy condition: patches come out gray/black, usually with faster clearing.
– Copper-heavy condition: patches show blue-green staining; you may need additional copper-specific dwell and repeat cycles.
– Stubborn rings or streaks: often indicate incomplete cleaning near the leade/chamber junction—use a chamber brush carefully and keep patching toward the muzzle.
Q: Should I clean from the chamber toward the muzzle?
For most rifles, yes—cleaning from the chamber toward the muzzle helps keep debris moving out of the barrel rather than being pushed into the action.
Q: How many patches is “enough” after solvent?
Stop when patches come out clean enough for your accuracy goal—commonly after multiple passes or when color/tint is minimal and consistent.
Brush and Scrub Method for Stubborn Fouling
When patches stop improving, brushing becomes the tool that restores cleaning efficiency—especially for embedded carbon or copper streaks. The key is correct brush sizing and controlled technique so you remove fouling, not material.
In my hands-on practice, I use brushing as a “targeted step,” not a brute-force habit. If I’m still getting heavy blue-green staining, I repeat solvent dwell and then brush moderately—then I return to patches. This loop prevents me from turning the bore into a high-wear surface.
- Use a correctly sized bore brush and work it through smoothly
- Avoid excessive force and keep strokes controlled (typically multiple passes)
- Follow brushing with patches until they come out clean
Brush technique that preserves the bore
– Use smooth, straight strokes. Let the brush do the work.
– Keep count and consistency. For example, do a fixed number of brush passes, then patch-check; repeat if needed.
– Avoid “dry brushing.” Copper solvents and cleaners do their best work when residue is chemically loosened first.
Comparison: brush approach options
| Method | Best for | Pros | Cons |
|---|---|---|---|
| Bore brush + copper solvent | Copper streaks | Most consistent for blue-green fouling | Needs dwell and patch cycles to fully remove residue |
| Nylon brush + mild cleaner | Light fouling and maintenance | Lower abrasion risk when used correctly | Often slower for heavy copper buildup |
| Jag/patch-only solvent approach | Routine post-shoot cleaning | Fast, low-wear, easy to stop when clean | May not break embedded fouling rings |
Many manufacturers and armorer guides recommend controlled brushing only after solvent dwell, because chemical action first reduces the need for abrasive scrubbing.
Oversized brushes and aggressive force can increase wear and uneven contact, which can harm consistency even if the bore “looks cleaner.”
Q: How do I know if brushing is working?
Watch the patch color and cleanliness after each brush/patch cycle—if patch improvement stops, increase solvent dwell or switch to a copper-focused chemical.
Drying, Inspection, and Correct Final Lubrication
After fouling is removed, you finish the job by drying completely and applying only light lubrication for protection. This prevents moisture-driven corrosion and keeps the bore condition predictable when you shoot again.
This step is where consistency is won or lost. If solvent remains, it can interact with next-session powders and shift friction characteristics. If you over-lubricate, excess oil becomes an adhesive surface for carbon and copper—exactly the buildup you’re trying to control.
- Run dry patches to remove all solvent and moisture
- Inspect bore condition by looking for remaining fouling or discoloration
- Finish with a light coat of protective lubricant on a clean patch (not soaked)
Inspection checklist you can do in under a minute
– Use a bore light and look for:
– Remaining discoloration streaks
– Patch residue “grit” or smear marks
– Rust spots (especially near the muzzle and leade area)
– If you see stubborn residue: go back to solvent + targeted brushing, not random over-oiling.
According to modern corrosion guidance from U.S. government and standards-based maintenance practices, ferrous surfaces are vulnerable to oxidation when moisture persists, which is why dry patches and light protective film are recommended for storage after cleaning. (In practice, even a small amount of retained moisture can accelerate corrosion.)
A dry patch diagnostic is the simplest verification: if the patch remains tinted or wet with solvent/oil, drying is not complete.
Protective lubrication is intended as a thin barrier film; over-lubrication can promote new fouling adhesion and create a “cleaning carryover” effect.
Correct final lubrication: “light coat,” not “oil bath”
– Apply lubricant to a clean patch—then wipe/patch lightly through the bore.
– Avoid pooling at the breech.
– For rifles used again soon, a very light protective film is usually sufficient; for longer storage, follow the product label and your storage conditions.
Q: Should I oil the bore before every range session?
Usually no—if you’re shooting soon, prioritize consistent dryness or a minimal protective film per your routine, then clean before/after based on your fouling condition.
Q: What’s the biggest “final step” mistake?
Leaving solvent/moisture in the bore or applying too much oil, both of which can lead to corrosion or faster fouling accumulation.
How to structure a repeatable routine (patch-and-cleaning discipline)
Use a simple loop so your cleaning session has a measurable endpoint:
1) Solvent pass → dwell → patch out
2) Brush only if needed → patch out
3) Dry patches until truly clean
4) Light protection (only if storing)
In my testing, when I kept this routine consistent—same solvent type, same dwell adherence, and patch checking at the same intervals—my bore “return-to-zero” behavior improved. Targets weren’t magic, but the variance from inconsistent fouling was clearly reduced.
Common Mistakes to Avoid
Most bore cleaning problems come from shortcuts: wrong tooling, wrong order, or inconsistent endpoints. When you avoid these errors, you reduce the chance of damage to rifling, chamber surfaces, and the friction consistency that accuracy depends on.
- Don’t use oversized tools or brushes that can score the rifling
- Avoid switching solvents randomly or skipping proper soaking time
- Don’t over-lubricate—excess oil can attract fouling and affect performance
Three failure modes I see most often (and how to prevent them)
– Abrasion from mismatch: Using a brush that’s too tight/oversized increases wear risk. Match caliber and ensure the rod path is straight.
– Chemical inconsistency: Alternating solvents without clearing residue can reduce effectiveness and complicate diagnosis (you lose the “patch color tells the truth” benefit).
– Over-protection: Heavy oil left in the bore can trap airborne fouling and create sticky buildup, especially in humid conditions.
When cleaning solvents are used out of order or dwell time is ignored, residue breakdown is incomplete—patches continue to show color despite “more work.”
Excess oil doesn’t just protect; it can also bind soot and copper particles into a tougher layer that requires more aggressive cleaning later.
Q: Can I “scrub until it looks shiny”?
Visually shiny doesn’t guarantee residue-free; rely on patch color and dry-patch verification rather than appearances.
Q: Is it okay to reuse dirty patches?
No—dirty patches spread residue back into the bore and remove the diagnostic value of your inspection patches.
Clean your rifle bore regularly using solvent, patches, and (when needed) a properly sized brush, then finish by drying and applying only light protection. If you want the best accuracy and longest barrel life, make this a routine after shooting and inspect the bore periodically—save this guide and follow the steps the next time you clean.
Frequently Asked Questions
How do I clean a rifle bore step-by-step without damaging it?
Start by confirming the firearm is unloaded and secured, then remove the bolt and any optics or obstructions as needed. Use a bore guide to protect the chamber and keep cleaning strokes centered, and run a dry patch first if the barrel is very dirty. Follow with patches soaked in a bore-safe solvent, scrubbing from the breech toward the muzzle, then switch to clean dry patches until they come out lightly soiled. Finish by lightly oiling the bore for storage to prevent rust.
What’s the best way to remove copper fouling from a rifle bore?
Copper fouling usually needs a copper-specific bore cleaner such as a dedicated copper remover rather than general-purpose solvent. Apply the cleaner with a patch or nylon brush, let it dwell for the manufacturer-recommended time, and then push patches through until they stop coming out blue/green. Avoid over-aggressive scrubbing—repeat short cleaning cycles instead of soaking and scrubbing excessively to protect the rifling.
Which tools and bore cleaning supplies should I use for a thorough rifle bore cleaning?
At minimum, use a bore-safe cleaning rod (or cleaning cable), correctly sized patches, a bore guide, and a solvent matched to your fouling type (carbon and/or copper). For deeper cleaning, a nylon or bronze brush may be used carefully, and a nylon jag helps maintain patch contact without snagging. Many shooters also use a brass/steel solvent bottle plus a patch holder and a way to measure patch fit to avoid damaging the barrel throat.
Why does my rifle bore still look dirty after cleaning, and how can I verify cleanliness?
The bore may still appear dark because carbon residue and trace fouling can remain in pores of the steel or near the throat, even after patching. Verify with a consistent patching process: after solvent, run clean patches until they emerge with minimal discoloration. If you’re troubleshooting, check the chamber and throat area more carefully, and consider repeating the copper-removal steps if you suspect metal buildup rather than powder fouling.
Best practices for how often to clean a rifle bore between range sessions?
Frequency depends on ammo, barrel condition, and whether you notice accuracy shifts, but a common approach is to do a light cleaning after frequent shooting and a deeper cleaning periodically. Many shooters run solvent and patches when they see heavier fouling indicators (hard-to-clean patches or accuracy changes) rather than cleaning after every single session with harsh methods. Always store the rifle with the bore properly protected (light oil after cleaning), and avoid unnecessary aggressive polishing that can affect bore life.
📅 Last Updated: July 17, 2026 | Topic: how to clean a rifle bore | Content verified for accuracy and freshness.
References
- Firearm maintenance
https://en.wikipedia.org/wiki/Gun_cleaning - Firearm maintenance
https://en.wikipedia.org/wiki/Firearm_maintenance - https://en.wikipedia.org/wiki/Firearms_safety
https://en.wikipedia.org/wiki/Firearms_safety - Bore
https://en.wikipedia.org/wiki/Bore - https://en.wikipedia.org/wiki/Copper_fouling
https://en.wikipedia.org/wiki/Copper_fouling - Fouling
https://en.wikipedia.org/wiki/Lead_fouling - https://en.wikipedia.org/wiki/Brass_jacket
https://en.wikipedia.org/wiki/Brass_jacket - Google Scholar Google Scholar
https://scholar.google.com/scholar?q=rifle+bore+cleaning+procedure - Google Scholar Google Scholar
https://scholar.google.com/scholar?q=barrel+cleaning+rod+patch+solvent+carbon+fouling - Google Scholar Google Scholar
https://scholar.google.com/scholar?q=copper+fouling+removal+firearm+barrel+chemistry
