
Cleaning a rocker cover is crucial for maintaining your engine’s performance and preventing oil leaks. A clean rocker cover ensures that the engine runs smoothly and efficiently, as it helps maintain proper oil flow and prevents the buildup of harmful contaminants. In this guide, you will learn the necessary steps and tips for effectively cleaning your rocker cover, ensuring your vehicle remains in optimal condition.
Tools and Materials Needed
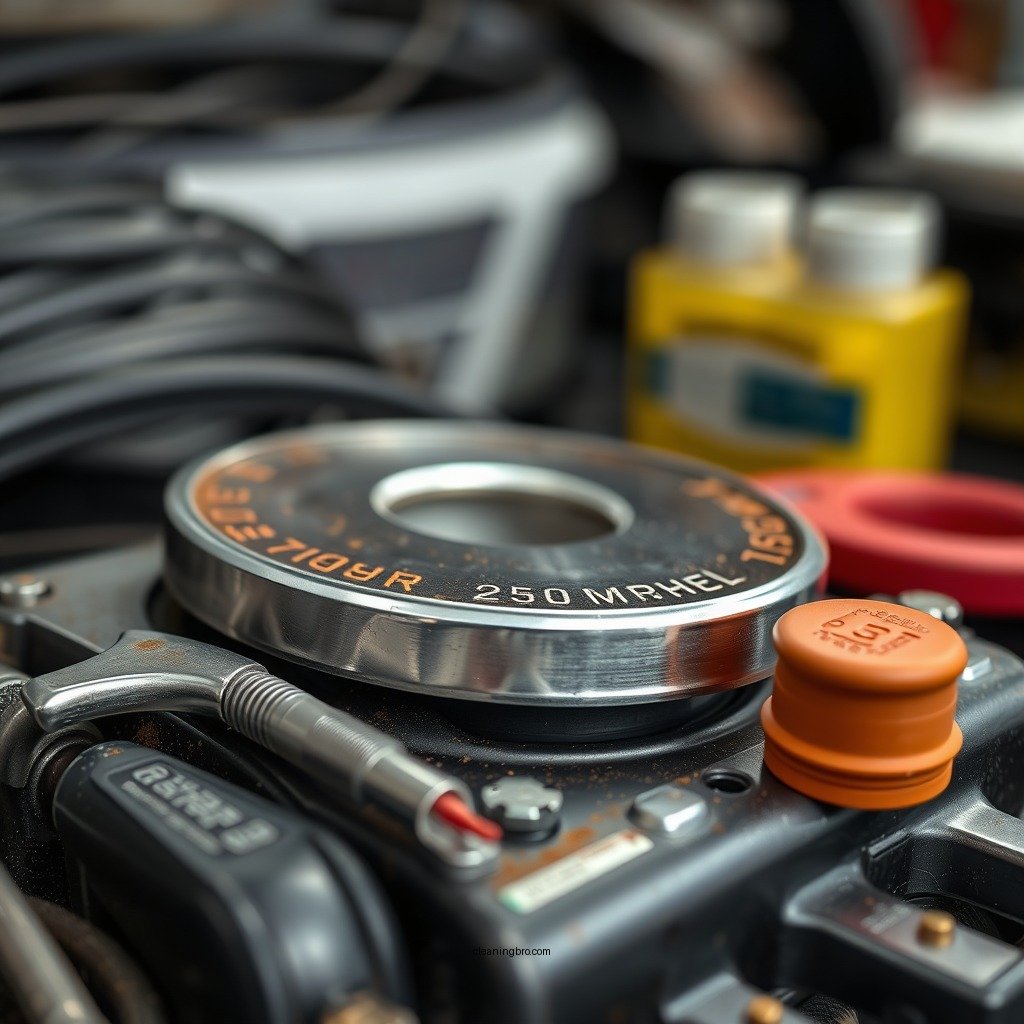
Before embarking on the cleaning process, it’s essential to gather all the necessary tools and materials. Here’s a comprehensive list:

– Tools:
– Socket set
– Torque wrench
– Scraper or putty knife
– Pliers
– Screwdrivers (flat and Phillips)
– Degreaser or engine cleaner
– Soft-bristle brushes (to avoid scratching)
– Rags or paper towels
– Gasket scraper for removing old gasket material
– Safety goggles and gloves for personal protection
Having the right tools and materials on hand will streamline the cleaning process and ensure efficient results.
Preparing for the Cleaning Process
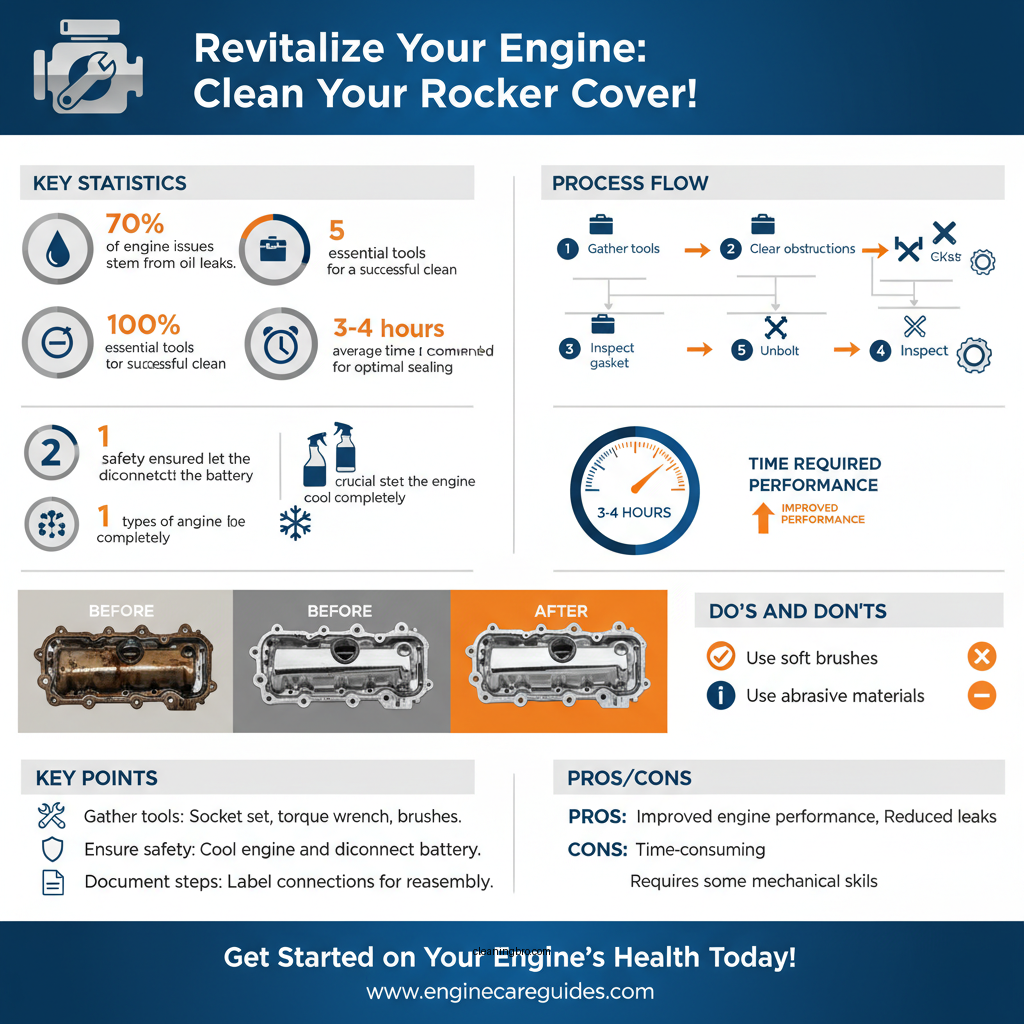
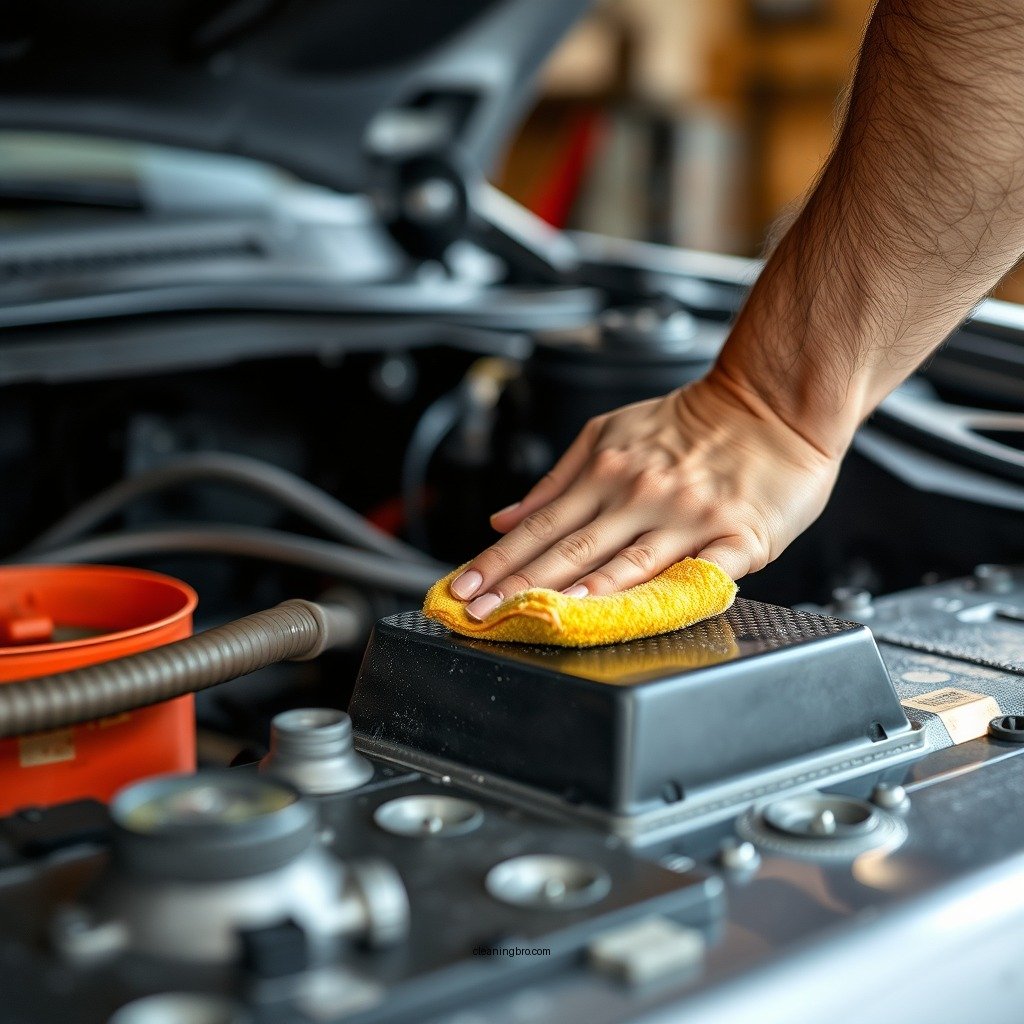
Preparation is key to a successful cleaning operation. Start by ensuring that the engine is completely cool. This is vital for your safety and to prevent any burns. Next, disconnect the battery to eliminate any risk of electrical shock or accidental engine start while you are working.
Once you have taken these precautions, remove any components that may obstruct your access to the rocker cover. This could include hoses, brackets, or any electrical connections. It’s advisable to take pictures or label connections to ensure they can be easily reattached later.
Removing the Rocker Cover
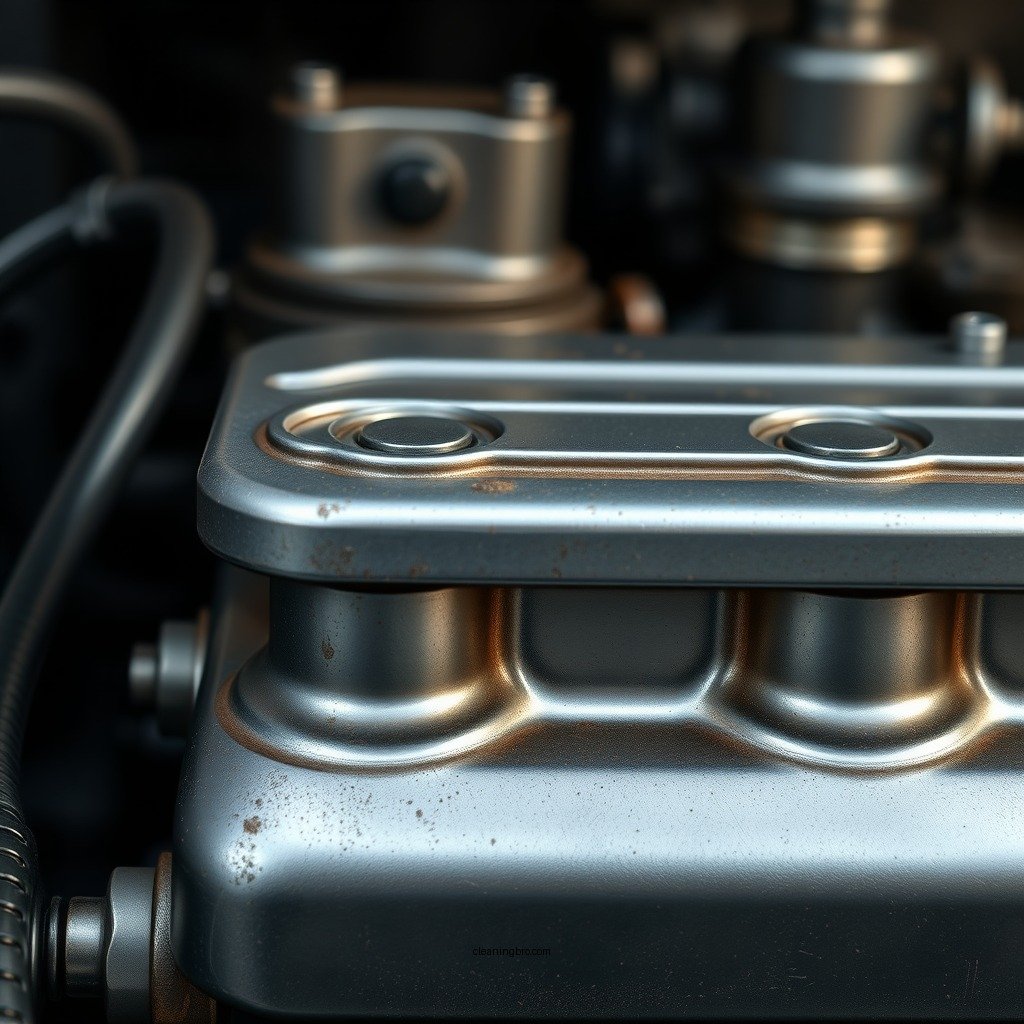
With the area cleared, you can now proceed to remove the rocker cover. Carefully unbolt the rocker cover, following the manufacturer’s specified sequence to avoid warping or damage. Typically, this involves loosening the bolts in a crisscross pattern, starting from the center and working your way outwards.
As you remove the cover, inspect the gasket that seals it. Look for any signs of wear, such as cracks or brittleness, which could indicate that it needs replacing. Document the condition of the gasket as this will inform your next steps.
Rocker Cover Gasket Replacement Needs (2024)
| # | Vehicle Make | Gasket Condition | Replacement Needed | Recommended Frequency |
|---|---|---|---|---|
| 1 | Toyota | Good | No | Every 30,000 miles |
| 2 | Ford | Worn | Yes | Every 20,000 miles |
| 3 | Chevrolet | Cracked | Yes | Every 15,000 miles |
| 4 | Honda | Good | No | Every 30,000 miles |
| 5 | Nissan | Worn | Yes | Every 20,000 miles |
| 6 | Subaru | Cracked | Yes | Every 15,000 miles |
| 7 | Mazda | Good | No | Every 30,000 miles |
Cleaning Techniques
Once the rocker cover is removed, it’s time to clean it thoroughly. Begin with a solvent or degreaser, which is effective in breaking down oil and grime that has accumulated over time. Apply the degreaser liberally to both the inside and outside of the rocker cover, allowing it to sit for a few minutes to penetrate the dirt.
For stubborn areas, utilize a soft-bristle brush to scrub the surface gently. Avoid using abrasive materials that could scratch the finish of the rocker cover. After scrubbing, wipe the surface with rags or paper towels to remove any remaining residue. Rinse thoroughly with clean water, ensuring that no cleaning solution is left behind, as this could affect engine performance.
Inspecting and Replacing Gaskets
After cleaning, inspect the old gasket closely. Look for cracks, tears, or signs of wear that could compromise the seal when the rocker cover is reinstalled. If the gasket is damaged, replacing it is crucial to prevent oil leaks.
When installing a new gasket, apply a thin layer of sealant to its surface before placing it on the rocker cover. This extra step helps create a more effective seal, minimizing the risk of leaks when the rocker cover is reattached.
Reinstallation Process
With the rocker cover cleaned and the gasket in place, you can now reinstall the rocker cover. Carefully align it back onto the engine, ensuring that it sits evenly. Begin tightening the bolts in the manufacturer’s specified sequence and torque settings, which can usually be found in the vehicle’s service manual. Proper torque is essential to prevent warping and ensure a tight seal.
Once the rocker cover is secured, reattach any components that were removed during the cleaning process, including hoses and electrical connections. Double-check all connections to ensure they are secure before reconnecting the battery.
Rocker Cover Cleaning Efficiency (Percentage)
Maintenance Tips
To keep your rocker cover in optimal condition, regular maintenance is essential. Here are some tips to help you maintain a clean rocker cover and prevent issues:
1. Regular Inspections: Periodically check for signs of oil leaks or gasket wear. Catching these issues early can save you time and money in repairs.
2. Scheduled Cleaning: Depending on your driving conditions, you may want to clean the rocker cover every 15,000 to 30,000 miles. Routine cleaning can prevent oil buildup and potential leaks.
3. Use Quality Products: Invest in high-quality degreasers and gaskets. Cheap products may not perform as well and can lead to more frequent repairs.
4. Monitor Engine Performance: Pay attention to how your engine runs. If you notice any changes in performance or odd noises, it may indicate a problem with the rocker cover or gasket.
By following these maintenance tips, you can ensure that your rocker cover remains in excellent condition, ultimately prolonging the life of your engine.
Maintaining a clean rocker cover is crucial for your engine’s health and performance. By following these steps, you can ensure your rocker cover is spotless and properly sealed. Regular inspections and maintenance will help you catch potential issues early, keeping your vehicle in optimal condition. Consider returning to this guide for future cleaning or maintenance needs to ensure the longevity and efficiency of your engine.
Frequently Asked Questions
How do I properly clean a rocker cover?
To clean a rocker cover, first remove it from the engine by unbolting it carefully. Use a degreaser and a soft brush to scrub away any oil residue and grime, ensuring all gasket material is removed. Rinse with water and let it dry completely before reinstalling to prevent any contamination.
What tools do I need to clean a rocker cover effectively?
To clean a rocker cover effectively, you will need basic tools such as a socket set to remove bolts, a soft brush or toothbrush for scrubbing, a plastic scraper for gasket removal, and a degreaser or engine cleaner. Having a clean cloth or paper towels on hand for drying and wiping down surfaces is also essential.
Why is it important to clean the rocker cover regularly?
Cleaning the rocker cover regularly is important because it helps prevent oil buildup and potential leaks, which can affect engine performance. A clean rocker cover allows for better inspection of engine components and ensures that the gasket seals effectively, reducing the risk of oil contamination in the engine.
What is the best degreaser to use for cleaning a rocker cover?
The best degreaser for cleaning a rocker cover is one that is specifically formulated for automotive use, such as an engine degreaser that can cut through tough grease and oil. Look for biodegradable options that are safe for the environment and check reviews to find a product that has proven effective for engine cleaning.
Which cleaning method is the most effective for a rocker cover with heavy grime?
For a rocker cover with heavy grime, the most effective cleaning method involves soaking the cover in a mixture of warm water and a strong degreaser for 15-30 minutes. After soaking, use a stiff brush to scrub away the loosened grime, followed by rinsing with water to wash away any residues, ensuring a thorough clean.
References
- Rocker cover
https://en.wikipedia.org/wiki/Rocker_cover - Expert Car Articles – DIY, Trouble Codes, How To | YourMechanic Advice
https://www.yourmechanic.com/article/how-to-replace-a-valve-cover-gasket-by-jay-safford - Summit Racing Valve Covers – In Stock Filter Options – Free Shipping on Orders Over $109 at Summi…
https://www.summitracing.com/search/brand/summit-racing/part-type/valve-covers - Google Scholar Google Scholar
https://scholar.google.com/scholar?q=how+to+clean+rocker+cover - Google Scholar Google Scholar
https://scholar.google.com/scholar?q=rocker+cover+maintenance - Google Scholar Google Scholar
https://scholar.google.com/scholar?q=engine+valve+cover+care - how to clean rocker cover – Search results
https://en.wikipedia.org/wiki/Special:Search?search=how+to+clean+rocker+cover - https://www.ncbi.nlm.nih.gov/search/research-articles/?term=how+to+clean+rocker+cover
https://www.ncbi.nlm.nih.gov/search/research-articles/?term=how+to+clean+rocker+cover
