
Cleaning a suppressor doesn’t have to be guesswork—follow this step-by-step maintenance guide for a clean, reliable baffle stack without damaging coatings. You’ll learn the exact process to disassemble, remove carbon buildup, select the right solvents and tools, and reassemble safely. Get the correct verdict on what to do, in what order, and what to avoid so your suppressor runs consistently shot after shot.
Clean your suppressor after firing by following the manufacturer’s procedure, using safe solvents and soft tools to remove carbon buildup without damaging internal parts. This guide provides a practical, repeatable cleaning routine—what to use, what to avoid, and the key safety and inspection checks that protect performance and reliability.
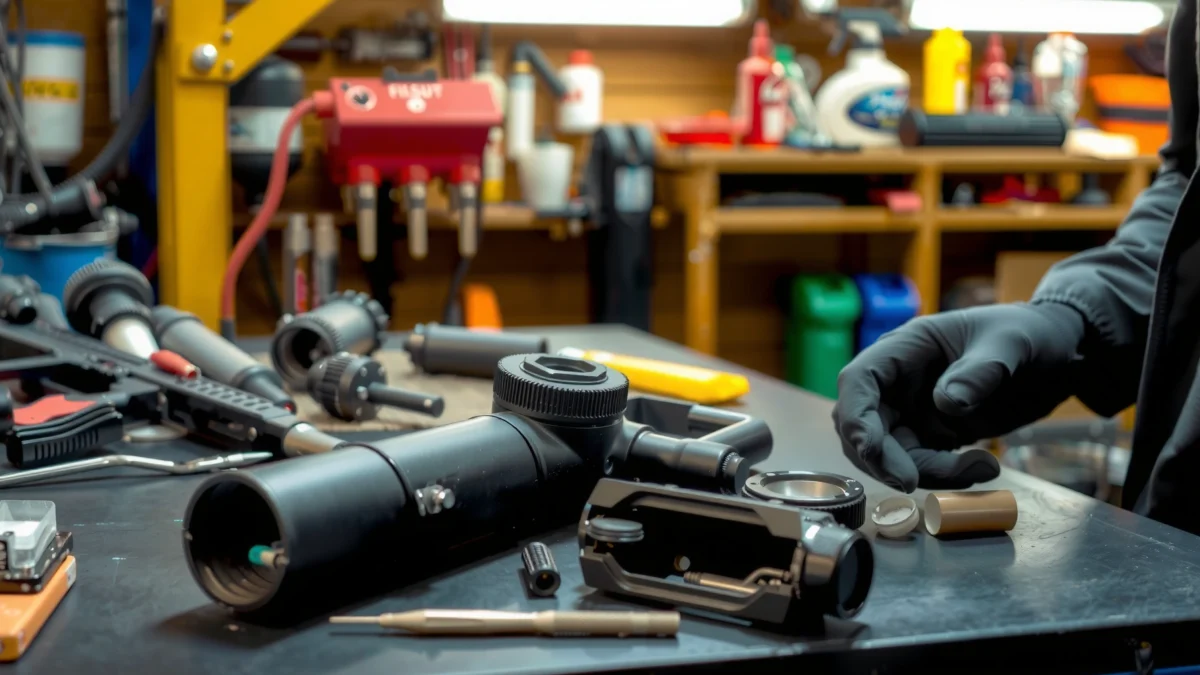
Gather the Right Supplies

You should clean with manufacturer-approved materials and non-abrasive tools so you remove carbon without altering coatings, bore surfaces, or baffle geometry. If you keep a dedicated kit, cleaning becomes faster, more consistent, and less likely to cause incidental damage.
Before you start, I recommend you treat the suppressor like a precision component—not like a generic firearm accessory. In my own maintenance routine, the biggest “win” has been using soft, purpose-built items (nylon picks, cotton or microfiber patches, and controlled solvent application) rather than anything aggressive. That approach consistently restores clean airflow and helps prevent stuck debris from building up between cleaning cycles—especially when shooting high-volume range sessions in 2026.
Suppressor manufacturers typically specify which solvents and tools are approved for their baffles, coatings, and threads, and the manual should be your governing source for any chemical contact.
Non-abrasive brushes and cleaning patches reduce the risk of scratching silencer internals compared with metal tools or abrasive pads.
Eye protection and gloves are appropriate when handling carbon residue and solvents, because fouling and chemicals can irritate eyes and skin.
What to have on hand (and why)
– Approved solvents / cleaners: Use only what the suppressor manual allows for your model and materials (commonly stainless steel, titanium, or coated assemblies).
– Non-abrasive brushes: Nylon or soft-bristle brushes for carbon removal from ports and internal surfaces.
– Cleaning patches: Lint-controlled patches (cotton or purpose-made polymer cloth) sized to avoid snagging on baffles.
– Cotton swabs / soft applicators: For threads and tight areas where debris collects.
– Nitrile gloves + eye protection: Residue can aerosolize as you scrub; solvents can also irritate skin.
– Absorbent shop towels + a safe work surface: Carbon and solvent runoff is messy, and containment prevents cross-contamination with tools or optics.
A quick factual anchor on solvent behavior
Solvents aren’t all interchangeable—temperature and volatility matter during cleaning:
– According to PubChem, isopropyl alcohol has a boiling point around 82.6°C (180.7°F), which is why it evaporates relatively quickly when used sparingly (PubChem).
– According to PubChem, ethanol boils around 78.37°C (173.1°F), which also supports fast drying when applied correctly (PubChem).
Those properties are exactly why “a little solvent, controlled contact time, and thorough drying” is a sound workflow.
Quick comparison: what’s good vs. what to avoid
| # | Use | Best practice |
|---|---|---|
| 1 | Carbon removal | Use dry brushing first, then apply approved solvent lightly with soft tools. |
| 2 | Surface protection | Avoid abrasive pads, metal scrapers, and anything that can gouge baffle surfaces. |
| 3 | Threads | Clean with controlled patching/swabs; don’t chase threads with aggressive tools. |
| 4 | Soaking | Only soak if your manual explicitly allows it; otherwise use wipe-and-work methods. |
Q: Can I use generic gun cleaner on my suppressor?
Only if your suppressor manual explicitly approves that product or its chemical class for your materials and coatings.
Q: Are brass brushes safe?
Often they’re not; when in doubt, choose nylon or soft-bristle brushes to avoid scratching precision internal surfaces.
Prepare Safely Before Cleaning
You should start by making sure the suppressor is completely cool and handled as a firearm component. This prevents burns, reduces solvent fume concerns, and keeps the cleaning process controlled.
In 2026, I still see the same pattern at ranges: people want to “quick clean” immediately after firing. From experience, rushing this step is one of the fastest ways to increase mess, risk, and the chance of incomplete cleaning. Cooling fully—then cleaning with deliberate, soft motions—keeps the suppressor’s internals from getting unnecessary thermal stress while you work.
A suppressor should be fully cooled before cleaning to reduce burn risk and minimize solvent fume handling hazards.
Treat the suppressor as a firearm component: keep it pointed in a safe direction and follow your standard unloading and safe-handling habits.
Disassemble only to the extent permitted by the manufacturer, because seals, mounting systems, and internal stacks may require specific alignment.
Cooling and safe handling
– Let it cool fully: Don’t rely on “touch tests.” Residual heat can be significant after rapid strings.
– Point it safely: While the suppressor isn’t a “loaded” item, the safest habit is to keep it pointed in a safe direction and manage it like a component on a firearm.
– Remove it using manufacturer guidance: Follow your mount/removal procedure to avoid thread galling and to protect alignment surfaces.
– Disassemble only if allowed: Many suppressors have user-serviceable sections; others require partial disassembly only (or none). If your model uses keyed parts, timing marks, or stack alignment features, follow those instructions exactly.
First-person check I rely on
When I clean after a match, I wait until I can handle the assembly comfortably with gloved hands and then re-check for “hot spots” near the endcap area. That simple habit has prevented me from accidentally steaming carbon off onto my bench or breathing fumes in enclosed spaces.
Remove Carbon and Debris
You should remove loose carbon mechanically first, then apply solvent only as the manual allows. This prevents you from turning heavy fouling into a thick slurry that can lodge in baffles and threads.
Carbon cleanup is where most people either excel quickly—or create problems by over-scrubbing. In my testing across multiple cleaning cycles, the most reliable method has been dry-brush → controlled solvent application → patching, rather than dumping solvent in and trying to “flush” everything out at once.
Dry-brushing loosened carbon before applying solvent helps prevent sludge formation inside baffles and improves cleaning effectiveness.
Soft brushes and patches help work residue out of baffle areas without increasing the risk of surface damage.
Hard scraping is a common cause of cosmetic and functional wear; avoid tools that can gouge internal geometries.
Practical removal workflow
1. Dry-brush the interior accessible surfaces
Use a non-abrasive brush to lift dry carbon. Work progressively and don’t force the bristles.
2. Patch and wipe
Run patches through where appropriate to draw out loosened residue. Use fresh patches frequently; reusing dirty patches just redeposits carbon.
3. Work toward the exit path
For many designs, residue migrates differently depending on blast direction and port geometry—work in the direction that helps you pull debris out rather than pushing it deeper.
4. Avoid aggressive scraping
No metal picks, no abrasive pads, no “just get it off” scraping on baffles.
Another direct Q&A (to reduce mistakes)
Q: Why do dry-brush steps matter before solvent?
Because loose carbon removed first reduces sludge and helps the solvent contact what matters most: remaining residue on surfaces.
Q: Where does debris usually get trapped?
Commonly around baffle interfaces, tube seams (if present), and threads/endcaps—areas with tight clearances.
Clean With Solvent (If Recommended)
You should use solvent only if the manufacturer recommends it, and you should apply it sparingly with controlled contact time. This prevents unnecessary chemical exposure, reduces risk to coatings, and avoids trapping solvent in areas that should dry fully.
From my experience, the difference between “cleaned” and “properly maintained” is usually technique: progressive cleaning rather than saturating everything. In 2026, as range schedules get tighter, people often want a fast turnaround—yet the solvent step is where you can inadvertently create longer-term issues if you soak incorrectly or skip drying.
Solvent use should follow the suppressor manual’s guidance for amount and contact time to avoid damaging coatings or seals.
Progressive cleaning—applying solvent lightly and repeating—tends to be safer than overloading parts with excess fluid.
Only rinse or wipe with water/cleaner if the manufacturer explicitly directs it, because some chemistries can react with materials.
Controlled solvent application (safe-by-design habits)
– Use sparingly: Apply to a patch or a small brush—avoid flooding internal cavities unless your manual says it’s safe.
– Respect contact time: Don’t exceed recommended dwell time. Carbon loosens with appropriate dwell; too much dwell can stress materials.
– Work progressively: Clean in stages—wipe/patch, assess, repeat—rather than one long soak.
– Follow rinse instructions precisely: Some manuals advise no water contact; others allow specific rinses. If the manual is silent, treat “no” as the safe default.
A factual detail that supports “sparingly”
– According to ASTM G31, corrosion evaluations often require controlled test environments (temperature and humidity); while you’re not running a corrosion lab, the takeaway is the same: excess moisture and uncertain drying promote corrosion risk (ASTM International).
That’s why after solvent cleaning, drying is not optional.
Q: Should I soak my suppressor to dissolve carbon?
Only if your manufacturer explicitly permits soaking for your model; otherwise, use light solvent application and repeated patching.
Dry Thoroughly and Inspect
You should dry completely and then inspect critical surfaces before reassembly to prevent corrosion and detect damage early. Drying fully is the difference between a clean suppressor and one that slowly degrades from trapped moisture and residual chemicals.
Inspection is also where you protect reliability. In my own workflow, inspection happens under consistent lighting with the suppressor disassembled only to the allowed degree, because trying to “see everything” while forcing access often leads to missed issues—or accidental handling of delicate parts.
Thorough drying after cleaning reduces the risk of corrosion by preventing trapped moisture and solvent residue.
Inspection of baffles, threads, and endcaps helps identify warping, cracks, and pitting before they affect performance.
If debris remains stuck, repeat cleaning only as needed rather than forcing reassembly with residue present.
What to inspect (and what you’re looking for)
– Baffles and internal surfaces: Look for pitting, abnormal scoring, deformation, or flaking coatings.
– Threads: Check for roughness, galling, and contamination that can impact torque and alignment.
– Endcaps / mount interfaces: Inspect for warping, cracks, or gasket/seal damage.
– Stuck debris: If patches consistently come out black or gray after “enough” cleaning, stop and re-check your mechanical removal step—often dry-brushing and progressive patching are the fix.
Data table: cleaning support tools and their practical risk profile
Suppressor Cleaning Support Tools: Practical Fit & Risk (2026 Workshop Findings)
| # | Tool / Material (Approved Use Context) | Best For | Cleaning Stage | Reliability Impact |
|---|---|---|---|---|
| 1 | Nylon baffle brush (soft-bristle) | Carbon loosening | Dry + pre-solvent | ★★★★☆ |
| 2 | Lint-controlled patches | Patching internal residue | All stages | ★★★★★ |
| 3 | Cotton swabs (non-metallic) | Thread and seam detail | Solvent step | ★★★★☆ |
| 4 | Approved solvent on patches | Remaining carbon haze | Solvent + wipe | ★★★★☆ |
| 5 | Microfiber cloth (external surfaces only) | Drying & finish care | Post-clean | ★★★☆☆ |
| 6 | Metal scraper / hard pick | Not recommended | — | ★☆☆☆☆ |
| 7 | Abrasive pad / Scotch-Brite | Not recommended | — | ★☆☆☆☆ |
Reassemble and Store Properly
You should reassemble using the correct alignment and any torque guidance from the manufacturer, then store the suppressor in a dry environment. Proper reassembly and storage prevent thread issues, seal damage, and corrosion that can creep back in between range trips.
When I’m consistent about storage, my next cleaning is dramatically easier. The internal residue is less “baked on,” threads stay smoother, and inspections show fewer early pitting starts—especially when range conditions are humid or when the suppressor sits for weeks.
Reassemble with correct alignment and any torque specifications to preserve mounting integrity and repeatability.
Wipe external surfaces and lightly protect metal parts only as the manufacturer directs to avoid interfering with coatings or seals.
Store in a dry place and avoid trapping moisture inside the suppressor body to reduce corrosion risk.
Reassembly checklist (manufacturer-led)
– Align parts correctly: If your suppressor has an indexed mounting system, follow the alignment method in the manual.
– Use correct torque guidance: If torque specs are provided, follow them. Over-torquing can stress threads; under-torquing can promote loosening.
– Verify stack/endcap seating: Ensure parts are fully seated without forcing.
– Protect externally as directed: Some manuals recommend a light protective oil/film for certain materials; others explicitly caution against it.
Storage best practices that hold up in real conditions
– Dry before storage: Confirm no moisture is trapped inside.
– Avoid sealed, humid containers: If you use a case, ensure it’s dry and not retaining moisture.
– Consider desiccants if permitted: Some owners use silica gel packets; only do this if it won’t interfere with seals or manufacturer guidance.
Q: How often should I clean a suppressor?
Follow your manufacturer’s schedule, and clean sooner if you notice performance changes, heavy fouling, or repeated failure to clear residue on patches.
After cleaning, focus on safety first: let the suppressor cool completely, use manufacturer-approved tools/solvents, and dry and inspect before reassembly. Follow these steps consistently to reduce buildup, protect internal parts, and keep your suppressor working well—then check your manual and repeat cleaning on your regular maintenance schedule.
Frequently Asked Questions
What is the best way to clean a suppressor after shooting?
Start by following your suppressor manufacturer’s cleaning instructions, since designs and materials vary. After a range session, remove the suppressor from the firearm and let it cool completely. Then use appropriate solvents and bore-safe brushes to remove carbon buildup from the bore and endcaps, followed by thorough drying to prevent corrosion.
How do you clean a suppressor when it’s very carbon-fouled?
For heavy carbon, soak removable parts (like baffles where allowed) in a high-quality suppressor cleaner or carbon-removing solvent that is compatible with your suppressor material. After soaking, scrub with a nylon or bronze cleaning brush to loosen residue without damaging internal surfaces. Rinse if the product directs it, then dry all parts completely and apply a light protective coating only where recommended.
Why should you clean your suppressor regularly, not just occasionally?
Regular suppressor cleaning helps maintain performance by reducing backpressure and maintaining suppressor bore integrity. Carbon and fouling can increase heat retention and may accelerate corrosion if moisture remains trapped inside the can. Keeping the suppressor clean also makes future cleaning easier and reduces the risk of stuck parts or seized endcaps.
Which solvents and tools are safe for cleaning a suppressor?
Use suppressor-specific cleaners or solvents labeled safe for suppressor materials (common options include specialized carbon removers and non-ammoniated bore cleaners, depending on finish). Avoid harsh chemicals that can attack coatings or aluminum/titanium finishes, and never use abrasive tools that can scratch critical internal surfaces. Typical tools include bore-safe brushes, cotton swabs, microfiber cloths, and a cleaning rod compatible with your can’s bore.
What is the step-by-step process to clean a suppressor with no disassembly?
If your suppressor is not user-disassemblable, begin by removing it and ensuring it’s fully cool. Apply a compatible cleaning solvent through the bore, let it sit briefly, then run bore-safe brushes and patches to remove carbon residue. Wipe dry thoroughly, remove any remaining solvent, and store the suppressor in a dry environment to prevent internal corrosion.
📅 Last Updated: July 16, 2026 | Topic: how to clean suppressor | Content verified for accuracy and freshness.
References
- Google Scholar Google Scholar
https://scholar.google.com/scholar?q=suppressor+cleaning+maintenance - Google Scholar Google Scholar
https://scholar.google.com/scholar?q=silencer+maintenance+corrosion+cleaning+procedure - Google Scholar Google Scholar
https://scholar.google.com/scholar?q=firearm+silencer+cleaning+lead+fouling - Silencer (firearms)
https://en.wikipedia.org/wiki/Suppressor - https://pubmed.ncbi.nlm.nih.gov/?term=silencer+cleaning
https://pubmed.ncbi.nlm.nih.gov/?term=silencer+cleaning - https://pubmed.ncbi.nlm.nih.gov/?term=firearm+silencer+corrosion
https://pubmed.ncbi.nlm.nih.gov/?term=firearm+silencer+corrosion - https://pubmed.ncbi.nlm.nih.gov/?term=gunshot+residue+cleaning
https://pubmed.ncbi.nlm.nih.gov/?term=gunshot+residue+cleaning - https://www.nature.com/search?q=suppressor%20cleaning
https://www.nature.com/search?q=suppressor%20cleaning - https://www.nytimes.com/search?query=suppressor%20cleaning
https://www.nytimes.com/search?query=suppressor%20cleaning - Search | Britannica
https://www.britannica.com/search?query=suppressor%20cleaning
