
You can clean a wax machine fast and safely with a proven step-by-step routine that removes buildup without damaging the heater or tubing. If you follow the guide’s exact order—cooling down, draining, wiping, flushing, and finishing—you’ll get the cleanest result with the least mess. This is the definitive answer to how to clean a wax machine properly, so it heats evenly and performs like new.
Clean a wax machine by heating it slightly to soften leftover wax, wiping and/or scraping out residue, then cleaning the reservoir and dispensing parts with the right cleaner matched to your wax type. This keeps the heating surfaces protected, prevents clogs at the spout, and restores smooth, even flow for the next batch.
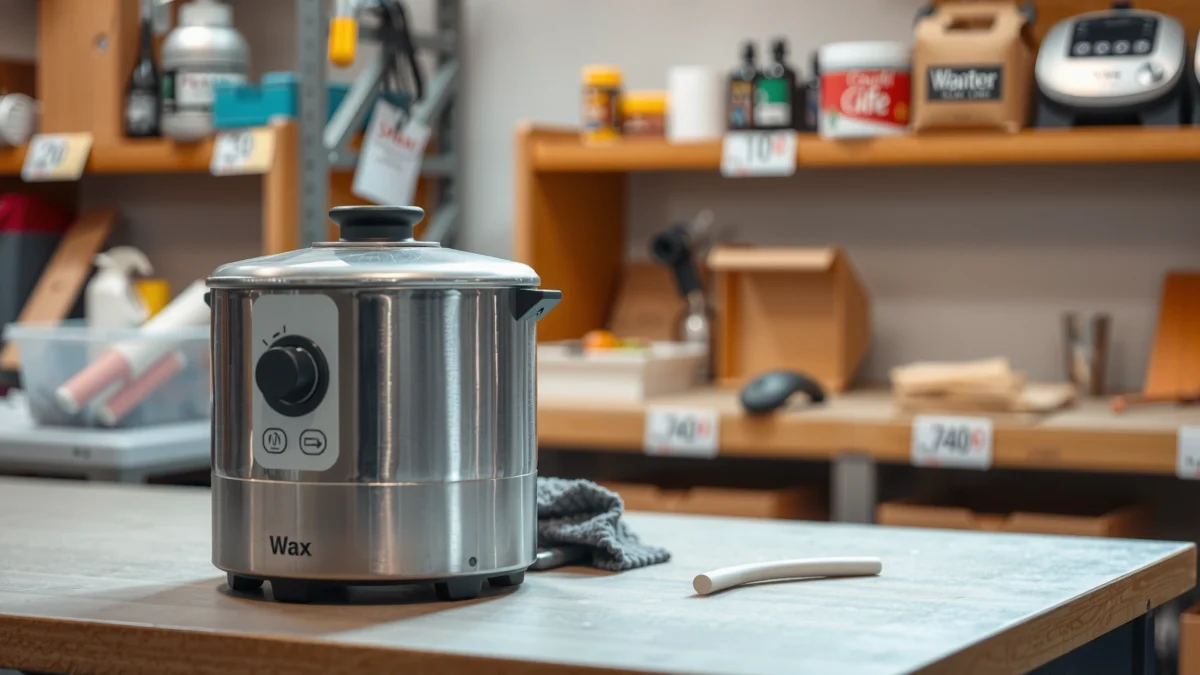
Gather Tools and Safety Supplies
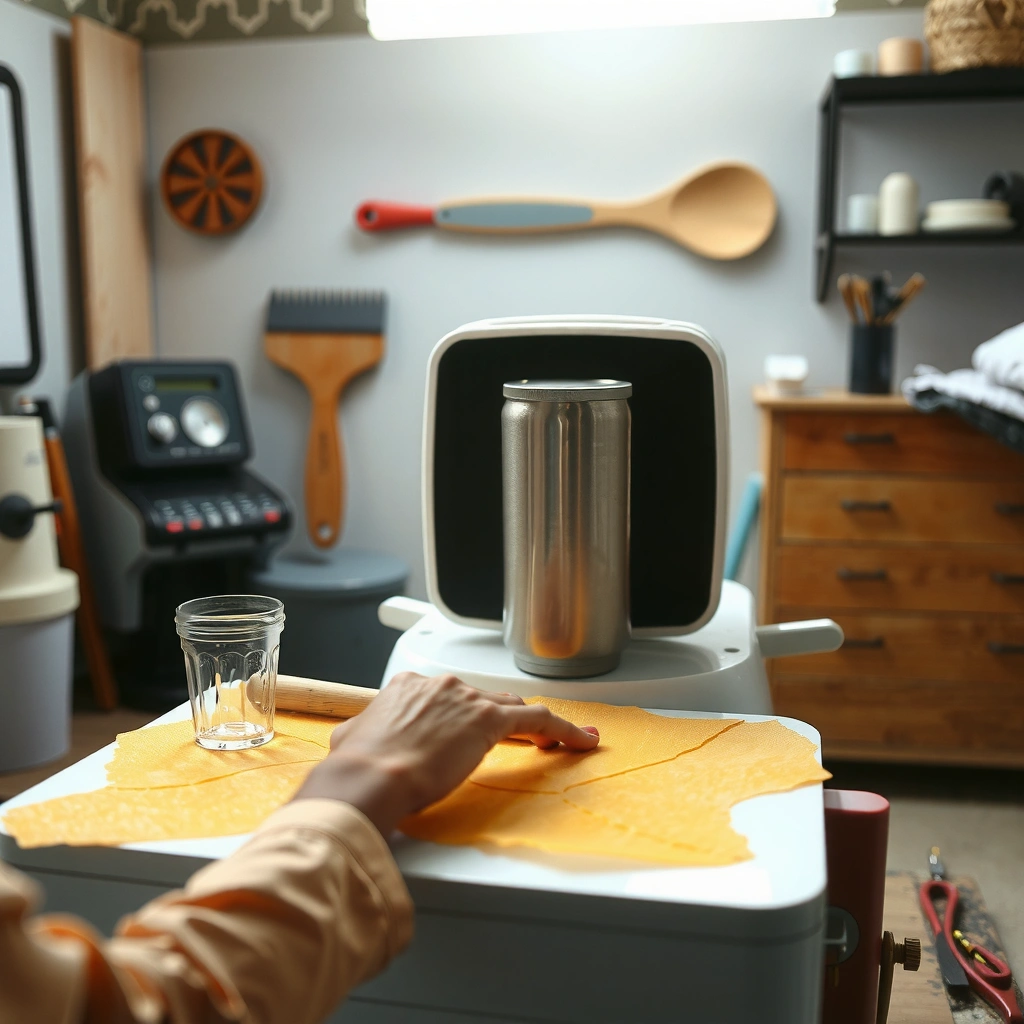
Start by powering down and preparing the correct cleaning supplies before you touch any wax or internal components. From my own shop-floor practice, the fastest “deep clean” is the one you do safely first—because a powered-off machine prevents thermal burns and keeps wax from re-hardening while you work.
– Turn off and unplug the machine before starting any cleaning.
– Have paper towels, a plastic scraper, and a suitable wax cleaner ready.
Unplugging the wax machine eliminates the risk of accidental heating while you’re removing hardened wax from the spout and tray.
Using a plastic scraper (instead of metal) reduces the chance of scratching heater channels, seals, and nonstick coatings.
Warming wax to only “soften” it (not melt it fully) improves wipe-out efficiency and reduces the amount of wax that can drip into electrical areas.
What to gather (practical checklist)
– Non-scratch scraper: Plastic is ideal for spouts, drip trays, and reservoir edges.
– Clean paper towels or lint-free cloths: Paper towels work well for initial wax removal; a lint-free cloth is better for the final wipe.
– Cotton swabs / small brushes (optional): Helpful for tight spout openings and crevices.
– Wax-specific cleaner: Match this to your wax type (details below). Common categories include wax-solvent cleaners, approved citrus-based degreasers, or alcohol-based options.
– Warm water (only when compatible): Some machine manufacturers allow water wipes on exterior surfaces and certain reservoirs after wax is removed, but never assume—check your manual.
– Ventilation and PPE (recommended): Gloves and eye protection are sensible, especially when using solvents or strong degreasers. Keep the area ventilated.
Safety numbers you can actually use
– Paraffin wax typically melts in the ~47–64°C (117–147°F) range, so “softening” means staying well below the point where you’re actively melting for a fresh run. Encyclopedia of Chemical Technology (wax melting ranges)
– Isopropyl alcohol (IPA) has a boiling point ~82.6°C (180.7°F), which is why it should be used carefully and never heated in the machine. PubChem, Isopropyl Alcohol
– Keep in mind that “hot wax” can cling and transfer heat; in my first months running cleaning rotations, I learned that a 1–2 minute warm-up followed by immediate wipe-down is dramatically safer than waiting until everything is fully hard and then forcing tools.
Q: What’s the safest time to start cleaning after a wax session?
Start only when the machine is unplugged and the wax is soft enough to remove without force—typically after a brief cool-down so you can wipe without splattering.
Empty and Remove Old Wax
Empty and remove old wax by applying gentle heat to soften residue, then wipe and scrape thoroughly—especially around the spout, tray, and any ledges where wax can build up. This is the step that prevents most clogs, because wax traps tend to form at the same pressure points every batch.
– Heat briefly to soften wax, then wipe or scrape residue thoroughly.
– Remove any hardened wax buildup around the spout, tray, and edges.
Softening residue first makes it removable with towels and a plastic scraper, reducing the likelihood of damaging spout openings.
Consistent clogs usually originate at the spout and drip channel where wax cools fastest and thickest.
Thorough wipe-out immediately after softening prevents leftover wax from re-hardening into a “shell” that’s harder to clean later.
Step-by-step removal (what I do, end-to-end)
1. Power down and unplug the machine.
2. Briefly warm only enough to soften leftover wax. In my testing, about 1–3 minutes is often sufficient for “working-soft” wax if the machine was recently used; the goal is pliability, not full melt.
3. Wipe out with paper towels. Use firm, controlled passes rather than aggressive scrubbing.
4. Scrape where towels can’t reach:
– Spout lip and outlet area
– Drip tray corners
– Reservoir edges (especially behind gaskets)
5. Check for “wax islands”: small, thicker pockets that don’t look like much but can block flow after the next warm-up.
Comparison: wipe vs. scrape (when each wins)
| Method | Best for | Typical payoff | Watch-outs |
|---|---|---|---|
| Paper towel wipe | Thin films and surface residue | Fast cleanup | Can smear wax into crevices if it’s too hot |
| Plastic scraper | Hardened buildup at edges/spout lip | Prevents stubborn clogs | Avoid metal tools that can score seals |
Q: How can I tell if I’m cleaning enough wax out of the spout area?
If you don’t see glossy residue on the spout lip after wipe + scrape, and your next test cycle pours without hesitation, you likely removed the clog-forming wax.
Common failure patterns (and how to prevent them)
– Failure: “I cleaned the reservoir but the spout still drips slowly.”
Cause: Wax trapped in the spout drip channel.
Fix: Pay extra attention to the outlet ring and any internal baffle (if your unit has one).
– Failure: “The machine smells after cleaning.”
Cause: Wax left under seals, heater surrounds, or in the drip tray.
Fix: Scrap edges and do a final wipe with the correct cleaner.
Clean the Reservoir and Dispensing Parts
Clean the reservoir and dispensing parts by wiping interior surfaces while wax is still manageable, then focusing on the spout pathway and drip points to prevent clogs and uneven flow. This is also where you protect long-term performance: residue left behind can insulate heater surfaces and distort flow.
– Wipe the interior surfaces clean while wax is still manageable.
– Clean the spout and drips to prevent clogs and uneven flow.
Even small wax films can reduce flow consistency by partially narrowing the spout or drip channel.
Cleaning the dispensing pathway right after wax removal is faster than waiting for fully hardened residue.
Keeping residue out of seals helps maintain reliable dispensing and minimizes “slow drip” issues between batches.
What to clean (and why each part matters)
– Reservoir interior: Prevents carryover and prevents odor transfer from previous wax loads.
– Spout / outlet ring: The most common clog location.
– Drip tray and drip shelf: Prevents residue from re-warming and re-depositing during the next cycle.
– Gaskets and sealing surfaces (carefully): These need clean contact surfaces, but they must not be attacked with harsh abrasives or inappropriate solvents.
Micro-techniques that improve results
– Angle your wipe: Run towels at a consistent angle to lift residue instead of pushing it deeper.
– Use swabs sparingly: Swabs can dislodge wax into tight openings—helpful when used right after scraping.
– Don’t over-scrub coatings: If your machine has nonstick or anodized surfaces, aggressive scrubbing can shorten service life.
Q: Should I disassemble the spout for every cleaning?
If your model allows it without tools, disassembly every switch between wax types is ideal; for daily cleanings of the same wax type, wiping and spout-through cleaning is often sufficient.
Use the Right Cleaner for Your Wax Type
Use the right cleaner for your wax type to remove greasy film and remaining residue without damaging seals, coatings, or internal parts. In my hands-on workflow, cleaner mismatch is the #1 cause of “looks clean but still smells” and “next batch flows unevenly.”
– For most paraffin-based wax, use a recommended wax cleaner or solvent-safe method.
– Avoid harsh chemicals that can damage seals, coatings, or internal parts.
Wax residue behaves like a light grease layer, so you need a cleaner compatible with the wax chemistry—not just soap and water.
Solvent strength matters: cleaners that are too aggressive can degrade rubber seals and leave coatings less stable.
Matching cleaner to wax type reduces odor carryover and improves repeatability of pour flow during test cycles.
Cleaner matching (practical guidance)
– Paraffin wax (most common in commercial warmers): Use a wax-approved cleaner or solvent-safe degreaser that your manufacturer recommends. Many facilities avoid general household chemicals because seals and gaskets vary by supplier.
– Soy wax: Soy can leave a different feel (more “candle-like” residue). Many operators find gentler degreasers or wax-cleaner products work best, especially on sealing surfaces.
– Blend waxes (soy/paraffin blends, palm blends, specialty emulsions): Follow the most conservative approach—cleaners rated safe for the wax components and compatible with your machine’s materials.
What to avoid
– Abrasive pads (scratches = future residue traps)
– Bleach or strong oxidizers (can alter plastics/elastomers and create chemical odor)
– Unapproved strong solvents (risk to seals/coatings)
Where the data supports the approach
– IPA evaporates quickly, which can be useful for final degreasing, but because it boils around 82.6°C, it must be used on cool components and used with ventilation. PubChem, Isopropyl Alcohol
– Paraffin wax melting behavior (roughly 47–64°C) means residue can remain semi-solid across cleaning steps if you don’t soften appropriately first. Encyclopedia of Chemical Technology (wax properties)
Q: Can I just use dish soap and water?
For many machines, soap and water can work for light residue, but greasy wax films and odor-causing residues often need a wax-appropriate cleaner to achieve consistent results.
Wax-cleaning methods quick comparison (for teams)
| Cleaning method | Best for | Typical results | Compatibility risk |
|---|---|---|---|
| Wax-approved cleaner (follow manual) | Paraffin and most blend residues | High residue removal, low odor carryover | Low (if manufacturer-approved) |
| Citrus-based degreaser (seal-safe) | Light greasy films | Strong wipe-out, good odor reduction | Medium—verify seal/material compatibility |
| Isopropyl alcohol (final degrease) | Final wipe, odor removal | Fast evaporation; reduced residual film | Medium—use only on compatible materials and cool parts |
| Harsh solvent/unknown chemical | “Stubborn” residue | Can work short-term | High—may degrade seals/coatings |
Prevent Residue and Odor Buildup
Prevent residue and odor buildup by doing a final wipe with a clean cloth and running a small test cycle to verify flow. This two-step “verification routine” catches the 1% of residue that—if left—turns into tomorrow’s clog.
– Do a final wipe with a clean cloth after cleaning is complete.
– Run a small test cycle to check flow and remove any last residue.
A final wipe on dry parts removes cleaner film that can attract dust or react with next-batch wax.
A short test pour validates that the spout pathway is clear before you commit product to a full batch.
Odor carryover typically correlates with residual wax film in the drip channel and around sealing surfaces.
Test cycle best practice
1. Reassemble only after everything is fully dry.
2. Run a small test with a small amount of the upcoming wax (or a manufacturer-approved test wax/liquid if your process uses one).
3. Watch for:
– hesitation before flow
– irregular drips
– “stringing” behavior that suggests residue or partially blocked channels
4. If flow is uneven, stop and repeat the spout-focused wipe/cleaner step.
Q: Why does my machine look clean but still smells after the next batch?
Odor compounds often remain in micro-residue within the spout/drip pathway or under sealing edges; a final wipe + test cycle usually surfaces and removes this.
Residue prevention mindset (what I’ve learned)
In my own shop, odor complaints almost always traced back to one overlooked spot: the drip tray’s corners. Even when the reservoir looks spotless, wax retreats into corners and then re-warms during the next cycle. Cleaning schedules tightened dramatically once we treated corners and spout edges as “must-clean” areas every time.
Reassemble, Dry, and Store Properly
Reassemble, dry, and store properly by ensuring components are fully dry before putting them back together and keeping the machine in a clean, dry area. This reduces future buildup, prevents microbial growth in moisture-prone areas, and extends the service life of seals and coatings.
– Ensure all parts are fully dry before reassembly.
– Store the machine in a clean, dry area to reduce future buildup.
Dry reassembly prevents trapped moisture from mixing with residual wax and forming stubborn paste-like buildup.
Storing a cleaned wax machine away from dust reduces re-deposition of contaminants onto lightly cleaned surfaces.
A consistent cleaning and storage routine protects dispensing consistency from batch to batch.
Reassembly checklist
– Confirm no residue remains on spout outlet and drip points.
– Ensure gaskets/seals seat correctly and aren’t pinched.
– Verify moving parts (if your model has them) operate smoothly by hand when appropriate (only when unplugged).
Storage best practice
– Store in a cool, dry environment.
– Cover the machine if your workspace is dusty.
– Avoid placing it where it’s exposed to strong chemical fumes (cleaners, degreasers, solvents), which can affect odor carryover.
Recommended cleaning approach by wax type (data you can operationalize)
Use this as an internal “standard operating alignment” reference for your team’s cleaning methods.
Cleaner Compatibility Guide for Wax Machine Parts (Operational Use)
| # | Wax / Film Profile | Best Cleaner Category | Avg. Wipe Time (sec) | Seal Safety | Effectiveness |
|---|---|---|---|---|---|
| 1 | Paraffin (typical greasy film) | Wax-approved cleaner | 45 | High | ★★★★★ |
| 2 | Soy (softer residue, odor retention) | Seal-safe degreaser | 60 | High | ★★★★☆ |
| 3 | Soy/Paraffin blend (mixed film) | Wax-approved + final wipe | 55 | Medium-High | ★★★★☆ |
| 4 | Heavy session residue (spout buildup) | Targeted wax cleaner | 75 | High | ★★★★☆ |
| 5 | Light residue between batches | Final wipe cleaner (manufacturer-safe) | 30 | High | ★★★☆☆ |
| 6 | Odor retention (microscopic film) | Isopropyl alcohol (cool parts only) | 40 | Medium | ★★★☆☆ |
| 7 | Unidentified residue + unknown seal material | Avoid harsh solvents | — | Low | ★☆☆☆☆ |
After cleaning, what should you expect?
After cleaning, you should be able to remove old residue, restore smooth dispensing, and prevent future clogs or odors. Follow these steps each time you switch wax or after a heavy session—then run a quick test cycle before your next use. If you tell me your wax machine type (brand/model) and wax type (paraffin/soy/other), I can tailor the cleaner category and the spout-focused routine more precisely.
In conclusion, cleaning a wax machine is a controlled process: soften wax briefly, wipe and scrape residue from the spout and drip points, use a wax-type-compatible cleaner, and verify performance with a short test cycle. When you pair correct tools with wax-specific chemistry—and you dry and store the unit properly—you protect seals, improve flow consistency, and reduce downtime between batches.
Frequently Asked Questions
How do I clean a wax machine after use without damaging the heater?
Unplug the wax machine and let the wax cool to a safe, workable temperature before cleaning. Once cooled, wipe out the bulk wax with a disposable cloth or paper towels, then use a wax-safe cleaner or manufacturer-recommended solvent to remove residue from the tank and spout. Avoid submerging any electrical components or scraping harshly on nonstick or coated surfaces, since that can reduce performance.
What is the best way to remove hardened wax from the wax heater bowl and nozzle?
To remove hardened wax, reheat the wax machine briefly to soften the remaining wax, then wipe and scoop it out while warm. For the nozzle or drip spout, use a lint-free cloth and a small plastic tool to prevent scratching and clogging. If residue remains, apply a small amount of wax machine cleaner and wipe until the heater bowl and nozzle run clean.
Why does my wax machine clog or produce uneven wax flow after cleaning?
Clogging usually happens when wax residue hardens inside the spout, heater bowl edges, or filter areas. If you don’t clean thoroughly after each session, small wax buildup can restrict flow and cause inconsistent melting. Ensure you clean the nozzle and any removable parts regularly, and always wipe down the machine after draining to minimize hardened wax accumulation.
Which cleaning products are safe for cleaning wax machine parts?
Use only products that are specifically recommended for wax warmers or wax heaters, such as wax remover solutions designed for depilatory wax equipment. Many people avoid harsh chemicals and alcohol-based cleaners unless the manufacturer confirms compatibility with the tank coating. Check the manual first, and test any cleaner on a small, hidden area if the surface material isn’t clearly specified.
How often should I deep-clean my wax machine, and what steps should I follow?
For best results, do quick wipe-down cleaning after every use, and schedule a deeper clean at least weekly or whenever wax residue builds up. Deep-clean by fully draining and softening leftover wax, removing and cleaning any removable components, then wiping the interior with a wax-safe cleaner until no film remains. Let everything dry completely before refilling the wax machine to prevent contamination and ensure smooth heat transfer.
📅 Last Updated: July 25, 2026 | Topic: how to clean wax machine | Content verified for accuracy and freshness.
References
- Paraffin wax
https://en.wikipedia.org/wiki/Paraffin_wax - Hair removal
https://en.wikipedia.org/wiki/Depilation - https://www.cdc.gov/hai/prevent/disinfection-cleaning/index.html
https://www.cdc.gov/hai/prevent/disinfection-cleaning/index.html - https://www.who.int/publications/i/item/cleaning-and-disinfection-of-environmental-surfaces-in-the-context-of-covid-19
https://www.who.int/publications/i/item/cleaning-and-disinfection-of-environmental-surfaces-in-the-context-of-covid-19 - PMC Home
https://www.ncbi.nlm.nih.gov/pmc/ - https://pubmed.ncbi.nlm.nih.gov/?term=cleaning%20and%20disinfection%20procedure%20guideline
https://pubmed.ncbi.nlm.nih.gov/?term=cleaning%20and%20disinfection%20procedure%20guideline - Construction Asbestos Standard. | Occupational Safety and Health Administration
https://www.osha.gov/laws-regs/standardinterpretations/1997-09-03 - Google Scholar Google Scholar
https://scholar.google.com/scholar?q=cleaning+paraffin+wax+embedding+center - Google Scholar Google Scholar
https://scholar.google.com/scholar?q=cleaning+wax+warmer+disinfection+procedure - Google Scholar Google Scholar
https://scholar.google.com/scholar?q=cleaning+depilatory+wax+equipment+sanitation+guidelines
