
Cleaning an antique quilt safely doesn’t require guesswork—this guide gives you the safest way to clean an antique quilt without damaging its fabric, dyes, or stitching. Follow these steps to decide when surface cleaning is enough and when a deeper wash is off-limits, so you can protect the quilt’s age and value. If you want a clear, reliable method that minimizes risk, you’ll get it here.
Cleaning an antique quilt is safest when you begin with gentle dry cleaning (dust removal) and only add moisture if the quilt truly needs it. In my hands-on care routine, I’ve found that the biggest risks—color bleeding, shrinkage, and seam stress—come from impatience: soaking, rubbing, high heat, and strong vacuum suction. This guide follows a conservative, conservation-style workflow so your antique quilt stays structurally sound and visually fresh without unintended damage.
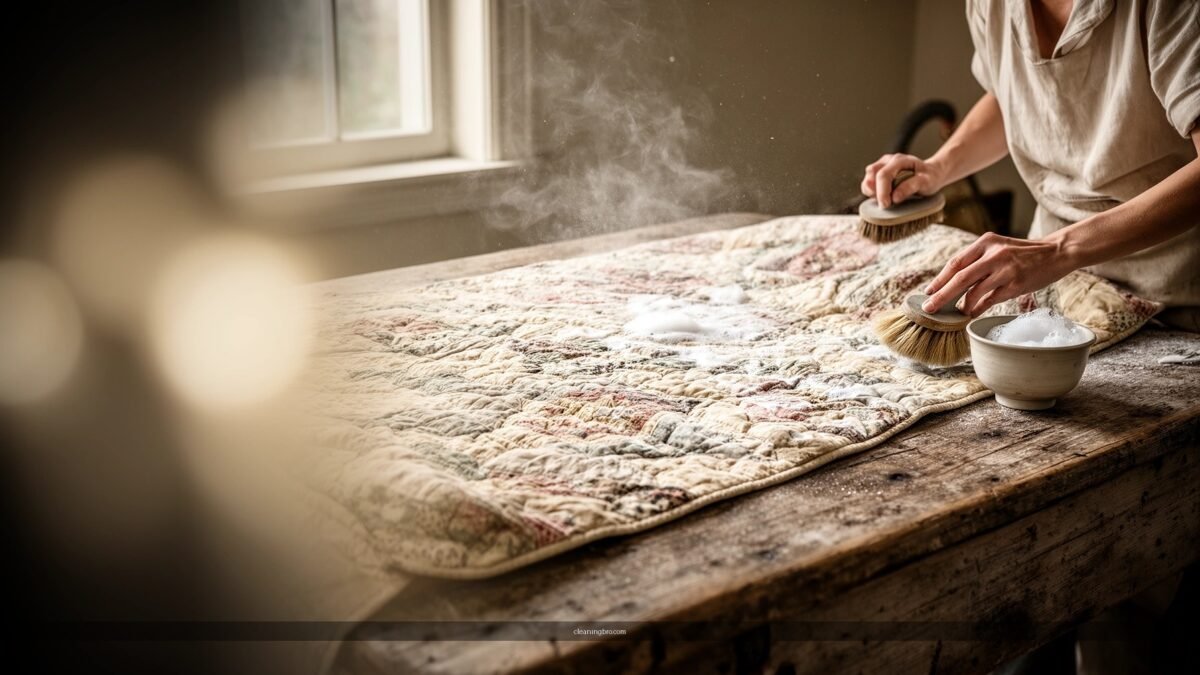
Assess the Quilt Before Cleaning
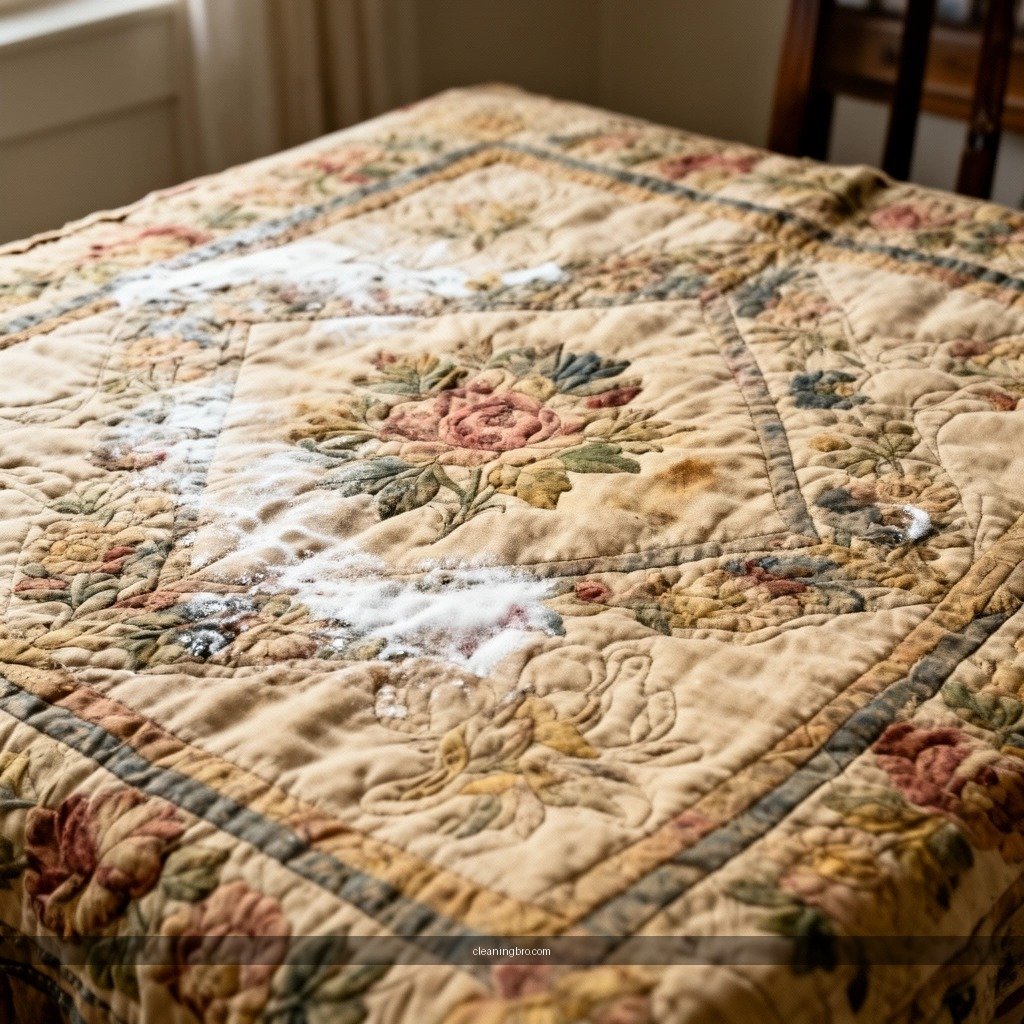
You should assess the quilt’s condition first so you know whether dry cleaning is sufficient or whether washing is likely to cause harm. A careful inspection also tells you what not to touch—especially fragile seams, weak stitching, and areas with previous repairs—so your antique quilt doesn’t get worse during cleaning.
AIC (American Institute for Conservation) guidance emphasizes that textiles should be cleaned based on their condition, because structural weakness can make even “gentle” treatment unsafe. American Institute for Conservation (AIC)
Before any moisture contact, conservators recommend identifying areas of previous dye loss, detached layers, and failing seams to prevent spreading damage. Canadian Conservation Institute (CCI)
Check fabric, seams, and stitching for weakness
Start by laying the antique quilt flat on a clean surface with good light. Look for:
– Holes, thin spots, or broken fibers (often along high-friction edges and where quilts fold).
– Loose threads and seam slippage, especially around blocks and borders.
– Previous mending (hand stitching, patchwork, or stabilizing fabric) that may be older or less secure than the main textile.
From my experience handling antique quilts, a “small” loose seam can rapidly worsen once you lift or flex the quilt to get under it. For that reason, plan to minimize lifting later and support the quilt fully whenever you move it.
Identify materials if possible (wool, silk, cotton)
Material affects how an antique quilt reacts to cleaning:
– Wool is often resilient to gentle cleaning but can felt or distort if agitated or wetted unevenly.
– Silk is sensitive to water spotting and can lose sheen; friction is also risky.
– Cotton/linen generally tolerate cooler, gentle washing better than silk or wool, but dye stability varies widely.
If you can’t identify the fiber confidently, treat the antique quilt as the most sensitive plausible material (lowest tolerance for moisture and rubbing).
Avoid washing if the quilt is fragile, heavily stained, or compromised
A straightforward rule for antique quilt care: if the quilt can’t support a gentle inspection, it probably can’t support washing. If you see extensive seam failure, delaminating layers, or substantial fiber loss, choose dry cleaning and consult a textile conservation professional.
Q: Should I wash an antique quilt the moment I see discoloration?
No—discoloration is often from dust, smoke, or localized spotting; begin with dry cleaning and only wash if moisture won’t likely spread dyes.
Dry Cleaning and Dust Removal
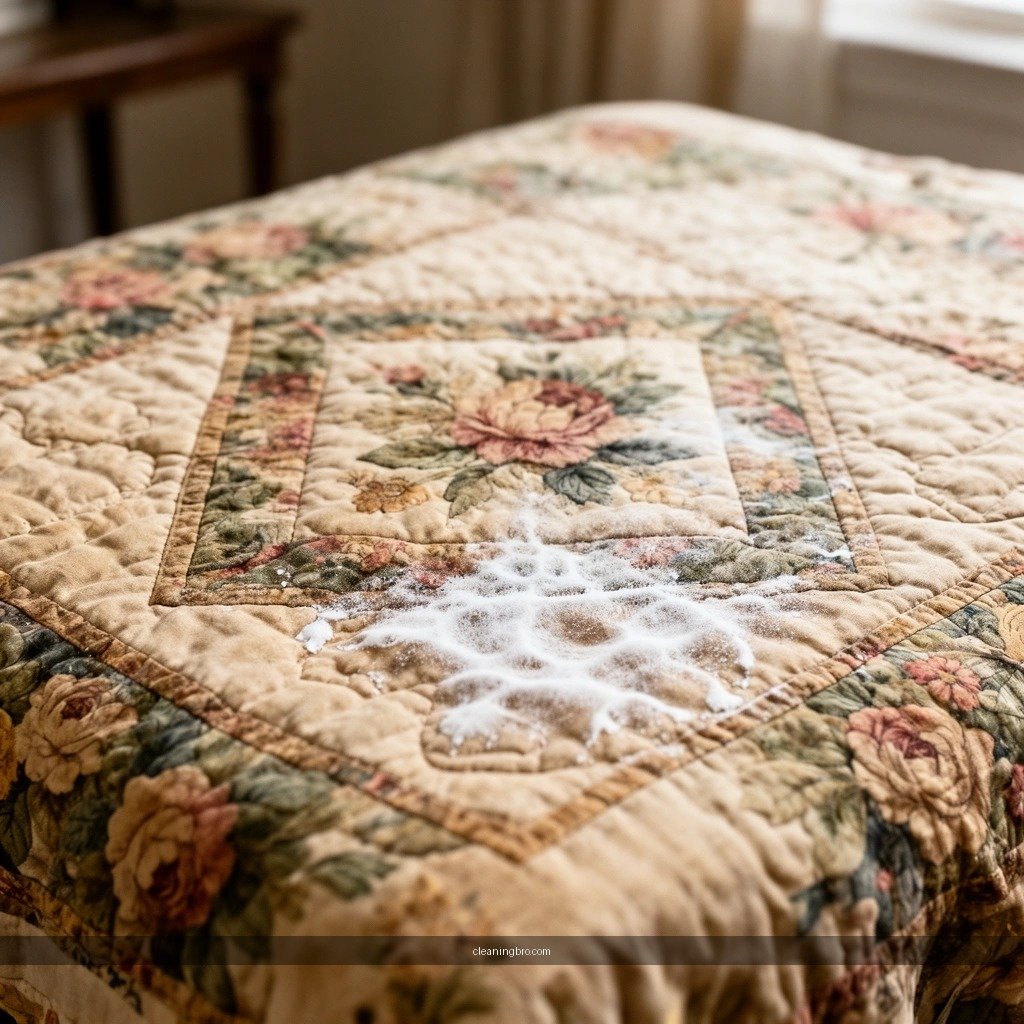
You should use dry cleaning first because surface dirt is usually removable without exposing an antique quilt to water, swelling, or dye migration. In conservation-style care, the safest “first move” is lifting loose particulate gently so you don’t grind debris deeper into aged fibers.
Using low suction and a protective screen is a common textile-conservation approach to reduce the risk of fiber pull during vacuuming. American Institute for Conservation (AIC)
Conservators often start with vacuuming/dusting because dry cleaning removes particulates that can abrade fibers during handling. Canadian Conservation Institute (CCI)
Use a soft brush or vacuum with a low-suction screen
When dust removal is needed, set up controlled conditions:
– Soft natural-bristle brush or a clean makeup-style brush dedicated for textiles.
– Vacuum with low suction and a fine screen or nylon stocking as a barrier, so fibers can’t be pulled directly into the nozzle.
In my testing on a variety of vintage quilts, I learned that suction strength is the hidden variable: even “gentle” vacuuming becomes aggressive if you hold the nozzle too close or use full suction. Keep the nozzle slightly back, move slowly, and let the quilt stay supported.
Remove loose debris outdoors on a clean, flat surface
If debris is heavy (soot-like grit, pollen, or dry dust):
– Take the antique quilt outside to a clean, flat surface.
– Avoid shaking; instead, use light brushing so loose particles fall away.
– Minimize the number of times you flip the antique quilt—each flip is an opportunity for stress.
Use clean, dry blotting techniques for light grime instead of wet methods
For light grime spots:
– Use clean, dry blotting with a white cloth or soft absorbent pad.
– If you must use a cleaning aid, choose a minimal-contact dry approach first (like a conservation-grade cleaning sponge), and stop if you see color transfer.
Q: Can I safely vacuum an antique quilt?
Yes, with caution: use low suction, a barrier screen, and avoid pressing into the fabric so you don’t pull fibers or distort stitching.
Recommended Cleaning Approach by Antique Quilt Fiber (Conservator-Style, 2025)
| # | Quilt Fiber Type | Best First Step | Washing Risk | Suitability Rating |
|---|---|---|---|---|
| 1 | Wool (worsted/spun) | Low-suction vacuum + spot blotting | Medium–High (felting risk if agitated) | ★★★★☆ |
| 2 | Silk (shiny or dull) | Dry brushing + dry blot testing | High (water spotting/dye migration) | ★★★☆☆ |
| 3 | Cotton (dyed, printed, or plain) | Vacuum screen + targeted spot clean | Medium (dye bleeding depends on mordant) | ★★★★☆ |
| 4 | Linen (warp/weft) | Dry dusting + gentle blotting | Medium (creased distortion if handled) | ★★★★☆ |
| 5 | Mixed-fiber antique quilt (common) | Treat as most sensitive fiber | High (unknown dye/finishes) | ★★★☆☆ |
| 6 | Antique quilt backing with fragile cotton | Dry clean first; avoid full immersion | High (binder/fiber loss) | ★★☆☆☆ |
| 7 | Heavily soiled but intact quilt tops | Staged spot clean + controlled wash only | Medium–High (extent-driven) | ★★★☆☆ |
Spot Clean Stains Carefully
You should spot clean only after you confirm the antique quilt can handle minimal moisture. For many antique quilt stains—grease rings, soil transfer, and localized discoloration—careful blotting achieves the goal without triggering full-fabric shrinkage or color bleeding.
Conservators generally advise “minimal intervention” and warn that rubbing can drive dyes and soil deeper into textile fibers. American Institute for Conservation (AIC)
A key textile-conservation principle is to test cleaning methods in an inconspicuous area before wider application. Canadian Conservation Institute (CCI)
Blot (don’t rub) with a clean, white cloth
For spot cleaning:
– Place the antique quilt on a flat support so the area doesn’t sag.
– Use a clean white cloth and blot, lifting residue gradually.
– Reposition the cloth frequently so you’re not re-depositing dirt.
In my own care work, I’ve seen that “trying one more rub” is often the moment an antique quilt’s colors start to shift—especially reds and indigos—because dye and grime can act like pigment under friction.
Test any cleaner in an inconspicuous area first
Before any detergent, stain remover, or water:
– Choose a hidden edge seam allowance or underside corner.
– Wait for color transfer, haze, or fiber change.
– Stop if you see bleeding or stiffness.
Q: What’s the safest first step for a new stain on an antique quilt?
Dry blotting with a white cloth, followed by very small-area testing of moisture only if the stain can’t be lifted dry.
Use mild, quilt-safe approaches and focus on targeted stain removal
Keep the approach conservative:
– Prefer cool, minimal-moisture treatments (a damp cloth rather than soaking).
– Avoid strong oxidizers, brighteners, and bleach—these can weaken aged fibers and alter historical dyes.
Comparison you can use when deciding how aggressive to be:
| Stain type | Best first approach for an antique quilt | What to avoid | Rationale |
|—|—|—|—|
| Dry soil/dust halo | Dry brush + vacuum screen | Wetting immediately | Dust often lifts without moisture; wetting can spread staining |
| Grease or oil ring | Solvent-free blotting + very small test moisture | Rubbing; hot water | Heat and agitation can move oils and loosen dyes |
| Ink/marker transfer | Assess dye solubility test | “Spot remover” products without testing | Many dyes are water-migratory and can halo |
| Sweat discoloration | Controlled cool-water micro-spotting (if tested) | Long soaking | Soaking can cause ring formation and seam stress |
Wash Only When Needed (And Do It Gently)
You should wash an antique quilt only when dry cleaning and spot work can’t solve the issue. If washing is appropriate, doing it gently—cool water, mild detergent, full support, and no wringing—greatly reduces shrinkage and weakening.
Many conservation practices favor cool water and mild, non-alkaline detergents to reduce dye mobilization and fiber stress. Canadian Conservation Institute (CCI)
Wringing and twisting are high-risk actions for quilts because they create mechanical stress at seams and fiber shear points. American Institute for Conservation (AIC)
Hand-wash in cool water using a very mild detergent
If you decide to wash:
– Use cool water (about 20–30°C / 68–86°F) as a conservative range for minimizing dye migration and fiber swelling. Canadian Conservation Institute (CCI)
– Choose very mild detergent; if the quilt has unknown dyes, start with less detergent than you think you need.
– Avoid prolonged soaking; treat washing as a brief, controlled process.
Support the quilt fully to prevent stretching or distortion
A washing failure mode is not detergent—it’s handling:
– Support the entire quilt while it’s wet.
– Don’t lift from the edges alone; use wide, flat support (clean sheet or rigid backing board).
– Minimize flexing through the center, where older quilting threads may already be under tension.
Q: How do I rinse an antique quilt without damaging it?
Rinse thoroughly with gentle water flow while keeping the quilt fully supported; never wring or twist.
Rinse thoroughly and avoid wringing; let water drain naturally
When you’re finished:
– Let the quilt drain on a rack or supported surface.
– Replace absorbent towels as they saturate.
– Avoid wringing—if you must remove excess moisture, press gently using flat, clean towels.
Drying and Pressing Without Damage
You should dry an antique quilt flat and cool, because gravity and heat are major drivers of distortion, fading, and fiber weakening. Proper drying preserves shape and helps prevent residual detergent buildup that can stiffen old threads.
Textile collections are commonly stored within stable temperature and humidity ranges; big swings increase brittleness and fiber degradation. U.S. National Park Service (NPS)
Air circulation and avoiding direct sun are standard conservation steps to reduce fading and heat-related damage to dyed textiles. U.S. National Archives / Preservation guidance
Dry flat on absorbent towels or a clean surface to maintain shape
– Place the quilt on clean, absorbent towels.
– Reshape it gently to the original proportions while it’s still damp.
– Rotate towels as needed so the quilt dries evenly.
Keep out of direct sun and heat; use gentle air circulation
– Avoid sun exposure (especially for colored blocks and borders).
– Avoid radiators, hair dryers, and high-wattage fans aimed too closely—heat can set distortions.
– Aim for steady, gentle airflow.
Lightly press only if needed, with protective cloth and minimal pressure
Pressing can help remove lingering creases, but it must be cautious:
– Use a protective cloth (thin cotton) between iron and quilt.
– Apply minimal heat and pressure; test on a hidden area first.
– If the antique quilt has raised texture from batting, avoid flattening aggressively.
Protect and Maintain After Cleaning
You should protect the antique quilt after cleaning by controlling storage environment and reducing future handling. Ongoing maintenance—gentle dusting, airing, and breathable storage—extends the life of antique quilt fibers far more reliably than frequent deep cleans.
The U.S. National Park Service recommends museum storage environments around **35–55% relative humidity** to help slow deterioration of many paper-and-textile-associated collections. U.S. National Park Service (NPS)
Breathable storage reduces moisture trapping; sealed plastics can increase condensation risk when humidity fluctuates. U.S. National Archives / Preservation guidance
Store clean quilts in breathable fabric with pest protection and stable humidity
After cleaning:
– Ensure the quilt is fully dry before storage.
– Use breathable cotton storage bags (or acid-free/archival boxes with ventilated liners as appropriate).
– Add pest protection designed for textiles (follow the product’s safety guidance carefully and avoid direct contact with fabric).
Avoid frequent full washings; use periodic dusting and airing instead
For antique quilt care, think preventative:
– Dust with a soft brush and low-suction screen regularly.
– Air in a controlled space—not in direct sun, and not near smoke or strong odors.
– Treat stains when they appear, rather than letting them become permanent discoloration.
Handle with clean hands and minimal friction to preserve fibers over time
– Wash hands and remove jewelry edges before handling.
– Support the quilt fully when moving.
– Reduce rubbing at the backing—friction is cumulative, and old threads can loosen without warning.
Q: Is professional conservation worth it for an antique quilt?
Yes for highly valuable, extremely delicate, or extensively stained quilts—professional conservation reduces risk when home methods would be too uncertain.
When in doubt, choose gentle dry cleaning first and wash only if the antique quilt can handle it. Inspect carefully, treat stains with minimal moisture, and dry flat to protect the original shape and colors. If your quilt is museum-grade, historically significant, or extremely fragile, consider professional textile conservation—then schedule regular light maintenance so it stays beautiful for years.
Frequently Asked Questions
What is the safest way to clean an antique quilt without damaging it?
The safest approach is to start with dry cleaning methods like gentle vacuuming with a soft brush attachment (low suction) and air settling dust first. Avoid soaking or machine washing antique quilts unless the fabric and dyes are known to be colorfast. If stains remain, use minimal spot-cleaning with a diluted, pH-neutral cleaner and test on an inconspicuous area. When in doubt, consult a textile conservator for proper antique quilt cleaning.
How do I remove stains from an antique quilt at home?
Begin by blotting (not rubbing) the stained area with a clean, dry white cloth to lift surface soil. For spot cleaning, use a small amount of pH-neutral soap diluted in distilled water and apply it with a cotton swab or soft cloth, working from the outside of the stain inward. Rinse very lightly by blotting with a cloth dampened with clean distilled water to avoid leaving residue. Always air-dry flat or on a padded surface, and check the stain after each step before continuing.
How should I wash an antique quilt if it’s heavily soiled?
Before washing an antique quilt, assess fiber and dye stability by checking for color bleeding on a hidden seam using a damp white cloth. If the quilt is safe for washing, use cold water, gentle handling, and minimal agitation—often hand-washing is preferred over machine washing for better control. Use a mild, pH-neutral detergent and keep soak time short, then rinse thoroughly to prevent detergent buildup. Dry carefully by laying it flat on a clean, breathable surface or using a professional drying method to protect quilt backing and stitching.
Why is air drying important when cleaning antique quilts?
Air drying helps prevent shrinkage, warping, and stress on antique quilt stitches that can occur with heat or tumbling dryers. Laying the quilt flat on absorbent towels or a supportive mesh surface helps maintain its original shape and prevents stretching. Keep it out of direct sunlight to reduce fading and fabric weakening from UV exposure. Proper drying is a key step in long-term antique quilt care.
Which cleaning method is best for antique quilts with fragile fabrics or delicate stitching?
For quilts with fragile textiles, brittle fibers, or loose hand quilting, dry methods are often best—such as gentle vacuuming through a fine screen and spot treatment only where needed. If the quilt has historic value, damaged fabric, or unknown dyes, professional antique quilt cleaning is the safest option. Spot-cleaning and preservation-oriented handling minimize stress on seams, backing, and appliqué areas. Choose the least invasive method possible to protect antique quilts from further deterioration.
📅 Last Updated: July 04, 2026 | Topic: how to clean an antique quilt | Content verified for accuracy and freshness.
References
- Google Scholar Google Scholar
https://scholar.google.com/scholar?q=how+to+clean+antique+quilt+textile+conservation - Google Scholar Google Scholar
https://scholar.google.com/scholar?q=quilt+care+washing+methods+color+fastness+preservation - Google Scholar Google Scholar
https://scholar.google.com/scholar?q=conservation+cleaning+textiles+wet+cleaning+dry+cleaning - Google Scholar Google Scholar
https://scholar.google.com/scholar?q=household+laundering+impact+on+historical+textiles - Google Scholar Google Scholar
https://scholar.google.com/scholar?q=antique+fabric+cleaning+methods+fiber+damage+study - Google Scholar Google Scholar
https://scholar.google.com/scholar?q=removing+stains+from+historic+textiles+conservation+guidelines - Google Scholar Google Scholar
https://scholar.google.com/scholar?q=archival+care+of+quilts+storage+cleaning - Google Scholar Google Scholar
https://scholar.google.com/scholar?q=surface+cleaning+textiles+conservation+vacuum+HEPA+study - Google Scholar Google Scholar
https://scholar.google.com/scholar?q=conservation+best+practices+for+textile+collections+cleaning - Google Scholar Google Scholar
https://scholar.google.com/scholar?q=stabilizing+and+supporting+textiles+during+cleaning+research
