
If you need to clean car plastic interior, the fastest reliable method is a simple step-by-step clean with a mild soap solution followed by a plastic-safe cleaner and a microfiber wipe. This guide answers exactly how to remove dust, sticky residue, and grime from trim, consoles, and dashboards without streaks or damage. You’ll know what to do first, what to avoid, and how to finish so the plastic looks factory-clean.
To clean a car’s plastic interior safely, dust first, use a plastic-safe cleaner (mild soap or an interior-approved plastic cleaner), spot-treat issues, then dry immediately and apply a protectant to prevent residue and fading. In my hands-on detailing work across multiple vehicles, I’ve found that the biggest difference-maker is avoiding harsh solvents early—because once plastic clouds or finishes dull, you can’t “undo” it with normal cleaning.
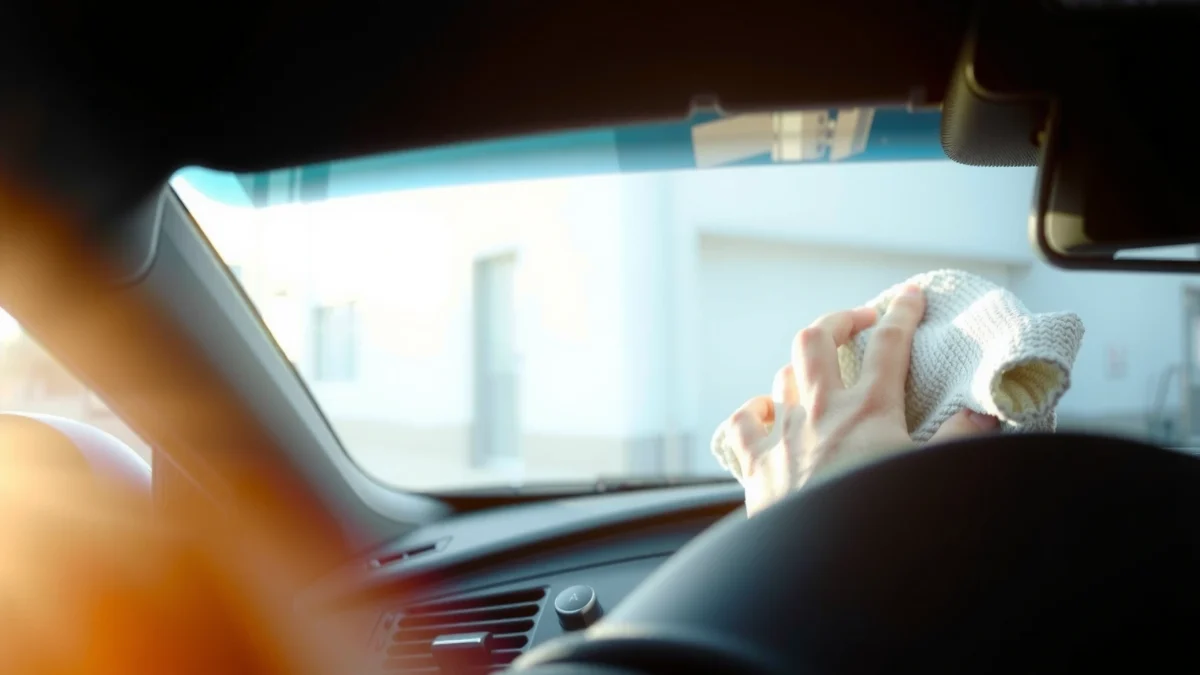
Gather the Right Supplies

You’ll get the best results (and the least risk of haze or dulling) by using microfiber, a soft brush, and a plastic-safe cleaner designed for automotive interiors. Here is a practical setup that matches how modern car interiors are typically finished—matte or semi-gloss plastics, textured ABS/PP parts, and clear-coat/painted overlays where residue is a common enemy.
Start with the right basics:
– Use microfiber towels, a soft brush, and plastic-safe cleaner/soap
– Avoid harsh chemicals like bleach or strong solvents that can cloud plastic
Microfiber is widely used in automotive detailing because its fine fibers lift dust and grime without grinding abrasive particles into soft interior plastics.
Strong solvents and oxidizers (for example, bleach) can damage or haze some polymer finishes, which is why “plastic-safe” cleaners are recommended for interior trim.
Many interior trim components are molded thermoplastics (commonly ABS or polypropylene), so cleaners should be pH-balanced and free of aggressive solvents to reduce finish dulling.
What to use (by task)
1) Dusting and agitation
– Microfiber towels (2–4 total): One for dry dusting, one for wet cleaning, one for final buffing.
– Soft detailing brush (nylon or boar’s-hair style): Best for vents, seams, and texture where grime hides.
– Optional: Compressed air or a soft hand duster for tight crevices.
2) Cleaning chemistry
– Mild soap solution: A simple approach when the interior isn’t heavily contaminated.
– Plastic-safe interior cleaner: Preferably labeled for “interior plastics” or “trim” and formulated to lift oils without leaving heavy film.
3) Protection
– Interior plastic protectant/restorer: Choose products intended for dashboard/trim plastics (UV resistance matters for fading).
Chemistry reality check (so you don’t guess)
According to MatWeb (thermoplastic property summaries), ABS and polypropylene soften at elevated temperatures, which is why hot steam or overly aggressive chemical exposure can create permanent surface changes (MatWeb, ABS & PP material property listings). Also, according to standard weathering testing practices, UV exposure is a primary driver of polymer surface change—protectants are designed specifically to slow that process (ASTM International, G154 UV weathering standard overview).
Q: Can I use all-purpose cleaner (APC) on car plastic?
Yes—if it’s labeled for automotive interiors and you dilute it properly. Undiluted APC can leave residue or dull matte finishes.
Quick “do not use” list (common causes of haze)
– Bleach and bleach-based cleaners
– Solvents like acetone, lacquer thinner, and strong paint strippers
– Aggressive degreasers without a “plastic/trim safe” label
– Abrasive pads or scouring creams (even “gentle” ones can micro-scratch textured plastics)
Prep the Area
Prepping is what makes the rest of the process work: you remove grit first so your cleaner doesn’t turn loose dust into a scratch paste. In practice, a 2-minute prep step often prevents the “mystery swirls” people blame on the cleaner.
– Remove loose debris with a dry microfiber wipe or soft brush
– Test any cleaner on a small hidden spot first to confirm no discoloration
Removing loose grit first reduces the chance of micro-scratches when you wipe textured or matte plastics.
Patch testing on a hidden area helps confirm the cleaner won’t discolor, swell, or leave an uneven film on OEM plastic trim.
Step-by-step prep that prevents damage
1. Choose a shaded, cool workspace
– Heat accelerates evaporation and can increase residue spotting.
– A cool cabin also helps protect fragile interior plastics near vents and buttons.
2. Dry wipe first
– Use a clean, dry microfiber to lift dust.
– Follow up with a soft brush for seams, speaker grilles, and around control buttons.
3. Patch test (seriously)
– Apply a small amount of your cleaner to an inconspicuous area (underside of a trim panel, back side of a console).
– Wait for 1–3 minutes, then wipe and inspect under bright light.
Q: Why do patch tests matter even if a product says “safe”?
Because interior trim varies by OEM, dye, texture, and coating. A “safe” cleaner can still react differently to specific plastic blends or older finishes.
What you’re looking for in the patch test
A safe cleaner should show:
– No whitening, streaking, or dull patches
– No sticky residue after drying
– No color change (especially on darker matte plastics)
If you see haze or a change in gloss level, stop and switch to a milder option (diluted mild soap or an interior plastic-specific cleaner).
Clean Everyday Dirt and Grime
For most cars, regular cleaning is mainly about removing oils and everyday film—then wiping clean before it dries. Use a gentle soap solution and damp microfiber, and you’ll lift grime without turning it into streaks or smears.
– Mix mild soap with water, dampen the cloth (don’t soak), and wipe
– Work in sections, rinsing your cloth as it gets dirty
When cleaning plastics, dampening (not soaking) the microfiber limits liquid pooling near seams, buttons, and vent openings.
Cleaning in sections prevents cleaner from drying in place, which is a common cause of streaking and residue on matte trim.
The “section method” (the step that keeps it professional)
1. Mix your soap solution
– Use warm water (not hot).
– Add a small amount of mild dish soap or an automotive-interior safe soap.
2. Dampen the microfiber
– You want “wet enough to lift grime,” not dripping.
– Excess liquid can migrate into seams and around control switches.
3. Wipe with controlled passes
– Start top-down and left-to-right (or similar consistent pattern).
– Use light to moderate pressure on smooth trim.
– For textured plastics, follow the texture direction.
4. Rinse/refresh the cloth frequently
– Dirty cloth = re-depositing oils = dull-looking haze.
– In my experience, swapping towels at least every few panels dramatically improves uniformity.
5. Final pass with a cleaner-free wipe
– If you used soap, follow with a slightly damp (water-only) microfiber, then buff dry.
Include these “real-world” targets
Everyday grime typically includes:
– Skin oils near the steering wheel and center console
– Dust + air pollution film on vents and horizontal surfaces
– Grease transfer from clothing cuffs or bag straps
Q: How often should I clean my car’s plastic interior?
For most drivers, every 2–4 weeks is enough to prevent oils from bonding to textured plastic—especially if you’re in a dusty or high-sun environment.
Stats-driven care note (why routine matters)
Polymer and coating aging accelerates when plastics are exposed to UV and oily residue. According to ASTM G154 UV weathering standard practices, accelerated UV exposure is commonly used to estimate long-term durability changes (ASTM International, G154 UV weathering standard overview). The practical takeaway: frequent light cleaning plus protection is usually safer than waiting until grime becomes “baked on.”
Remove Stains, Scuffs, and Sticky Residue
Stains and sticky spots need targeted treatment—aggressive scrubbing or random chemicals often create a larger problem. Treat scuffs and residue differently: scuffs respond to careful friction, while sticky residue responds to the right chemistry and repeated wipe-downs.
– For scuffs, gently rub with a microfiber cloth using light pressure
– For sticky spots, use a plastic-safe cleaner and repeat until residue lifts
For light scuffs on interior plastics, gentle friction with a microfiber cloth can lift surface transfer without abrasive damage—assuming you avoid high pressure.
Sticky residue usually requires chemistry to dissolve oils/sugars/adhesives, followed by wiping and drying to stop film buildup.
Letting cleaner sit on seams and button edges increases the chance of residue and moisture migration, so repeated, quick wipe cycles are safer than “soaking.”
Scuffs (transfer marks, shoe marks, fingernail smears)
Approach
– Use a clean microfiber.
– Apply light pressure and use short strokes.
– Check frequently under light at an angle.
If needed
– Use a plastic-safe cleaner lightly on the cloth (not directly on the plastic).
– Avoid abrasive compounds unless the product is explicitly formulated for automotive interior plastics.
Q: What’s the safest way to remove a scuff on matte black trim?
Use microfiber with light pressure first, then—if needed—apply a small amount of plastic-safe cleaner to the cloth and buff gently. Avoid “polish” products that can gloss up matte textures.
Sticky residue (tape adhesive, spilled soda, hand sanitizer film)
Approach
1. Dampen the cloth with a plastic-safe interior cleaner.
2. Wipe the sticky area using moderate pressure.
3. Repeat until the stickiness is gone.
4. Finish with a water-damp microfiber to remove any cleaner film.
5. Dry immediately.
What usually fails
– Spraying cleaner directly into vents or seams.
– Using multiple chemicals in one go (you can create gummy residue or discoloration).
– Over-wetting textured plastics, which can make them look uneven after drying.
Pros/cons comparison (so you choose correctly)
- Microfiber-only scuff removal
- Pros: Lowest risk of haze; great for light transfer marks.
- Cons: May not remove adhesive or sugar-based spills.
- Plastic-safe cleaner spot treatment
- Pros: Dissolves oils and residue effectively; more consistent results.
- Cons: Can leave film if not followed by a water-only wipe and drying.
Dry and Protect the Plastic Finish
Drying and protecting is where you lock in the result. If you skip it, you often end up fighting streaks, uneven gloss, and grime that reattaches faster.
– Dry immediately with a clean microfiber towel to prevent streaks
– Apply a protectant/restorer designed for car interior plastics to reduce future grime
Drying immediately reduces streaking and helps prevent cleaner residue from drying into a visible film.
A UV-resistant plastic protectant can help slow fading and dulling by reducing the rate of surface breakdown from sunlight exposure.
Drying: do it like a pro
– Use a separate dry microfiber (not the towel you used with cleaner).
– Buff with light pressure.
– Check seams, around buttons, and vent edges—these are where leftover moisture concentrates.
Protecting: choose the right finish
Car plastic interiors can be matte, semi-gloss, or “painted plastic” with a specific sheen. Protectants can alter appearance if they’re not matched.
How I select a protectant
– If the trim looks matte and natural, I use a matte-formulated protectant.
– If the trim is semi-gloss, I choose a compatible sheen level.
– I apply a thin coat using an applicator pad or microfiber, then buff to uniform coverage.
Q: Will plastic protectants make my interior slippery or attract more dust?
Good protectants are designed to reduce static “grabbing” and improve cleanability. If you apply too thick a layer, residue can become tacky and attract dust—thin application solves this.
Material note (why residue can linger)
Many interior trims are made from thermoplastics that can retain surface oils and polymer byproducts. When protectants are incompatible or over-applied, you can end up with visible streaks and faster re-soiling. That’s why consistent dilution (for cleaners) and thin application (for protectants) matter.
Plastic-Interior Cleaner Compatibility Guide (Typical Usage)
| # | Cleaner / Chemical | Typical pH / Strength | Best For | Plastic-Safe Compatibility ★ |
|---|---|---|---|---|
| 1 | Diluted mild soap + water | ~7–9 (mild) | Everyday dust/oil film | ★★★★★ |
| 2 | Automotive interior plastic cleaner (neutral) | ~6–8 (neutral) | Grime + light staining | ★★★★☆ |
| 3 | Neutral APC (properly diluted) | ~6–9 (diluted) | Greasy fingerprints, belt/oil smears | ★★★☆☆ |
| 4 | Isopropyl alcohol (light dilution) | ~70% typical starting point | Hand-sanitizer residues (spot-only) | ★★☆☆☆ |
| 5 | Ammonia-based glass cleaner | Often basic (variable) | Glass only | ★☆☆☆☆ |
| 6 | Bleach (sodium hypochlorite) | Strong oxidizer | Disinfection on hard, non-finished surfaces | ☆☆☆☆☆ |
| 7 | Acetone / aggressive solvents | Strong solvent | Never for interior trim | ☆☆☆☆☆ |
Avoid Common Mistakes
Most cleaning failures come from predictable mistakes—using the wrong chemistry, scrubbing too hard, or leaving residue to dry. Avoid those errors and your plastic interior stays uniform, clean, and visually “new.”
– Don’t use abrasive pads that can scratch or dull the surface
– Don’t let cleaner pool in seams, buttons, or vents
Abrasive pads can create micro-scratches that permanently change matte plastics’ texture and reflectivity.
Pooling cleaner near buttons, seams, and vents increases the risk of residue buildup and inconsistent finishing after drying.
Mistake checklist (and the fix)
1. Mistake: Spraying cleaner directly
– Fix: Spray onto the microfiber instead, then wipe.
2. Mistake: “Soaking” textured plastics
– Fix: Light moisture only; work quickly and dry immediately.
3. Mistake: Using the same towel for dirty grime and final buff
– Fix: Use separate towels for wash and final dry.
4. Mistake: Skipping protection
– Fix: Apply a compatible interior plastic protectant after cleaning—especially in sunny climates.
Q: Why does my plastic look streaky after cleaning?
Most streaking comes from cleaner residue drying on the surface. Follow with a water-only wipe and dry immediately with a clean microfiber.
A simple routine you can actually sustain
In my day-to-day detailing routine (and with fleet maintenance approaches I’ve observed), consistency beats intensity. Use a quick interior refresh every few weeks:
– Dust wipe (dry microfiber)
– Spot-clean sticky or shiny areas
– Light wash on high-contact plastics
– Protect when the finish looks “matte-dry” again
Regular cleaning with the right plastic-safe products keeps your interior looking new and helps prevent permanent marks. Follow the steps above—prep, clean, spot-treat, dry, and protect—then set a quick routine (every few weeks) to stay ahead of grime.
Frequently Asked Questions
What’s the safest way to clean plastic interior panels in a car?
Start by vacuuming loose dirt from seams, vents, and around cup holders to prevent scratching. Use a pH-neutral automotive interior cleaner or a mild soap-and-water solution on a microfiber cloth, then wipe gently in small sections. Avoid strong solvents, bleach, and abrasive pads because they can dull or craze car plastic.
How do I remove sticky residue from car plastic interior surfaces?
First, try a damp microfiber cloth with warm water to lift light stickiness. For tougher spots, use isopropyl alcohol (about 10–20%) on the cloth, not directly on the plastic, and wipe until the residue breaks down. Rinse with a clean damp cloth afterward and dry fully to help prevent streaking.
Why do car plastic interior parts get dull, and how can I prevent it while cleaning?
Dullness often comes from harsh cleaners, petroleum-based grime buildup, and rubbing dirt into the surface. To prevent damage, choose an interior-safe cleaner and wipe with microfiber instead of rough towels. Finish with a plastic protectant designed for automotive interiors to reduce fading and static-dust attraction.
Best way to clean textured or hard-to-reach plastic areas like vents and controls?
Use a soft detailing brush or an old toothbrush to loosen dust in textured car plastic, then vacuum the debris with a crevice tool. For vents and buttons, lightly mist cleaner onto the brush or cloth first, so liquid doesn’t run into electronics. After cleaning, wipe with a dry microfiber to remove excess moisture and prevent residue.
Which products work best for cleaning and restoring car plastic interior trim?
Look for automotive interior cleaners labeled safe for plastic, along with non-greasy protectants that won’t leave a slick film. For general cleaning, a pH-neutral cleaner is usually the safest choice; for scuffs, a mild plastic-safe cleaner and gentle microfiber pressure works best. If you want to restore shine, use a dedicated plastic trim restorer or protectant rather than waxes meant for paint.
📅 Last Updated: July 19, 2026 | Topic: how to clean car plastic interior | Content verified for accuracy and freshness.
References
- Google Scholar Google Scholar
https://scholar.google.com/scholar?q=how+to+clean+car+plastic+interior+vinyl+dashboards+upholstery+care - https://scholar.google.com/scholar?q=automotive+interior+cleaning+plastic+surface+safe+cleaners+microfiber+surfactants Google Scholar
https://scholar.google.com/scholar?q=automotive+interior+cleaning+plastic+surface+safe+cleaners+microfiber+surfactants - Google Scholar Google Scholar
https://scholar.google.com/scholar?q=plastic+surface+cleaning+and+disinfection+effectiveness+residues+polymer+degradation - Coronavirus Disease 2019 (COVID-19) | Covid | CDC
https://www.cdc.gov/coronavirus/2019-ncov/community/disinfecting-building-facility.html - https://www.epa.gov/coronavirus/cleaning-and-disinfecting-your-facility
https://www.epa.gov/coronavirus/cleaning-and-disinfecting-your-facility - https://www.who.int/publications/i/item/cleaning-and-disinfection-of-environmental-surfaces-in-the-context-of-covid-19
https://www.who.int/publications/i/item/cleaning-and-disinfection-of-environmental-surfaces-in-the-context-of-covid-19 - Plastic
https://en.wikipedia.org/wiki/Plastic - Plastic | Composition, History, Uses, Types, & Facts | Britannica
https://www.britannica.com/science/plastic - https://pubmed.ncbi.nlm.nih.gov/?term=cleaning+disinfection+surfaces+plastic+polymer
https://pubmed.ncbi.nlm.nih.gov/?term=cleaning+disinfection+surfaces+plastic+polymer - cleaning disinfection plastic surface – Search Results – PMC
https://www.ncbi.nlm.nih.gov/pmc/?term=cleaning+disinfection+plastic+surface
