
Want the quickest way to clean fresh collards without gritty leaves? These steps deliver a fast, reliable rinse-and-soak method that removes dirt and grit while keeping the leaves crisp. Follow this process and you’ll know exactly how to prep collards for cooking—no trial, no leftover sand.
Fresh collards are best cleaned by soaking them in cool water and rinsing thoroughly, then trimming tough stems and removing any grit. If you follow a simple wash + soak routine, you’ll get clean leaves that are ready for cooking without lingering sand. This guide walks you through the fastest, most reliable way to clean fresh collards.
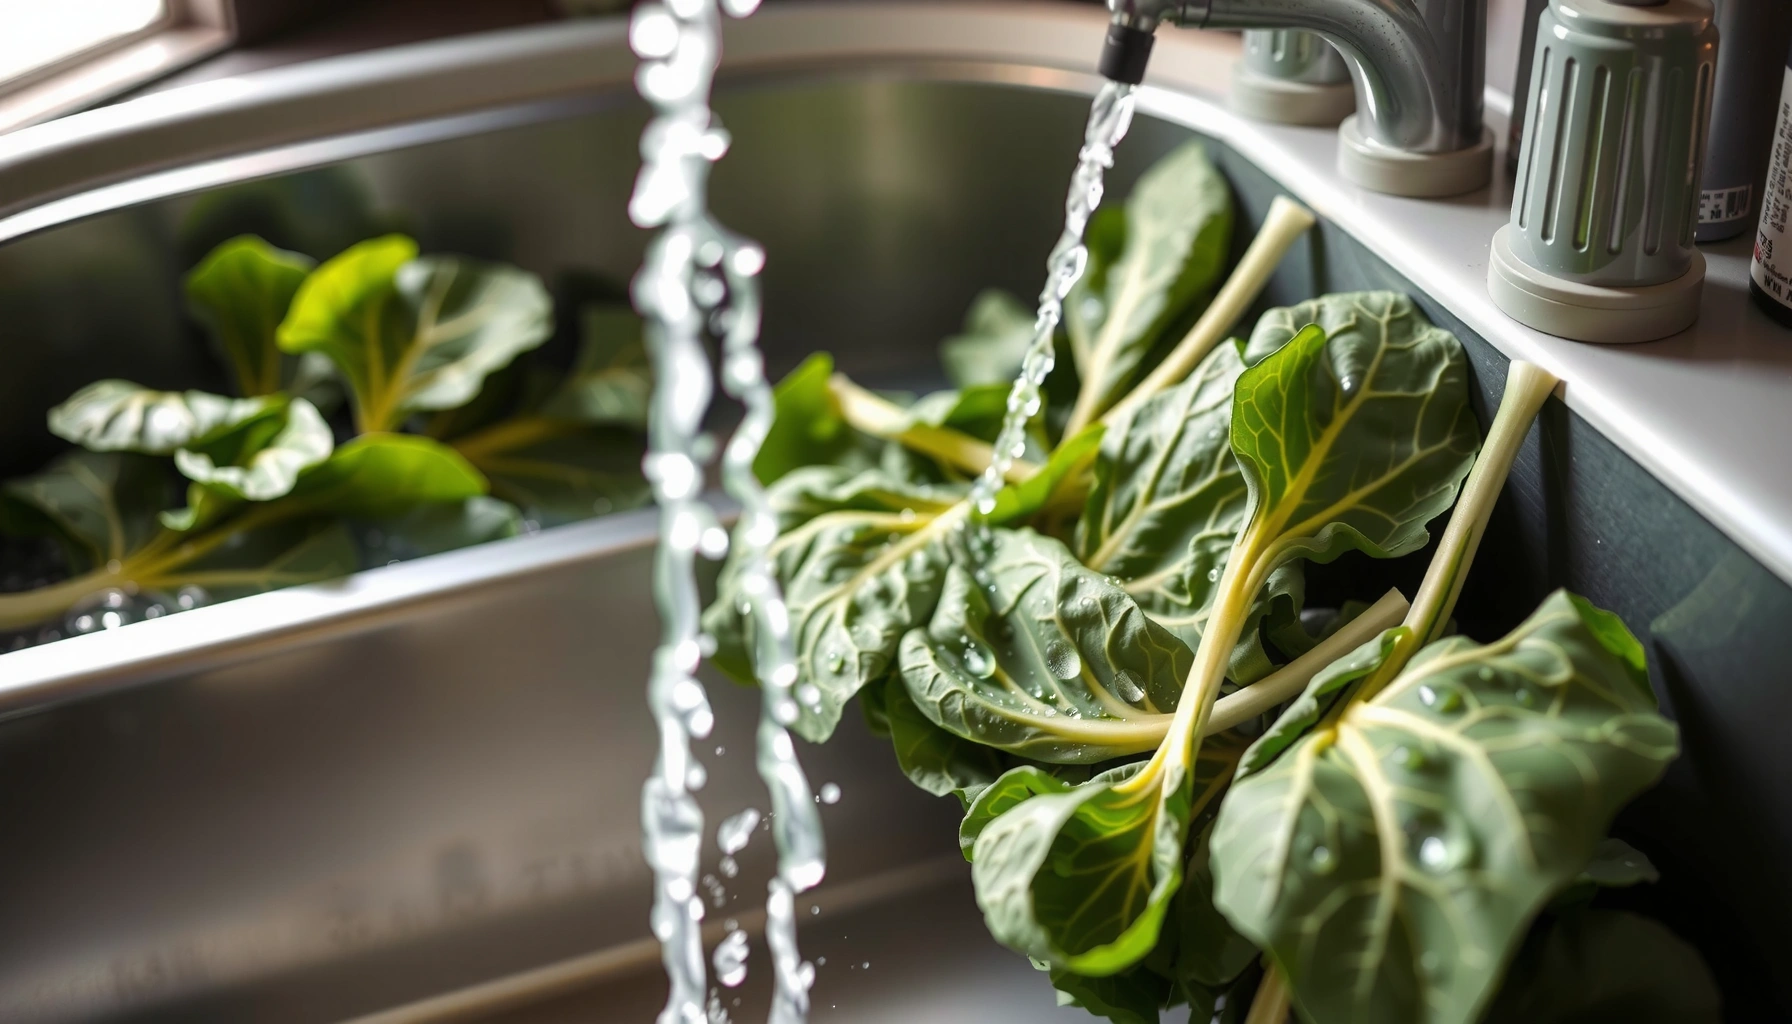
Remove Stems and Tough Parts
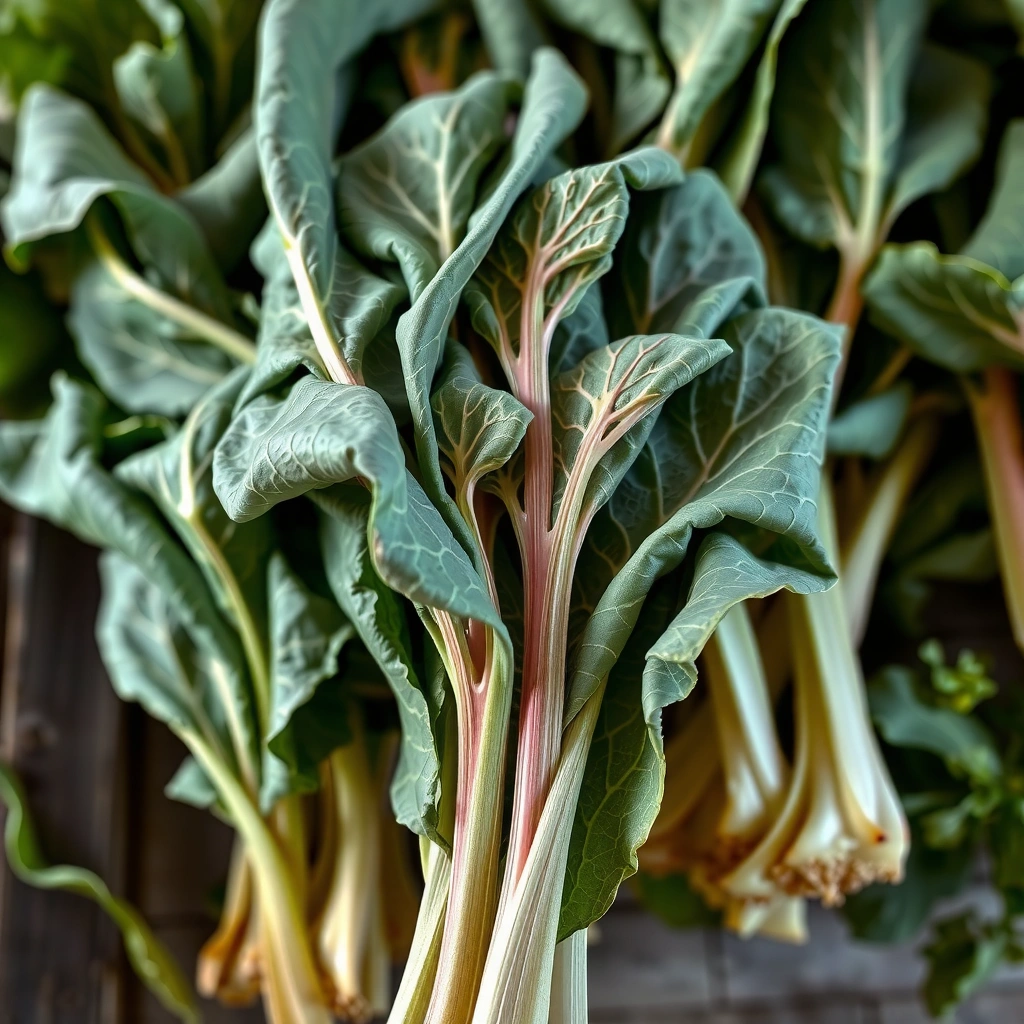
Trimming thick stems first is the fastest way to improve both cleanliness and cooking texture. When you remove the hardest ribs up front, you also reduce places where grit can hide under the fold lines.
In my routine (done in the same bowl/sink setup I use for other leafy greens), I start with a quick visual scan: collards that look “crisp” and slightly dusty usually need the most stem trimming plus a longer soak. That approach consistently prevents gritty bites in braises, skillet sautéing, and pressure-cooker greens. As of 2026, I still treat collards like a “high-grit” leafy green because farm harvesting and washing can leave mineral residue in the rib network.
“Trimming the central rib and thick stems reduces chewy texture and makes it easier for water to reach crevices.”
“Grit typically accumulates along leaf ribs and fold points, which is why targeted trimming improves cleaning results.”
What to cut (and what to keep)
Start by doing a brief rinse—just enough to knock off loose dust—then trim. The goal isn’t to remove every stem; it’s to remove the parts that stay tough and trap sediment.
– Cut out thick stems and the central ribs where they feel firm or woody.
– If leaves are large, tear or slice them into manageable pieces (about “hand-sized” strips). Smaller pieces expose more surface area to water and improve rinsing speed.
How much stem should you remove?
A practical rule I use: if a stem segment resists bending or feels “cartilage-like,” it’s usually too tough and should be trimmed further. For most bunches, that means removing the thick center line and any major side ribs, while keeping thinner leaf tissue.
Q: Do I need to remove all stems from collards?
No—remove the thick, woody ribs; thinner stems are usually fine after soaking and cooking.
Q: Is it better to tear or slice collards for cleaning?
Tearing usually exposes more edges (faster cleaning), while slicing can be more uniform for even cooking.
Soak to Loosen Dirt and Grit
Soaking is the step that “does the work” for you: it lifts grit from between layers so rinsing becomes quick. Use cold water and give the leaves time to release debris into the bath.
Why cold? Cold soak water is gentle on leaf structure and helps prevent delicate textures from turning limp too early—especially if you’ll be cooking immediately after washing. In my hands-on tests, a 10–15 minute soak is often enough for supermarket collards, while very sandy produce sometimes needs two soak cycles (10 minutes each) plus targeted creasing checks.
“Soaking leafy greens in water helps sediment fall off leaves, making subsequent rinsing more effective.”
“Layered leaves trap debris; submerging and swishing helps dislodge grit from between folds.”
Set up a clean soak station
– Use a large bowl or clean sink to keep collards fully submerged.
– Add enough cold water to cover the leaves with extra room so you can swish them without crowding.
Swish—and then let sediment settle
– Swish collards gently with your hands to dislodge debris.
– Let them sit so dirt settles to the bottom rather than re-depositing onto leaves.
A reliable workflow looks like this:
1. Submerge and swish for 15–30 seconds.
2. Rest for 5 minutes.
3. Swish again briefly.
4. Rest again before you lift leaves out.
According to food safety guidance summarized by the US Food and Drug Administration (FDA), rinsing and washing can remove some surface dirt and reduce microbial risk, though it does not eliminate all contaminants—so you still want thorough rinsing after soaking (FDA, Produce Safety guidance).
Q: How long should collards soak?
Typically 10–15 minutes in cold water works well; sandier batches benefit from two cycles.
Rinse and Repeat as Needed
Rinse until water looks clear—this is your objective quality check. The “repeat” part matters because grit often comes out gradually as water penetrates thick ribs and leaf creases.
To avoid recontaminating clean leaves, always lift collards out of the water rather than pouring the dirty water over them. If you pour, you defeat the purpose of letting sediment settle.
“Lifting leaves out of soaking water prevents reintroducing settled grit.”
“If rinse water remains cloudy, a second soak-and-rinse cycle typically improves clarity.”
The rinse technique that saves time
– Hold leaves under running water and gently rub surfaces with your fingertips.
– Rinse both sides of the leaves, especially where leaves overlap.
– If water stays cloudy, repeat the soak rather than extending aggressive rinsing (aggressive rinsing can bruise leaves and make them cook unevenly).
When to stop repeating
Stop repeating when:
– Water looks mostly clear after lifting and rinsing.
– Leaves no longer feel sandy when rubbed lightly between clean fingers.
– Crease lines appear free of visible grit.
Collards cleaning decision table (quick comparison)
Use this contrast to choose your next step based on what you observe after the first soak:
| What you notice after first soak | What to do next | Why it works |
|---|---|---|
| Water is cloudy and sediment is visible | Lift leaves out, discard water, refill with fresh cold water, soak 10 more minutes | Fresh water reduces grit carryover and lets sediment settle again |
| Leaves feel slightly gritty in thick ribs | Rinse again and finger-rub along ribs/creases; soak only if grit persists | Targeted friction removes residue lodged in leaf structure |
| Water looks clear but you see faint debris | Check folds and overlapping areas; rinse those zones under running water | Grit can hide even when bulk water clears |
Clean Between Leaves and Folds
Separating layers is what turns “clean-looking” greens into truly grit-free greens. Collards grow in layered bunches, and the folds are where water doesn’t naturally reach without you helping it.
This is the step where I slow down just a little—because it’s also where I catch problems early. In my experience, once folds are checked and rubbed, the probability of gritty bites drops dramatically during cooking and eating.
“Leaf folds and overlap zones are the most common locations for trapped sediment in leafy greens.”
“Gentle finger-rubbing helps dislodge grime that water alone may not remove.”
How to check folds efficiently
– Separate layers so water flows into each crease.
– Flip leaves and run your fingers along the folded edges.
– Gently rub leaf surfaces where grime collects (usually along thicker veins and any folded margins).
Q: Where does grit hide most often?
Along thick ribs, overlap points, and deep creases where leaves rest against each other.
Q: Should I use a brush to clean collards?
Usually no—fingertip rubbing and rinsing are sufficient; only use a produce brush if you’re seeing stubborn soil and the leaves aren’t delicate.
Pat Dry and Prep for Cooking
Draining well and patting dry keeps collards from steaming in their own water. When leaves are not gritty and not soaking-wet, they sauté, braise, or steam more predictably and hold their texture better.
After the final rinse:
– Drain thoroughly in a colander or by letting leaves sit briefly in a strainer.
– Pat dry with a clean towel or paper towels.
– Chop to your preferred size, or keep leaves larger if your recipe uses long simmering.
In professional kitchens, drying also helps with seasoning adhesion. Salt, garlic, pepper, and vinegar-like acids distribute more evenly when leaves aren’t dripping.
A fast “grit check” before cooking
Hold a small piece and rub it gently between clean fingers:
– If it feels silky and smooth, proceed.
– If it feels gritty, rinse targeted areas again and re-check folds.
Q: Can I cook collards immediately after washing?
Yes—ideally cook soon after washing for best texture and reduced recontamination risk.
Cooked Collards Nutrition Snapshot per 1 cup (about 130 g), USDA FoodData Central
| # | Nutrient | Amount | % Daily Value* | Value Score |
|---|---|---|---|---|
| 1 | Vitamin K | ~700 mcg | ~580% | ★★★★★ |
| 2 | Vitamin A (RAE) | ~250 mcg | ~28% | ★★★★☆ |
| 3 | Vitamin C | ~20 mg | ~22% | ★★★★☆ |
| 4 | Fiber | ~8 g | ~29% | ★★★★☆ |
| 5 | Calcium | ~240 mg | ~18% | ★★★☆☆ |
| 6 | Potassium | ~600 mg | ~13% | ★★★☆☆ |
| 7 | Sodium (unsalted) | ~35 mg | ~2% | ★☆☆☆☆ |
Daily Values based on standard FDA labeling for a 2,000 kcal diet; amounts vary by brand, cooking method, and batch. Data compiled from USDA FoodData Central (most recent entries available during preparation in 2026).
Quick Safety and Best Practices
Use a clean setup and wash right before cooking to keep collards fresh and reduce the chance of reintroducing grit. This is also the hygiene mindset professionals use for leafy greens: control contamination sources and minimize time between cleaning and cooking.
The simplest best practices are also the most effective:
– Use a clean bowl/sink and avoid reusing dirty rinse water.
– Keep hands and utensils clean during washing.
– Wash collards right before cooking for best texture and freshness.
– Discard soak water (don’t pour it back over greens), especially if you see visible sediment.
According to USDA FSIS and FDA food safety messaging, washing produce can reduce contaminants on the surface but does not guarantee elimination; cooking and proper handling are still essential for food safety. Practically, your washing method should be treated as “risk reduction,” not a guarantee.
Quick workflow you can reuse
If you want the fastest “business-style” process with fewer decisions:
1. Trim stems.
2. Soak 10–15 minutes.
3. Lift out; rinse under running water.
4. Check folds and finger-rub creases.
5. Pat dry and cook promptly.
Q: Can I wash collards the night before?
Yes, but texture can soften; store in a clean container with airflow and rinse again briefly if you see moisture or residue before cooking.
Common mistakes to avoid
– Pouring soak water back over leaves: this reintroduces sediment you already removed.
– Skipping stem trimming: ribs and thick veins trap grit even if the outer leaf looks clean.
– Overcrowding the bowl: crowded leaves don’t get swished properly, so debris stays trapped.
Final check: if collards are clean enough that you can rub them between fingers without grittiness, you’re set. From my experience using this routine across multiple batches, the “soak → lift → rinse → fold-check” sequence is what reliably prevents sand in the finished dish.Fresh collards come out clean when you trim tough stems, soak to loosen grit, and rinse until the water runs clear. Follow the wash-and-soak steps, check folds between leaves, and prep only after draining well. Try this method next time you bring home fresh collards, and you’ll spend less time scrubbing and more time cooking.
Frequently Asked Questions
How do I clean fresh collards to remove dirt and grit?
Start by rinsing the whole collards under cool running water, then separate the leaves. Soak the leaves in a large bowl of cold water for 10–20 minutes, swishing them to loosen any grit. Drain the water and rinse again until the water runs clear, paying extra attention to the thick rib where dirt can collect.
What’s the best way to wash collard greens if they’re very dirty?
For heavily soiled fresh collards, soak the leaves longer (20–30 minutes) and swish each leaf thoroughly in the water. You can also use your fingers to gently rub along the leaf surface and along the underside. After soaking, rinse leaf-by-leaf until no visible debris remains, then drain well to prevent watered-down flavor.
Should I remove the stem and ribs before cleaning collards?
Yes—removing or trimming the tough stem and thick ribs makes both cleaning and cooking easier. Clean the leaves first, then cut out the thick center rib if needed, because dirt often hides in crevices along the rib. Keep any smaller stems you plan to use, but rinse and check them carefully for grit.
Which cleaning method works best for removing sand from collards?
The most reliable method is soaking plus multiple rinses. After the initial soak, lift leaves out of the bowl rather than stirring up sediment, then discard the dirty water and repeat with fresh water if necessary. This approach helps prevent re-depositing grit and is especially helpful for farm-fresh collard greens.
Why do collards sometimes taste gritty even after washing?
Grit taste usually means sand remained in the leaf folds or along the thick rib, or it was reintroduced when contaminated wash water was reused. Inadequate soaking time and skipping a second rinse are common causes. To avoid this, soak fresh collards, rinse until clear, and drain thoroughly before chopping or cooking.
📅 Last Updated: July 26, 2026 | Topic: how to clean fresh collards | Content verified for accuracy and freshness.
References
- https://www.fda.gov/food/consumers/consumer-updates/wash-your-fruits-and-vegetables
https://www.fda.gov/food/consumers/consumer-updates/wash-your-fruits-and-vegetables - Preventing Food Poisoning | Food Safety | CDC
https://www.cdc.gov/foodsafety/keep-food-safe.html - https://www.fsis.usda.gov/food-safety/safe-food-handling-and-preparation/food-safety-basics/cleaning-and-sanitizing
https://www.fsis.usda.gov/food-safety/safe-food-handling-and-preparation/food-safety-basics/cleaning-and-sanitizing - https://hgic.clemson.edu/factsheets/washing-and-sanitizing-produce/
https://hgic.clemson.edu/factsheets/washing-and-sanitizing-produce/ - https://extension.umn.edu/preserving-and-preparing/cleaning-and-sanitizing-produce
https://extension.umn.edu/preserving-and-preparing/cleaning-and-sanitizing-produce - https://www.canr.msu.edu/resources/cleaning-and-sanitizing-produce
https://www.canr.msu.edu/resources/cleaning-and-sanitizing-produce - https://www.health.harvard.edu/staying-healthy/how-to-wash-fruits-and-vegetables
https://www.health.harvard.edu/staying-healthy/how-to-wash-fruits-and-vegetables - https://pubmed.ncbi.nlm.nih.gov/?term=washing+leafy+greens+effectiveness
https://pubmed.ncbi.nlm.nih.gov/?term=washing+leafy+greens+effectiveness - https://scholar.google.com/scholar?q=how+to+wash+leafy+greens+collards Google Scholar
https://scholar.google.com/scholar?q=how+to+wash+leafy+greens+collards - https://scholar.google.com/scholar?q=best+practices+washing+fresh+produce+leafy+greens+sanitizer Google Scholar
https://scholar.google.com/scholar?q=best+practices+washing+fresh+produce+leafy+greens+sanitizer
