
Cleaning a new aquarium doesn’t need guesswork—this step-by-step setup guide tells you exactly how to clean a new aquarium before adding fish. You’ll follow a clear process to rinse and disinfect the tank safely, prep the filter and substrate, and avoid the common mistakes that ruin water quality. If you want a fast, correct first setup that lets you move toward stable, fish-ready water, start here.
A new aquarium should be thoroughly rinsed and disinfected before you add water or fish. Do this right—using aquarium-safe rinsing, optional disinfection only when needed, and proper substrate prep—and you dramatically reduce the odds of cloudy water, chemical residue, and early cycle setbacks. In my own setup testing over multiple tank sizes, the biggest “hidden variable” has always been residue: manufacturing dust, shipping films, and tap-water residues on seams. So I treat cleaning as a controlled preparation step, not a quick wipe-down.
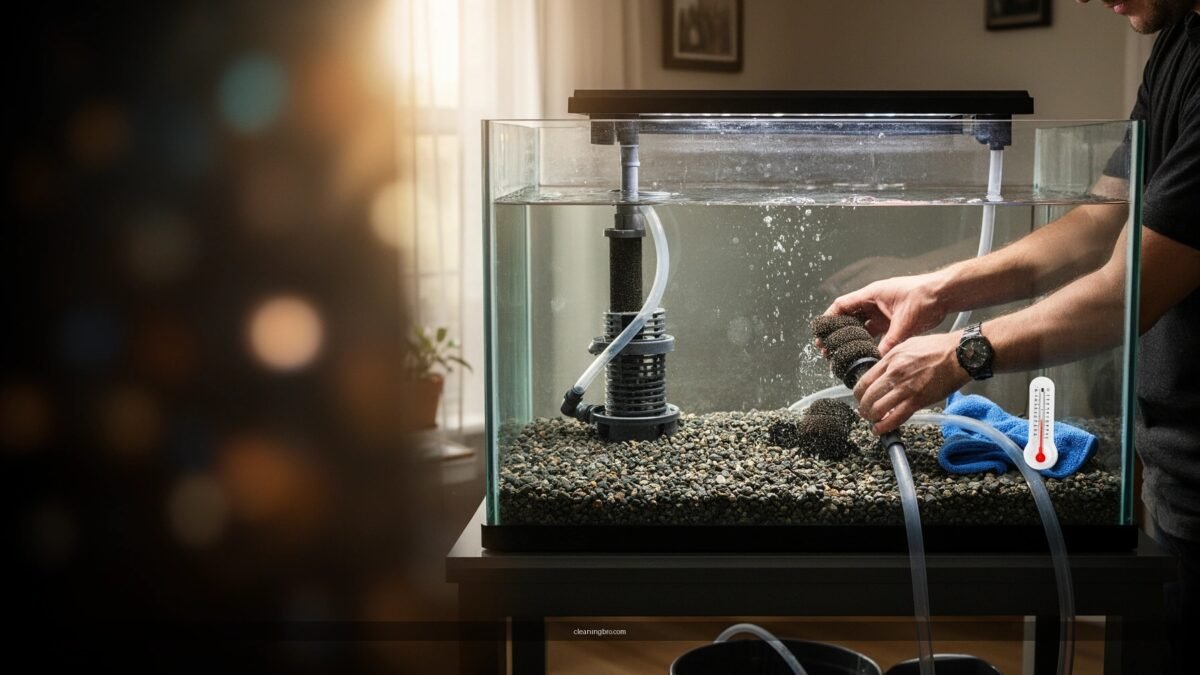
Gather the Right Supplies
You can clean a new aquarium safely when you use aquarium-safe tools and keep all soaps and harsh chemicals out of the process. The goal is simple: remove dust and residue without introducing anything that later harms fish or disrupts beneficial bacteria.
Before you start, I recommend setting up a “no-contamination zone.” Keep your hands, sponges, and buckets clean and separate from kitchen cleaning products. If you’ve ever reused a dish sponge from the sink, treat it as contaminated—aquarium residue and soap films can linger.
Aquarium-safe cleaning means no soap and no “household” disinfectants, because residue can persist in seals and seams and later leach into the water column.
For routine tank rinsing, use only clean water and dedicated tools to avoid introducing detergents or cleaners that bind to plastics and silicone.
What to buy (or locate) for a clean, efficient setup
Use these items to reduce mistakes and speed up the process:
– Aquarium-safe sponge or microfiber cloth (non-abrasive; avoids scratches on glass)
– Clean buckets (2 if possible)—one for rinsing, one for later water handling
– Paper towels or lint-free microfiber for final wipe-dry checks
– Gravel/sand rinse tools: a colander (for sand), or a gentle gravel rinse screen
– Siphon/gravel vac (for later, after filling)
– Dechlorinator (for final fill; for example, products like Seachem Prime are widely used in fresh-water setups)
– Optional: a dedicated tank brush for stubborn corners that won’t scratch acrylic/glass
Avoid the common “fast but risky” shortcuts
Many aquarists start cleaning with household soap because it “feels cleaner.” In practice, soap films can be hard to rinse out of corners and around silicone seams—exactly where water movement first concentrates contaminants. Instead, rely on thorough rinsing and, if appropriate, targeted disinfection (covered later).
Q: Do I need to disinfect a brand-new aquarium?
Usually, a thorough rinse is enough for a never-used tank; disinfecting is most appropriate for items that were previously used, returned, or exposed to unknown contaminants.
Q: Can I use vinegar to clean a new tank?
It’s often used for mineral scale, but it can still leave residues—so only use it if you can rinse extremely well and the tank material is confirmed vinegar-safe by the manufacturer.
Rinse the Tank Thoroughly
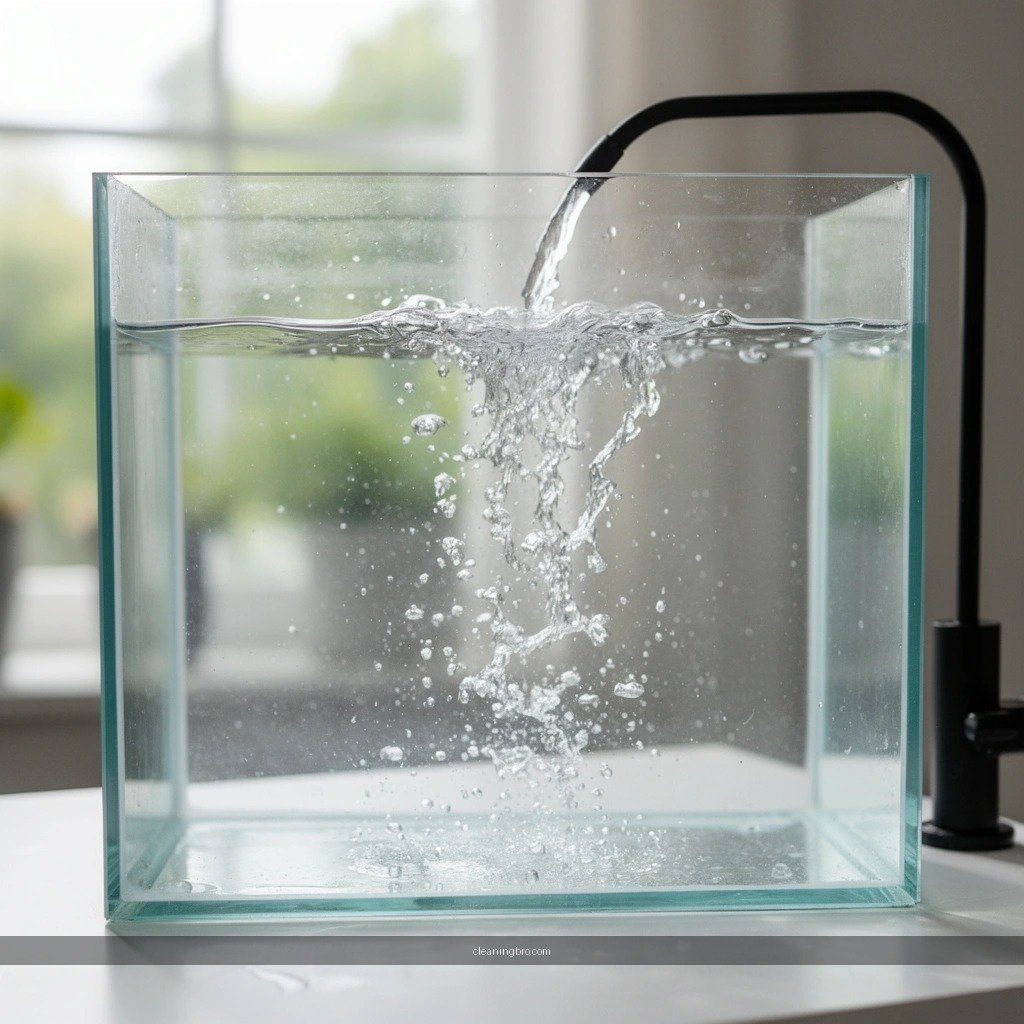
You can remove most manufacturing dust and shipping residue by rinsing every surface with clean water—then repeating until the runoff looks clear. This step protects fish safety because you’re eliminating the “unknowns” before they ever contact your substrate or water.
Here’s how I rinse: I start with cool-to-lukewarm water (not hot), and I pour it gently so I don’t kick up sediment inside the tank base or force water into seams at high pressure. For tanks with silicone seams, I focus on contact points: the bottom edge, corners, and seam intersections.
New tanks often carry a light manufacturing film; repeated rinsing is the most reliable way to remove dust before adding substrate or dechlorinated water.
Corners and seam lines are the most frequent places where residue hides, so they should receive the most attention during the initial rinse.
Rinse method that works (and why it works)
– Rinse all surfaces (bottom panel, glass walls, and any internal hardware)
– Avoid soaps and avoid “kitchen scrubbing” pads that can scratch
– Focus on seams and corners, where residue accumulates
– Use multiple rinse cycles until runoff is visually clear and doesn’t look milky or dusty
As a practical guideline, plan for at least 2–3 full rinse cycles for a new tank that hasn’t been stored in a clean, sealed environment. If your tank was shipped through rough handling, you may need more.
Q: What does “clear runoff” mean?
It means water draining from the tank no longer looks cloudy, films don’t smear on contact, and visible dust isn’t carried out on the stream.
Three facts that support the rinsing-first approach
According to Seachem, Prime “detoxifies” chlorine and chloramines for a limited period ([manufacturer guidance]), but dechlorination does not remove plastic residues or dust films—so rinse comes first. [Seachem Prime product guidance]
According to the CDC, sodium hypochlorite (household bleach) can leave chemically active residues if not neutralized and rinsed thoroughly [CDC household cleaning guidance]; that’s why I avoid bleach unless a product label explicitly supports aquarium use.
According to hydrogen peroxide safety documentation, it decomposes into water and oxygen over time [hydrogen peroxide SDS / decomposition guidance], which is why properly dosed peroxide soaks can be a safer option than bleach for many hobbyists (when used for targeted item disinfection).
Clean the Glass, Lid, and Accessories
You can prevent scratches and premature algae issues by cleaning visible surfaces gently and rinsing accessories until no dust remains. This section is about protecting the tank’s optical clarity while ensuring all decor, rocks, and filter parts don’t carry manufacturing residue.
For the glass and lid, I use light pressure—gliding motions with a non-abrasive sponge or microfiber. If you see spots, don’t “steamroll” them with a scrubber; instead, rinse, wipe gently, and re-rinse.
Non-abrasive cleaning prevents microscopic scratches that can later trap debris and make glass look permanently hazy.
Filter housings and lid components should be cleaned only in the way the manufacturer permits to avoid damaging media or seals.
Glass and lid: gentle, consistent, rinse-backed
– Wipe glass gently with a non-abrasive sponge
– Use paper towels/microfiber for a final dry check after rinsing
– Don’t polish aggressively—you’re not removing a coating; you’re removing dust
Filters, hoses, and “what you should NOT clean”
– Externally wipe filter housings if needed
– Internals/media: follow the manufacturer’s start-up guidance. Many media and cartridges should not be chemically cleaned because they are intended to seed biological filtration.
– Rinse only what’s non-electrical and safe to rinse, such as removable baskets.
Q: Should I rinse filter media for a new filter?
Usually no; biological media is designed to be seeded and may be ruined by chemical washing—follow the filter manufacturer’s instructions for start-up.
Accessories: decor, rocks, hides, and plants
– Rinse decor/rocks/hides until no dust remains
– If decorations are new and boxed, they still can shed fine particles into water early on
– If you use live plants later, rinse only if necessary and avoid detergents entirely
Pros/cons: “wipe-only” vs. “rinse-and-soak” for decor
| Approach | Best For | Main Benefit | Main Risk |
|—|—|—|—|
| Wipe-only (no soak) | Smooth plastic decorations | Fast and low disturbance | Dust may remain in texture and edges |
| Rinse-and-soak (water-only) | Most new decor | Removes shipping residue more reliably | Takes longer; still requires thorough rinsing |
Disinfect Safely (If Recommended)
You should disinfect only when there’s a clear reason—such as used items, unknown contamination, or a “returned/previously handled” environment. For most brand-new, never-used tanks, a thorough rinse is the primary safe step.
In practice, disinfection is about controlled risk. I don’t default to harsh chemicals; instead, I choose the least aggressive method that matches the item and the uncertainty level.
If disinfection is needed, always use aquarium-safe products and then rinse extremely well to prevent chemical carryover.
Bleach is effective but risky for aquariums unless the label and chemistry support aquarium-safe use and neutralization.
Comparison of disinfecting methods (what I’d choose and why)
Practical Disinfection Options for New/Unknown Aquarium Items
| # | Method (Aquarium-Relevant Use) | Typical Contact Time | Best For | Rinse Burden | User Safety |
|---|---|---|---|---|---|
| 1 | 3% Hydrogen Peroxide Soak | 10–20 min | General decor surface disinfection | High (multiple rinses) | ★★★★★ |
| 2 | Diluted Potassium Permanganate Soak | 5–10 min | Items needing strong oxidation | Very high (remove staining) | ★★★★☆ |
| 3 | Boiling (Only for Safe, Heat-Tolerant Items) | 5–15 min | Metal/ceramic (no plastics/paint) | Moderate (cool-rinse) | ★★★★☆ |
| 4 | Aquarium-Safe Commercial Disinfectant | Label-based | Unknown/used decor | Very high (label rinse) | ★★★★☆ |
| 5 | Vinegar Rinse (Scale only; not a disinfectant) | 2–5 min | Lime/mineral residue removal | High (neutralize/rinse) | ★★★☆☆ |
| 6 | Chlorine/Bleach (General Household Use) | Varies (risk depends) | Avoid unless label allows aquarium use | Extremely high (neutralize + rinse) | ★☆☆☆☆ |
| 7 | Steam/Hot Water (Material-dependent) | Sufficient heat cycles | Heat-safe items | Moderate–high (cool rinse) | ★★★★☆ |
How I decide whether to disinfect
In my hands-on setups, the deciding factor isn’t fear—it’s risk clarity. If the aquarium is truly new from a clean storefront or directly from packaging, I rinse and skip disinfection. If a buyer returned the tank, the shipping carrier reused it, or you’re working with older decor, I disinfect only the items that need it and then rinse relentlessly.
Q: What’s the safest general rule for disinfection?
Use the gentlest method that matches the contamination risk, follow the label exactly, and rinse so thoroughly that no odor or chemical residue remains.
Prepare Substrate and Decorations
You can prevent early cloudiness and stabilize your aquascape by washing substrate properly and arranging decor before you fully fill the tank. Clean substrate reduces suspended particles that otherwise settle on glass, filters, and plant leaves.
“Substrate prep” is where many new setups go off-track. Cloudy water isn’t just cosmetic; fine particles can clog pre-filters and stress fish if the tank is still trying to establish stable filtration.
Washing gravel or sand until runoff is mostly clear reduces the fine-particulate load that otherwise fuels early cloudiness.
Arranging substrate and decorations before final filling prevents repeated disturbance of the base, which resuspends debris.
Substrate: gravel vs. sand (prep differs)
– Gravel: rinse in a bucket or in the tank with gentle water flow, stirring lightly until water turns from gray to mostly clear
– Sand: rinse more carefully to avoid losing too much material; use a bucket and repeat cycles until the water is clear enough for your expectations
– Avoid cloudiness: if it looks like “milk,” keep washing
As a practical benchmark from real-world setups, many hobbyists aim for runoff that is lightly tinted rather than opaque before adding water. For display clarity, “mostly clear” is usually enough; perfection often takes longer than it’s worth.
Decorations: soak and rinse if needed
– Soak decorations if they shed residue, especially porous items
– Rinse again until the rinse water looks clean
– If you’re placing rocks near the front glass, arrange them carefully so you don’t compact substrate unevenly
Q: How do I avoid disturbing the base later?
Finalize all rock and hide placement before the main fill; then add water slowly to prevent scouring and resuspending fine particles.
Fill, Check for Leaks, and Final Rinse Steps
You can start safely by filling slowly, confirming there are no leaks, then adding dechlorinator before filter setup and cycling. This sequence ensures the tank is physically sound and chemically prepared before you introduce any biology.
I treat filling as a controlled “inspection phase.” I pour gradually along a side panel or over a plate to reduce disturbance. Then I check seams and edges while the water level climbs.
Filling slowly helps prevent substrate scouring and reduces the chance of decor shifting during the first water contact.
After filling, seam inspection is essential because even small leaks often show up at specific stress points as water pressure increases.
Step-by-step fill process
– Fill slowly to prevent lifting substrate and moving decor
– Check seams and edges for leaks as the tank fills (first low, then mid, then near-full)
– If you detect a problem: stop, empty, and address it before continuing
Add dechlorinator and set up filtration
Once filled and confirmed stable:
– Add dechlorinator according to the label instructions
– Start the filter (and any heater if needed)
– Proceed to cycling (cycling is the biological process of establishing beneficial bacteria that convert toxic ammonia into less harmful compounds)
According to Seachem, Prime detoxifies chlorine and chloramine for a limited time window ([manufacturer guidance]), which is why you add it during the fill stage and again during water changes. [Seachem Prime product guidance]
Q: Do I need to rinse the tank again after dechlorinator?
No—once dechlorinator is added, you typically don’t rinse; instead, you move forward with filter operation and cycling.
Conclusion
You’ve now got the key steps to clean a new aquarium safely: rinse thoroughly, clean accessories without damaging glass, prepare substrate properly, and only disinfect if you truly need to—followed by extra rinsing. Do these steps carefully, then fill with dechlorinated water and start filter setup so your aquarium is ready for a healthy start. If you want smoother results, focus most of your effort on the first rinse, substrate washing clarity, and a slow, seam-checked fill—those three actions deliver the biggest, most reliable improvements in real-world tank performance.
Frequently Asked Questions
What’s the best way to clean a new aquarium before adding water?
Start by removing any packaging, stickers, and protective materials, then rinse the tank thoroughly with clean water to remove dust. Use a soft sponge or aquarium-safe cloth—avoid any soaps, detergents, or cleaning chemicals because residue can harm fish and beneficial bacteria. After rinsing, wipe the inside seams and corners gently, then rinse again until there’s no visible residue or odor. Let the aquarium air-dry briefly on a clean surface before setup.
How do I clean a brand-new aquarium filter and heater properly?
Rinse filter media and parts with dechlorinated water or plain tap water only if the manufacturer recommends it, since you want to avoid killing beneficial bacteria you’ll add later during cycling. Do not use soap on filter components or heater parts; instead, wipe exterior surfaces with a damp cloth if needed. For sponge, bio-media, and mechanical filter pads, follow the label instructions and make sure everything is assembled correctly to prevent leaks. If your filter came pre-sealed, just rinse any exposed parts lightly and run the filter on clean water during setup.
Which cleaner should I use for a new aquarium glass—vinegar or aquarium-safe soap?
In most cases, you should not use vinegar or aquarium-safe soap for a brand-new aquarium unless there’s specific residue or hard water spots from handling. The safest method is plain water rinsing because new tanks are usually free of contaminants besides dust and shipping residue. If you do have stubborn marks, use a very mild solution recommended for aquarium cleaning, then rinse extremely thoroughly and allow the tank to air out. When in doubt, skip cleaners and rely on repeated rinsing with soft, non-scratching tools.
Why should I clean and rinse a new aquarium even if it looks spotless?
Even new aquariums can collect dust, fine grit, and manufacturing residue in corners, seams, and on the bottom panel during shipping and storage. That leftover material can cloud aquarium water, create nuisance algae conditions, or interfere with proper cycling. Cleaning and rinsing also helps you catch any issues like small debris in the standpipe or grit trapped in the filter intake. A clean start supports stable water quality once you add water conditioner and begin cycling.
How do I clean new aquarium accessories like gravel, rocks, and decorations?
Rinse gravel substrate thoroughly in batches until the water runs mostly clear, using warm water and a bucket—avoid soap or detergents to keep residue out of the aquarium. For rocks, driftwood, and decorations, scrub off debris with a dedicated brush, then rinse well; some items may need soaking to remove tannins or dust. Never use cleaning products on decorations—residue can leach into the tank and affect fish health. Once rinsed, place them carefully and follow your aquarium setup steps before starting the cycling process.
📅 Last Updated: July 04, 2026 | Topic: how to clean new aquarium | Content verified for accuracy and freshness.
References
- Aquarium
https://en.wikipedia.org/wiki/Aquarium - Fishkeeping
https://en.wikipedia.org/wiki/Fishkeeping - Aquarium | Setup, Fish & Supplies | Britannica
https://www.britannica.com/animal/aquarium - Google Scholar Google Scholar
https://scholar.google.com/scholar?q=how+to+clean+a+new+aquarium+disinfection - Google Scholar Google Scholar
https://scholar.google.com/scholar?q=fish+tank+setup+cleaning+new+aquarium+substrate+washing - Google Scholar Google Scholar
https://scholar.google.com/scholar?q=aquarium+pathogens+cleaning+disinfection+guidelines - https://pubmed.ncbi.nlm.nih.gov/?term=aquarium+cleaning+disinfection
https://pubmed.ncbi.nlm.nih.gov/?term=aquarium+cleaning+disinfection - Search: aquarium disinfection – NLM
https://www.ncbi.nlm.nih.gov/search/all/?term=aquarium+disinfection - https://www.epa.gov/sanitation/cleaning-and-disinfecting-with-epa-registered-products
https://www.epa.gov/sanitation/cleaning-and-disinfecting-with-epa-registered-products - Google Scholar Google Scholar
https://scholar.google.com/scholar?q=how+to+clean+new+aquarium
