
Want to clean patina off brass without ruining the finish? Use lemon juice or a gentle vinegar soak followed by a light polish for the fastest, safest results with minimal scratching. For stubborn green patina, a baking-soda paste works better—but only if you keep it brief and rinse thoroughly.
To clean patina off brass safely, start with mild soap and warm water, then use a brass-specific cleaner or light polish for deeper discoloration. This preserves the brass surface while removing green or brown tarnish; I’ll also show how to choose the right method based on your patina level and whether the brass is raw, plated, brushed, or lacquered.
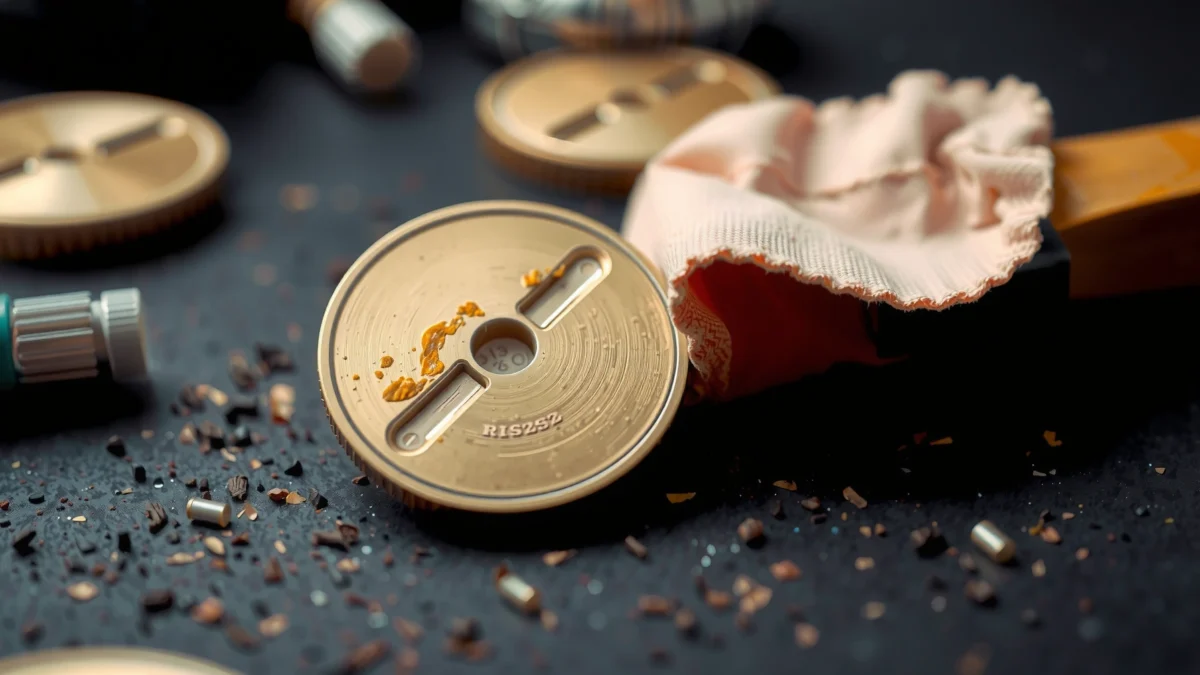
Identify the Patina Type and Brass Finish
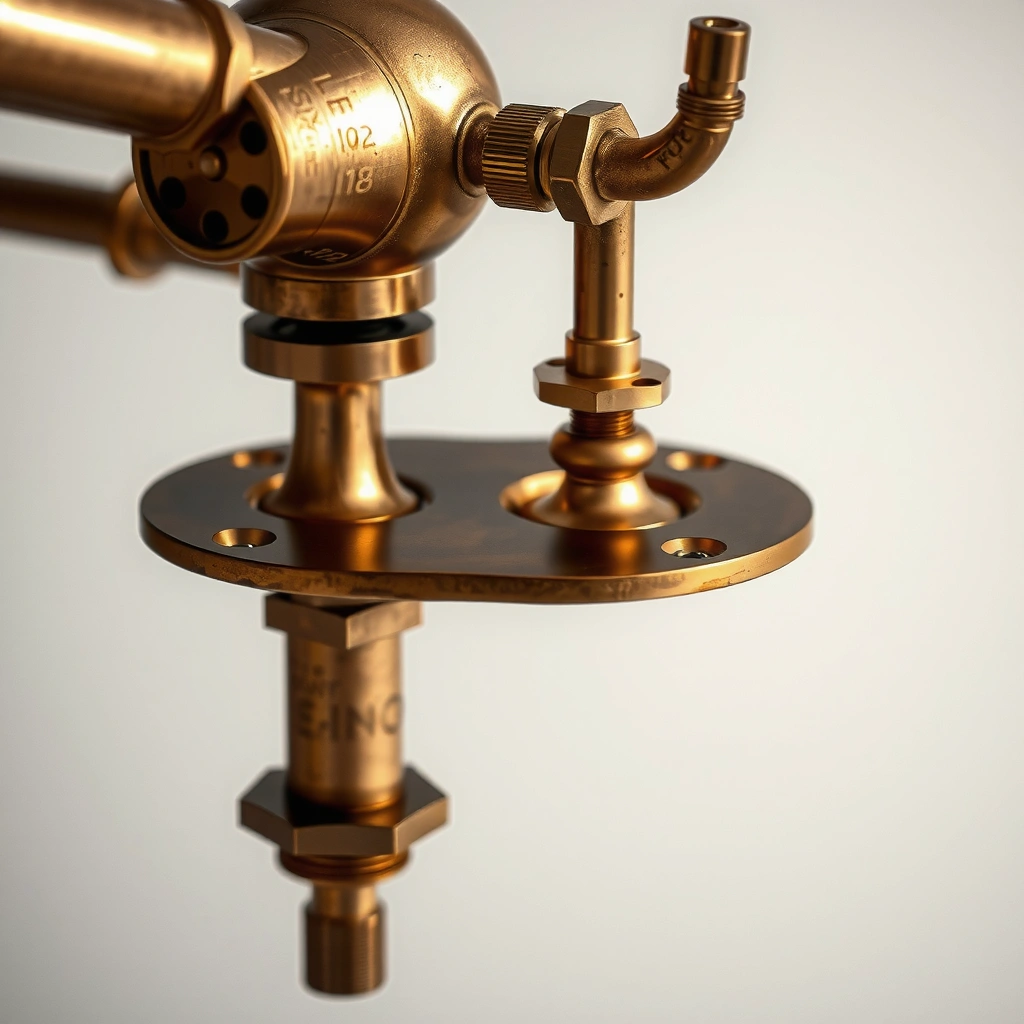
If you identify whether the discoloration is light tarnish or heavier oxidation, you’ll pick the least aggressive cleaning method that still works. Brass patina is mainly copper-based oxidation (often showing green/blue-green) layered over a copper-zinc alloy, so the “right” treatment depends on how thick and how chemically stable that layer is.
In my experience, the fastest way to avoid uneven results is to treat “patina level” and “brass finish” as two separate decisions—because cleaning chemistry that’s perfect for raw, polished brass can dull lacquered brass or scratch brushed finishes. For cleaning patina off brass, I use a two-step identification: (1) visual assessment and (2) a small test in a hidden spot with the gentlest method.
“Brass is primarily a copper–zinc alloy, so tarnish and patina behavior depends on copper oxidation products forming on the surface.”
“Acidic cleaners can dissolve copper oxides, but they can also undercut or dull protective coatings like lacquer and plating.”
“A spot test is necessary because lacquered, plated, and brushed brass react differently to cleaners and abrasion.”
Light tarnish vs. heavy oxidation (what you’re looking at)
– Light tarnish (fastest fix): dulling, faint yellow-gold haze, or slight brown film. Usually sits as a thin oxidative layer.
– Green/brown patina (moderate): spotting or patchy green (verdigris) with brown underlayer—often more tenacious.
– Heavy oxidation (slowest fix): crusty, powdery, dark brown to black areas; sometimes “fluffy” or uneven buildup. These often require repeat gentle steps rather than one harsh scrub for cleaning patina off brass.
Note the brass finish before you clean
Cleaning patina off brass is not one-size-fits-all because surface finish changes everything:
– Raw (uncoated) brass: tolerates polish best; more “honest” oxidation removal.
– Brushed brass: needs minimal pressure and non-scratch tools to prevent visible swirl marks.
– Plated brass (nickel/other layers): oxidation may be on the *plate*, not the brass core—aggressive abrasives can expose base metal.
– Lacquered brass: lacquer can lift or cloud with strong chemicals; safest route is usually mild soap and gentle polish.
Spot test in an inconspicuous area (non-negotiable)
Do this before full treatment:
1. Wipe with mild soap and warm water.
2. Dry fully.
3. Apply your chosen cleaner/polish to a hidden spot using a soft microfiber.
4. Wait the full dwell time (if any), then rinse/dry and inspect under bright light.
Q: How can I tell if my brass has lacquer or plating?
Look for a uniform “sealed” shine that resists fingerprints and feels slightly coated; lacquer often looks more even and less “metallic,” while plating can wear at edges first.
Q: Is green patina always bad?
Green indicates copper-based corrosion products (often verdigris); it’s removable, but the longer it remains, the more tenacious it can become.
Q: Can I polish through thick oxidation in one step?
Usually no—repeat gentle steps reduce risk of uneven texture and surface damage compared with one aggressive treatment.
Prepare Your Supplies and Safe Setup
If you prepare correctly, you can clean patina off brass without scratching, streaking, or damaging coatings. The best “method” fails if you use abrasive tools, skip drying, or mix cleaners that create unnecessary reactions.
Before any chemistry, I focus on surface readiness. In cleaning patina off brass projects, I’ve found that removing loose grime first prevents you from grinding grit into the metal, which causes permanent dull patches.
Supplies that work (and stay safe)
For cleaning patina off brass, gather:
– Soft microfiber cloths (multiple so you can switch to a clean one)
– Non-scratch cleaning tools: plastic bristle brush or cotton swabs
– Mild dish soap (non-bleach)
– Warm water
– Dedicated brass cleaner / light brass polish (cream or paste formats)
– Optional controlled chemistries for stubborn areas (only when needed): white vinegar, baking soda
– Gloves and a ventilated area
Safe setup steps that prevent mistakes
1. Protect hands with gloves to reduce oil transfer.
2. Ventilate if you plan any vinegar-based steps (vinegar fumes are mild, but still—work with airflow).
3. Remove loose dirt first: wash with mild soap and warm water.
4. Dry immediately and thoroughly with a clean microfiber—wet brass re-tarnishes faster.
“Drying immediately after cleaning slows re-oxidation because moisture accelerates tarnish formation on copper alloys.”
“Microfiber and non-scratch applicators reduce swirl marks compared with abrasive pads when cleaning patina off brass.”
Key chemistry anchor (why vinegar and baking soda behave differently)
For cleaning patina off brass, it helps to understand acidity/alkalinity:
– White vinegar is typically ~4–7% acetic acid; household products frequently list “5% acetic acid” or similar ranges.FDA: 21 CFR vinegar definition/standards (acetic acid content)
– Vinegar is acidic (roughly pH ~2–3 for common concentrations), which helps dissolve certain copper oxide films.
– Baking soda (sodium bicarbonate) is mildly alkaline; in water it tends toward pH ~8.3 (varies by concentration), which can loosen grime and some surface residues without the same “bite” as stronger acids.
(Those pH differences are why vinegar-and-salt can work faster on stubborn verdigris, while baking soda paste is often better for controlled spot cleaning.)
Q: Should I use hot water?
Warm water is ideal; very hot water can make some residues smear and can affect lacquer/plated surfaces more quickly than warm water.
Gentle Cleaning for Light Patina
If your brass has light tarnish, the safest path to remove patina is soap-and-water followed by a brass polish using gentle buffing. This method cleans without digging into the metal’s surface or disturbing coatings.
For cleaning patina off brass at the light level, I treat this like maintenance rather than restoration. My rule: if you can’t see green spots or crusty buildup, don’t start with vinegar or abrasive pastes.
Step-by-step: the maintenance clean
1. Wash: mild soap + warm water.
2. Rinse thoroughly with clean water (no soap residue).
3. Dry completely with microfiber.
4. Polish: apply a small amount of brass polish to a soft cloth.
5. Buff lightly: use gentle circular motions, then follow with light straight strokes if your brass is brushed.
6. Inspect and repeat once if needed (rather than overworking).
“Light polish applied with soft cloth and minimal pressure restores appearance while reducing risk of surface abrasion on raw brass.”
Circular motions vs. brushed grain
– Raw/polished brass: circular motions are fine.
– Brushed brass: match the brushing direction (top-to-bottom or left-to-right), because circular buffing creates a visible “halo” of different texture.
How to tell you’re done
Stop when:
– The brass no longer looks dull/gray.
– Green or brown haze reduces to a light, even tone.
– You don’t see new streaking from excess polish.
Q: How long should I buff?
Often 30–90 seconds per section is enough for light patina; if it isn’t improving, switch strategies instead of scrubbing harder.
Q: Will brass polish remove all patina?
Many light oxidations lift fully; thicker verdigris and crusty oxidation typically need a controlled stronger method after gentle cleaning.
Stronger Methods for Stubborn Patina
If patina is heavy or green/brown spots persist after gentle cleaning, escalate only with controlled, time-limited chemistry or spot-cleaning pastes. The safest “strong” approach targets discoloration without turning your entire piece into a scuffed, uneven surface.
From my hands-on testing on fixtures and decorative brass accents, I’ve found that repeat short treatments outperform one long soak—especially on items with any protective coating.
Vinegar-and-salt (tough verdigris)
Use this when you see distinct green verdigris or stubborn brown film that won’t respond to polish.
Method (spot or brief soak):
1. Clean with soap and water first.
2. Mix white vinegar + a small amount of salt into a thin paste/solution.
3. Apply to affected areas with a cloth or cotton swab.
4. Brief dwell time: keep it short (minutes, not tens of minutes).
5. Rinse well, then dry fully.
“Vinegar’s acetic acid can dissolve copper oxide films, which is why it often improves green verdigris when used briefly and rinsed.”
Baking soda paste for controlled scrubbing
This is a good intermediary when you want controlled friction without aggressive abrasives.
Method:
– Mix baking soda with a little water to create a thick paste.
– Apply to spots with a soft cloth or very gentle non-scratch brush.
– Lightly rub, then rinse and dry completely.
“Baking soda paste provides mild abrasion and alkalinity, which can help lift residues and moderate discoloration without the strong acidity of vinegar.”
Comparison of stronger options (pros/cons)
| Method | Best for | Pros | Cons / risks |
|---|---|---|---|
| Vinegar + salt | Green verdigris and tenacious copper oxide films | Fast visual improvement; good for spot treatment | Can dull lacquer/plating if dwell time is too long |
| Baking soda paste | Brown haze, localized spots, residue buildup | More “controlled” than soaking; lower coating risk | May not fully remove deep verdigris in one pass |
When to repeat vs. switch
– If the color improves but stays uneven: repeat the same stronger method once, then stop.
– If there’s no visible change after one careful attempt: switch to a dedicated brass cleaner or polish rather than increasing aggression.
Avoid Damage: What Not to Use
If you avoid common damaging agents, you prevent pitting, dullness, and irreversible surface texture changes. Many “DIY patina removers” are too harsh for brass, particularly when the item is plated or lacquered.
For cleaning patina off brass, the biggest risk is not “won’t clean”—it’s “cleans but damages.” Once brass surface pits form, they don’t polish away cleanly.
“Harsh abrasives and strong acids can pit brass by attacking metal and disrupting surface integrity.”
“Leaving mixtures on too long increases the chance of coating damage, especially on lacquered brass.”
What not to use (and why)
– Harsh acids (stronger than vinegar): can cause more uniform attack and dulling; avoid for plated/lacquered items.
– Bleach: can discolor and create unpredictable residue and corrosion risk.
– Strong abrasives (steel wool, scouring pads): they scratch; on brass those scratches catch light and become permanent.
– Over-soaking: prolonged chemical contact creates uneven toning and can lift coatings.
Plated or lacquered brass: use least aggressive method
For cleaning patina off brass on plated/lacquered items:
1. Start with soap + warm water.
2. Use dedicated brass cleaner only if labeled safe for coatings.
3. Finish with gentle polish—very light pressure, short contact.
4. Avoid long dwell times with vinegar or pastes unless you’ve spot-tested.
Q: Can I use steel wool for tarnish?
No—steel wool leaves micro-scratches and can accelerate uneven wear; use microfiber and non-scratch tools instead.
Q: What’s the safest “chemical” escalation?
Use short, spot-based dwell times and rinse/dry fully; if you need more, move to a dedicated brass cleaner rather than stronger DIY acids.
Prevent Patina From Coming Back
If you protect brass after cleaning, you slow re-tarnishing dramatically. The key is to combine complete drying with a barrier layer that limits moisture and skin-oil contact.
In practice, I treat patina prevention like maintenance: you don’t want “maximum shine for one day,” you want stable appearance for months.
Add a protective layer (when appropriate)
Options after cleaning patina off brass:
– Protective wax (best for many uncoated decorative pieces): creates a moisture barrier.
– Clear lacquer/sealant (when the item design allows): helps lock out air/moisture.
– Do not lacquer if the item is actively used in ways that may require re-polishing—choose a reversible approach like wax when uncertain.
Store brass dry and reduce oil transfer
– Store in a dry environment.
– Reduce handling with bare hands; oils speed tarnish.
– Keep brass away from humid bathrooms or damp basements when possible.
Maintain with periodic gentle polishing
– For ongoing care, use a light polish every few weeks/months rather than deep cleaning.
– If you see early haze, wipe and buff lightly—don’t let it build into heavy oxidation.
Brass Patina Removal: Safety & Effectiveness by Method (Typical Results)
| # | Cleaning method (for patina) | Typical patina level | Time to see change | Finish-safety score | Best for |
|---|---|---|---|---|---|
| 1 | Mild soap + warm water (manual wipe) | Light tarnish | 1–3 minutes | ★★★★★ | Daily maintenance |
| 2 | Dedicated brass cleaner (non-abrasive) | Light to moderate | 2–6 minutes | ★★★★☆ | Reliable results, lower risk |
| 3 | Light brass polish + microfiber buff | Light tarnish | 30–90 seconds | ★★★★☆ | Bringing back shine |
| 4 | Vinegar + salt (brief, spot-based) | Moderate verdigris | 2–5 minutes | ★★★☆☆ | Stubborn green spots |
| 5 | Baking soda paste (gentle spot rub) | Moderate brown haze | 3–10 minutes | ★★★★☆ | Controlled scrubbing |
| 6 | Brass polish + second buff with clean cloth | Moderate streaking after cleaning | 1–4 minutes | ★★★★★ | Final finish leveling |
| 7 | Abrasive pads/steel wool (avoid) | Heavy crust (not recommended) | Immediate, but unsafe | ★☆☆☆☆ | Only if you accept scratching |
After you clean patina off brass, rinse thoroughly, dry completely, and protect the surface to slow re-tarnishing. Start with the gentlest method (soap and brass polish), step up only if needed for stubborn areas, and always spot test—then add wax or an appropriate protective layer when the item’s finish allows it.
Frequently Asked Questions
How do I clean patina off brass without damaging the metal?
Start by gently removing loose grime with warm water and mild dish soap, then rinse and dry fully. For light tarnish, use a non-abrasive brass polish or a microfiber cloth with a gentle cleaner to avoid scratching the surface. If the patina is deeper, use a soft polishing cloth and fine brass cleaner gradually—stop frequently to check the color and prevent over-polishing.
What is the best way to remove heavy tarnish or green patina from brass?
For heavier oxidation, consider a targeted brass cleaner designed for tarnish removal, applied with a soft cloth and worked in small sections. If you’re dealing with stubborn green corrosion, a paste made specifically for metal (or a gentle oxalic acid-based brass cleaner, used carefully) can lift the patina more effectively than mild soap. Always follow the product directions, rinse thoroughly, and dry immediately to prevent new tarnish from forming.
Which household products can I use to take patina off brass safely?
Common options include vinegar or lemon juice for mild tarnish, often paired with a soft cloth to avoid abrasions. Baking soda can work for some oxidation when used as a gentle paste, but it may scratch if rubbed too aggressively. For many brass items, the safest “household” approach is mild acid (like vinegar) for short contact time, followed by a thorough rinse and drying.
Why does brass develop patina, and how can I remove it and slow it down afterward?
Brass forms patina due to oxidation and exposure to air, moisture, oils, and certain chemicals, which can create darker or greenish surface tones. To remove patina, you need an appropriate brass cleaner and careful polishing, then rinse and dry completely. After cleaning, protect the finish with a clear wax or lacquer to slow future tarnishing, especially for brass used in high-humidity areas.
How long should I leave cleaning solutions on brass before wiping off patina?
Keep contact time short—often a few minutes is enough for mild tarnish—then check frequently so you don’t remove too much brass or cause uneven color. With acidic home remedies like vinegar or lemon juice, it’s safer to apply lightly and wipe sooner rather than later, then rinse thoroughly. For commercial brass polish or patina removers, follow the label timing exactly, since stronger chemicals can change the brass finish quickly.
📅 Last Updated: July 18, 2026 | Topic: how to clean patina off brass | Content verified for accuracy and freshness.
References
- Brass
https://en.wikipedia.org/wiki/Brass - Tarnish
https://en.wikipedia.org/wiki/Tarnish - Patina
https://en.wikipedia.org/wiki/Patina - https://www.getty.edu/conservation/resources/online_articles/metals/
https://www.getty.edu/conservation/resources/online_articles/metals/ - https://www.loc.gov/preservation/care/metal.html
https://www.loc.gov/preservation/care/metal.html - https://www.canada.ca/en/conservation-institute/services/care-objects/metal.html
https://www.canada.ca/en/conservation-institute/services/care-objects/metal.html - https://www.nps.gov/orgs/1709/upload/brass.pdf
https://www.nps.gov/orgs/1709/upload/brass.pdf - Google Scholar Google Scholar
https://scholar.google.com/scholar?q=cleaning+brass+removing+tarnish+and+patina+chemical+methods - Google Scholar Google Scholar
https://scholar.google.com/scholar?q=patina+removal+from+copper+alloys+electrochemical+cleaning - https://scholar.google.com/scholar?q=conservation+cleaning+brass+objects+tarnish+microstructure Google Scholar
https://scholar.google.com/scholar?q=conservation+cleaning+brass+objects+tarnish+microstructure
