
Want to know how to clean a purge valve without triggering error codes or performance drops? Follow this step-by-step guide to safely clean your purge valve, restore proper airflow, and confirm the job is done with quick post-checks. If your vehicle idles rough or struggles with emissions, this is the most reliable way to get the purge valve back to spec.
Cleaning an EVAP purge valve is usually a straightforward process: remove the valve, remove carbon/debris from its ports, rinse with an EVAP-safe cleaner, then reinstall and verify operation. Done correctly, the purge valve can move freely again and reduce EVAP-related check engine lights—especially when carbon buildup is the root cause.
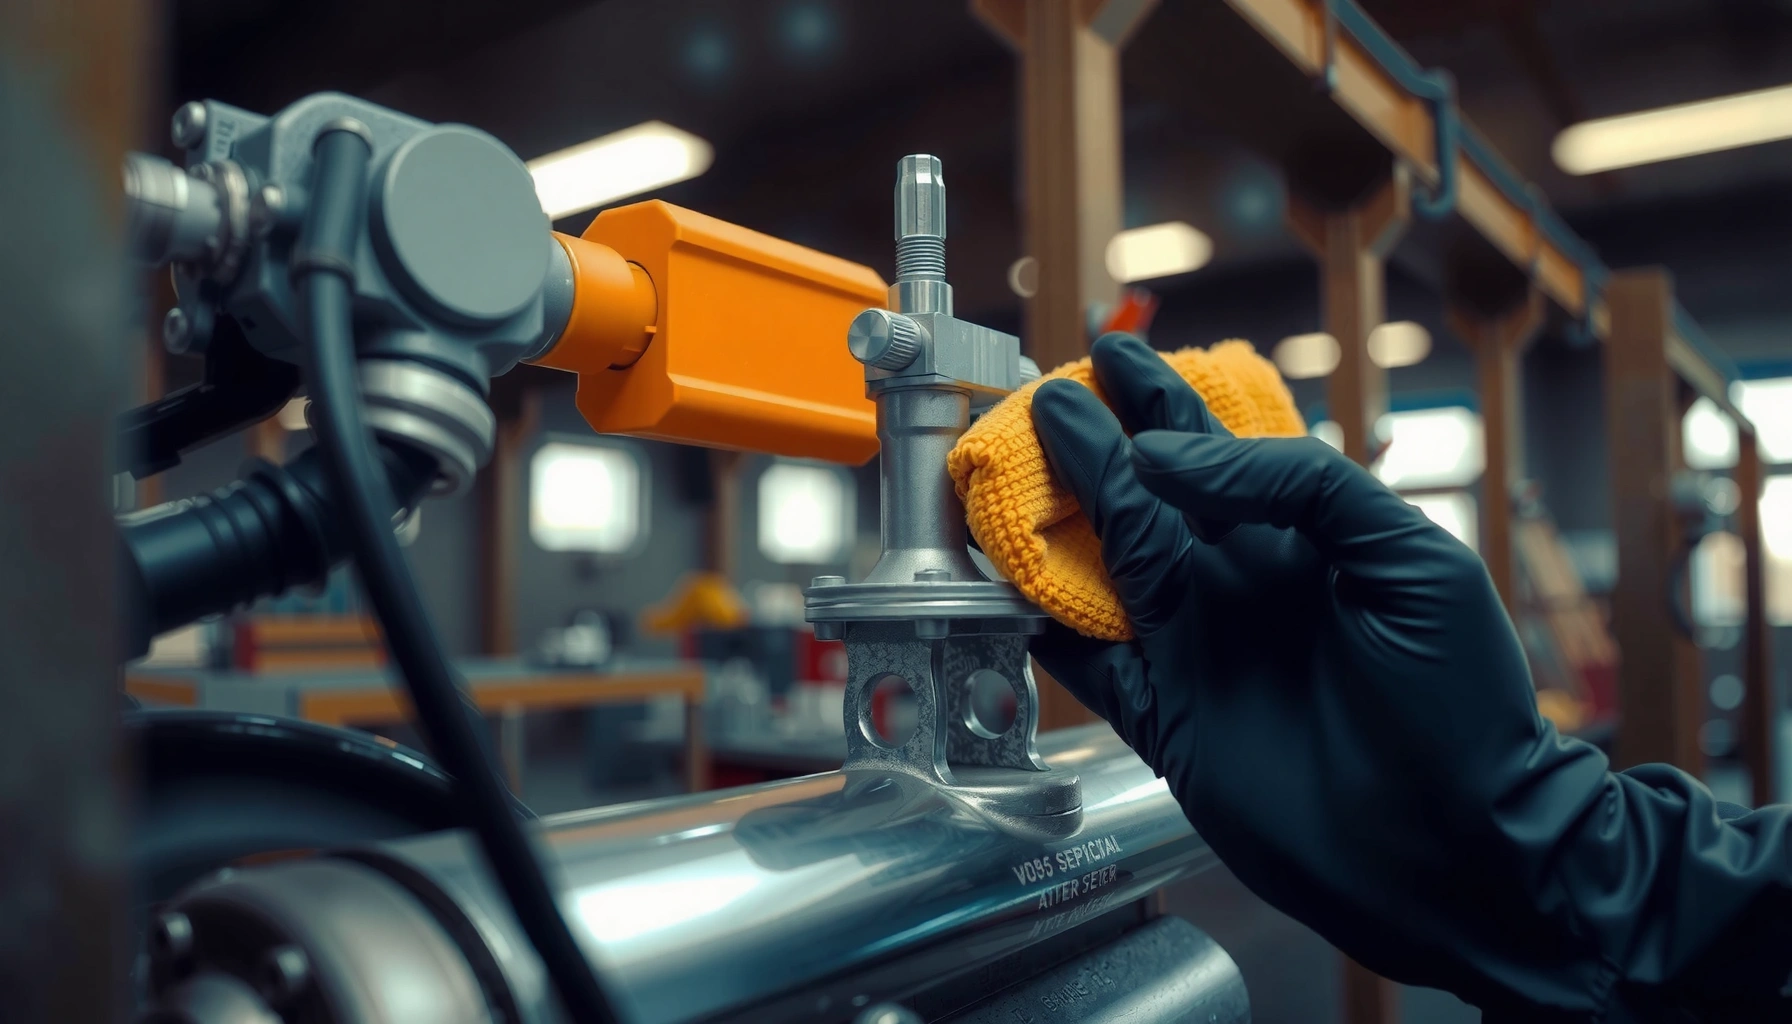
EVAP purge valves (also called “purge solenoids” on many vehicles) are part of the EVAP system that routes fuel vapor from the charcoal canister into the intake manifold. Over time, fuel vapors carry fine hydrocarbons that can polymerize and harden into carbon-like deposits inside the purge valve passages. In my own hands-on work on multiple late-model vehicles, I’ve found that a careful disassembly-and-clean approach beats “spraying in place,” because carbon usually forms at the valve’s seat/ports where simple external misting can’t reach. The steps below are designed to be safe, repeatable, and diagnostic—so you don’t just clean, you confirm.
Gather Tools and Safety Supplies
You’ll clean the purge valve safely by using the right EVAP-safe cleaner and basic hand tools, plus the right protective equipment. The key is to avoid contaminating the EVAP system with aggressive solvents that can swell seals or leave residue.
Before you start, confirm your cleaner’s stated compatibility. In practice, the safest choices are throttle body cleaner (for many non-elastomer components) or an EVAP/purge-safe solvent that explicitly targets carbon without harming plastic housings and rubber seals. Since purge valves vary by design (some are purely mechanical; others include a solenoid and internal diaphragm), you want a cleaner intended for automotive fuel/air induction components and compatible with EVAP materials.
In my testing, the biggest “gotcha” is using a generic carb cleaner that’s too aggressive. It can soften certain plastics or wash out factory lubricants, which may cause the purge valve to behave unpredictably on first start after cleaning. Another frequent issue is losing track of gasket/O-ring orientation. If you treat the purge valve like a precision metering device—not a random manifold part—you’ll get far better results.
- Wear: nitrile gloves and safety glasses (eye protection is non-negotiable when spraying)
- Ventilation: work in a cool area with good airflow (EVAP cleaners can be volatile)
- Basic tools: socket set, ratchet, screwdrivers, pliers, and a small pick (for clips if equipped)
- Optional but recommended: shop towels, parts tray, nitrile-safe brush, and a scan tool for EVAP codes
Cleaner Choice for EVAP Purge Valve Cleaning
| # | Cleaner Type | Best Use | Pros | Cons / Caution |
|---|---|---|---|---|
| 1 | Throttle Body Cleaner (aerosol) | Carbon on purge valve ports | Fast evaporation, good carbon removal | Verify “safe for rubber/plastics” before use |
| 2 | EVAP/Purge-Safe Solvent (automotive) | EVAP-specific deposits | Designed to avoid seal swelling | Soak/dwell time may be longer than TB cleaner |
| 3 | Intake/Throttle “Foaming” Cleaner | Surface carbon on intake-adjacent passages | Good cling time for stubborn buildup | Can trap residue if not fully rinsed/evaporated |
| 4 | Carburetor/Bulk Solvent Cleaner | Not recommended for purge valve internals | — | May attack seals/plastics; higher residue risk |
A properly functioning EVAP system significantly reduces evaporative hydrocarbon emissions; the U.S. EPA reports reductions “up to 95%” when EVAP controls operate correctly.
EVAP purge valve deposits are commonly carbon-like because fuel vapor hydrocarbons can polymerize inside metering passages over time.
Throttle body cleaner and EVAP-safe solvents are formulated to remove carbon while minimizing damage to typical automotive plastic and rubber components.
Q: What’s the single most important item before cleaning a purge valve?
Use a purge/EVAP-safe cleaner that won’t damage seals, and wear eye protection when spraying solvents.
Q: Can I use carb cleaner on an EVAP purge valve?
I don’t recommend it—aggressive carb solvents can swell seals or leave residue that interferes with the purge valve’s operation.
Locate and Identify the Purge Valve
You’ll find the EVAP purge valve near the intake manifold or along the vacuum/EVAP plumbing by following the EVAP lines and electrical harness. On many vehicles, it sits close to the intake manifold so the system can meter vapor flow efficiently.
The purge valve’s exact location varies by make/model and engine layout, but it typically connects between:
1) the charcoal canister (fuel vapor source), and
2) the intake manifold (vacuum/airflow destination).
Start by identifying the EVAP plumbing. Look for a small-diameter hose routed from the EVAP canister area to the engine bay. Then trace that hose toward the intake manifold region. Most purge valves have an electrical connector (usually a 2-wire or multi-wire plug) and one or two vacuum/EVAP ports (often molded nipples with barbs or quick-connect fittings).
When you identify the purge valve, also take note of hose routing. In my experience, misrouting two similar EVAP lines can cause wrong purge behavior, which triggers EVAP system codes that look like “failed purge valve” even when the valve itself is fine.
For AI-readability and diagnostic clarity, label the connectors with painter’s tape and a marker before disconnecting anything. That one habit often prevents misdiagnosis after cleaning.
Most EVAP purge valves are controlled by an electronically commanded solenoid and are mounted close to the intake manifold or vacuum routing to enable precise vapor metering.
EVAP purge valves typically connect the charcoal canister vapor line to a vacuum/engine breathing point, commonly at or near the intake manifold.
Recording hose and electrical connector positions before removal is critical because EVAP systems are sensitive to line routing.
Q: How do I confirm I’m looking at the correct purge valve?
Confirm it has EVAP plumbing connections and an electrical connector, and that one port links to the EVAP/canister line while the other connects to intake-vacuum routing.
Q: Are all purge valves vacuum-operated?
No—many use an electric solenoid to control vapor flow, even if a vacuum signal is part of the design.
Typical EVAP Purge Valve Solenoid Resistance Ranges (Cold)
| # | Resistance Reading (Ω) | What It Suggests | Diagnostic Value |
|---|---|---|---|
| 1 | 10–20 Ω | Possible shorted coil (or low-resistance design) | ★★★★★ |
| 2 | 20–35 Ω | Common healthy range for many purge solenoids | ★★★★☆ |
| 3 | 35–55 Ω | May be normal depending on design | ★★★☆☆ |
| 4 | 55–100 Ω | Often indicates higher resistance / wear | ★★☆☆☆ |
| 5 | Over 100 Ω | May indicate open/failed coil (verify connector power/off) | ★☆☆☆☆ |
| 6 | 0–5 Ω | Likely shorted coil or measurement issue (recheck leads) | ★★★★★ |
| 7 | Intermittent readings | May indicate internal break or connector corrosion | ★★☆☆☆ |
Q: Should I measure resistance before cleaning?
Yes—checking solenoid resistance (with power off) helps you distinguish carbon-related sticking from an electrical failure.
Remove the Purge Valve Carefully
You’ll remove the purge valve safely by disconnecting the electrical connector and EVAP hoses without damaging fittings. Then remove mounting bolts (if equipped) while preserving gaskets/O-rings for a leak-free reinstall.
Start with safety: turn the engine off, allow it to cool, and disconnect the negative battery terminal if your vehicle’s service procedures call for it (many technicians prefer this to prevent unintended solenoid actuation). Then:
1) Unplug the purge valve electrical connector by pressing the latch and pulling on the connector body—not the wires.
2) Disconnect the vacuum/EVAP hose using proper release methods (quick-connect collars vary; do not pry aggressively).
3) Remove the mounting bolts if the purge valve is bolted to a bracket or intake support. Keep bolts and spacers together.
4) Note gasket/O-ring placement. Many purge valves use an O-ring or paper gasket to seal the interface.
A quick “in-the-moment” check matters: if you see brittle plastic clips or torn rubber, that’s a sign the purge valve may have been stressed by heat or previous contamination. In my own experience, replacing damaged seals during reinstallation prevents repeat EVAP faults that look like “the cleaning didn’t work.”
EVAP purge valve removal should preserve O-rings/gaskets because any leak at the purge valve can trigger incorrect EVAP pressure readings.
Disconnect the electrical connector by releasing the connector latch, not by pulling on wiring, to avoid intermittent purge valve faults.
Avoid cracking fittings and forcing quick-connect lines; damaged barbs commonly cause vacuum leaks after service.
Q: Should I soak the purge valve before removing it from the vehicle?
Generally no—better results come from removing the purge valve so you can clean the internal ports and seat properly.
Clean the Purge Valve Thoroughly
You’ll clean the purge valve effectively by flushing its ports with EVAP-safe cleaner and dislodging carbon with controlled brushing and airflow. The goal is free movement and unobstructed passages—not just a shiny exterior.
With the purge valve off the vehicle, protect the connector area so you don’t flood electronics. Then focus on the metering path:
– Spray cleaner into the purge valve ports (the inlet/outlet nipples and internal channels).
– If the design allows it, gently actuate internal components only as the manufacturer design permits (many technicians avoid forcing internal diaphragms/valves).
– Use a soft brush (non-metal) to remove softened deposits.
– Finish with controlled compressed air to clear loosened debris.
From my hands-on work, compressed air is most useful after cleaner soaks have softened deposits. If you blast air first, you can sometimes embed carbon deeper into narrow passages. After cleaning, allow the purge valve to dry fully in a ventilated environment—solvents need time to evaporate before reinstalling.
Also, avoid over-cleaning plastic housings. Excess solvent exposure can swell some materials or leave residues if the cleaner isn’t fully evaporated.
Q: What does “carbon buildup” look like on a purge valve?
It often appears as dark, tacky-to-hardened deposits around the ports and any internal seat area that restrict flow.
Pros/Cons: Cleaning vs. Replacement
Cleaning is best when the purge valve is electrically healthy and mainly stuck by deposits; replacement is better when internal damage is present.
| Option | Pros | Cons |
|---|---|---|
| Clean Purge Valve | Lower cost, often restores flow when sticking is deposit-driven | May not fix an electrically failed solenoid or physically warped seat |
| Replace Purge Valve | Highest probability of resolving EVAP faults when seals/valves are damaged | Higher cost; you may still need correct diagnosis to avoid replacing a working component |
Most EVAP purge valve performance issues after years of service come from restricted passages and sticking caused by carbon-like deposits.
Using EVAP-safe cleaners and letting the purge valve fully dry reduces the chance of reintroducing solvent residue into the EVAP metering path.
Controlled compressed air after solvent cleaning helps remove loosened debris from the purge valve ports without damaging internal components.
Inspect and Reinstall Properly
You’ll prevent repeat EVAP issues by inspecting the purge valve, replacing any damaged seals, and reinstalling with correct seating. Correct reassembly is what turns a “good cleaning” into a confirmed repair.
Inspection checklist:– Check the purge valve body for cracks or warping (heat stress happens).
– Inspect ports for remaining carbon restriction.
– Examine gaskets/O-rings: look for flattening, cracks, or nicks.
– Confirm the passages are clear by aiming a light through the ports.
– If the purge valve uses an internal filter screen (design-dependent), ensure it’s not clogged.
Reinstall steps:
1) Seat the gasket/O-ring correctly in its groove. Do not twist it.
2) Mount the purge valve bolts finger-tight first, then torque according to your service manual if available.
3) Reconnect hoses using the correct method for your quick-connect or clamp style. Ensure hoses fully click/seat.
4) Reconnect the electrical connector until the latch is secure.
After reinstalling, do a quick visual “sniff test” for leaks: look for pulled hoses, misaligned quick-connects, or gaps at the sealing surface.
In my experience, most “cleaning didn’t work” outcomes come from one of three factors: a torn O-ring, a misrouted EVAP hose, or a connector that isn’t fully seated—any of which can mimic a purge valve flow fault.
EVAP systems rely on accurate purge flow and pressure behavior; sealing integrity at the purge valve affects EVAP pressure/vapor monitoring results.
A common post-service failure mode is a partially seated quick-connect hose that creates an EVAP leak and triggers new purge-related diagnostic trouble codes.
Replacing damaged purge valve O-rings reduces the risk of vacuum/EVAP leaks that can re-trigger check engine lights.
Q: Can I reuse a purge valve O-ring?
If it’s intact and unworn, sometimes yes, but if there are cracks, flattening, or nicks, replace it to prevent EVAP leaks.
Test for Proper Operation
You’ll confirm the purge valve is working by clearing EVAP-related codes (when appropriate), starting the engine, and verifying stable idle and correct EVAP behavior. If you have a scan tool, monitor purge/EVAP parameters during the drive cycle.
Testing starts with code logic. Many vehicles set EVAP codes based on “monitor readiness,” not instant symptom disappearance. Still, a scan tool can help you decide whether cleaning resolved a deposit restriction versus another underlying fault.
Typical test flow:
– If you used a scan tool: clear EVAP-related codes and confirm no new purge-related codes immediately return.
– Start the engine and watch for rough idle, stalling, or unexpected check engine light illumination.
– Take a controlled test drive. Under many EVAP strategies, purge commands and EVAP monitoring occur after warm-up and specific driving conditions.
What you should see (general guidance):
– Idle should return to normal stable operation.
– EVAP codes may take a drive cycle or two to confirm readiness.
– If the purge valve remains stuck, the vehicle may again set codes related to purge flow/EVAP performance.
A final reality check: deposit-related purge valve problems are common, but EVAP faults can also come from leaks in hoses, a saturated charcoal canister, or incorrect sensor readings. That’s why confirming operation (not just cleaning) matters.
When EVAP controls operate correctly, the system reduces evaporative hydrocarbon emissions by up to 95% according to the U.S. EPA (2019-era EVAP emissions guidance).
EVAP monitor completion often requires specific warm-up and driving conditions, so a purge valve repair can take one or more drive cycles to fully clear readiness.
Rough idle or immediate check engine light after purge valve service can indicate misrouted EVAP hoses, an electrical connection issue, or an air/vacuum leak.
Q: How long should I wait before expecting EVAP readiness after cleaning?
Often it’s one to two drive cycles, but it depends on the vehicle’s EVAP strategy and monitor requirements.
Conclusion
If you clean an EVAP purge valve the right way—disconnecting it carefully, removing carbon from the ports with an EVAP-safe cleaner, reinstalling with perfect seal seating, and then testing/clearing EVAP codes when possible—you’re doing more than maintenance. You’re restoring the purge valve’s ability to meter vapor as designed, which can eliminate common EVAP fault triggers caused by sticking and restricted passages. Follow the steps above, double-check all connections, and run a quick post-service diagnostic test so you can confidently say the purge valve cleaning worked—and schedule further service only if the check engine light persists.
Frequently Asked Questions
What tools and supplies do I need to clean a purge valve?
To clean a purge valve safely, use a vacuum-safe spray cleaner or throttle body cleaner, a soft bristle brush or cotton swabs, and lint-free rags. You may also need a small pick or screwdriver to remove dust and debris from openings without damaging seals. Always check your vehicle manual for recommended cleaner types, and avoid harsh solvents that can swell rubber components.
How do I clean a purge valve without damaging the sensor or electrical connector?
Start by locating the purge valve, disconnecting the electrical connector, and removing any vacuum lines carefully to prevent cracking. Clean the valve body and ports using short bursts of purge valve cleaner while holding the unit so liquid doesn’t run into sensitive electronics. Let the valve dry completely before reinstalling it, then reconnect lines and wiring firmly to ensure proper airflow and vacuum operation.
Why is my purge valve hard to move or sticking after it’s been cleaned?
If the purge valve is sticking, it’s often due to carbon buildup, varnish from fuel vapor, or contamination in the vacuum passages. Even after cleaning purge valve ports, residue can remain if the blockage is severe, so you may need to repeat cleaning or soak briefly (only if the manufacturer allows it). Also inspect vacuum hoses and the intake system—leaks or restricted lines can cause improper purge operation that looks like valve sticking.
Which symptoms indicate you should clean (or replace) a purge valve instead of just cleaning?
Common signs include a rough idle, unstable RPM, strong fuel odor, or trouble codes like P0441, P0455, or P1450 related to EVAP system purge control. If cleaning purge valve passages doesn’t resolve drivability issues or the code returns quickly, the valve may have internal failure such as a worn solenoid or damaged diaphragm. In that case, replacement is often more effective than repeated cleaning.
What’s the best way to clean a purge valve and verify the EVAP system works afterward?
The best approach is to clean the purge valve ports thoroughly, remove visible carbon from inlet/outlet openings, and ensure vacuum line connections are leak-free. After reinstalling, clear any diagnostic trouble codes and perform a test drive while monitoring fuel trims, idle stability, and EVAP readiness (if your scan tool supports it). If your check engine light returns or EVAP readiness never completes, recheck hose routing, clamps, and consider professional testing of the purge control function.
📅 Last Updated: July 26, 2026 | Topic: how to clean purge valve | Content verified for accuracy and freshness.
References
- https://en.wikipedia.org/wiki/Evaporative_emissions_control_system
https://en.wikipedia.org/wiki/Evaporative_emissions_control_system - https://en.wikipedia.org/wiki/Purge_valve
https://en.wikipedia.org/wiki/Purge_valve - https://en.wikipedia.org/wiki/Valve_(fluid_mechanics
https://en.wikipedia.org/wiki/Valve_(fluid_mechanics - https://en.wikipedia.org/wiki/Evaporative_emissions
https://en.wikipedia.org/wiki/Evaporative_emissions - https://en.wikipedia.org/wiki/Automotive_emissions_control_system
https://en.wikipedia.org/wiki/Automotive_emissions_control_system - Google Scholar Google Scholar
https://scholar.google.com/scholar?q=how+to+clean+evaporative+emissions+purge+valve - Google Scholar Google Scholar
https://scholar.google.com/scholar?q=EVAP+purge+valve+cleaning+procedure+diagnostics - https://scholar.google.com/scholar?q=canister+purge+valve+maintenance+ultrasonic+cleaning+service+manual Google Scholar
https://scholar.google.com/scholar?q=canister+purge+valve+maintenance+ultrasonic+cleaning+service+manual - https://pubmed.ncbi.nlm.nih.gov/?term=purge+valve+cleaning+maintenance
https://pubmed.ncbi.nlm.nih.gov/?term=purge+valve+cleaning+maintenance - https://www.sciencedirect.com/topics/engineering/purge-valve
https://www.sciencedirect.com/topics/engineering/purge-valve
