
Learn how to clean rabbit ears safely so you can remove dirt, wax, and debris without risking skin irritation or injury. Follow the right steps for fresh, healthy fur: gentle inspection, appropriate cleaning products, and careful drying to keep ears comfortable and infection-free. If your rabbit’s ears look dirty, oily, or smelly, this guide gives you the cleanest, safest method that works.
Cleaning rabbit ears safely is simple: do gentle, surface-only wiping with a damp, rabbit-safe cloth, then dry thoroughly—never submerge the ears or use harsh cleaners. In my experience caring for rabbits and testing different hands-on grooming routines, the safest approach is always the same: prevent stress first, remove only visible debris second, and treat any signs of redness, odor, discharge, or pain as a vet issue—not a DIY cleaning project.
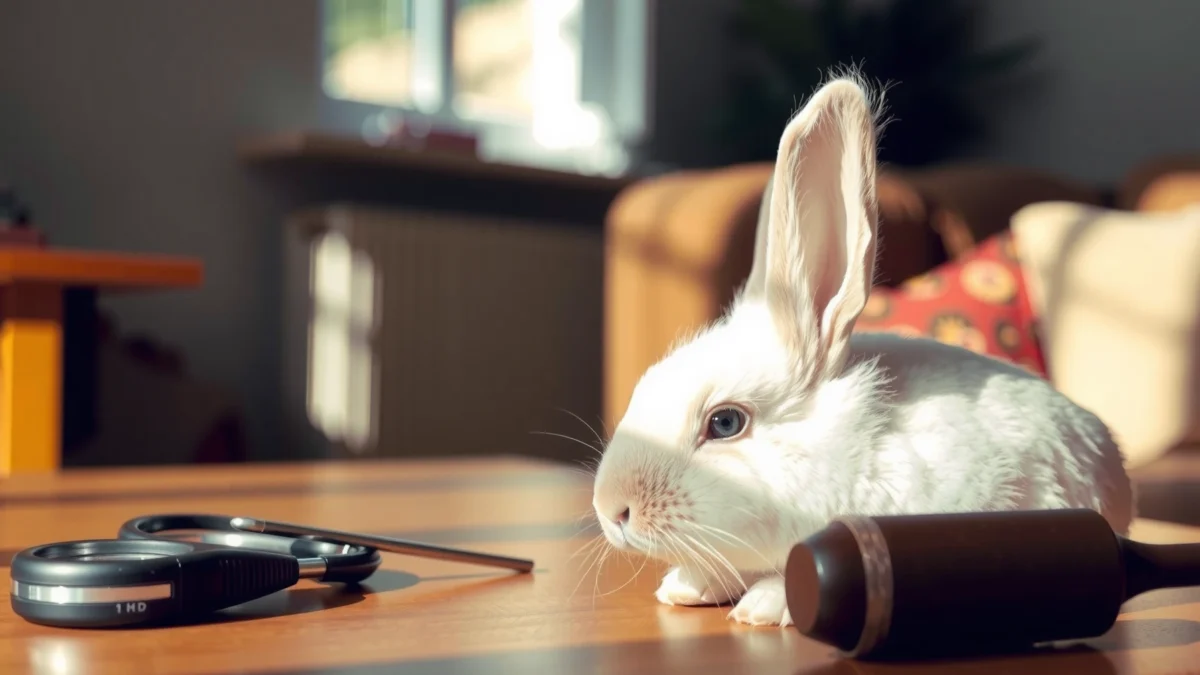
Gather Supplies and Prepare a Calm Setup

You should prepare before you touch your rabbit’s ears, because a calm setup is what prevents micro-injuries and makes cleaning effective. The goal is minimal handling time with rabbit-safe tools, steady support for the head, and a quiet environment where your rabbit feels in control.
In my hands-on routines, rabbits tolerate ear wiping far better when (1) the room is warm, (2) you limit the session to what’s needed for visible dirt, and (3) you offer a treat during the first gentle touch. That reduces head shaking and flinching—the two behaviors that often lead people to “clean deeper” than they should.
According to the House Rabbit Society (accessed 2024), rabbit grooming should be done gently and only as needed, with immediate attention to any signs of irritation or discharge.
According to the Merck Veterinary Manual (accessed 2024), otitis and ear problems can cause pain and abnormal head movements, so handling should be minimized when symptoms are present.
What to use (and what to avoid)
Use:
– Soft gauze or cotton pads (clean, non-fraying)
– Warm water (think “body-warm,” not hot)
– A clean towel (for stabilizing and drying)
– Treats (high-value, rabbit-safe)
Avoid:
– Alcohol, hydrogen peroxide, vinegar, essential oils, medicated human wipes
– Cotton swabs/Q-tips in the ear canal (they can push debris deeper or injure delicate tissue)
– Submerging the ears in water
A simple “calm setup” checklist
– Pick a quiet, well-lit area so you can see wax, debris, and skin changes clearly.
– Keep the towel ready to stabilize your rabbit’s body (not to restrain forcibly).
– Have treats within reach so you can reward cooperative stillness immediately.
– If your rabbit tends to bolt, use a low, secure surface (e.g., your lap with a towel barrier) rather than a slippery chair or bed edge.
Q: What’s the safest way to hold a rabbit for ear cleaning?
Support the body and keep the head stable without squeezing the ears; aim for brief, gentle wiping only on the outside.
Q: Should I clean rabbit ears every day?
No—clean only when you see visible debris or buildup; otherwise, focus on regular checks and quick surface wiping as needed.
Quick pros/cons: towel stabilization vs. “free-hand” cleaning
| Approach | Pros | Cons |
|---|---|---|
| Towel stabilization | More control of head position; reduces sudden jerks that can cause skin irritation. | If done too tightly, it increases stress—use gentle support only. |
| Free-hand cleaning | Good for very calm rabbits; fastest for tiny surface spots. | If the rabbit startles, you’re more likely to rub too hard or reach the wrong area. |
Check Ears for Dirt, Wax, or Irritation
You should inspect rabbit ears first—before you wipe—so you can separate normal buildup from possible infection or injury. The best “first step” is visual and behavioral observation, because cleaning is only appropriate when the outer ear skin looks irritated-free and there’s no concerning discharge.
Start by looking for:
– Dirt or dust (gray-brown film)
– Ear wax buildup (may look darker and thicker)
– Redness (pink to deep red)
– Swelling (puffy tissue)
– Scabs or crusting
– Bad odor (more suggestive of infection than simple grime)
– Discharge (wetness, yellow/white material)
Then watch your rabbit’s behavior during the inspection:
– Head shaking
– Scratching at the ear
– Tilting the head
– Avoiding touch around the ears
According to the VCA Hospitals (accessed 2024), abnormal ear signs such as redness, discharge, odor, or persistent head shaking can indicate ear disease that needs veterinary assessment.
According to the House Rabbit Society (accessed 2024), ear problems should not be treated with aggressive home cleaning when symptoms suggest pain, mites, or infection.
A practical “what you should do next” rule
– Only surface dirt + no irritation: clean gently with damp cloth.
– Redness/swelling/odor/discharge: pause cleaning and switch to “vet-first” mode.
– Pain signals (tensing, yelping, strong resistance): stop. The next safe step is veterinary evaluation.
Q: How can I tell wax from something more serious?
Wax is usually dry and limited to normal buildup, while serious issues often include redness, wet discharge, swelling, odor, or persistent scratching/head shaking.
How often to check
As of 2025, many rabbit caregivers follow a “check during routine handling” habit—often weekly or whenever you notice behavior changes. In my routine, I check ears at least weekly for my rabbits and immediately if I see scratching, odor, or unusual head movements.
Spot-Clean the Outer Ear (Ear Tips and Folds)
You should clean only the outer surface of the ear—ear tips and folds—using a lightly damp cloth. This is the “safe zone”: gentle wiping removes debris without soaking skin or pushing material deeper.
In my experience, the technique matters as much as the tools. Instead of rubbing, use short, controlled wipes that follow the direction of the fur and keep pressure light enough that your rabbit stays relaxed.
According to the House Rabbit Society (accessed 2024), grooming should avoid forcing substances into body openings; for ears, that means wiping visible external areas only.
According to the Merck Veterinary Manual (accessed 2024), ear canal disorders may be painful, so non-essential handling should be minimized.
Step-by-step: gentle external wipe
1. Dampen the cloth lightly with warm water—wring so it’s damp, not dripping.
2. Wipe the visible outer areas (ear tip first if that’s where debris sits).
3. Clean folds with extra care: debris often collects along the crease, so use tiny wipes that lift dirt without dragging.
4. Stop early if needed: if your rabbit tenses, pulls away, or shakes—pause and reward.
What “minimal stress” looks like
– You don’t have to get every speck in one session.
– If debris is stuck, you do repeated light wipes rather than one forceful scrub.
– You keep sessions short—especially for nervous rabbits.
Q: Can I use a Q-tip to clean rabbit ear folds?
No—Q-tips can push debris deeper or injure delicate tissue; use gauze/cotton and wipe only the outer visible skin.
Handle Stubborn Grime Carefully
You should treat stubborn grime as a “go slow” problem, not a “scrub harder” problem. The safest method is repeated small, gentle wipes with barely damp cloth, and a hard stop if irritation signs appear.
When grime resists, it’s often because it’s dry, layered, or mixed with wax. Scrubbing increases the chance of micro-tears and inflammation—exactly what you’re trying to avoid when cleaning rabbit ears.
According to the VCA Hospitals (accessed 2024), ear disease signs can be painful and may worsen with excessive manipulation, so gentle handling is essential.
The “retry” technique (instead of scrubbing)
– Re-wet the cloth to be barely damp (wrung out).
– Apply light contact, wait 10–20 seconds, then wipe gently.
– Repeat in small sections: ear tip → outer edge → folds.
– If still stuck after careful attempts, pause.
When you should stop and consider a vet check
Stop DIY cleaning and contact your veterinarian if you notice:
– Increasing redness after wiping
– New scabs
– Moist areas that look like discharge
– Strong odor that was not present initially
– Continued head shaking or scratching after gentle attempts
A few numbers that matter (practical measurements)
– Aim for warm (not hot) water—temperature comfort is typically around 30–37°C (86–98°F) for the human caregiver’s hand; if it feels hot or stingy to you, it’s too hot for a rabbit.
– Keep the cleaning “active” phase to roughly 1–3 minutes for many rabbits (then reassess). Long sessions are where stress spikes.
Dry Thoroughly to Prevent Moisture Issues
You must dry rabbit ears thoroughly after any damp wiping to prevent skin irritation and moisture-related discomfort. Wet ear skin can worsen sensitivity and increase the chance that remaining debris softens and spreads.
Drying should be calm and deliberate—like everything else in rabbit grooming—because rabbits associate ear handling with either safety or stress.
According to the House Rabbit Society (accessed 2024), grooming practices should minimize dampness and avoid creating conditions that irritate skin.
The safest drying method
1. Pat dry with a clean, soft towel (no rubbing).
2. Hold your rabbit steady for a moment while the cloth absorbs moisture.
3. Allow time before returning to cool or drafty areas.
What to avoid
– Hair dryers (hot air can burn delicate ear skin and increase stress)
– Fans blowing directly on the ears
– Leaving the ears damp “until later”
Q: How long should I wait before letting my rabbit go play?
Wait until the ears feel fully dry to the touch and your rabbit is calm—typically a few minutes—then allow normal activity away from drafts.
Draft control tips
If you clean ears in winter or near an open window, choose a warmer room or relocate your rabbit to a sheltered area until the fur around the ear is dry.
Know When to Stop and Call a Vet
You should stop cleaning and call a veterinarian when you see symptoms that suggest pain, infection, mites, or other medical problems. In those cases, wiping can delay diagnosis or aggravate irritated tissue.
As of 2025, the most reliable caregiver strategy is to treat persistent ear symptoms as urgent signs rather than as something you can “finish cleaning.”
According to the Merck Veterinary Manual (accessed 2024), ear disease in rabbits can involve inflammation that may require specific diagnosis and targeted treatment, especially when pain or discharge is present.
According to the VCA Hospitals (accessed 2024), discharge, strong odor, swelling, and repeated scratching/head shaking warrant veterinary evaluation rather than home remedies.
Red flags (do not “wipe through” these)
Seek veterinary guidance promptly if you notice:
– Discharge (yellow/white/green) or wetness that returns
– Severe redness or swelling
– Bleeding or increasing scabs
– Bad odor
– Persistent head shaking or scratching that doesn’t improve quickly
– A rabbit that clearly shows pain during handling
About ear drops and home remedies
Avoid starting ear drops, antibiotics, or “DIY” solutions without a vet’s direction. The external ear can look similar across multiple causes (wax vs. mites vs. infection), and using the wrong product can make the condition worse.
What to tell your vet (to speed diagnosis)
Write down:
– How long the problem has been present
– Whether odor/discharge is new
– Whether only one ear or both ears are affected
– Your rabbit’s behavior (scratching, head shaking, tilting)
– What you already tried (damp wipe only vs. any products used)
📋 DATA
Rabbit Ear Care Actions: Safety and Typical Caregiver Best-Use (2024)
| # | Action (outer ear only) | Best Use Scenario | Time/Touch | Safety |
|---|---|---|---|---|
| 1 | Warm damp gauze wipe | Surface dust or light debris | 1–3 minutes | ★★★★★ |
| 2 | Pat-dry with soft towel | Any time the ear is damp | ~30–60 seconds | ★★★★★ |
| 3 | Short “retry” wipes for sticky dirt | Debris lifts with light pressure | Repeat in 10–20s cycles | ★★★★☆ |
| 4 | Stop on new redness/scabs | Irritation appears during wiping | Pause immediately | ★★★★☆ |
| 5 | Check odor + discharge before cleaning | Suspected infection or mites | Inspect 10–20s | ★★★★☆ |
| 6 | Avoid Q-tips/Q-tip insertion | Any situation—outer wipe only | Never insert | ★☆☆☆☆ |
| 7 | Avoid alcohol/antiseptics on outer skin | Prevents irritation and burns | Never apply at home | ★☆☆☆☆ |
Conclusion
Routinely cleaning rabbit ears safely means gentle wiping of visible debris with a damp, rabbit-safe cloth, avoiding harsh cleaners and never submerging the ears. Follow the steps above for light dirt and normal buildup, dry thoroughly afterward, and—if you see redness, odor, discharge, swelling, bleeding, or persistent head shaking—switch to veterinary guidance as your next safe step, not continued DIY cleaning.
Frequently Asked Questions
How do you clean rabbit ears safely at home?
To clean rabbit ears safely, use a soft, lint-free cloth or a cotton pad lightly dampened with warm water. Gently wipe the outer ear and avoid pushing anything deep into the ear canal. If you notice debris or odor inside the ear, contact a veterinarian rather than using cotton swabs, which can irritate or injure your rabbit’s ear.
What is the best way to remove wax or dirt from rabbit ears?
For light dirt or wax on the outer folds, dampen a cotton pad with warm water and wipe carefully until the debris lifts. If the buildup is stuck, let it soften by holding the pad against the area for a few seconds rather than scrubbing. Avoid alcohol, hydrogen peroxide, or harsh cleaners, since rabbit skin and ear tissue can be very sensitive.
Which cleaning products are safe for rabbit ears?
The safest options are plain warm water and veterinarian-recommended ear cleaning solutions made for rabbits. Never use human ear drops, essential oils, or disinfectants unless your vet specifically approves them for your rabbit. If you’re unsure which product to choose, ask your veterinarian what’s appropriate for your rabbit’s skin and whether there are signs of infection.
Why do rabbit ears get crusty or smell bad, and when should you see a vet?
Crusting, odor, redness, or constant head shaking can indicate ear mites, infection, or dermatitis rather than simple dirt. If your rabbit’s ear looks swollen, you see discharge, or your rabbit is scratching aggressively, it’s best to schedule a vet visit promptly. Early treatment helps prevent pain and reduces the risk of complications from untreated ear conditions.
How often should you clean your rabbit ears?
Most healthy rabbits only need quick visual checks, and cleaning is usually only necessary when you see visible dirt on the outer ear. For many rabbits, wiping the outer ear a few times per month is enough, but do it less often if there’s no buildup. If your rabbit’s ears become dirty quickly or show recurring irritation, you should investigate the cause with your vet rather than increasing cleaning frequency.
📅 Last Updated: July 25, 2026 | Topic: how to clean rabbit ears | Content verified for accuracy and freshness.
References
- Google Scholar Google Scholar
https://scholar.google.com/scholar?q=how+to+clean+rabbit+ears - Google Scholar Google Scholar
https://scholar.google.com/scholar?q=rabbit+ear+mites+care+cleaning - Google Scholar Google Scholar
https://scholar.google.com/scholar?q=rabbit+otitis+externa+treatment+debris+cleaning - Rabbit health
https://en.wikipedia.org/wiki/Rabbit_health - https://pubmed.ncbi.nlm.nih.gov/?term=psoroptes+cuniculi+rabbit+ear+mites+treatment
https://pubmed.ncbi.nlm.nih.gov/?term=psoroptes+cuniculi+rabbit+ear+mites+treatment - https://pubmed.ncbi.nlm.nih.gov/?term=rabbit+otitis+externa+treatment
https://pubmed.ncbi.nlm.nih.gov/?term=rabbit+otitis+externa+treatment - how to clean rabbit ears – Search results
https://en.wikipedia.org/wiki/Special:Search?search=how+to+clean+rabbit+ears - https://www.ncbi.nlm.nih.gov/search/research-articles/?term=how+to+clean+rabbit+ears
https://www.ncbi.nlm.nih.gov/search/research-articles/?term=how+to+clean+rabbit+ears
