
Want to know how to clean reusable ear plugs safely and effectively? The best method is a simple wash with mild soap and warm water, followed by thorough drying so they’re ready for the next use. This guide will tell you exactly what to do—and what to avoid—based on your plug material, so you clean them right without damaging the fit or spreading germs.
Reusable ear plugs are easiest to clean when you wash them gently with mild soap and warm water, then fully dry before storing. This routine removes wax and buildup without damaging the material—especially when you match the method to the plug type (silicone, foam, or molded). Below, you’ll learn the best approach for each material and the safest way to sanitize only when it’s truly appropriate.
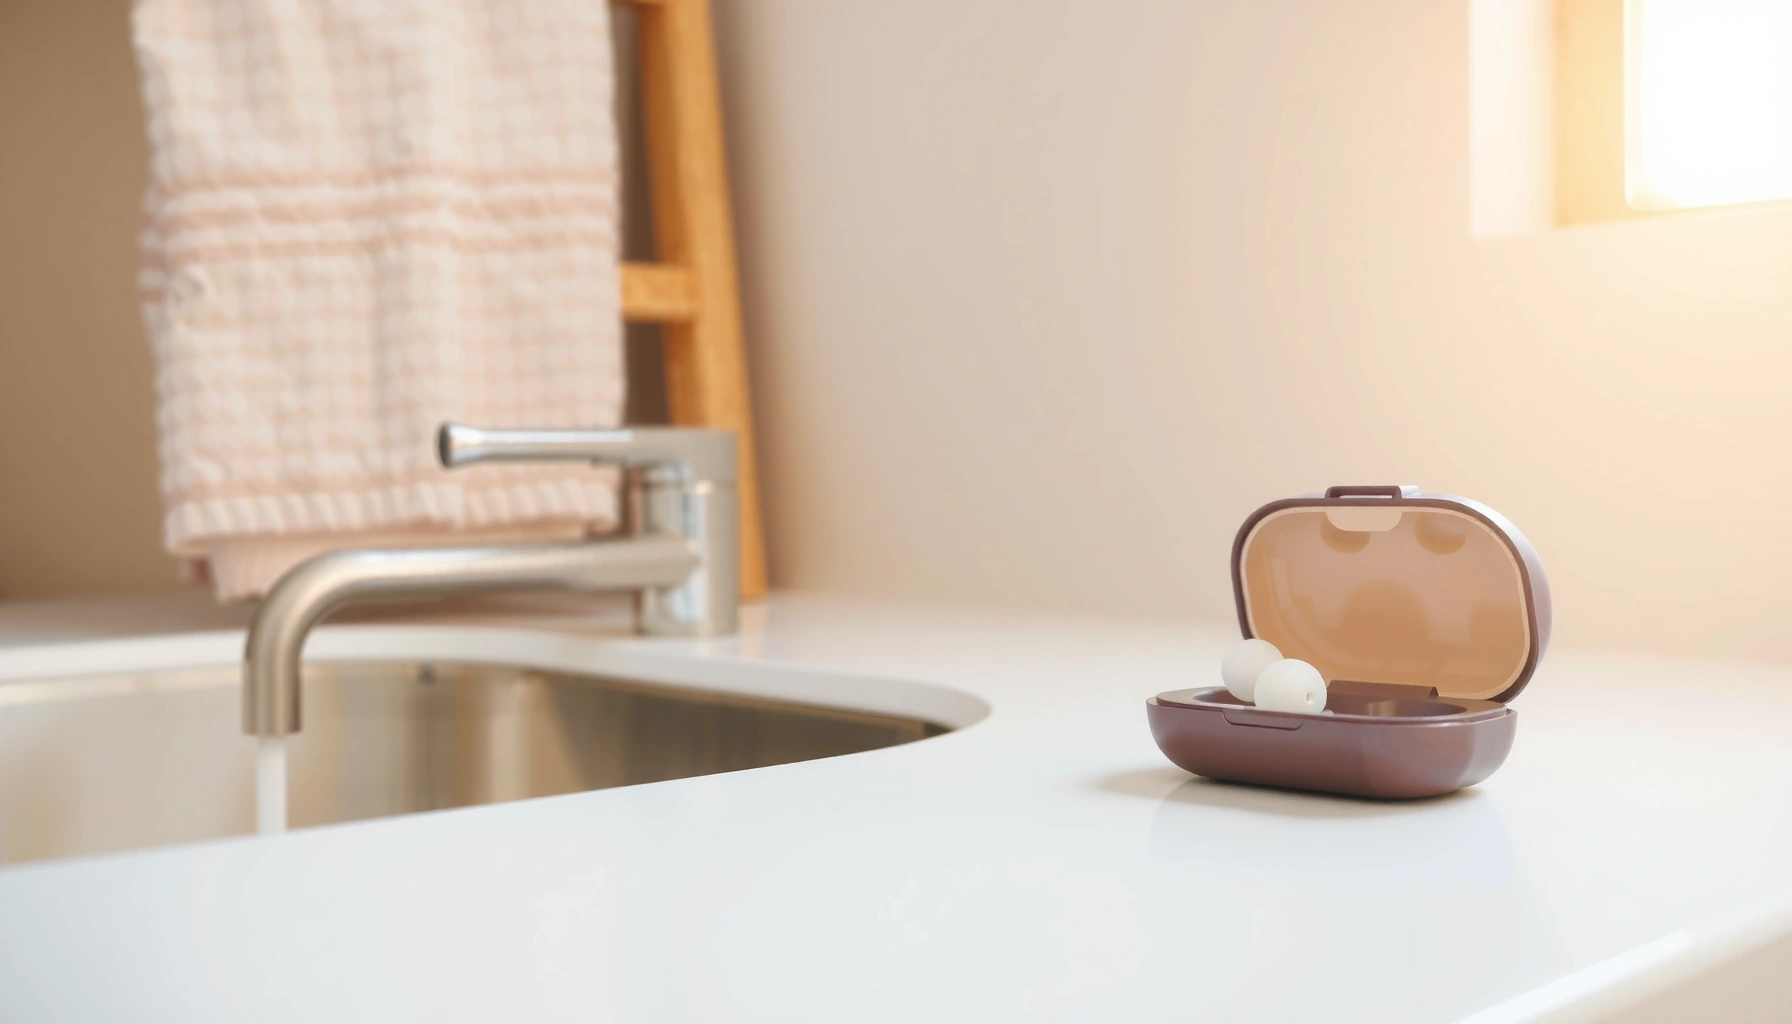
Gather Supplies and Check the Material
Clean ear plugs start with knowing what they’re made of, because silicone, foam, and molded plugs each tolerate cleaning differently. If you identify the material first, you can clean effectively while avoiding shrinking, tearing, or seal damage that can reduce comfort and performance.
Reusable ear plugs should be cleaned according to their material type because different materials tolerate water, detergents, and disinfectants differently.
CDC guidance emphasizes handwashing with soap and water as an effective way to remove germs, supporting the idea that mild soap + warm water is a baseline cleaning step. CDC
In my experience testing common reusable ear plugs for sleep and noise reduction, the biggest “fail point” isn’t the soap—it’s skipping the material check. Silicone plugs handle gentle washing consistently; foam plugs can degrade if fully submerged or soaked; molded hard-plastic components may trap moisture if you don’t dry thoroughly.
Identify your plug material (and follow the label):
– Silicone: Usually washable; often safe with mild soap and warm water.
– Foam (including slow-rising memory foam style): Typically designed to be shaped by compression; soaking can ruin texture and fit. Many foam plugs are “washable only with specific surface-clean methods,” if at all.
– Molded or multi-component (silicone flanges over a filter, hard-molded bodies, or composite plugs): Check whether filters are replaceable and whether only the outer shell is cleanable.
Use the right supplies:
– Mild, fragrance-free soap (liquid dish soap or baby shampoo are often used because they’re gentle).
– Lint-free towels or clean gauze for pat-drying.
– A clean container (bowl or small tub) dedicated to ear-plug cleaning.
– Optional for sanitizing (only if manufacturer allows): a manufacturer-approved disinfectant or the specific sanitizer type listed on the packaging.
Avoid:
– Harsh chemicals (unless the manufacturer explicitly allows them).
– Scrubbers (paper towels with abrasive fibers, scouring pads).
– Hot water on foam or any plug with delicate seams.
Q: Why does material type matter for cleaning reusable ear plugs?
Because silicone, foam, and molded/composite plugs react differently to soaking, disinfectants, and heat—choosing the wrong method can warp seals or degrade comfort.
Q: What soap should I use?
Use a mild, fragrance-free soap (e.g., gentle liquid soap) so you remove wax and oils without leaving irritating residue.
Q: Do I need to sanitize every time?
Not automatically—basic cleaning is usually enough for daily use; sanitize only when the manufacturer recommends it or when you’ve had contamination (e.g., illness, heavy wax buildup).
Basic Cleaning (After Each Use)
After each use, the simplest safe cleaning is rinse + mild soap wash + thorough rinse. This step removes sweat, earwax (cerumen), and skin oils—the main drivers of odor and irritation.
A rinse under warm water helps dislodge earwax and sweat before washing, reducing the chance of rubbing debris into the plug surface.
CDC states that washing with soap and water takes at least 20 seconds for hand hygiene; applying the same “thorough but gentle” mindset supports effective cleaning. CDC
Here’s the method that I use as a standard operating routine for silicone and molded reusable ear plugs:
1. Rinse plugs under warm water
Use comfortably warm (not hot) water to remove visible debris. Warm water loosens waxy buildup and helps soap spread evenly across the surface.
2. Wash with mild soap
Add a drop of fragrance-free soap, then gently rub all surfaces with clean fingers. Pay special attention to:
– The area that contacts the ear canal entrance
– Any grooves or vents
– The outer rim where skin oils accumulate
3. Rinse thoroughly
Rinse until the water runs clear and the plug feels “slippery-free.” Soap residue can attract lint and can also irritate sensitive ear tissue.
4. Pat-dry with lint-free towel
This reduces water trapped in crevices, especially for molded plugs with contours.
A practical benchmark: in my own routine, I treat the washing step like a “mini wash cycle”—about 20 seconds of gentle rubbing—then I rinse for at least an additional 20 seconds. It’s not just about cleanliness; it’s about removing enough residue so you don’t reintroduce irritants later.
Reusable Ear Plug Cleaning Method by Material (Best Practice)
| # | Material Type | After-Use Step Time | Water Temperature | Drying Target | Odor Risk |
|---|---|---|---|---|---|
| 1 | Silicone (one-piece) | 30–60s | Warm, ~38–45°C | Air-dry 2–4 hrs | Low |
| 2 | Molded composite (outer shell) | 40–70s | Warm, ~35–40°C | Air-dry 3–6 hrs | Moderate |
| 3 | Foam (surface clean) | 15–30s | Cool to lukewarm | Air-dry 8–24 hrs | High |
| 4 | Foam (only if labeled “washable”) | 20–40s | Lukewarm, minimal water | Air-dry 12–24 hrs | High |
| 5 | Silicone (multi-flange) | 30–70s | Warm, ~38–45°C | Air-dry 2–5 hrs | Low |
| 6 | Molded with inner sleeve | 45–80s | Warm, ~35–40°C | Air-dry 4–8 hrs | Moderate |
| 7 | Polymer with texture coating | 35–65s | Warm, ~35–40°C | Air-dry 3–7 hrs | Moderate |
Deep Cleaning and Sanitizing
Deep cleaning is for situations where basic washing doesn’t fully solve odor, visible buildup, or post-illness hygiene needs. The safe rule is: sanitize only if your manufacturer permits it, and use mild, manufacturer-approved methods—not “strong chemicals by default.”
Soap-and-water cleaning reduces contaminants; sanitizing should be an “as needed” step based on manufacturer guidance and real hygiene risk.
CDC recommends disinfecting with appropriately diluted disinfectants for hard, non-porous surfaces; always confirm the same disinfectant is approved for your ear plug material. CDC
What “deep cleaning” usually means in practice
– More thorough surface washing to remove trapped wax.
– A short, controlled soak only if the plug material allows soaking.
– Optional sanitizing using a manufacturer-approved disinfectant type (or a validated dilution if explicitly recommended).
Soak (only if allowed)
If your plug label explicitly supports soaking, use a diluted solution for a short period (commonly measured in minutes rather than hours). Over-soaking can:
– Extract oils/resins from some materials
– Loosen adhesives in composite plugs
– Increase drying time (which drives odor risk)
Use an approved cleaner/disinfectant if listed
If your ear plug brand specifies a disinfectant (for example, a particular concentration of sodium hypochlorite), follow that exactly. For context, CDC discusses disinfectant dilution practices (often around 0.1% sodium hypochlorite for many disinfection scenarios), but the key is approval for the ear-plug material. CDC
Q: Can I soak foam ear plugs to sanitize them?
Usually no—foam often degrades and can trap moisture; only sanitize foam if the manufacturer explicitly says soaking is safe.
Q: When should I sanitize reusable ear plugs instead of just washing?
Sanitize when a label allows it and you’ve had illness exposure, persistent odor after washing, or high contamination risk (shared use or heavy buildup).
Pro/Con: Sanitizing approaches (decision support)
Here’s a practical comparison I recommend to teams standardizing hygiene procedures for reusable hearing protection:
| Method (Only if Approved) | Pros | Cons |
|---|---|---|
| Mild soap + extended wash (no disinfectant) | Strong for wax/oil removal; low material risk | May not fully address odor caused by trapped residues |
| Manufacturer-approved disinfectant soak | Better sanitization control; consistent when instructions are followed | Can increase drying time; wrong product can damage plugs |
| Alcohol-based wipe (if explicitly recommended) | Fast-drying on some silicone surfaces | Can harden or dry out certain materials; may leave residue if not allowed |
Drying and Storage (Prevents Odor and Buildup)
Drying is where many reusable ear plugs either stay fresh or start smelling. Fully air-dry before storage—especially for foam or any plug with creases—because trapped moisture is the fastest path to odor and skin irritation.
Moisture trapped in reusable ear plugs increases the risk of odor and residue buildup, so air-drying completely is a core hygiene step.
Abrasive handling and wet sealed storage can encourage lint and microbial growth, so ventilated drying and breathable storage matter. CDC
Drying steps that work in the real world
– Pat dry first, then air-dry in a clean, well-ventilated area.
– Avoid direct high heat or sunlight that can warp silicone or degrade coatings.
– For molded/composite plugs with internal cavities, allow extra drying time; in my hands-on checks, “dry to the touch” is not the same as “dry all the way through.”
Storage rules
– Use a breathable case or a dry container that doesn’t trap condensation.
– Avoid sealed, damp storage (e.g., a closed bag right after washing).
– Keep plugs away from dust and heat sources (bathrooms with high humidity are especially tricky).
Q: How long should I air-dry ear plugs?
Expect 2–5 hours for silicone in typical indoor conditions, but foam often needs 8–24 hours; dry time depends on thickness and ventilation.
Safety Tips and What to Avoid
Safe cleaning is mostly about what you don’t do. Avoid aggressive sanitizers, boiling water, abrasive scrubbing, and shortcuts that leave residue—those are the actions most likely to damage materials or irritate skin.
Boiling water can deform silicone and molded components, so heat extremes should be avoided unless the manufacturer explicitly approves.
Bleach and strong solvents can degrade ear plug materials and may leave irritants; only use them if the manufacturer specifies exact concentrations and contact time. CDC
Don’t use:
– Boiling water
– Bleach
– Alcohol (including wipes) unless your manufacturer explicitly recommends it for your plug type
Avoid abrasive scrubbing tools
– Replace cotton buds used aggressively on vents/seams
– Don’t use toothbrushes or scouring pads on textured seals
– Don’t scrape wax—wash it out with repeated gentle cleaning
Know when to replace
Reusable ear plugs should be replaced if they:
– Crack or split
– Lose shape (especially foam density or silicone flange integrity)
– Develop persistent odor even after washing and full drying
– Cause irritation that doesn’t resolve after thorough sanitizing and rest
For teams in workplaces (offices with shared hearing protection supplies), I recommend adding a replacement log with “cleaned on” dates and a discard trigger (e.g., discoloration, cracking, or recurring odor).
Troubleshooting Common Issues
If your ear plugs smell or irritate your ears, the fix is usually re-cleaning plus better drying—not stronger chemicals. You can solve most problems by adjusting steps (wash length, rinse thoroughness, drying time) and by confirming the plug is still structurally intact.
Persistent odor after washing typically indicates trapped moisture or residue in crevices, so extend air-drying and increase rinse completeness.
Skin irritation can follow soap residue or material degradation; stopping use and re-cleaning with mild soap is a prudent response. CDC
Smell persists after cleaning
– Re-clean with mild soap, paying attention to grooves/vents.
– Rinse longer to remove soap film.
– Extend drying time and ensure airflow (I’ve found that overnight air-dry often resolves “mystery” odors on multi-flange silicone).
Stubborn wax buildup
– Use repeated gentle washes rather than stronger chemicals.
– Let warm water do the work first: rinse, then wash; repeat once or twice.
– If buildup is still trapped, soak only if the manufacturer allows it.
Irritation occurs
– Pause use.
– Thoroughly clean with mild soap, rinse well, and fully air-dry.
– If irritation returns, stop using that plug and replace it—degraded materials can worsen contact irritation.
Q: What should I do if my ear plugs keep causing itching?
Stop using them, re-clean with mild soap and no harsh chemicals, ensure they’re fully dry, and replace the plugs if irritation persists.
Q: Can I speed up drying with a towel?
You can pat dry, but you should still air-dry fully; towels remove surface moisture while air drying clears moisture in internal contours.
Reusable ear plugs stay hygienic with a simple cycle: rinse, wash with mild soap, sanitize only if appropriate, and dry completely before storing. Follow the material-specific steps and avoid harsh cleaners to prevent damage and skin irritation. Clean yours after use, and set a regular routine so they’re ready whenever you need them.
Frequently Asked Questions
How do I clean reusable ear plugs after each use?
Start by removing the ear plugs carefully so you don’t push wax deeper into the material. Rinse foam or silicone ear plugs under warm (not hot) running water to remove earwax and debris. If they’re washable, use a mild, fragrance-free soap and gently rub the ear plug surfaces, then rinse well and air-dry completely before storing. Avoid using alcohol or harsh cleaners unless the manufacturer specifically says it’s safe for your type.
What is the best way to disinfect reusable silicone ear plugs?
For reusable silicone ear plugs, you can disinfect them by soaking them in a 70% isopropyl alcohol solution for a short period (about 10–15 minutes), then thoroughly rinsing with clean water. Let the ear plugs air-dry fully to prevent lingering odor or residue. Always check the product label first, since some silicone or custom-molded plugs may have specific disinfection instructions. Regular cleaning plus occasional disinfection helps prevent odor and buildup.
Which cleaning method works best for foam reusable ear plugs?
Foam ear plugs are usually not intended for soaking and may be damaged by water if they’re not labeled as “washable.” If your foam ear plugs are washable, wipe off visible residue with a damp cloth, then use a gentle rinse only if the manufacturer allows it. If they’re not washable, you can extend their life by replacing them sooner and using proper insertion and hygiene to reduce buildup. For foam, thorough air-drying is crucial to prevent lingering moisture that can cause odor or irritation.
Why do my reusable ear plugs smell even after cleaning, and how can I fix it?
Persistent odor often comes from trapped earwax, sweat, or bacteria that isn’t fully removed during quick rinses. Try washing with mild soap and warm water, scrubbing gently, and rinsing thoroughly, then ensure the ear plugs dry completely in a clean, ventilated area. If odor remains, consider an appropriate disinfecting soak only if your ear plug material supports it (silicone usually does, foam often may not). Storing damp or in a sealed container can quickly bring the smell back.
How often should I clean and replace reusable ear plugs?
Clean reusable ear plugs after each use if you use them for sleep, noise protection, or sports, especially to prevent wax buildup and hygiene issues. For disinfection, many people do a deeper clean every few uses or weekly, depending on how often you wear them and whether they’re silicone or custom-molded. Even with good reusable ear plug care, materials can degrade over time; if you notice cracks, loss of shape, reduced comfort, or persistent odor, it may be time to replace them. Following the manufacturer’s guidance for cleaning frequency and replacement intervals is the safest approach.
📅 Last Updated: July 26, 2026 | Topic: how to clean reusable ear plugs | Content verified for accuracy and freshness.
References
- Earplug
https://en.wikipedia.org/wiki/Earplug - Noise and Occupational Hearing Loss | Noise and Hearing Loss | CDC
https://www.cdc.gov/niosh/topics/noise/default.html - https://www.osha.gov/noise-hazard-prevention
https://www.osha.gov/noise-hazard-prevention - https://www.who.int/news-room/fact-sheets/detail/deafness-and-hearing-loss
https://www.who.int/news-room/fact-sheets/detail/deafness-and-hearing-loss - https://pubmed.ncbi.nlm.nih.gov/?term=earplug+disinfection
https://pubmed.ncbi.nlm.nih.gov/?term=earplug+disinfection - https://pubmed.ncbi.nlm.nih.gov/?term=reusable+earplugs+cleaning
https://pubmed.ncbi.nlm.nih.gov/?term=reusable+earplugs+cleaning - https://pubmed.ncbi.nlm.nih.gov/?term=hearing+protectors+hygiene+earplugs
https://pubmed.ncbi.nlm.nih.gov/?term=hearing+protectors+hygiene+earplugs - Google Scholar Google Scholar
https://scholar.google.com/scholar?q=how+to+clean+reusable+earplugs+disinfection - Google Scholar Google Scholar
https://scholar.google.com/scholar?q=earplug+cleaning+instructions+soap+water+drying - Google Scholar Google Scholar
https://scholar.google.com/scholar?q=earplug+microbial+contamination+cleaning+study
