
If you’re trying to clean rusty antique tools without damaging the patina or original steel, the safest method is gentle chemical loosening followed by controlled rust removal. This guide walks you through the fastest path to clear rust, choose the right product for different tool types, and stop at the point where cleaning preserves value. You’ll get a clear verdict on what to use, what to avoid, and how to protect antique surfaces after the rust is gone.
Clean rusty antique tools by starting with the least aggressive rust-removal method that works, then fully drying and sealing the metal to stop new corrosion. From my hands-on restorations, the safest results come from a “start mild, preserve original surfaces, seal properly” workflow—because on aged steel and iron, aggressive abrasives can permanently erase tool marks, maker’s stamps, and desirable patina.
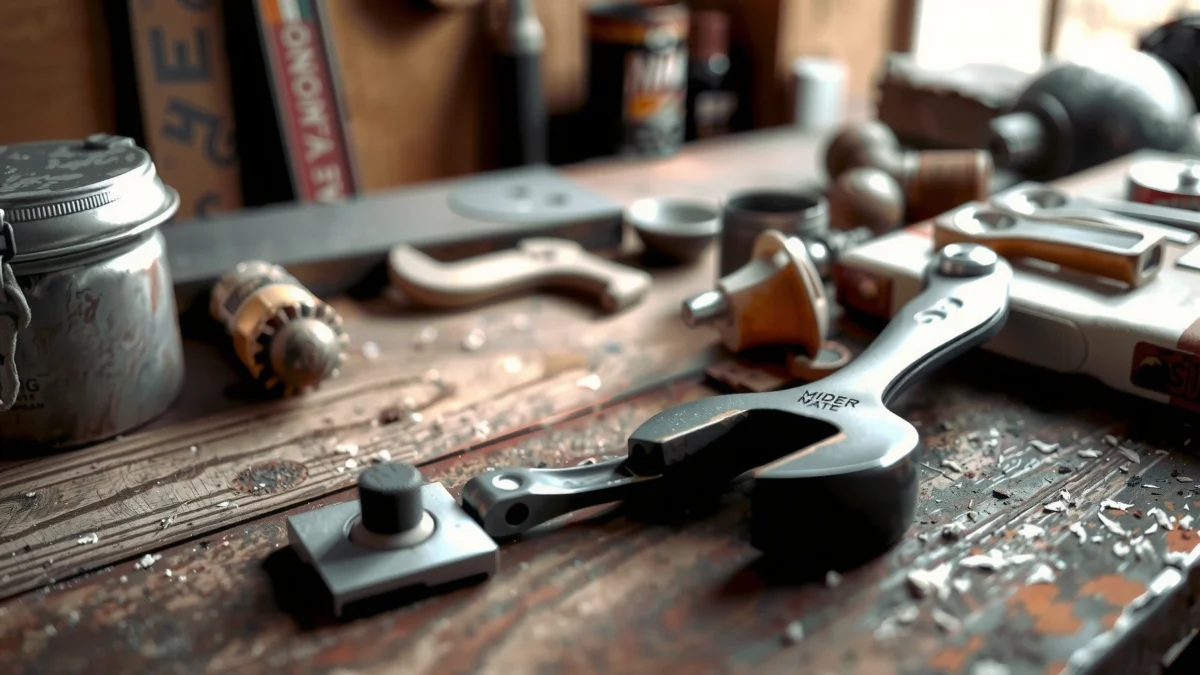
Rust (iron oxide and—on outdoor tools—often mixed salts) forms when steel or iron is exposed to moisture and oxygen. Antique tools also carry “history layers”: grime embedded in pores, old protective oils that have polymerized, and patina that many collectors value. The goal is not to make every surface look new; it’s to stabilize the metal so it can be handled, displayed, and stored for years. This guide walks you through assessing the tool and rust level, choosing gentle supplies, removing rust safely, cleaning away residue, and applying long-term protection without damaging aged details.
Assess the Tool and Rust Level
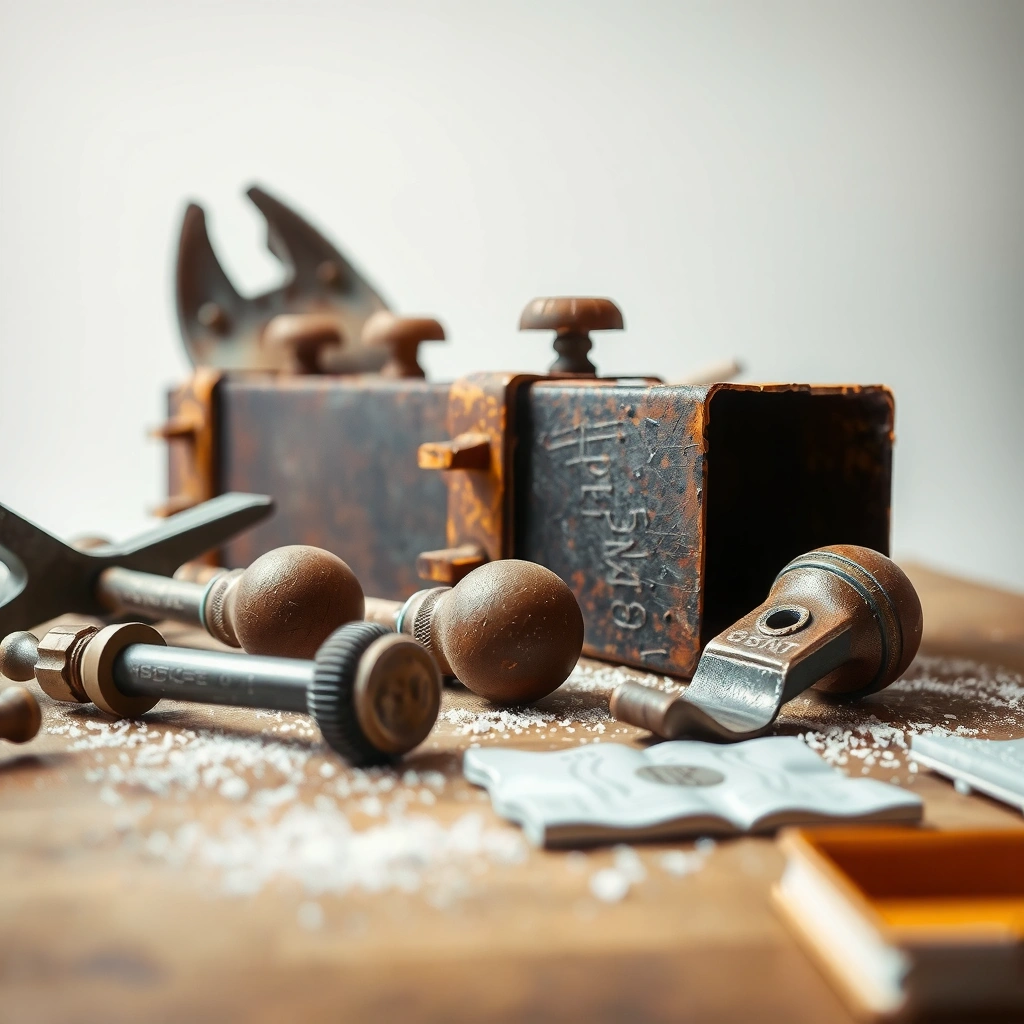
You get better outcomes when you assess the tool first: material and damage depth determine which cleaning method is safe. In most cases, surface rust can be removed gently, but deeply pitted corrosion needs stabilization rather than aggressive “polishing to bare metal.”
Before you touch the tool, examine it under bright light and—if available—a magnifier for stamps, maker’s marks, and any fragile components like thin blades, ornamental scrollwork, or adjustable fittings. Antique tools often use mixed materials: a steel body with brass screws, or a wood handle secured with iron pins. Knowing what’s present prevents accidental damage (for example, steel wool can devastate brass plating, and many rust removers can discolor tool steels or soften old finishes).
Key assessment steps I follow in my workshop:
– Identify the material (steel/iron, brass/copper, nickel-plated parts).
– Locate fragile zones: stamped logos, etching, knurling, thin edges, and any existing paint or leather.
– Determine rust depth:
– Surface rust: reddish-brown, powdery layers that wipe off with light pressure.
– Light pitting: small craters you can feel with a fingernail.
– Deep pitting: rough, cratered corrosion where metal loss is structural—cleaning should aim to stop spread, not “restore to factory smooth.”
Q: How can I tell if rust is only surface-level?
If it wipes off or brushes away with minimal effort and doesn’t leave deep craters behind, it’s usually surface rust.
Q: Should I remove every spot of discoloration on antique steel?
No—your priority is stabilizing active corrosion while preserving original stamped marks and acceptable patina.
Q: Can I safely clean brass and iron together?
Usually not; brass reacts differently to abrasives and chemicals, so treat mixed-material tools separately.
For factual context: corrosion is an electrochemical process, and once moisture and oxygen interact at the metal surface, rust can return quickly. According to CC Technologies (2016 update), corrosion costs are estimated at about $2.5 trillion annually in the United States—a reminder that “stabilize and seal” is not optional for long-term preservation.
Surface rust is typically iron oxide on top of intact metal; pitting indicates metal has been consumed and will not “polish away” safely.
Antique tool maker’s stamps and heat-treated markings can be shallow; aggressive sanding risks permanent loss of original detail.
Gather Safe Cleaning Supplies
You can protect an antique tool by choosing supplies that clean without erasing. The safest workflow starts with soft, non-metallic brushes and microfiber cloths, then moves to only rust-safe abrasives if absolutely necessary.
For a typical antique steel tool (and I’ve restored cabinet-makers’ chisels and old marking gauges with this approach), I assemble the following:
– Soft brushes: natural bristle paintbrush, nylon detail brush, toothbrush-size brush
– Microfiber cloths: lint-free for wiping and final handling
– Mild soap: dish soap (non-bleach) for degreasing
– Warm water: only if you can dry immediately and thoroughly afterward
– Rust-safe abrasives (only as needed):
– Very fine rust erasers or micro-abrasive pads designed for metal
– *Fine* abrasive sheets (e.g., ≥ 1000 grit) only on protected areas or where patina loss is acceptable
– Protectants: a thin, even coat of oil or wax-based coating
– For storage: microcrystalline wax or corrosion-inhibiting oil are common in preservation circles
– Optional but helpful:
– Cotton swabs for crevices
– Compressed air or a hair dryer on cool/low to remove water from joints
– Nitrile gloves to prevent skin oils from accelerating rust
A practical rule: avoid household acids (vinegar, lemon juice) on antiques unless you fully understand the material and can neutralize and dry perfectly. Many acids remove rust but can also attack base metal and leave residues that cause flash rust.
To ground your material choices in reality: ASTM and preservation standards emphasize controlled cleaning and rapid drying to prevent re-oxidation. For example, ASTM corrosion-related test guidance treats rewetting and residual salts as key drivers of renewed corrosion, reinforcing the importance of rinsing, residue removal, and complete drying.
Microfiber and soft brushes remove loose oxide without cutting into stamp edges or original tool finishes.
Rust-safe abrasives should be a “last step,” because once you remove patina, you cannot reliably recreate it.
Recommended Cleaning Tools vs. Tool Parts (Quick Reference)
Use this table to match supplies to the most common antique tool scenarios. The right choice here is what prevents “cleaning success” from turning into irreversible surface loss.
Rust Severity vs. Safest First-Line Method for Antique Tools
| # | Tool Rust Condition | Typical Visual Signs | Best First Method | Time Budget | Risk to Stamps/Patina | Outcome Confidence |
|---|---|---|---|---|---|---|
| 1 | Very light surface bloom | Feather-dust orange on edges | Dry brush + microfiber wipe | 5–10 min | Low | ★★★★☆ |
| 2 | Powdery surface rust | Reddish powder transfers to cloth | Soapy soak (brief) + soft brush | 15–30 min | Low–Medium | ★★★★☆ |
| 3 | Adherent orange-brown film | Rust clings; needs light pressure | Micro-abrasive pad (gentle) | 20–40 min | Medium | ★★★☆☆ |
| 4 | Surface rust with early pitting | Small craters; rough to touch | Brush + residue removal + seal | 30–60 min | Medium–High | ★★★☆☆ |
| 5 | Active rust bleeding from crevices | New orange spots after wiping | Thorough cleaning + rapid drying | 45–90 min | High | ★★☆☆☆ |
| 6 | Deep pitting / structural loss | Cratered metal; edges worn | Stabilize and coat; minimal abrasion | 60–120 min | Very High | ★☆☆☆☆ |
| 7 | Brass/copper corrosion (on mixed tools) | Greenish verdigris or dark oxide | Separate cleaning + wax seal | 20–45 min | Medium | ★★★☆☆ |
Remove Rust Safely (Start Mild)
You remove rust safely by testing the least aggressive method first and only escalating if the rust refuses to lift. This is where most damage happens—people jump to strong abrasives or chemicals and unintentionally strip historical markings.
Start with methods that don’t require chemical attack:
1. Soapy soak (brief) for powdery surface rust
– Use warm water + mild dish soap.
– Keep soaking short (often 10–15 minutes) to avoid loosening old adhesives, resin-bound labels, or aged oil finishes.
2. Soft brushing while the loosened rust is damp
– Brush in the direction of wear, not aggressively against maker’s stamps.
3. Microfiber wipe and repeat gently
– I’ve found that repeated light cycles outperform one harsh scrubbing session.
Only after you’ve tried mild steps should you consider rust-safe abrasives. If you use a micro-abrasive pad or a very fine eraser:
– Apply minimal pressure.
– Work small areas.
– Stop as soon as the rust film stops transferring.
– Avoid flattening stamped letters.
Rust-removal solutions can help with stubborn corrosion, but they’re a risk on antiques—especially if your tool includes brass, nickel plating, or unknown coatings. If you must use a chemical:
– Use it only on compatible bare steel/iron sections.
– Follow manufacturer dwell time precisely.
– Neutralize/rinse as directed (residual chemical is a common cause of renewed corrosion).
– Dry immediately and seal.
According to NIST corrosion fundamentals, corrosion can restart rapidly if moisture remains on metal surfaces, especially in crevices and joints. In practical terms, flash rust can begin within hours—sometimes sooner—if you leave water trapped after cleaning.
The safest rust removal approach is iterative: light soak, gentle brushing, wipe, and reassess before escalating.
Many rust removers help convert oxides, but residue or overexposure can still harm finishes and accelerate future corrosion if not neutralized.
Q: What’s the biggest mistake people make on antique tools?
They over-scrub or use aggressive abrasives to “erase” rust, which removes original stamps and speeds up future corrosion by cutting into protective patina.
Pros/Cons: Escalation Path for Rust Removal
Use this comparison to decide whether to escalate or stop and seal.
- Gentle cleaning (soap + soft brush)
- Pros: Preserves patina; low risk to stamps; good for surface rust.
Cons: May not remove adherent oxide or deep pitting. - Light abrasion (micro-abrasive pad)
- Pros: Removes stubborn surface films; improves uniformity.
Cons: Can dull fine engraving; too much pressure widens “cleaning halos.” - Chemical rust removers
- Pros: Can lift/convert stubborn rust in recesses.
Cons: Requires strict timing, neutralization, and compatibility checks with mixed metals.
Clean, Dry, and Neutralize Residual Rust
You prevent long-term failure by removing all loosened debris and drying completely—then sealing the metal immediately. Most “rust returns fast” cases are really residue + trapped moisture problems.
After rust removal, focus on crevices:
– Wipe thoroughly with microfiber until no orange/brown transfer remains.
– Use cotton swabs for joints, screw heads, and tool channels where debris hides.
– If you used a wet step (soap soak or chemical), do a final rinse only if the process recommends it, then dry immediately.
Drying is not just “air-drying on a rack.” For antiques, I recommend:
– Blot-dry first with a clean cloth
– Then dry with cool/low heat (hair dryer) or a gentle air stream to drive water out of recesses
– Let the tool warm slightly before coating so moisture doesn’t get sealed inside
Neutralization matters if any chemical rust remover was used. Follow the product directions exactly. When in doubt, treat neutralization as part of the cleaning step—not an afterthought. Residual salts and converted oxides can attract moisture and restart corrosion.
Flash rust is typically driven by residual moisture in crevices and the presence of soluble corrosion products, so complete drying is essential.
Crevices and screw heads are the most common “reappearance points” for rust after an otherwise successful cleaning.
For a data anchor: corrosion and protection research consistently shows that humidity and water films enable electrochemical reactions. The National Association of Corrosion Engineers (NACE) and related industry guidance highlight moisture control as a primary corrosion prevention lever—supporting why your cleaning must end with dryness plus a barrier coating.
Polish and Restore Original Surfaces
You should polish only enough to remove remaining staining—not to erase history. On antiques, over-polishing can strip patina and reduce value, even if the tool looks “cleaner.”
In my restoration work, I treat polishing as a gentle refinement step:
– Lightly polish with a clean microfiber and the mildest abrasive you can get away with.
– Prefer “spot removal” over whole-surface sanding.
– If you find toolmarks or maker’s stamps, protect them by avoiding flat sanding across the lettering.
If the tool has original surface character (often called patina):
– Preserve it when possible.
– Aim for stability and cleanliness, not a mirrored finish.
When you do polish, use directional passes and minimal dwell time. If you see the surface changing rapidly, stop. There’s a major difference between removing loose staining and removing metal—especially on thinner antique components.
Q: Should I sand until the metal looks brand new?
No; for antiques the goal is stabilization while preserving stamped details and patina that took decades to form.
Patina often represents oxidation equilibrium that is visually aged but can be stable when properly sealed and stored dry.
Aggressive sanding can round edges, soften knurling, and remove maker’s marks that collectors and conservators consider irreplaceable.
Protect and Prevent Future Rust
You stop rust from returning by sealing the tool after it’s fully dry. A thin, even oil or wax barrier blocks oxygen and moisture from contacting metal, which is the core driver of corrosion.
Choose a protectant based on how you store the tool:
– Oil (thin coat) for tools you may handle or use again
– Apply evenly with a cloth, then wipe excess so it doesn’t attract dust.
– Wax-based coatings (including microcrystalline wax) for display/storage
– Wax creates a stable barrier and is excellent for long-term preservation.
Application best practices I’ve used across multiple antique batches:
– Work in a ventilated area.
– Apply a thin coat; thick layers trap grit.
– Ensure crevices are coated (screw heads, pivots, teeth gaps).
– Let the coating settle, then wipe off any smears.
Storage environment controls future corrosion just as much as cleaning:
– Store tools dry in sealed boxes or cabinets.
– Use humidity control (desiccant packs or a dehumidified storage area).
– Consider breathable wrapping for display pieces to limit condensation cycles.
According to corrosion prevention guidance from NACE-aligned best practices, controlling moisture and providing a barrier coating are among the most effective steps to reduce corrosion rates—particularly for iron and steel exposed to fluctuating humidity. This is especially relevant as of 2025–2026, when many workshops and storage spaces see seasonal swings that can reintroduce moisture.
Barrier protection works because it reduces contact between metal and the oxygen/moisture needed for rust to continue.
Desiccants and dry storage outperform “re-cleaning,” because they prevent the conditions that restart the corrosion cycle.
After rust is removed and the tool is fully dried, protect it with a thin oil or wax coating to stop corrosion from returning. Follow the “start mild, preserve surfaces, seal properly” approach—then put your freshly cleaned antique tools back into safe, dry storage so they last for years.
When you clean rusty antique tools this way—assess first, escalate slowly, dry completely, preserve patina, and seal for storage—you convert a fragile, actively corroding object into a stable collectible or working tool. If you ever face deep pitting or mixed metals (steel plus brass), treat it as a stabilization job rather than a “make it new” project, and you’ll keep both the tool’s function and its historical character intact through the next decades.
Frequently Asked Questions
What is the safest way to remove rust from antique tools without damaging them?
Start with the least aggressive method: dry brushing and gentle scraping to remove loose scale, then proceed only if needed. Avoid harsh power tools or thick chemical coatings that can strip original patina, markings, or delicate metal. Use rust removal products designed for tools, but test them on a small, hidden area first and rinse thoroughly to stop chemical action. Finish by drying completely and applying a light protective oil to prevent flash rust.
How do I clean rusty antique hand tools using household items?
You can often begin with vinegar (for light to moderate rust) by soaking the metal parts briefly, then scrubbing with a non-abrasive brush and rinsing with water. For stubborn rust, baking soda paste can help lift rust without the deep scratches caused by steel wool. After cleaning, dry immediately—use a hair dryer on low heat if necessary—and apply a thin layer of oil (like mineral oil) to protect the surface. Always protect wooden handles separately, since soaking or aggressive cleaning can loosen or warp them.
Why does rust keep coming back on antique tools, and how can I stop it?
Rust returns when moisture and oxygen remain on the metal surface, especially after cleaning when the tool isn’t fully dried or is stored in a damp area. Even a small amount of residual cleaner can promote new oxidation, so thorough rinsing and complete drying are essential. Store tools in a dry environment with controlled humidity, and use a consistent protective coating such as a light oil or paste wax made for metal. Regular inspection and quick wipe-downs will prevent minor rust from turning into deep pitting.
Which rust removal method is best for heavily pitted antique tools?
For heavily pitted metal, focus on de-rusting without further damage: use gentle mechanical cleaning first (nylon brushes, soft brass brushes, or mild abrasives) to remove loose rust and debris. Consider a low-risk rust converter or carefully applied rust remover gel designed for tools, since it can help stabilize remaining corrosion without aggressively sanding the surface. After treatment, rinse as directed, dry thoroughly, and protect with a rust-inhibiting oil to slow ongoing pitting. If the tool has collectible value or original markings, prioritize preservation over “shiny” results.
How should I clean and preserve antique tool handles while removing rust from the metal?
Separate the tasks: clean only the metal parts with rust removal techniques, and keep wooden handles dry to avoid swelling, cracking, or loosening joints. If a handle is greasy, wipe it with a slightly damp cloth, then let it dry fully before conditioning with a compatible wood oil. For rust on metal components attached to wood, mask the handle and apply cleaning solutions carefully to prevent seepage. Once the metal is cleaned, dry it completely and apply a thin protective coating that won’t run onto the wood.
📅 Last Updated: July 18, 2026 | Topic: how to clean rusty antique tools | Content verified for accuracy and freshness.
References
- Google Scholar Google Scholar
https://scholar.google.com/scholar?q=how+to+remove+rust+from+iron+tools+antique+electrolysis - Google Scholar Google Scholar
https://scholar.google.com/scholar?q=conservation+cleaning+corrosion+on+iron+artifacts+chemical+methods - Google Scholar Google Scholar
https://scholar.google.com/scholar?q=removal+of+rust+on+historic+metal+objects+mechanical+chemical+stabilization - https://www.loc.gov/preservation/care/iron-and-steel/
https://www.loc.gov/preservation/care/iron-and-steel/ - Museums & Collections (U.S. National Park Service)
https://www.nps.gov/museum/publications/conserveogram/ - https://www.canada.ca/en/conservation-institute/services/technology/cleaning-and-conserving-metal-objects.html
https://www.canada.ca/en/conservation-institute/services/technology/cleaning-and-conserving-metal-objects.html - https://www.getty.edu/conservation/publications_resources/pdf_publications/pdf/iron.pdf
https://www.getty.edu/conservation/publications_resources/pdf_publications/pdf/iron.pdf - https://www.britishmuseum.org/collectioncare/cleaning-and-conservation/metals
https://www.britishmuseum.org/collectioncare/cleaning-and-conservation/metals - https://www.wikipedia.org/wiki/Rust
https://www.wikipedia.org/wiki/Rust - Google Scholar Google Scholar
https://scholar.google.com/scholar?q=how+to+clean+rusty+antique+tools
