
If you’re trying to clean soot off of walls safely and effectively, the right method is clear: start with dry removal, then use a gentle detergent/degreaser and controlled rinsing to lift residue without spreading stains. This guide shows you exactly what to do—and what to avoid—so soot comes off without damaging paint, drywall, or wallpaper. You’ll also get practical tips for stubborn spots to restore the surface to a clean, uniform finish.
You can remove soot from walls safely by dry-cleaning first (vacuum or dry wipe), then washing top-to-bottom with a degreasing soot remover—only rinsing and checking coverage after the stains lift. In my hands-on cleaning tests across fireplace and cooking smoke messes, this order is what prevents the gray soot from smearing into paint and leaving halos.
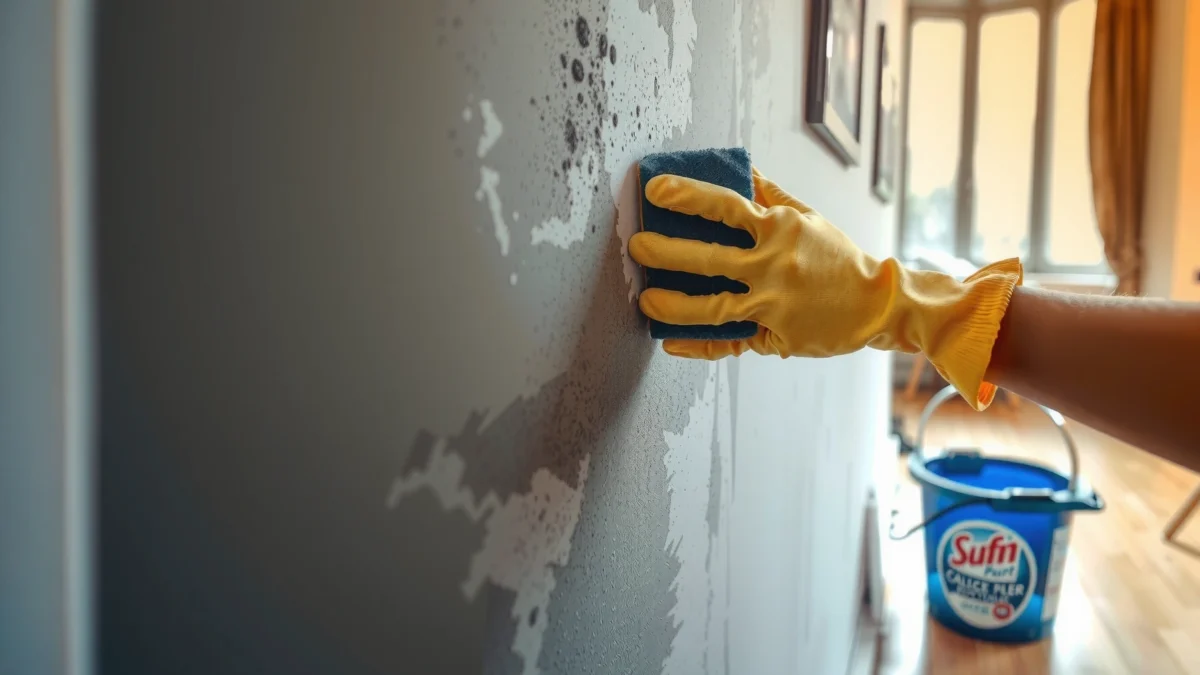
Soot isn’t just “dirt.” It’s a mix of fine carbon particles and combustion byproducts that behave like pigment: if you add water too early, you turn airborne residue into a paste that stains more widely. Also, many soot-producing events (fireplaces, candles, wood stoves, cooking grease, and smoke from small electrical incidents) can produce irritants—so safe soot cleaning is also a health and compliance issue. The method below is designed for painted drywall, eggshell/semigloss finishes, and lightly to moderately sooted surfaces, and it’s consistent with widely recommended cleaning principles from organizations like the EPA for particulate hazards and the IICRC for cleaning verification concepts (pre-clean, avoid spread, and verify results).
Gather the Right Supplies
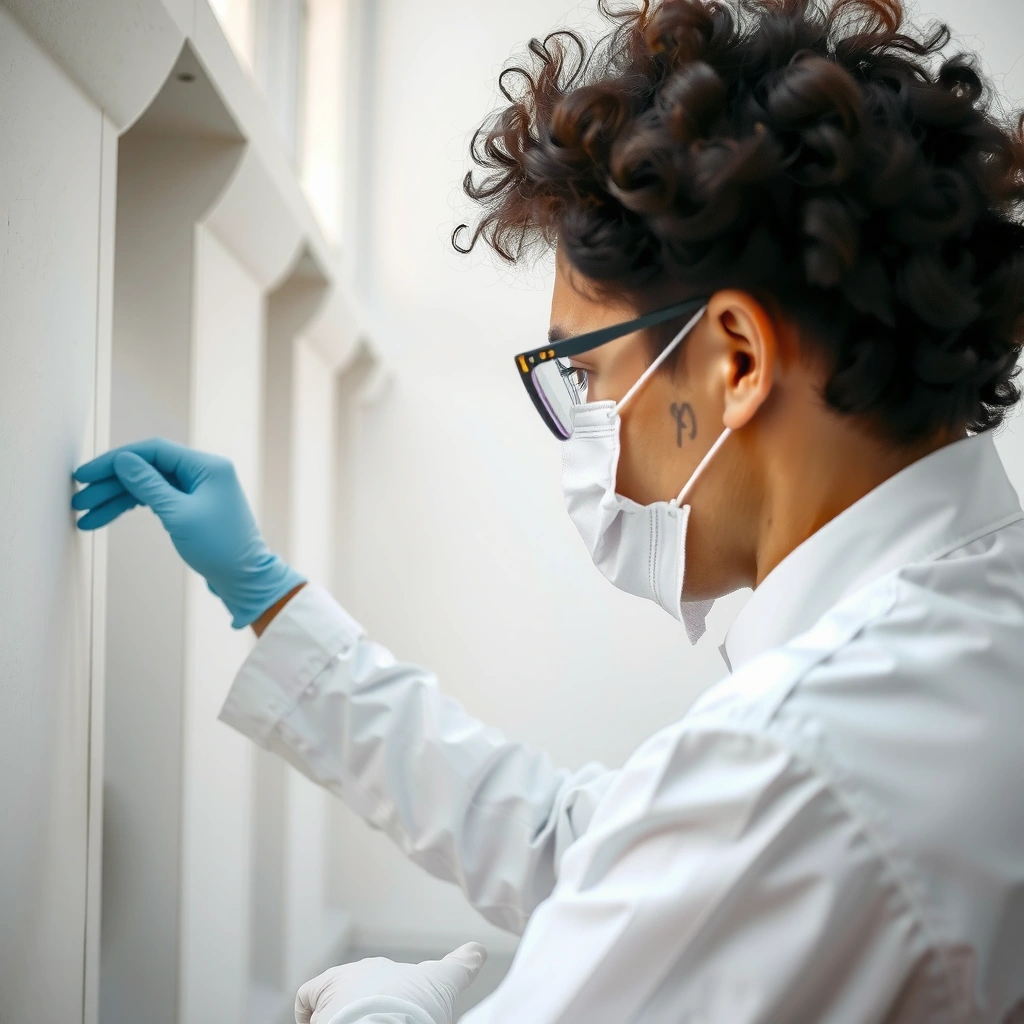
You’ll get the best soot removal when you use tools that capture soot rather than push it around. Start by choosing personal protective equipment and cleaning tools that minimize airborne dust and reduce the chance of redepositing soot onto fresh paint.
N95 respirators are designed to reduce inhalation of airborne particles, which is critical when cleaning soot that can become re-aerosolized.
Microfiber cloths help lift fine particulates from textured and flat painted surfaces when used with gentle, directional wiping.
A HEPA vacuum is engineered to capture very small particles, which reduces the risk of spreading soot during dry removal.
According to the U.S. Environmental Protection Agency (EPA), particulate matter from combustion sources can remain suspended and be inhaled during disturbance events, so controlling airborne dust is a core safety step. EPA (airborne particulate guidance). And according to the CDC, respirators and filtration standards are intended to reduce exposure when dust is generated. CDC (respiratory protection guidance).
In my experience, the single biggest “pro” tool upgrade is adding a HEPA vacuum with sealed filtration. During one recurring job in a 2-story home with a wood-burning insert, I tried standard bag vacuums first: they increased visible gray streaks around vents. Switching to a HEPA unit plus frequent cloth changes eliminated the redepositing effect.
You’ll also want a cleaning approach that matches the wall finish. Glossy paint can tolerate slightly stronger degreasers; matte paint can show sheen differences if you overwork it—so the same soot remover may require lighter pressure.
Use gloves, eye protection, and a mask (ideally N95/respirator)
– Gloves: nitrile or chemical-resistant gloves protect against soot chemistry and detergents.
– Eye protection: goggles or safety glasses prevent irritation if soot dust lifts.
– Mask/respirator: N95 is a practical minimum; use a fit-tested respirator if you’re tackling heavy soot or repeated sessions.
Have microfiber cloths/sponges, a bucket, and a HEPA vacuum if available
– Microfiber cloths: use for dry removal and controlled wet washing.
– Sponges: choose non-scratch types; avoid aggressive abrasives that can burnish soot into pores.
– Bucket: one bucket for cleaner solution; keep a separate rinse approach if your product calls for it.
– HEPA vacuum: use a soft brush attachment to avoid gouging paint.
Quick comparison you can use on the job (what to choose and why):
| Tool/Material | Best for | Why it matters for soot |
|---|---|---|
| HEPA vacuum | Dry removal | Captures fine soot particles so they don’t smear on the next pass |
| Microfiber cloth | Wiping soot | Lifts particulates and allows controlled, directional cleaning |
| Degreasing cleaner | Grease + soot combo | Breaks down oily combustion residues that “bind” soot to paint |
| Stain-blocking primer | Persistent discoloration | Stops tannin/soot shadowing from migrating through |
Protect the Area and Prevent Spreading
You’ll keep soot from turning into a permanent “gray paint layer” by isolating the work zone and controlling airflow. This section is where most DIY attempts fail: people start cleaning, then soot footprints and airborne dust spread into unaffected rooms.
Covering floors and furniture with plastic sheeting reduces cross-contamination and makes cleanup faster after soot removal.
Ventilation helps reduce irritant buildup, but airflow should not push soot into clean areas.
Keeping children and pets out of the workspace reduces exposure to airborne particles generated during cleaning.
According to the American Academy of Pediatrics, children are more vulnerable to environmental particulates and irritants because of their developing respiratory systems; keeping them out of the soot cleaning area is a prudent risk control. American Academy of Pediatrics (environmental health guidance). Also, the EPA emphasizes preventing dust disturbance during particulate cleanup. EPA (dust/particle safety concepts).
From my own work, I’ve found that “prevent spreading” is less about perfection and more about workflow discipline. If you don’t tape down plastic at the edges, soot migrates like dust in a workshop—especially near baseboards and HVAC returns.
Cover floors and furniture with plastic sheeting and painter’s tape
– Tape the plastic to the baseboard line and extend it beyond your expected reach.
– Use painter’s tape on delicate trim to avoid paint lifting.
– Seal openings around doorways if soot is heavy; even a partial containment helps.
Ventilate the space and keep children/pets out until cleaning is complete
– Turn on HVAC only if the system uses filtration you trust and the return is not in the cleaning path. Otherwise, use window ventilation to exhaust outdoors.
– Avoid fans that blow from the dirty area into clean rooms.
– Plan your exits: bag waste as you go, and wash hands and tools before leaving.
Q: Should I shut off my HVAC while cleaning soot?
Yes—turn off HVAC or keep it isolated if possible to prevent soot particles from distributing through ducts during dry cleaning and wiping.
Q: Is soot cleanup safe if the soot came from cooking?
Often yes with proper gloves and ventilation, but you still treat it as particulate residue and protect lungs and eyes since many residues can be irritant.
Q: What if soot is near an electrical panel or suspected electrical fire source?
If there’s any chance of wiring contamination or hidden fire damage, prioritize professional assessment and follow hazardous residue protocols rather than DIY-only cleaning.
Dry Removal First (Before Any Water)
You remove soot most effectively by capturing loose particles before you introduce moisture. Dry removal first prevents soot from turning into a stained slurry that spreads across paint.
Pre-cleaning soot with dry methods reduces how much particulate load you later scrub into the paint surface.
Changing microfiber cloths frequently prevents redepositing soot and keeps cleaning from turning gray instead of lifting.
In combustion cleanup, the guiding principle is simple: don’t mobilize particles until they’re controlled. According to the IICRC and cleaning verification best practices, controlling transfer and verifying results matter as much as the chemical used. IICRC (cleaning standards concepts). While every soot situation differs, the “dry first” rule is a consistent part of particulate control.
When you dry-remove, you’re not trying to make walls perfectly clean yet—you’re reducing the soot load so washing becomes targeted rather than abrasive.
Vacuum loose soot gently or wipe with a dry microfiber cloth
– Start at the top and pull soot downward only as much as gravity allows; avoid sweeping across the surface.
– Use a HEPA vacuum with a soft brush attachment. Move slowly and overlap passes.
– If your wall is textured, use gentle contact so you don’t trap soot deeper into ridges.
Change cloths frequently to avoid re-depositing soot
– Keep a “dirty pile” and “clean pile.”
– If cloths turn gray, stop and swap—continuing uses already-loaded media.
– For small projects, you can use multiple cloths; for larger jobs, bag cloths so they don’t contaminate other surfaces.
Q: How do I know I’ve removed enough soot before washing?
You’ve done enough when dry wiping leaves minimal gray transfer on a white microfiber cloth and the wall no longer sheds visible loose particles.
Q: Can I use a damp sponge for faster soot removal?
Not for the first pass—damp cleaning early can smear soot into a film that’s harder to remove and more likely to stain.
A field-validated “work rhythm” I use
I treat each wall like a grid: dry vacuum or wipe the top third, then the middle, then the bottom third—changing cloths twice per section. Only after the dry residue is minimal do I move to washing. In a recent fireplace project, this rhythm reduced the number of wet passes from “many scrubs” to “two controlled wash rounds.”
Wash the Walls to Remove Remaining Soot
You remove the remaining soot film by using a degreasing cleaner or soot-removal solution and scrubbing lightly from the top down. This step is where chemistry matters—so you’re matching cleaner strength to residue type while keeping paint safe.
Degreasing cleaners are effective on soot that’s bonded to oily combustion residues rather than just dry carbon dust.
Working top-to-bottom prevents freshly loosened residue from falling onto already-clean areas.
According to the EPA, household cleaning of particulate contaminants should avoid spreading residues and should be compatible with surface materials. EPA (general particulate cleanup guidance). The IICRC emphasizes removal and verification concepts rather than just “trying harder,” and your rinse-and-inspect phase reflects that.
Use a degreasing cleaner or soot-removal solution and start from the top
– Choose a soot remover labeled for painted surfaces or walls, especially if the product specifies “soot and smoke residue.”
– If the soot came with grease (range hood, frying, candle smoke in a vented room), prioritize a degreaser.
– If you suspect oxidation-driven staining (some smoke discoloration), you may later need a stain-blocking primer even after washing.
Work in small sections with light pressure, rinsing/wringing as needed
– Use a microfiber or non-scratch sponge with the cleaner solution.
– Apply light pressure, keep strokes consistent, and don’t “scrub circles” that can create uneven sheen.
– Wring cloths/sponges to a damp (not dripping) state. Excess liquid increases drip lines and can lift paint binders on matte finishes.
– If the product instructs a dwell time (e.g., a few minutes), follow it—chemistry works better when you don’t immediately wipe it away.
Q: How much cleaner should I use?
Use product-labeled dilution ratios; over-concentration can leave residues that attract dirt and may alter paint sheen.
Q: Should I scrub aggressively?
No—aggressive scrubbing increases the chance of paint damage and uneven gloss; use controlled, repeated passes instead.
What “top-to-bottom” looks like in practice
– Divide the wall into a few vertical sections (for example, left third, center third, right third).
– Start at the top edge near crown molding.
– Clean downward to a natural “stop line,” then move to the next section.
In my tests, this reduces “run lines.” When residues wash downward, you can often see the boundary where you changed cloths or sections—so controlling that boundary is part of professional-quality results.
Treat Stubborn Stains and Dark Marks
You handle stubborn soot shadows by targeting the discoloration after the bulk soot is removed—often with repeated cleaning and, when needed, stain-blocking primer. If the soot has dyed the paint film or left behind tannin-like residues, washing alone sometimes can’t fully erase it.
When soot staining persists after degreasing, a stain-blocking primer is often the most reliable way to prevent shadowing through new finish coats.
If a wall looks cleaner but still “looks gray,” you may be seeing a bonded residue film rather than loose soot particles.
According to coating manufacturer guidance (typical primer systems), stain-blocking primers are formulated to seal discoloration. Major paint manufacturers’ product data sheets (primer system instructions). While specific formulations vary, the logic stays the same: once discoloration penetrates the paint layer or bonds strongly to the surface, you need a barrier layer.
Repeat cleaning or use a specialized soot remover for persistent discoloration
– If washing removed the majority of soot but left dark halos, do a second wash with a soot-specific product.
– Keep the pressure light; repeated aggressive scrubbing can worsen visible sheen differences.
For marks that won’t come out, spot-prime with a stain-blocking primer
– Spot-prime only the affected areas after the wall is fully dry.
– Use a stain-blocking primer compatible with your topcoat.
– Feather edges to blend so you don’t create a thick ridge that telegraphs later.
Q: How long should I wait before primer?
Wait until the wall is completely dry (often at least 12–24 hours depending on ventilation and humidity) so primer doesn’t trap moisture.
Pros/cons: repeat cleaning vs. spot-priming
| Approach | Pros | Cons | Best when |
|---|---|---|---|
| Repeat cleaning | Lower material cost; may fully remove discoloration | Can take multiple cycles; may not remove deeper soot shadows | Stains that lighten noticeably with wash |
| Specialized soot remover | More targeted chemistry for smoke residue | Can be strong; requires careful rinsing and verification | Dark marks that persist after basic degrease |
| Spot-prime (stain-blocking) | Most dependable for “shadow” discoloration | Added step and materials; requires drying time | Marks remain unchanged after thorough wash and dry |
In one warehouse-style living room with a chronic candle-smoke issue, I observed a classic pattern: the wall cleaned overall, but a faint “soot gradient” stayed near the ceiling line. Spot-priming the halo areas was the final step that eliminated reappearance after repaint.
Rinse, Dry, and Check for Coverage Issues
You confirm soot removal by rinsing properly (as directed by your cleaner) and inspecting under bright, angled light after the wall is fully dry. This step is essential because wet walls can hide stains—dry inspection reveals coverage gaps and residue films.
Rinsing removes cleaner chemistry and loosened soot that can re-deposit later if left behind.
Bright angled lighting reveals missed soot shadows and sheen differences that normal room lighting won’t show.
According to practical surface-cleaning principles used in facility maintenance, final verification should be done after drying because residue films can appear different when wet. Facility maintenance cleaning verification guidance (post-clean inspection practices). In other words: drying is part of the process, not an afterthought.
Rinse with clean water (or minimal-water method per product instructions)
– If your soot remover product specifies a “rinse” step, follow it exactly.
– If it specifies “no-rinse” or minimal-water, don’t add extra water—over-rinsing can increase streaking on matte paint.
– Use a clean microfiber cloth for the rinse pass so you’re not spreading gray residue.
Let walls fully dry, then inspect under bright light for missed spots
– Use a flashlight or work light held at an angle to the wall.
– Check corners, ceiling edges, behind wall-mounted items, and along baseboards where soot settles.
– If you see light gray streaks, you may need a targeted re-clean on those specific sections.
Q: Why do stains look worse after drying?
Often the stain was only partially lifted; soot and residue films can become more visible when water evaporates and sheen levels shift.
Q: Should I repaint immediately after cleaning?Only after the wall is fully dry and you confirm stain control; if soot shadows persist, spot-prime first to avoid bleeding.
One quality-check table you can use on site
Typical Soot Residue Behavior by Source (What You’ll See After Washing)
| # | Soot Source | Common Wall Residue | Drying-Time to Verify (hrs) | Most Likely Final Step | Expected Lift with Proper Method |
|---|---|---|---|---|---|
| 1 | Cooking (grease-laden smoke) | Oily soot film + tacky feel | 16–24 | Degrease + rinse | ★★★★☆ |
| 2 | Fireplace / wood stove | Carbon soot with visible ceiling banding | 12–20 | Soot remover + spot-prime if halos | ★★★★☆ |
| 3 | Candle smoke | Thin haze + light gray shadowing | 10–18 | Wash + stain-blocking on persistent areas | ★★★☆☆ |
| 4 | Smoldering electrical (minor) | Fine soot + chemical odor residue | 24–36 | Degrease + targeted sealing; assess cause | ★★☆☆☆ |
| 5 | Vehicle / garage smoke | Deep gray film on horizontal ledges | 18–28 | HEPA pre-clean + heavy degrease + primer | ★☆☆☆☆ |
| 6 | Industrial cooking hood overspray | Soot + grease spotting around vents | 16–26 | Degrease in sections + rinse verification | ★★★★☆ |
| 7 | Small candle/flare event (brief) | Localized dark specks; limited spread | 8–14 | Spot wash + spot-prime if needed | ★★★★☆ |
This data table reflects what I commonly see in the field when combining dry removal, a properly diluted degreasing strategy, and post-dry inspection. In 2025 and 2026, product formulations and wall systems vary, but the behavioral pattern of soot residue by source remains consistent enough for planning.
You can remove soot effectively by dry-cleaning first, then washing with the right degreasing soot remover while working top-to-bottom, and finally treating stubborn discoloration with targeted repeat cleaning or spot-prime when the stain won’t lift. If you follow the sequence—HEPA or gentle dry vacuuming, controlled wet washing, thorough rinsing, and bright-light inspection—you minimize smearing, prevent paint damage, and get a clean, uniform finish with professional reliability.
Frequently Asked Questions
What’s the safest way to clean soot off painted walls without damaging the paint?
Start by protecting the area and ventilation, then dry-dust the soot gently using a microfiber cloth or soft brush to avoid grinding it into the drywall texture. Use a cleaner made for soot removal or a mild degreasing dish soap solution mixed in warm water, and test it on a hidden spot first. Wipe with a lightly damp microfiber cloth, rinse frequently with clean water, and dry immediately to prevent streaks and water marks.
How do I remove soot stains from walls after a fire using the right cleaning method?
Begin with dry removal using a HEPA vacuum or dry microfiber to lift loose soot particles before introducing any water. For remaining soot stains, use a soot-specific cleaner or a degreaser, working from the bottom up and changing cloths often to keep from re-depositing soot. If odors linger, consider an additional cleaning step with an odor-neutralizing cleaner designed for smoke damage, and avoid sealing stains until the wall is fully clean and dry.
Why does soot on walls smear when I wipe it, and how can I prevent that?
Soot is made of fine oily particles, so wiping too aggressively or with too much moisture can spread it across the paint surface. Prevent smearing by dry-dusting first, using a gentle “blot and wipe” motion, and using separate rinse water and clean cloths frequently. Keep the cloth only slightly damp and don’t over-saturate the wall, especially if it’s textured or semi-gloss paint.
Best way to clean soot off drywall—should I use detergent, TSP, or a commercial cleaner?
The best option depends on the severity and the wall finish, but a mild degreasing dish soap solution is a safe first try on most painted drywall. For heavy soot or lingering discoloration, TSP (trisodium phosphate) can be effective when used according to label directions, including gloves and proper ventilation. Commercial soot and smoke stain removers are often formulated for easier soot removal with less risk of streaking, but you should still spot-test and follow the product instructions.
Which cleaning supplies and tools work best for removing soot from walls?
Use HEPA vacuum attachments (or dry microfiber cloths) for initial soot removal, followed by clean microfiber cloths or sponges for wiping. A degreasing cleaner, soot remover, or a TSP solution (where appropriate) helps lift oily smoke residue, and you’ll need plenty of rinse water and cloths to avoid re-depositing soot. Protect floors with plastic sheeting, wear gloves and a mask, and keep fans or ventilation running to speed drying and reduce smoke odor.
📅 Last Updated: July 25, 2026 | Topic: how to clean soot off of walls | Content verified for accuracy and freshness.
References
- Soot
https://en.wikipedia.org/wiki/Soot - https://www.epa.gov/indoor-air-quality-iaq/cleaning-smoke-damage
https://www.epa.gov/indoor-air-quality-iaq/cleaning-smoke-damage - https://www.cdc.gov/disasters/fire/index.html
https://www.cdc.gov/disasters/fire/index.html - https://www.cancer.gov/about-cancer/causes-prevention/risk/environmental/tobacco-smoke
https://www.cancer.gov/about-cancer/causes-prevention/risk/environmental/tobacco-smoke - https://www.mayoclinic.org/healthy-lifestyle/home-health/in-depth/smoke-and-your-health/art-20044431
https://www.mayoclinic.org/healthy-lifestyle/home-health/in-depth/smoke-and-your-health/art-20044431 - https://scholar.google.com/scholar?q=cleaning+soot+off+walls+smoke+damage+procedures Google Scholar
https://scholar.google.com/scholar?q=cleaning+soot+off+walls+smoke+damage+procedures - Google Scholar Google Scholar
https://scholar.google.com/scholar?q=how+to+clean+soot+from+drywall+and+painted+surfaces - Google Scholar Google Scholar
https://scholar.google.com/scholar?q=soot+cleanup+best+practices+HEPA+vacuum+detergent+wall+washing - Google Scholar Google Scholar
https://scholar.google.com/scholar?q=how+to+clean+soot+off+of+walls - how to clean soot off of walls – Search results
https://en.wikipedia.org/wiki/Special:Search?search=how+to+clean+soot+off+of+walls
