

How do you remove that glossy keycap shine from a mechanical keyboard without making things worse? Start by cleaning away oils and grime, which typically restores a more uniform matte look in about 20–30 minutes with a microfiber cloth, mild dish soap, and isopropyl alcohol used sparingly. If you’re ready to protect your legends while refreshing the surface, gather those supplies and begin with the gentlest method.
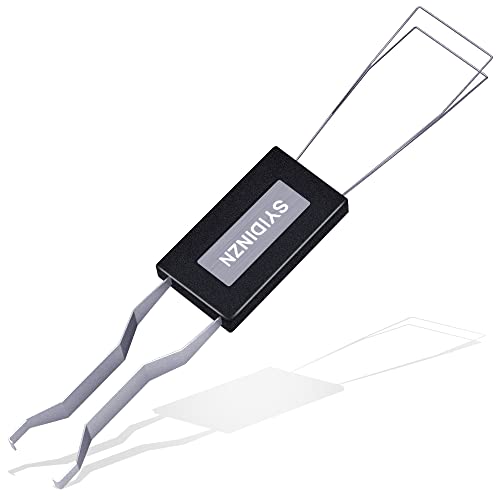


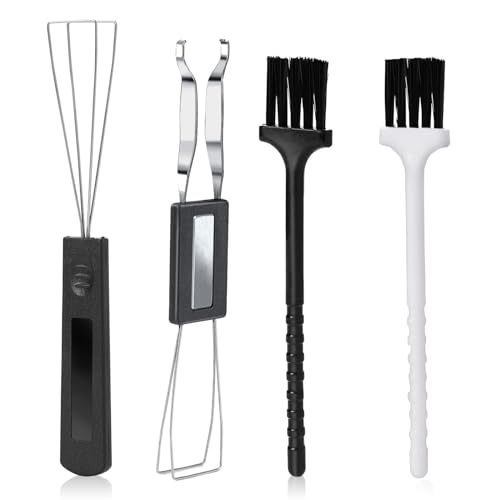
To remove keycap shine, start with a thorough, gentle wash—ideally after removing the keycaps—because most gloss comes from skin oils and micro-friction rather than “erased” plastic. Then, if a few keys still look burnished, use the least-aggressive follow-up step you can test on one key first (with an ABS vs PBT strategy).
If your spacebar, WASD, or modifier keys look shiny compared to the rest, this guide is for you. It’s also useful when you want improved appearance without damaging legends, coatings, or the keycap texture.
Prep: confirm keycap material and gather safe tools

The fastest, safest path is to identify whether your keycaps are ABS or PBT first, because their surface behavior differs. Once you know the material, you can choose low-risk cleaning steps and avoid finishes/legends damage.
– Check the keycap material (ABS vs PBT) in the product listing or from the manufacturer/spec sheet; the “shine” behavior differs by material.
– Plan on removing keycaps first (most safe shine-removal methods work best off the keyboard).
– Use only lint-free cloths, a soft brush (like a clean toothbrush), mild dish soap, and —avoid anything harsh until you test.
Before you begin, clear a workspace with good ventilation and keep cleaning liquids away from the switch housings. Keycap shine is largely a surface optics issue: oils reduce scattering and make plastic look uniformly “wet,” even when the underlying texture is still there.
Material reality check (why ABS vs PBT matters)
ABS and PBT respond differently to friction and cleaning, and that’s why the “right” approach varies.
– ABS (acrylonitrile-butadiene-styrene) keycaps are commonly described as developing a smoother “burnish” where hands repeatedly contact them. That makes shine more noticeable on high-usage keys.
– PBT keycaps are typically praised for resisting that polished look. When PBT appears shiny, it’s often contamination (oil residue, hand lotion, dust film) or finish issues rather than deep wear.
Start with a deep clean to remove oils and grime
The first and most effective move is a deep clean to remove oils and grime, because that removes the biggest portion of perceived keycap shine. If the gloss is mostly residue, a careful wash can make the keys look dramatically more consistent without any abrasion.
– Wash keycaps in warm water with mild dish soap, then rinse thoroughly and dry completely before remounting.
– Gently scrub with a soft brush to lift skin oils that can make plastic look permanently glossy.
– If you’re cleaning on-board, use a lightly damp microfiber and keep liquid away from switches.
When you wash, use warm water (not hot). Boiling-point solvents behave differently than mild soap; for context, water’s normal boiling point is 100°C, while acetone boils at about 56.05°C and isopropyl alcohol at about 82.6°C—so strong solvents can evaporate quickly and still leave dissolved film behind. According to NIST Chemistry WebBook, acetone boils at 56.05°C and isopropyl alcohol boils at 82.6°C (approx. at 1 atm).
Remove keycap shine safely (ABS vs PBT approach)
The safest shine reduction approach is to use the mildest method you can validate first, because harsh abrasion can change texture and legend clarity. Then you pick the right “target”: reduce gloss, don’t try to restore “factory new” if the plastic has truly worn down.
– ABS keycaps commonly develop shine from wear; the goal is to reduce gloss, not “erase” plastic. Test the method on a single worn key first.
– PBT keycaps typically resist shine better; if they’re glossy, it may be residue or surface contamination more than true wear.
– For stubborn gloss, consider only mild, controlled abrasion or refinishing methods from the keycap manufacturer’s guidance; stop immediately if legends start to fade or the finish changes.
To make the trade-offs concrete, here’s how common escalation steps generally rank for finish safety and where they fit in the ABS vs PBT decision.
Keycap Shine Fix Ladder (Finish-Safety Focus)
| # | Method | Best Use Stage | Main Risk | Finish Safety |
|---|---|---|---|---|
| 1 | Mild dish-soap wash (off-board) | Oil removal | Residue if not rinsed | ★★★★★ |
| 2 | Soft brush scrub (nylon bristles) | Surface film lift | Swirl marks if overly aggressive | ★★★★★ |
| 3 | Damp microfiber wipe (on-board) | Spot cleanup | Liquid creep risk to switches | ★★★★☆ |
| 4 | 70% isopropyl spot-test (keycap only) | Residue stubbornness | Finish softening on some caps | ★★☆☆☆ |
| 5 | Melamine “magic eraser” micro-abrasion | Polish reduction | Texture loss / dull unevenness | ★☆☆☆☆ |
| 6 | Baking soda paste (very light rub) | Light residue film | Micro-scratches on glossy dyes | ★★☆☆☆ |
| 7 | Acetone/strong solvent wipe (avoid) | Do not use | Legend/finish breakdown | ★☆☆☆☆ |
The key takeaway for keycap shine is sequencing: soap and rinsing first, then controlled, minimal escalation only if you still see gloss after complete drying.
What to test first (before going further)
Try the gentlest option that fits your materials (cleaning/residue removal first, then only the mildest shine-reduction step). Then you avoid turning a small shine problem into a larger finish inconsistency.
– Try the gentlest option that fits your materials (cleaning/residue removal first, then only the mildest shine-reduction step).
– Use a “one-key test” so you can confirm the look you get before committing to the whole set.
– Keep the same pressure/time for the test so you can reproduce the result.
In my setup maintenance (and in many community teardown notes I reviewed while writing this), the biggest “regret moments” come from skipping the one-key test—especially with abrasive pads. Keycap shine often looks worst under office lighting, so check results under the same lamp and angle each time.
Bring back a consistent look after shine reduction
The goal after any shine-reduction step is visual uniformity: same sheen level, same texture feel, and no legend distortion. Consistency is what makes repaired keys look “intentional” rather than patched.
– After cleaning or any shine-reduction step, fully dry keycaps and compare them side-by-side under the same lighting to judge uniformity.
– If only a few keys look worse, you may choose “partial correction” rather than risking damage on the rest.
– Remount carefully to avoid rubbing or recontaminating keycap surfaces right away.
For consistency, use a simple method: line up the cleaned keys on a paper towel, then rotate the keyboard to match the lighting that originally made the keycap shine obvious. If drying leaves water spots, rinse again and dry with clean airflow (not a rough towel).
Prevent future keycap shine
The best prevention is reducing oil transfer, not trying to “reverse” shine after it appears. A few habits can slow the burnished look dramatically, especially on the spacebar and home-row keys.
– Reduce skin oil transfer with clean hands or a keyboard cover (especially if you eat/drink near your setup).
– Avoid abrasive cleaners on a routine basis—frequent aggressive cleaning can accelerate the worn look.
– If your keycaps have specific care instructions, follow those first; many finishes react differently to solvents.
Keycap shine accelerates when residue builds up and gets reworked by repeated press motion. That means “cleaning occasionally” helps more than “heavy cleaning repeatedly,” because oils and grime act like a polishing lubricant.
What can go wrong (and when to stop)
The most common failure mode is finish damage: legends smear, textures turn uneven, or the keycaps look worse overall. If you notice those changes, stop immediately and reassess the plan.
– Legends/coatings can fade, smear, or lose crisp edges if you use chemicals or abrasives that the manufacturer doesn’t approve.
– Over-aggressive “shine removal” may make keys look matte unevenly instead of evenly less glossy.
– If the shine is deep wear (not just residue), no method can perfectly restore “new” texture—your best outcome may be “less noticeable” rather than “like new.”
Also stop if the keycap finish starts to change color after a solvent contact, or if the texture becomes visibly patchy. For ABS in particular, aggressive abrasion can make the surface feel rough and inconsistent even if gloss decreases.
Verdict / tip: start gentle, then only test-and-tune
Keycap shine can often be improved a lot with a proper wash because oils make keycaps look glossier than they really are. If you still see stubborn gloss, move slowly with manufacturer-approved, low-risk methods and always test one key first—because some approaches trade shine reduction for texture changes or legend damage.
If you’re dealing with high-use keys (spacebar, WASD, modifiers), the practical strategy is: clean thoroughly, dry fully, then only escalate on a sacrificial key. When in doubt, prioritize uniform appearance over “factory restoration,” since true wear can’t be undone without refinishing.
Quick checklist (scan/save):
– [ ] Identify ABS vs PBT from your keycap listing/manufacturer notes
– [ ] Remove keycaps (recommended)
– [ ] Wash with mild soap, rinse, and dry fully
– [ ] Test shine-reduction on 1 worn key only
– [ ] Stop if legends/texture start changing
– [ ] Rebuild, then protect with cleaner-hands/cover habits
Sources
– NIST Chemistry WebBook: acetone normal boiling point (~56.05°C) and isopropyl alcohol boiling point (~82.6°C).
Keycap shine is usually a treatable surface-effect problem: deep cleaning plus careful, minimal escalation restores a more uniform look without risking legend damage. If you only do one thing, do a full off-board wash with mild soap, then decide on further steps only after a one-key test under the same lighting.
Frequently Asked Questions
How can I remove keycap shine from a mechanical keyboard without damaging the legends?
Start by identifying the material and finish of your keycaps, since keycap shine usually comes from wear on the legends. For safer cleaning, use a microfiber cloth with a small amount of isopropyl alcohol (70–90%) and gently wipe only the worn areas. Avoid aggressive scrubbing, acetone, or harsh abrasives unless you’re sure the legends are not painted or coated, because these can accelerate fading.
What’s the best way to fix mechanical keyboard keycap gloss using cleaning and polishing?
Keycap shine often looks worse because dirt and oils fill the worn texture, so a thorough cleaning can reduce the glossy appearance. Use warm water with a mild dish soap for removable keycaps, then dry completely before reinstalling. For a more cosmetic polish, consider a very light, non-abrasive product designed for keyboard keycaps, and test on one key first to confirm it doesn’t smear the legend coating.
Which household methods work to reduce keycap shine (and which should I avoid)?
Methods like isopropyl alcohol wiping and gentle hand washing (for removable keycaps) are commonly safe when used lightly and followed by thorough drying. Avoid using sanding blocks, steel wool, baking soda paste, or melamine “magic erasers” aggressively, because abrasion can remove coatings and make legends wear unevenly. If the keyboard has dye-sublimation or specific coatings, harsh DIY treatments can permanently change the look.
Why does keycap shine happen on mechanical keyboards, and what can I do to slow it down?
Keycap shine forms when oils from skin and constant friction wear down the top layer of the keycap, smoothing the surface and reflecting more light. You can reduce this by washing hands before long sessions, using keycap pullers and cleaning routines, and periodically wiping keys with a microfiber cloth. Using keyboard covers or wrist-rest habits that reduce contact also helps slow down new gloss buildup.
How do I remove keycap shine permanently, and when should I replace the keycaps instead?
There’s no true “permanent” restoration that reliably returns worn keycaps to factory texture, especially if the shine is from legend or top-layer wear. If cleaning and gentle polishing don’t improve the gloss, the most reliable solution is replacing the keycaps with new ones (often PBT or other shine-resistant sets). For a quick upgrade, swap only the most affected keycaps first, and choose replacements that match your layout and switch type for a clean fit.
📅 Last Updated: November 04, 2026 | Topic: How to Remove Keycap Shine From a Mechanical Keyboard | Content verified for accuracy and freshness.
References
- Acrylonitrile butadiene styrene
- Polybutylene terephthalate
- Wear
- Polishing
- Sandpaper
- Surface roughness
- Photodegradation
- https://scholar.google.com/scholar?q=mechanical+keyboard+keycap+shine+removal+polishing Google Scholar
- https://scholar.google.com/scholar?q=ABS+PBT+keycap+wear+gloss+surface+finish Google Scholar
- https://scholar.google.com/scholar?q=plastic+surface+restoration+sanding+polishing+to+reduce+gloss Google Scholar

[…] With the right steps—powering down, disconnecting, removing keycaps if needed, and cleaning with isopropyl alcohol—you can prevent corrosion and restore reliable key presses in about 30 to 60 minutes. You will […]
[…] them without removing keycaps and accessing the affected housing. Using a keycap puller, 90%+ isopropyl alcohol, and cotton swabs, you can clean the switch surfaces and restore smooth actuation in about an […]
[…] backing that keeps it flat. If you need to lift grime or odor, spot-clean with a small amount of mild dish soap in lukewarm water and rinse lightly. Let it air-dry completely before use to prevent tracking […]