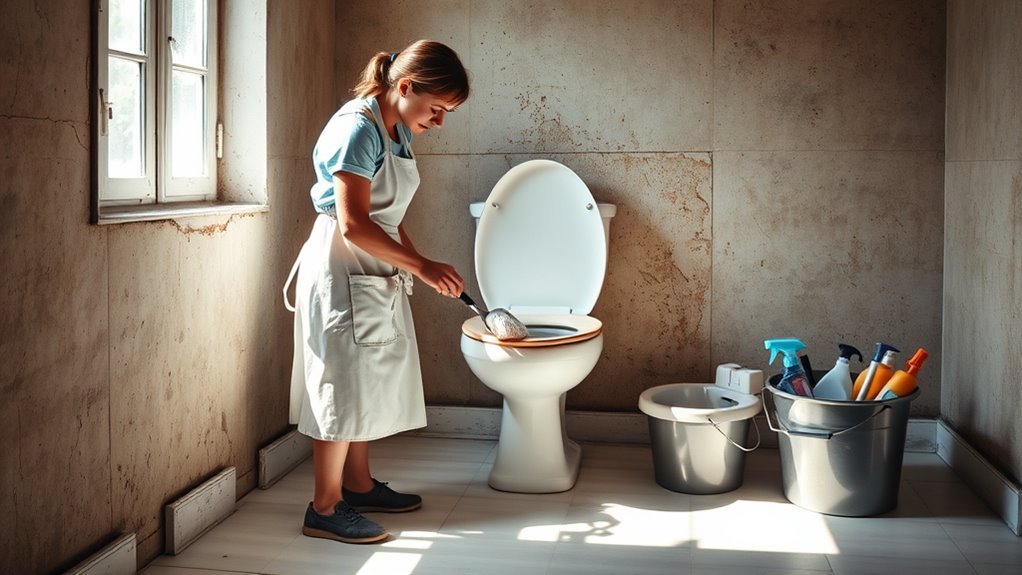
Removing Attic Stains From Toilet
To remove attic stains from toilet leaks, first identify and fix the leak by inspecting the toilet tank and plumbing. Next, assess the stain type—water or mold—and gather cleaning supplies like gloves, brushes, and mild cleaners. Clear and ventilate the attic, then scrub stains gently, rinse, and dry fully to prevent recurrence. Address any damaged insulation or drywall to avoid further issues. If problems persist, professional help might be necessary. More detailed steps will guide you through cleanup and repair.
Identifying the Source of Toilet Leaks

Before you can effectively remove attic stains caused by toilet leaks, you need to identify where the leak is coming from. Start with a thorough inspection of the toilet components—tank, bowl, supply line, and seals. Check for cracks, corrosion, or loose connections that could allow water to escape. Use leak detection methods like placing food coloring in the tank; if colored water appears in the bowl without flushing, the flapper valve may be faulty. Also, inspect the area beneath the toilet and the attic space above for visible water trails or damp spots. Detecting the exact source is essential—it lets you target repairs accurately and prevents further damage. By methodically identifying the leak, you reclaim control over your home’s condition and freedom from persistent issues.
Assessing the Extent of Attic Stains
Once you’ve pinpointed the source of the toilet leak, the next step is to assess how much damage the attic stains have caused. Accurate stain assessment helps you decide on the scope of repairs and prevents further attic damage. Carefully inspect the affected area for discoloration, mold, or structural weakening. Document your findings to track progress. Regular maintenance and timely cleaning of affected surfaces can significantly reduce long-term damage and health risks, as seen in effective disinfecting techniques.
| Stain Size | Severity Level | Possible Damage | Urgency | Recommended Action |
|---|---|---|---|---|
| Small (<1 sq ft) | Low | Surface discoloration | Low | Clean and monitor |
| Medium (1-5 sq ft) | Moderate | Minor wood warping | Medium | Clean & repair affected areas |
| Large (>5 sq ft) | High | Structural concerns | High | Professional inspection |
| Mold Presence | Critical | Health risks & decay | Immediate | Mold remediation |
| Recurrent Stains | Variable | Persistent leaks | High | Fix leak source, re-assess |
Gathering Necessary Cleaning Supplies
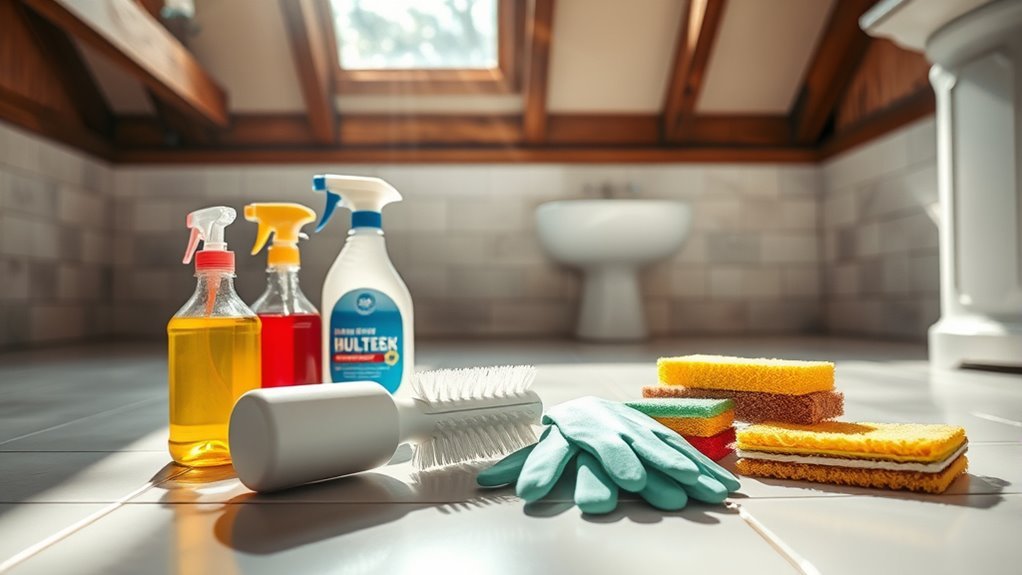
Although evaluating the stain damage is essential, gathering the right cleaning supplies is equally important to guarantee effective stain removal. Start by identifying the stain types—whether water, mold, or dirt-based—as each requires specific cleaning tools and agents. You’ll need gloves for protection, a scrub brush to tackle stubborn spots, and microfiber cloths for wiping. Depending on the stain, choose appropriate cleaners: enzymatic solutions for organic stains, mild bleach or vinegar for mildew, and general-purpose cleaners for dirt. Avoid harsh chemicals that might damage surfaces. Having a bucket for mixing solutions and a spray bottle for application helps manage the process efficiently. With these tools ready, you’ll be prepared to remove attic stains thoroughly and regain control over your space. Additionally, ensuring proper ventilation during cleaning helps maintain a safe and comfortable environment.
Preparing the Attic for Stain Removal
To prepare your attic for stain removal, start by clearing the area of any stored items and debris to guarantee unobstructed access to stained surfaces. Next, verify attic safety by inspecting the flooring and structural integrity, so you avoid accidents while working. Proper ventilation is essential; open windows or vents to circulate fresh air, reducing harmful fumes from cleaning agents. Wear protective gear, including gloves and a mask, to shield yourself from dust and chemicals. Check for any electrical wiring near the stains to prevent hazards during cleaning. Finally, set up adequate lighting to clearly see all stained areas. Following these steps guarantees a safe, well-ventilated environment, making your stain removal process effective and hassle-free. Additionally, using a detailed cleaning checklist can help you track progress and ensure no steps are missed during the preparation and cleaning process.
Step-by-Step Stain Removal Process

The first step in removing attic stains is identifying the type of stain you’re dealing with, as this determines the cleaning method you’ll use. Different stain types—like water, mold, or rust—require specific cleaning techniques. Once identified, follow these steps:
- Protect yourself with gloves and a mask to avoid exposure to harmful substances.
- Apply the appropriate cleaner based on the stain type; for example, a mildew remover for mold.
- Scrub gently with a soft brush to lift the stain without damaging surfaces.
- Rinse the area with clean water and dry thoroughly to prevent recurrence.
Using protective gear such as gloves, masks, and goggles enhances safety during stain removal.
Using Natural Remedies for Stain Treatment
Once you’ve identified the stain type and chosen the right cleaner, you might want to contemplate natural remedies as an alternative. Natural cleaners offer a safe, eco-friendly way to tackle attic stains without harsh chemicals. These DIY solutions are often cost-effective and easy to prepare. Here’s a quick guide:
| Remedy | Ingredients | Application Tip |
|---|---|---|
| Vinegar Paste | Vinegar + Baking Soda | Apply, let sit 30 mins, scrub |
| Lemon Juice | Fresh Lemon Juice | Spray on stain, wait 15 mins |
| Hydrogen Peroxide | 3% Solution | Dab on stain, rinse after 10 mins |
Using these natural cleaners can restore your attic surfaces effectively, giving you control and peace of mind in your stain treatment process. For best results, it’s important to test a small area before applying these solutions widely to avoid any damage to delicate surfaces.
Preventing Future Toilet Leaks
To prevent future toilet leaks that can cause attic stains, you should perform regular toilet maintenance and check for any signs of wear or damage. Inspecting toilet seals closely helps catch potential leaks early before they worsen. Additionally, upgrading old plumbing fixtures can improve reliability and reduce leak risks.
Regular Toilet Maintenance
Keeping your toilet in good working order is key to preventing leaks that can cause attic stains. Regular toilet maintenance isn’t just about cleaning; it’s about creating a routine that keeps everything sealed and functioning well. Here’s a simple maintenance schedule to follow:
- Perform thorough toilet cleaning weekly to avoid buildup that can hide leaks.
- Inspect the tank and bowl for cracks or wear every month.
- Check water supply lines and connections quarterly for tightness.
- Replace worn parts like flappers or seals annually to maintain a strong seal.
Inspecting Toilet Seals
Three key toilet seals need regular inspection to prevent leaks that can damage your attic: the wax ring, the tank-to-bowl gasket, and the flush valve seal. Start by checking the wax ring’s seal integrity; if you notice water pooling or a foul odor, it’s a sign the seal needs replacement. Next, inspect the tank-to-bowl gasket for any cracks or wear that might cause leaks between the tank and bowl. Finally, examine the flush valve seal inside the tank—any deterioration can cause continuous running water and leaks. Maintaining these seals guarantees your toilet operates leak-free, protecting your attic from water damage. Don’t wait for obvious signs; proactive seal replacement saves you from costly repairs and preserves your home’s freedom from moisture issues.
Upgrading Plumbing Fixtures
Upgrading your plumbing fixtures can greatly reduce the risk of future toilet leaks and the resulting attic damage. By investing in quality plumbing upgrades and choosing durable fixture materials, you take control of your home’s integrity. Consider these steps:
- Select corrosion-resistant fixture materials like brass or stainless steel to guarantee longevity.
- Opt for modern, efficient toilets designed to minimize leaks and water waste.
- Replace old supply lines with reinforced, flexible hoses to prevent cracks and ruptures.
- Install updated shut-off valves that allow quick, reliable water control during emergencies.
These targeted plumbing upgrades not only prevent leaks but also give you peace of mind and freedom from costly repairs. Taking action now secures your attic’s condition and your home’s overall health.
Repairing Damaged Attic Materials
Once you spot stains in the attic, check the insulation for damage since wet or moldy material needs removal. Next, inspect the drywall for any warping or discoloration that indicates replacement is necessary. Addressing these issues promptly prevents further structural problems and keeps your attic safe.
Identifying Damaged Insulation
Insulation plays a critical role in maintaining your attic’s energy efficiency, so identifying damage early is essential. Different insulation types—fiberglass, cellulose, spray foam—require specific attention during insulation maintenance. To spot damage, follow these steps:
- Look for damp or discolored areas indicating moisture intrusion.
- Check for compressed or flattened insulation, which reduces effectiveness.
- Identify signs of pest infestation like droppings or nesting materials.
- Notice any gaps or missing insulation that expose your attic to temperature swings.
Replacing Affected Drywall
Although identifying damaged insulation is essential, you’ll also need to address any affected drywall to fully restore your attic. Start by evaluating the extent of the damage. Choose the appropriate drywall types—standard drywall works for most areas, but moisture-resistant drywall is best near leaks. Carefully remove the damaged sections by cutting along studs for clean edges. When preparing for drywall installation, measure and cut new panels to fit precisely. Secure the drywall using screws, making sure it’s flush with existing surfaces. Finish by applying joint compound, sanding smooth, and priming before painting. This methodical approach guarantees your attic is structurally sound and ready for any finishing touches. Taking control of drywall replacement empowers you to maintain your space’s integrity and freedom from future damage.
When to Call a Professional Plumber
How do you know when it’s time to call a professional plumber for attic stains? When determining leak causes and evaluating repair options, some situations require expert help. You want to maintain control but avoid costly mistakes. Consider these signs:
- The source of the water stain is unclear after your initial inspection.
- Water damage recurs despite your attempts to fix it.
- You notice mold growth or a musty odor in your attic.
- Plumbing components are old, corroded, or visibly damaged.
If any of these apply, a professional plumber can accurately diagnose the problem and recommend effective repairs, saving you time and protecting your home. Don’t hesitate to reach out—they’re there to help you restore freedom from leaks.
Frequently Asked Questions
How Long Does It Take for Attic Stains to Appear After a Leak?
Think of attic stains like shadows—they don’t show up instantly but reveal hidden truths over time. Usually, stains appear within a few days to weeks after a leak, depending on moisture levels and ventilation. For effective leak detection, you’ll want to inspect regularly to catch issues early. Stain prevention hinges on addressing leaks promptly and ensuring proper attic airflow, giving you freedom from costly repairs and maintaining your home’s integrity.
Can Attic Stains Cause Structural Damage to My Home?
Yes, attic stains can indicate water damage that threatens your home’s structural integrity. When moisture seeps in, it can weaken wood, cause mold, and lead to rot, compromising beams and supports. You don’t want to ignore these signs because the damage might worsen over time, reducing your home’s safety and value. It’s wise to investigate and fix leaks promptly to maintain freedom from costly repairs and keep your home secure.
What Types of Toilets Are More Prone to Leaks Causing Attic Stains?
They say, “A stitch in time saves nine,” and that’s true with toilets prone to leaks causing attic stains. Toilets made from lower-quality materials like cheaper ceramics or plastic parts are more vulnerable. You’ll want to focus on plumbing maintenance, especially with older models or those with complex internal mechanisms. Regular checks guarantee small leaks don’t turn into big problems, keeping your home safe and free from costly damage.
Are Attic Stains Harmful to Indoor Air Quality?
Yes, attic stains can impact your indoor air quality because they often signal moisture problems that encourage mold growth. Mold releases indoor pollutants, which can degrade the air you breathe and cause health issues. You don’t want these hidden contaminants limiting your freedom to enjoy a clean, safe home environment. Addressing stains promptly helps prevent indoor pollutants from compromising your air quality and keeps your living space fresh and healthy.
How Can I Detect a Toilet Leak Without Accessing the Attic?
Like a detective on a mission, you can perform toilet maintenance to catch leaks early. Start by adding food coloring to the tank; if color seeps into the bowl without flushing, you’ve got a leak. Listen for continuous running water or check your water bill for unexplained spikes—both signs of leak detection. These simple steps help you maintain your freedom from costly water damage without needing attic access.


