Budget-Friendly DIY Cleaning Products for Sink
You can easily keep your sink spotless with budget-friendly DIY cleaners using simple ingredients like baking soda and vinegar. Mix them into a paste to tackle stains or combine citrus peels and vinegar for a natural degreaser that cuts grease effectively. Lemon juice helps remove tough stains, while gentle dish soap made from castile soap keeps your sink clean without harsh chemicals. With some natural disinfectants and daily care, you’ll have a sparkling sink in no time. Explore more easy, eco-friendly cleaning hacks to perfect your routine.
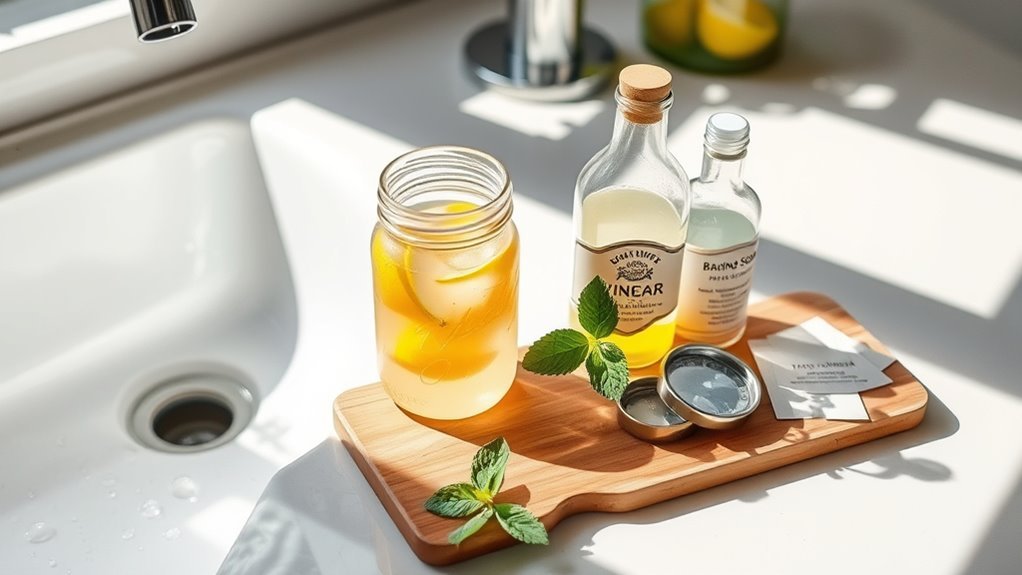
Essential Ingredients for Homemade Sink Cleaners
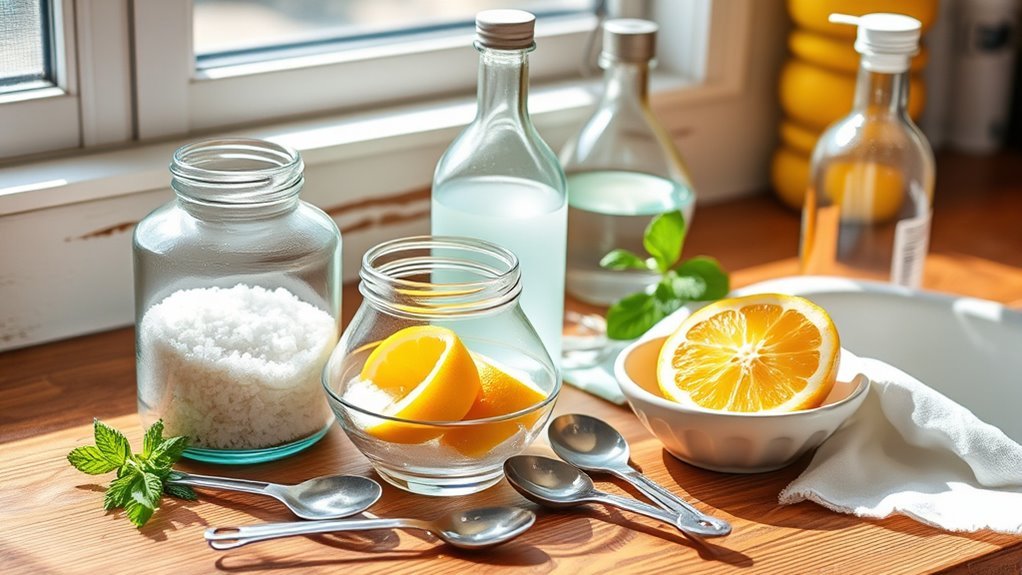
Before you start mixing your own sink cleaner, you’ll want to gather a few essential ingredients that are both effective and safe. First, baking soda is a must-have for its gentle abrasive power that lifts grime without scratching surfaces. White vinegar complements it perfectly, breaking down mineral deposits and cutting through grease. To add a fresh scent and boost cleaning benefits, consider essential oils like tea tree, lemon, or eucalyptus. These oils not only smell great but also have natural antibacterial properties that help keep your sink hygienic. By choosing these simple ingredients, you maintain control over what you put in your home, avoiding harsh chemicals and embracing freedom in your cleaning routine. This way, you’re set to clean efficiently and naturally.
How to Make a Baking Soda and Vinegar Paste
You’ll need just a few simple ingredients: baking soda and vinegar, mixed in the right amounts to create a thick paste. Applying this paste to tough stains lets it break down grime effectively without harsh chemicals. Follow some easy tips to get the best results and keep your surfaces sparkling clean.
Ingredients and Measurements
Although it might seem simple, getting the right ingredients and measurements is key to making an effective baking soda and vinegar paste. You’ll want to start with about ½ cup of baking soda—the base that tackles grime—and mix it with roughly ¼ cup of white vinegar. This balance keeps the paste thick enough to stick but active enough to clean. If you need to adjust quantities, remember the ingredient ratios: two parts baking soda to one part vinegar. For ease, use basic measurement conversions—tablespoons work fine too (8 tablespoons baking soda to 4 tablespoons vinegar). Keeping these ratios precise guarantees your DIY paste stays powerful without wasting ingredients, giving you the freedom to clean efficiently and affordably every time.
Application and Cleaning Tips
Once you’ve mixed your baking soda and vinegar paste, applying it correctly is essential for maximum cleaning power. Start by spreading the paste evenly over your sink’s surface, focusing on stains and buildup. Let it sit for 10–15 minutes to break down grime. Then, scrub gently with a soft brush or sponge to avoid scratches. Rinse thoroughly with warm water to flush away residue. Incorporate this paste into your regular cleaning routines for effective sink maintenance—doing so keeps your sink fresh and prevents stubborn buildup. Remember, consistent care means less elbow grease over time. Using this simple, budget-friendly method gives you the freedom to maintain a sparkling sink without harsh chemicals or expensive products. Stick to these tips, and your sink will stay clean and inviting effortlessly.
Creating a Citrus-Based Degreaser
You’ll love how citrus oils cut through grease naturally while leaving a fresh scent behind. With just a few simple ingredients like lemon juice and essential oils, you can whip up an effective degreaser in no time. I’ll also share some handy tips to make sure your homemade cleaner works its best.
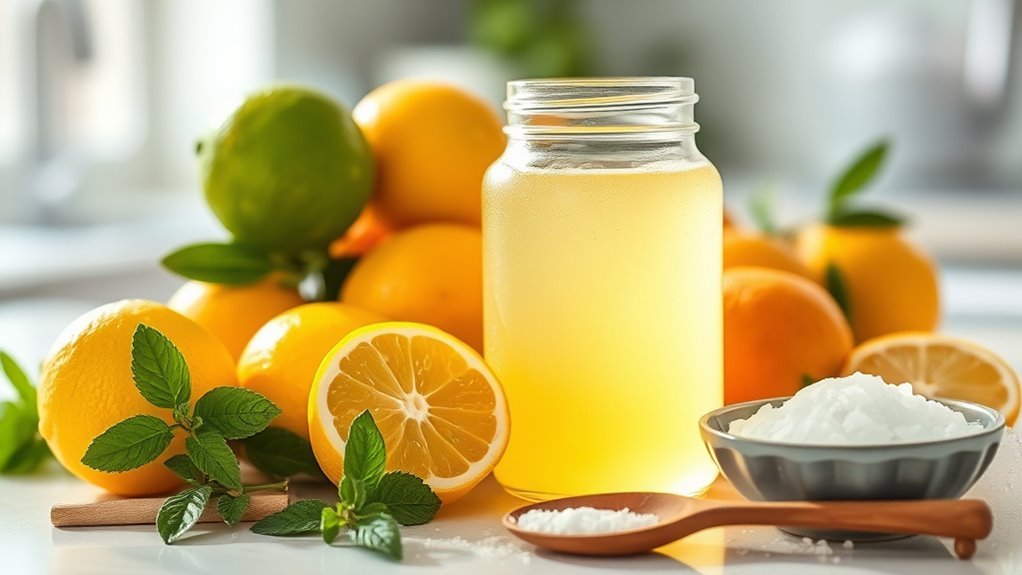
Benefits of Citrus Oils
Why choose citrus oils for your DIY degreaser? Citrus benefits go beyond their fresh scent—they’re powerful natural solvents that cut through grease and grime without harsh chemicals. When you extract oils from citrus peels, you tap into concentrated compounds like limonene, which effortlessly dissolve sticky residues. This oil extraction process preserves the oils’ cleaning strength, giving you an effective, eco-friendly solution. Using citrus oils means you’re choosing freedom from synthetic cleaners, reducing toxins in your home while still getting the job done. Plus, they’re versatile and budget-friendly, making your cleaning routine simpler and safer. Embrace citrus oils, and you’ll enjoy a fresh, clean sink without sacrificing your health or the environment. It’s a smart, natural choice for anyone craving freedom in their cleaning products.
Simple Ingredient Combinations
Harnessing the power of citrus oils is just the beginning when making your own degreaser. You can easily blend a few simple ingredients to create an effective, budget-friendly cleaner that frees you from harsh chemicals. Here’s a straightforward mix to try:
- Fresh citrus peels or essential oils for natural grease-cutting power.
- White vinegar to boost cleaning strength and break down grime.
- Water to dilute and balance the formula.
- A dash of liquid soap to lift away stubborn residues.
This combo not only tackles grease but pairs nicely with your simple sugar scrubs or homemade salt scrubs for a complete sink cleaning routine. By mixing these elements, you maintain freedom from pricey, commercial cleaners and stay in control of what touches your surfaces.
Application Tips and Tricks
When applying your citrus-based degreaser, it’s important to let it sit for a few minutes to break down tough grease before wiping. This pause maximizes the natural power of citrus oils, making your cleaning efforts more effective. Use gentle circular motions with a soft cloth or sponge to lift grime without damaging surfaces. For stubborn spots, reapply and let it work a bit longer. After cleaning, rinse thoroughly to avoid residue buildup, which supports better sink organization and prevents clogs. Incorporating these cleaning techniques not only frees you from harsh chemicals but also keeps your sink area fresh and clutter-free. Embrace this simple routine to maintain a sparkling sink while enjoying the freedom of DIY solutions tailored to your home’s needs.
Using Lemon Juice for Stain Removal
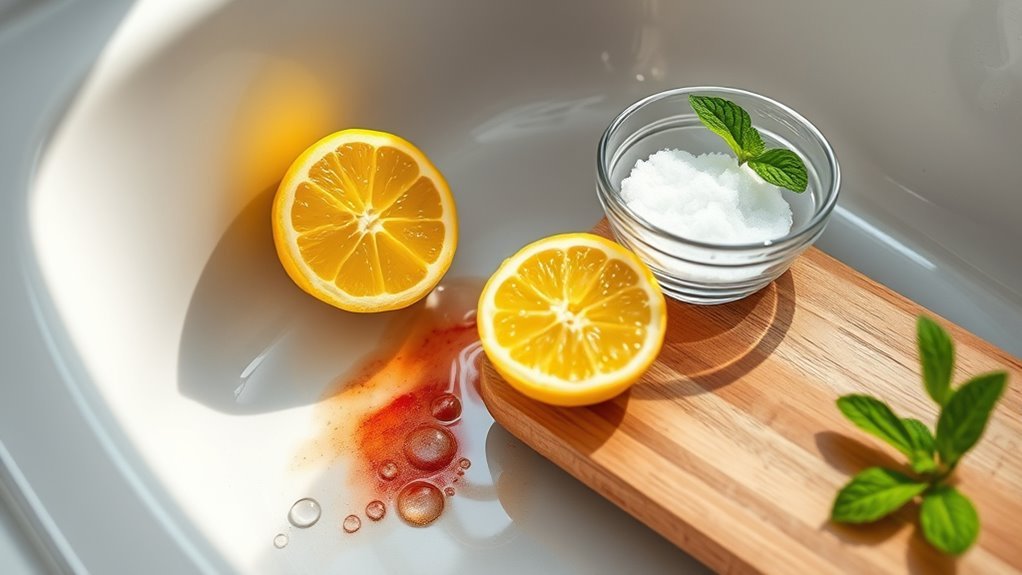
One simple ingredient you probably have in your kitchen can tackle a variety of stains: lemon juice. Its natural acidity makes it perfect for stain removal, giving you an effective, budget-friendly option without harsh chemicals. Here’s how you can use lemon juice for stain removal in your sink area:
- Squeeze fresh lemon juice directly onto the stain.
- Let it sit for 5-10 minutes to break down grime.
- Scrub gently with a soft brush or sponge.
- Rinse thoroughly with warm water.
Using lemon juice gives you freedom from expensive cleaners while keeping things natural and safe. Plus, its fresh scent leaves your sink smelling clean and bright. Give it a try next time stains appear—you’ll be surprised how well lemon juice works!
Crafting a Gentle Dish Soap Solution
Although store-bought dish soaps can be harsh on your skin and the environment, you can easily craft a gentle dish soap solution at home using simple, natural ingredients. Start with liquid castile soap as your base—it’s biodegradable and mild. Add a few drops of vegetable glycerin to keep your hands soft, and mix in essential oils like lemon or tea tree for a fresh scent and extra cleaning power. This blend offers a safe, effective alternative to commercial products filled with harsh chemicals. By choosing these gentle ingredients, you’re not only protecting your skin but also reducing your ecological footprint. Embracing these dish soap alternatives gives you freedom from toxins and lets you take control of your cleaning routine with confidence and care.
Natural Disinfectant Sprays for Sinks
Since sinks are a hotspot for germs and bacteria, using a natural disinfectant spray can keep your kitchen clean without relying on harsh chemicals. You want natural alternatives that combine safety with disinfectant effectiveness. Here’s a simple DIY spray you can make:
- Mix 1 cup white vinegar with 1 cup water for a base that cuts through grime.
- Add 10 drops tea tree oil, known for its antimicrobial properties.
- Include 10 drops lemon essential oil for a fresh scent and added disinfectant power.
- Shake well and spray directly onto your sink; let it sit for 5 minutes, then rinse.
This combo provides a powerful, chemical-free way to disinfect your sink, giving you freedom from toxins while keeping your kitchen hygienic and fresh.
Tips for Maintaining a Sparkling Sink Daily
If you want your sink to stay sparkling every day, a few simple habits can make all the difference. Embrace daily maintenance by rinsing your sink after each use to prevent grime buildup. Wipe down surfaces with a homemade cleaner, like a mix of vinegar and water, to maintain sink hygiene effortlessly. Avoid letting food scraps or soap residue sit, as they invite stains and odors. Dry your sink with a soft cloth to keep water spots at bay and preserve that shine. By integrating these quick steps into your routine, you’ll enjoy a fresh, clean sink without the hassle. Staying consistent lets you reclaim your time and freedom, all while keeping your sink sparkling and inviting day after day.
Eco-Friendly Tools to Enhance Your Cleaning Routine
Keeping your sink spotless every day is easier when you have the right tools on hand. Choosing eco friendly brushes and biodegradable sponges not only helps the environment but also gives you the freedom to clean guilt-free. Here’s how you can enhance your routine:
- Use eco friendly brushes with natural bristles to scrub without scratching surfaces.
- Swap out plastic sponges for biodegradable sponges that break down naturally.
- Opt for reusable microfiber cloths to wipe away grime without waste.
- Select a wooden-handled brush for durability and a stylish, sustainable touch.
Frequently Asked Questions
Can These DIY Cleaners Damage Sink Materials Like Granite or Stainless Steel?
You might worry that homemade cleaners could harm your sink’s surface, but with the right recipes, they’re both effective and safe. When you choose DIY solutions, focus on material compatibility—like avoiding acidic ingredients on granite or harsh abrasives on stainless steel—to preserve their finish. This way, you keep cleaning effectiveness high without risking damage. You get the freedom to customize your cleaner, protecting your sink while saving money.
How Long Can Homemade Cleaning Products Be Stored Safely?
You’ll find homemade cleaning products usually have a shelf life of about one to two weeks because natural ingredients can break down quickly. To keep them fresh, store your DIY cleaners in airtight containers away from direct sunlight and extreme temperatures. Labeling your bottles with the date you made them helps you track freshness. Following these storage tips lets you enjoy your cleaning freedom without worrying about expired mixtures.
Are These DIY Cleaners Safe to Use Around Pets and Children?
Imagine it’s the Renaissance, and you’re concocting potions—just like today’s DIY cleaners. You’ll love that many homemade recipes prioritize pet safety and child safety, using natural ingredients instead of harsh chemicals. But don’t get too relaxed; always double-check each component to verify it’s non-toxic. By doing so, you maintain your freedom to clean effectively without worrying about your little ones or furry friends wandering into danger.
Can I Use These Cleaning Products on Other Kitchen Surfaces?
You can definitely use these cleaning products for multi surface usage in your kitchen. They’re effective kitchen cleaners that work well on countertops, stovetops, and even cutting boards. Just make sure to test a small area first to avoid any damage. Using DIY cleaners gives you the freedom to keep your whole kitchen sparkling without relying on harsh chemicals. You’ll love how versatile and safe they are for everyday use!
What Should I Do if a DIY Cleaner Causes Skin Irritation?
If irritation invades, immediately implement skin irritation remedies to soothe the sting. Swiftly stop using the substance and rinse your skin with running water to remove residues. To avoid skin contact in the future, wear gloves and protective gear when crafting cleaners. Freedom from discomfort means you’ll want to carefully consider ingredients and always do patch tests. Prioritize protection and prevention to preserve your skin’s peace and your cleaning confidence.


