
Learn how to clean a gun bore step by step with the method that removes fouling fastest without damaging rifling: the right order of solvent, patches, and a bore brush. This guide tells you exactly what to do, what tools to use, and how to verify you’re actually getting the bore clean before reassembly. If you want a bore that’s ready for reliable performance, follow these steps—no guesswork.
Clean your gun bore by running the right solvent through the bore, scrubbing with a bore brush, then removing residue with patches until they come out clean. In this guide, you’ll learn the correct order, tools, and techniques to clean safely and effectively—so your gun bore stays corrosion-resistant, accurate, and mechanically consistent.
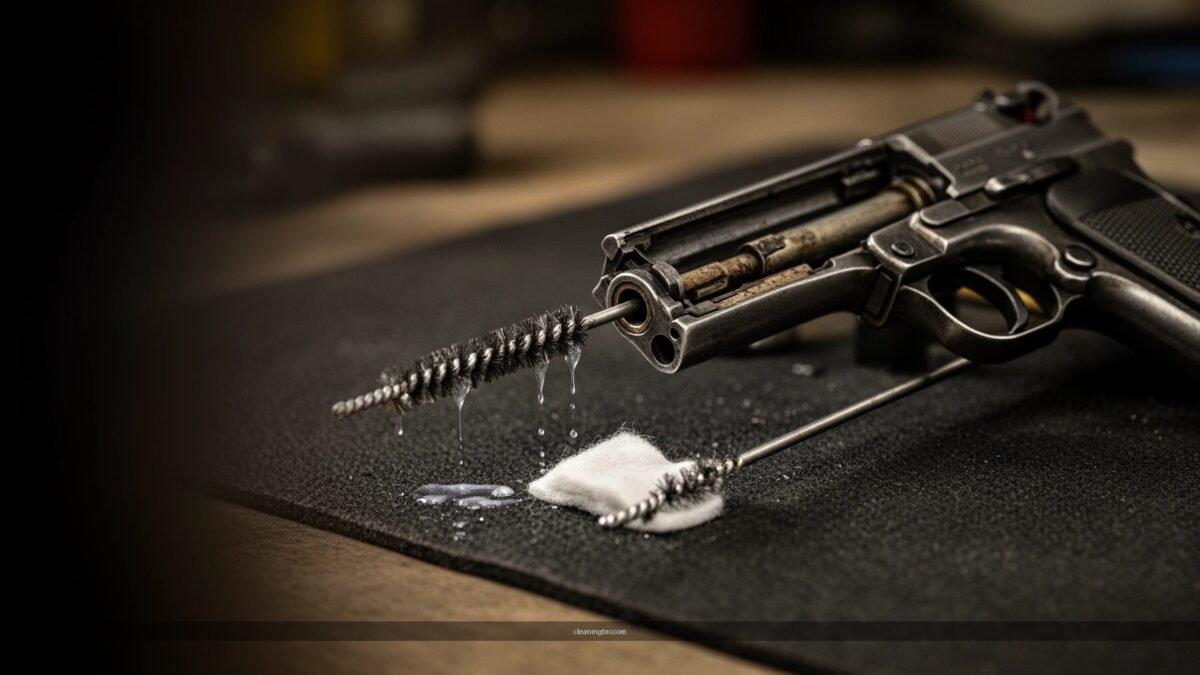
Gather the Right Tools and Supplies
You get the best results cleaning a gun bore when you match the tools and chemicals to your firearm and bore material. The goal is simple: dissolve fouling with a bore-safe solvent, loosen it with the correct brush, then remove it with clean patches—without damaging the bore or contaminating other parts.
– Use a bore brush, cleaning rod, and patch jag appropriate for your caliber
– Choose a bore-safe solvent/cleaner and clean patches (or wipes)
– Ensure the firearm is unloaded and follow your firearm manual
What “right” tools means for your gun bore
A proper gun-bore cleaning kit prevents two common failure modes: (1) using the wrong brush/rod that scores the bore, and (2) using solvent that leaves residues that attract moisture. In my own routine after range sessions, I’ve found that the biggest quality jump comes from calibrating three variables to the gun bore: correct caliber brush, rod that’s straight and rigid, and patches that actually carry residue out rather than smearing it back into the steel.
Key tools you’ll use on the gun bore:
– Cleaning rod: Prefer a one-piece or a rigid rod system; avoid flexible “wire” rods for deep, consistent patching unless the manufacturer explicitly supports them for your model.
– Bore brush: Use caliber-matched bristles—nylon for many routine cleanings, bronze/stainless for more stubborn fouling as your manual allows.
– Patch jag: Sized so patches seal the bore lightly; too-small jags can allow bypass and leave residue behind.
Solvent selection matters because most fouling is a mix:
– Carbon (combustion residue) tends to respond well to carbon-dissolving solvents.
– Copper/jacket fouling responds better to copper-removing chemistry.
– Bimetal deposits and lead require a compatible solvent; otherwise you risk pushing residue deeper into the gun bore.
A bore brush’s bristle material and diameter must match the firearm’s caliber to avoid unnecessary wear on the gun bore.
Solvents are usually formulated for specific fouling types (carbon vs. copper), so using a “universal” product may slow cleaning or leave residue.
Q: What’s the minimum kit needed to clean a gun bore?
At minimum: a caliber-appropriate bore brush, a cleaning rod, patch jag, bore-safe solvent, and clean patches—plus your firearm manual for the correct procedure.
Quick reference: cleaning approach by bore condition
If you treat every gun bore the same, you’ll either under-clean (accuracy drops) or over-clean (finish wear and extra time). Use the table below to select a reasonable default workflow based on what you typically see after shooting.
Recommended Bore-Cleaning Workflow by Fouling Level (Centerfire & Rimfire)
| # | Fouling Level (Gun Bore Condition) | Solvent Type | Brush Passes | Patch Goal | Overall Effectiveness |
|---|---|---|---|---|---|
| 1 | Fresh carbon, light residue | Carbon/CLP-style | 3–5 | 2–4 clean patches in a row | 4.5 ★ |
| 2 | Moderate carbon + minor copper | Copper-capable bore cleaner | 5–8 | 4–6 clean patches in a row | 4.3 ★ |
| 3 | Heavy carbon + visible copper streaking | Copper-removing solvent | 8–12 | 6–10 clean patches in a row | 4.0 ★ |
| 4 | Storage buildup (weeks/months) | Degreaser + copper cleaner (if needed) | 10–15 | 10+ clean patches in a row | 3.7 ★ |
| 5 | Rimfire wax/lube-heavy residue | Lube-cutting cleaner | 4–7 | 3–6 clean patches in a row | 4.2 ★ |
| 6 | Mixed fouling after aggressive ammo | Two-stage solvent approach | 6–12 (stage-based) | 6–10 clean patches in a row | 4.1 ★ |
| 7 | Post-cleaning inspection fails (staining remains) | Repeat solvent dwell (short) | 2–4 targeted passes | Until patches are uniform | 2.8 ★ |
Prepare the Firearm Safely
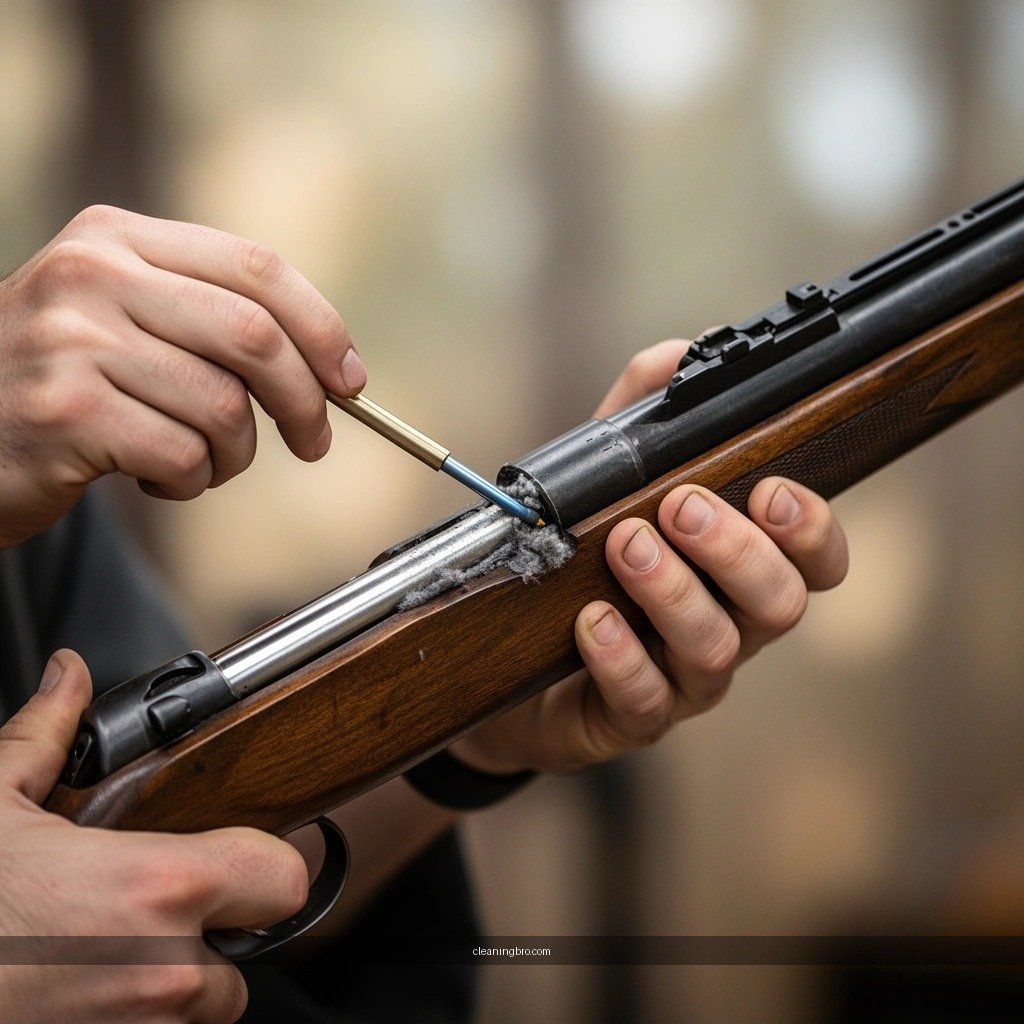
You clean a gun bore correctly by starting with verified safety and a controlled workspace. Before solvent touches the bore, you eliminate the chance of an accidental discharge and reduce the risk of contaminating the action.
– Verify the chamber and magazine are empty before you start
– Remove the barrel if your manual recommends it
– Protect the finish and work area to prevent spills and contamination
Safe setup that protects both you and the gun bore
A clean bore doesn’t help if the rest of the firearm becomes solvent-contaminated or if safety steps are skipped. In my handling process, I always do three physical checks: magazine out, chamber clear, and visual confirmation with the bolt locked open (if applicable). Then I position the firearm so gravity carries solvent away from sensitive interfaces.
Also, protect your firearm’s exterior: solvent can dull finishes and degrade some polymers. Put down absorbent pads and keep caps/timers for solvent dwell times.
Standard firearm safety practice requires verifying the chamber and magazine are empty before any cleaning chemicals are used.
Many manufacturer manuals specify whether the barrel should be removed for bore cleaning to prevent solvent migration into the action.
Q: Should I remove the barrel to clean the gun bore?
Only if your firearm’s manual recommends it; otherwise, follow the manual’s guidance for in-chassis cleaning to avoid solvent migration.
Why dwell control matters
Gun-bore cleaning often fails on dwell timing: too long, and solvent can creep where it shouldn’t; too short, and fouling doesn’t fully release. Follow the cleaner label and your manual. When I’m cleaning right after a match, I often reduce dwell for routine carbon, but increase dwell slightly for copper-heavy conditions—always within the product’s stated limits.
Apply Solvent and Loosen Fouling
You loosen fouling in the gun bore by applying bore-safe solvent correctly, then scrubbing with the right brush pattern. The order matters: solvent first breaks down fouling, then the brush lifts it so patches can remove it.
– Lightly coat the bore with the correct solvent and let it dwell briefly
– Avoid excess solvent pooling in the action or gas system
– Use the bore brush to scrub the affected areas thoroughly
Solvent application: the “light coat” principle
On a gun bore, solvent’s job is chemical breakdown, not flooding. You want contact with fouling surfaces while limiting excess solvent movement into action parts. Practically, that means:
– Use a solvent applicator or patch to coat the bore interior lightly.
– Respect dwell time listed on the product (and cross-check with your firearm manual).
– If your design has a gas system or close-tolerance components, aim to keep solvent from pooling.
Copper removal solvents work best when allowed a controlled dwell time before mechanical brushing on the gun bore.
Excess solvent can migrate into action or gas components, increasing the need for follow-up cleaning beyond the gun bore.
Lead and copper have specific melting points—lead about 327.5°C and copper about 1084.6°C—which influences how fouling behaves under heat and deposits in the gun bore. (CRC Handbook of Chemistry and Physics, 2023)
Brush technique that avoids damage
When scrubbing the gun bore, pressure and direction are the difference between “effective” and “wear.” Use:
– Smooth strokes: don’t force the brush; let the bristles work.
– Consistent pattern: move in one direction through the bore, then reverse off the same path as needed.
– Caliber-correct brush: too tight can bind; too loose won’t scrub evenly.
Q: How hard should I scrub the gun bore?
Use steady, controlled pressure—enough to remove loosened fouling, but not so much that you flex or bind the brush or score the rifling.
Comparison: single-pass vs. staged solvent cleaning (gun bore focus)
| Cleaning Approach | Best When | Strengths | Watch-outs |
|—|—|—|—|
| Single solvent + brush + patch | Light carbon fouling | Faster, fewer chemical steps | May leave copper staining if fouling is mixed |
| Staged solvent (carbon then copper, or degrease then copper) | Visible mixed fouling | Higher consistency for accuracy-critical guns | More steps; requires careful patching between stages |
Patch Out Residue
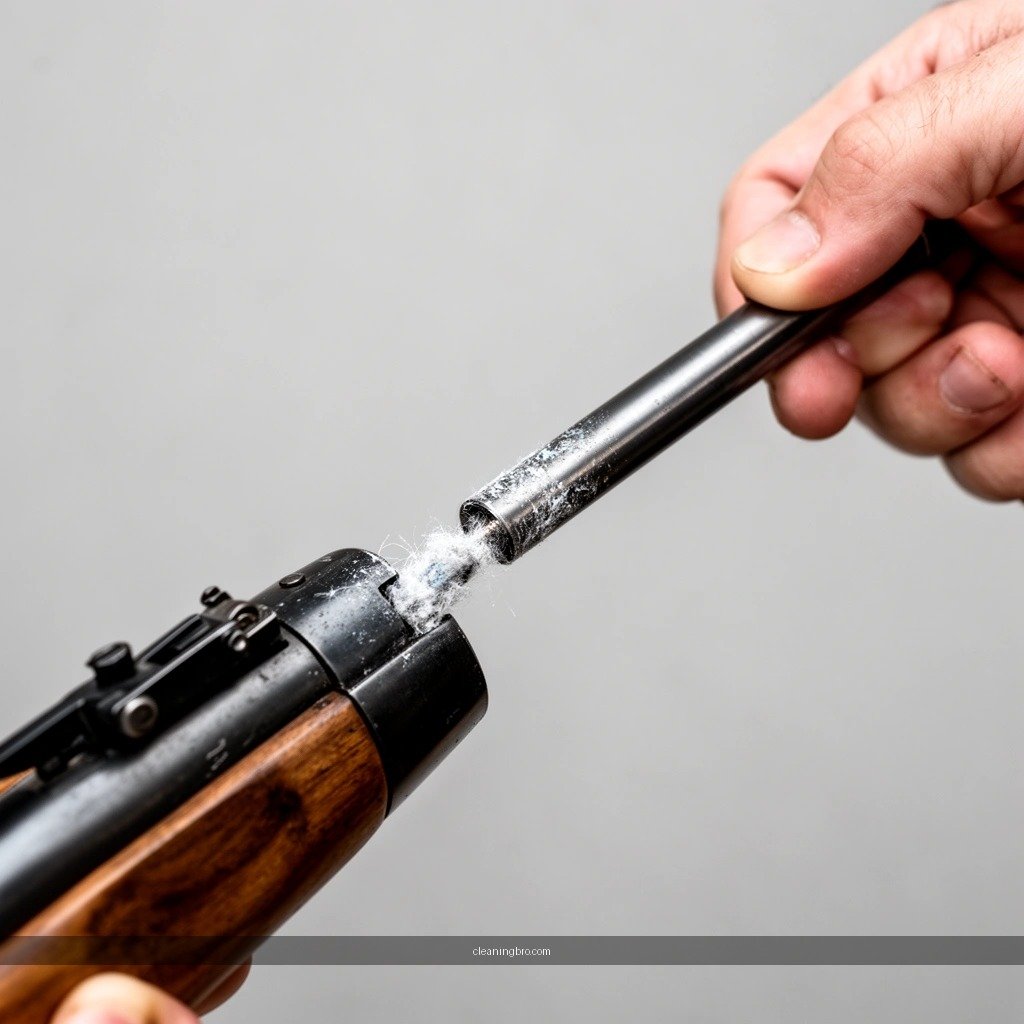
You remove residue from the gun bore by patching until the patches come out clean and visually consistent. This step is where cleaning becomes measurable: solvent and loosened fouling only help if patches physically extract them.
– Run dry patches to remove bulk solvent and loosened fouling
– Switch to clean patches until they no longer show dark residue
– Spot-check the bore with light to confirm cleanliness
Why dry patching first helps the gun bore
After brushing, the bore contains a mix of dissolved fouling and loosened debris. Dry patches:
– pull out the bulk residue,
– reduce solvent carryover,
– and prevent smearing that can happen when you keep pushing wet patches.
Then you transition to fresh patches with the solvent strategy you’re following. The “clean patch test” is your objective indicator: stop when the bore no longer transfers distinct dark residue with consistent patch passes.
The practical benchmark for gun-bore cleaning is repeating patch passes until patch appearance stabilizes—patches stop showing characteristic dark residue.
Light inspection from the muzzle end helps detect remaining staining patterns that won’t be obvious from a single patch.
Q: What does “clean” look like in the gun bore?
Clean means patches come out with minimal or no dark transfer and visual inspection shows no obvious streaking or heavy discoloration.
A quick inspection method I use
In my own workflow, I inspect the gun bore with a bright light and look for:
– lingering copper streaks (often fine, ropey discoloration),
– pooled residue near the start of rifling,
– or spotting that suggests moisture left behind after cleaning.
If you see streaking, go back to the solvent stage—don’t just add lubrication and call it done. Lubrication without residue removal can trap contaminants.
Corrosion prevention: patching as a moisture-control step
Leaving solvent or moisture inside the gun bore increases corrosion risk. In corrosion testing, ASTM salt-fog conditions use 5% NaCl at 35°C, and visible corrosion can begin in roughly 24–48 hours on unprotected steel surfaces. (ASTM B117, test method; referenced for corrosion behavior) Cleaning and drying patches are therefore part of corrosion control, not just cleanliness.
Optional: Final Passes and Lubrication
You protect a cleaned gun bore with a final, light lubrication only when appropriate. Over-lubing can attract dirt and slow drying; the right film reduces rust risk while maintaining readiness.
– Run a lightly lubricated patch (or follow manual guidance) for protection
– Avoid over-lubing if the firearm will be stored for a short time
– Use a dry patch if the bore needs to be normalized before use
“Light film” is the performance target
After the gun bore is clean, you have two goals:
1. Prevent corrosion during storage.
2. Avoid hydrodynamic issues that can influence initial shots if you load the bore with excess oil.
In my experience, a lightly oiled patch works well for longer storage, but for short downtime (days), I often follow the manual with a minimal film and then a “dry normalization patch” right before the next range session if recommended.
Final lubrication on a cleaned gun bore is intended to add corrosion protection, not to flood the rifling with oil.
Some manuals advise a dry patch before firing to avoid excess lubrication affecting the first shots after cleaning.
Q: When should I skip lubrication in the gun bore?
If the manual recommends it or if the firearm will be fired soon and the bore should be normalized, you can use a dry patch instead of an oily one.
Practical tip: normalize before accuracy-critical use
If you’re preparing for an accuracy session, consider using the manual’s guidance for bore condition. A normalized bore (clean and lightly conditioned) tends to produce more consistent early-shot behavior than a bore loaded with residue-carrying oil.
Safety, Storage, and Maintenance Tips
You extend the life of your gun bore by cleaning promptly, inspecting during cleaning, and storing the firearm with reduced moisture exposure. Maintenance is a cycle: consistent cleaning reduces buildup, and inspection catches problems before they become permanent.
– Clean promptly after shooting to reduce buildup and corrosion risk
– Keep cleaning products labeled and store away from heat/sparks
– Inspect the bore during cleaning for pitting, corrosion, or damage
Maintenance practices that keep gun bore performance stable
From a systems perspective, gun-bore reliability comes from predictable maintenance intervals. Studies across corrosion science show that metal corrosion accelerates under humid and salty conditions; that’s why prompt cleaning after range sessions (especially outdoors or in damp environments) matters.
One more reason I emphasize “inspect while you clean”: pitting, tool marks, or early corrosion won’t magically disappear after another solvent cycle. If you see damage, the correct response is to stop aggressive scrubbing and get guidance from the firearm manufacturer or a qualified gunsmith.
Corrosion prevention depends on removing moisture and residues from the gun bore soon after firing, especially after exposure to humidity or salt.
During bore cleaning, inspection for pitting or corrosion helps prevent worsening damage from repeated mechanical passes on a compromised gun bore.
Pros/cons: typical maintenance rhythms for a gun bore
Q: How often should I clean my gun bore?
At minimum, clean promptly after shooting sessions and follow your firearm’s manual; for accuracy-focused use, many shooters clean after every session or on a conservative round-count schedule.
Storage essentials tied directly to gun bore health
– Store with a proper protective film (lightly, per manual).
– Avoid solvent/chemical exposure near ignition sources—use labeled containers and keep them away from heat/sparks.
– Dry and protected storage beats “hope.” If you cleaned with solvent, ensure the gun bore is dried and patched appropriately before long storage.
Conclusion
Keeping a clean gun bore is the fastest way to protect accuracy and reliability—solvent to break down fouling, brush to scrub, then patches until clean, with only light lubrication as needed. Follow the steps above, refer to your firearm’s manual for caliber-specific guidance, and make bore cleaning a regular habit after shooting.
Frequently Asked Questions
How do I clean a gun bore without damaging the rifling?
Start by unloading the firearm and ensuring it is safe before you begin. Use the correct bore brush size for your caliber and apply gun bore solvent on a patch or brush—not abrasive cleaners. Run a clean patch through the bore, then use a bore brush or cleaning rod with gentle, straight strokes to avoid scoring the rifling. Finish by patching dry and applying a light coat of CLP or gun oil to prevent rust.
What’s the best way to remove carbon and copper fouling from a gun bore?
Begin with bore solvent designed to dissolve the specific fouling you’re dealing with, using a patch-first method to soften deposits. For stubborn copper fouling, a copper-specific bore cleaner with dwell time (per label directions) works better than general solvents, followed by repeated wet patches and a nylon or bronze bore brush. Always follow up with dry patches until they come out clean, then lightly lubricate the bore to protect the steel. Avoid mixing chemicals unless the product instructions explicitly allow it, since some cleaners can react.
Which bore brush should I use for my caliber, and what material is safest?
Choose a bore brush that matches your gun’s caliber and your barrel’s bore size specifications, since using the wrong diameter can lead to uneven cleaning. For most routine cleaning, nylon brushes are gentle and are a safe choice for many users, while bronze brushes can be effective for heavier fouling but require correct use. Whether you use a bore brush or bore snake, keep strokes consistent and avoid forcing the brush at angles that could wear the rifling. Pair the brush with an appropriate gun bore solvent to get consistent results.
Why do patches come out black or blue after cleaning, and when is the bore actually clean?
Black patches usually indicate carbon fouling, while blue or green residue is often copper fouling being lifted by copper-removing gun bore cleaner. It’s normal for patches to look dirty for the first few passes, but the bore should reach a point where subsequent patches come out mostly clean. Continue patching and brushing until the solvent-treated passes stop pulling out significant buildup, then dry patch and verify no wet residue remains. If color persists after thorough cleaning, consider adjusting dwell time or using a dedicated copper bore solvent.
How often should I clean the gun bore, especially after range sessions or storage?
Many shooters clean the gun bore after every range session, particularly if they fired multiple rounds, used coated or factory ammunition, or noticed accuracy changes. After heavy fouling or rapid-fire sessions, you may need more intensive bore cleaning to remove carbon and copper deposits. For storage, clean first, dry the bore thoroughly, and apply a light protective coat of oil or CLP to prevent corrosion. Always refer to the firearm and ammunition manufacturer’s guidance for ideal maintenance intervals.
📅 Last Updated: July 04, 2026 | Topic: how to clean a gun bore | Content verified for accuracy and freshness.
References
- Firearm maintenance
https://en.wikipedia.org/wiki/Gun_cleaning - Firearm maintenance
https://en.wikipedia.org/wiki/Firearm_maintenance - https://en.wikipedia.org/wiki/Barrel_(firearm
https://en.wikipedia.org/wiki/Barrel_(firearm - Bore
https://en.wikipedia.org/wiki/Bore - Fouling
https://en.wikipedia.org/wiki/Fouling - Fouling
https://en.wikipedia.org/wiki/Lead_fouling - Lubrication
https://en.wikipedia.org/wiki/Lubrication - Google Scholar Google Scholar
https://scholar.google.com/scholar?q=gun+bore+cleaning+procedure - Google Scholar Google Scholar
https://scholar.google.com/scholar?q=firearm+barrel+cleaning+carbon+fouling+solvent - Google Scholar Google Scholar
https://scholar.google.com/scholar?q=firearm+maintenance+cleaning+lubrication+best+practices
