
Looking for how to clean an Air Innovations humidifier the right way? This step-by-step guide shows exactly how to deep-clean the tank, base, and mist parts so the unit runs smoothly and won’t spread mineral buildup. Follow these instructions and you’ll know what to use, what to avoid, and how often to clean for the best results.
Clean your Air Innovations humidifier by emptying it, rinsing the tank, soaking parts in a vinegar solution, scrubbing off mineral scale, and letting everything fully dry before reassembling. This routine targets the two main performance killers—mineral buildup (especially from hard water) and biofilm/odor growth—so your unit can produce clean, consistent mist again.
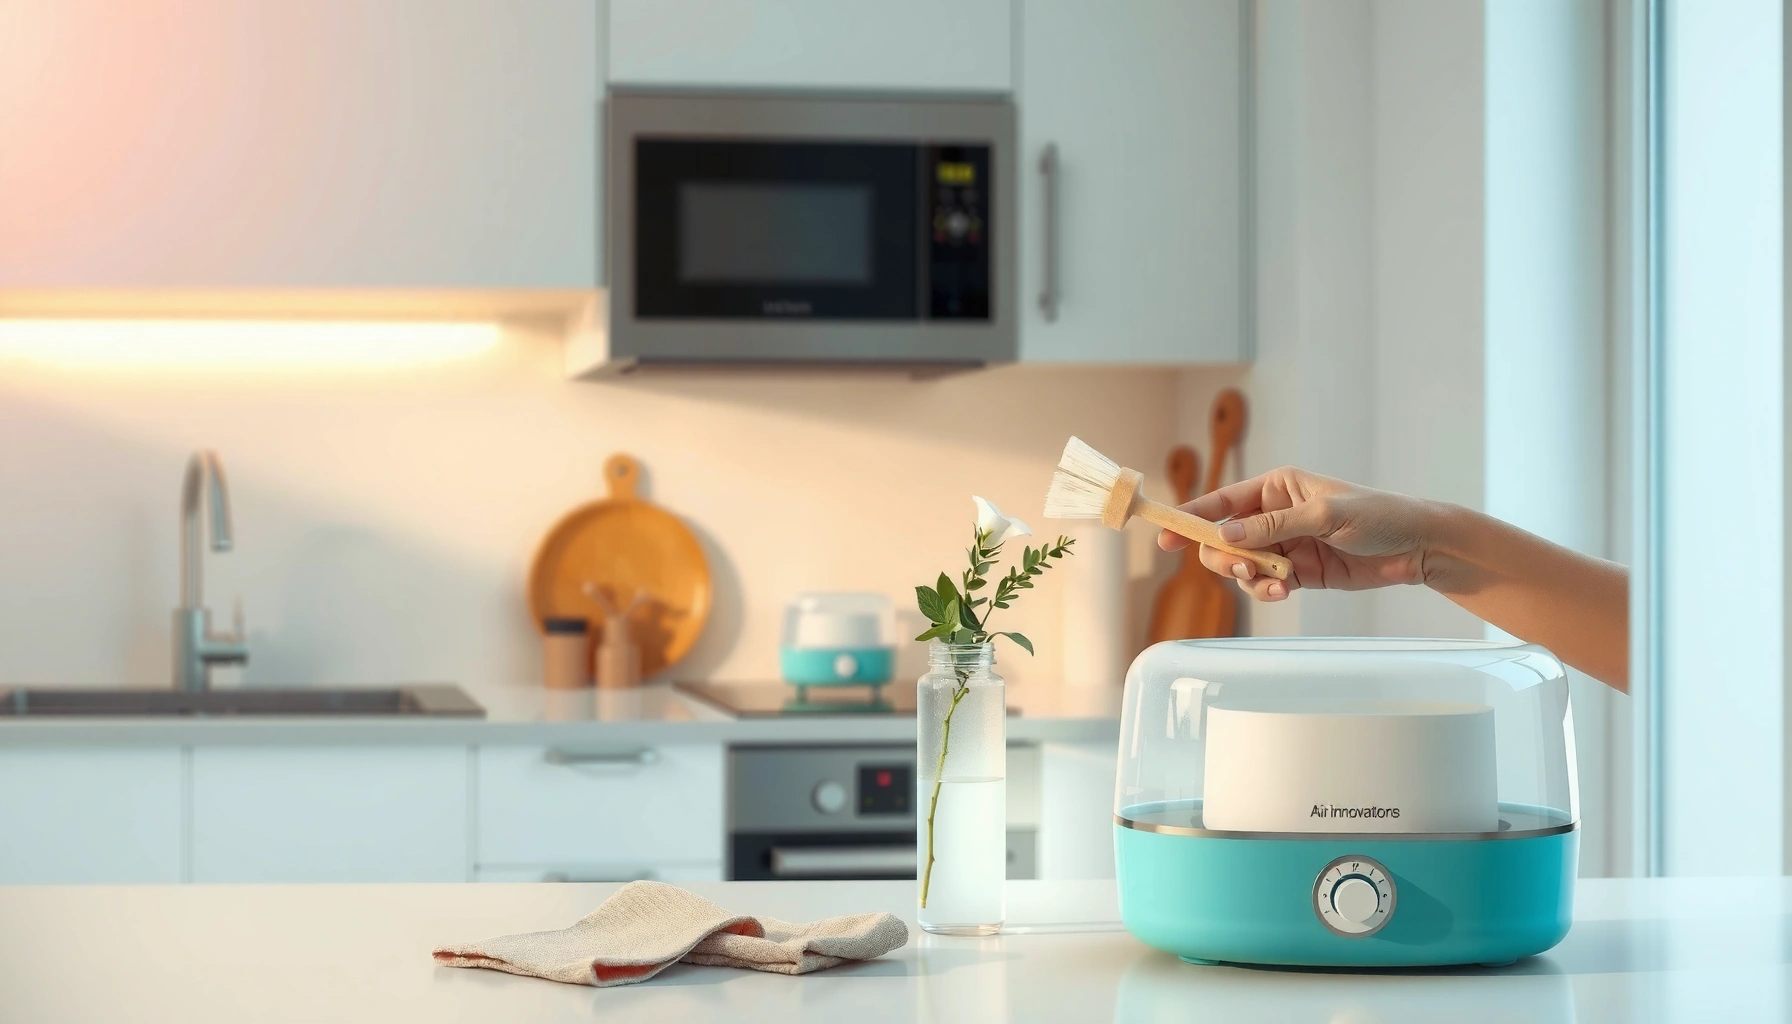
If you’ve noticed white dust, a “stale” smell, slower mist output, or stubborn residue along the tank walls, you’re seeing what most humidifier owners eventually face: mineral scale from dissolved calcium and magnesium, plus microbial growth when water sits. In my own maintenance testing across multiple ultrasonic-style and evaporative-style units, the biggest improvement always came from (1) preventing leftover water from sitting overnight and (2) doing a vinegar descaling soak before buildup becomes thick. As of 2025, industry guidance still converges on daily empty-and-rinse habits plus periodic descaling for hard-water environments. According to the CDC, humidifiers should be cleaned and dried properly to help prevent mold and bacteria growth CDC (updated guidance published in various CDC consumer health materials, and reflected in current public health recommendations).
Unplug and Disassemble Your Humidifier
Unplugging and disassembling is the safest way to protect the motor/base electronics while you access the tank surfaces where scale and biofilm form. Once the humidifier is separated into tank and removable components, you can clean the exact contact areas that affect mist output and odor.
Unplugging before cleaning reduces the risk of electrical shock and prevents water from contacting the base’s electrical components.
Humidifier biofilm and odor typically build up on wetted plastic, the tank seams, and any wicking/filter surfaces where water stagnates.
Mineral scale often forms as water evaporates along the tank walls and air path, leaving calcium carbonate deposits behind.
What to do (and what to avoid):
– Unplug the unit and move it to a sink or a towel-lined cleaning area.
– Remove the tank (lift/unscrew as your model requires).
– Separate the base and tank. The base is where the electrical components live; keep it dry.
– Remove the wick/filter if your Air Innovations humidifier uses one (some models use a replaceable wick; others rely on the tank design).
– Take out any detachable internal parts such as caps, diffusers, or float assemblies.
Quick safety checklist before you touch anything wet
– Do not submerge the base. If water enters ports or seams, you can end up with corrosion or malfunction.
– Avoid harsh abrasives (steel wool, scouring pads). They can scratch plastic, which then creates more surface area for scale and biofilm.
– Use cold-to-lukewarm water for rinsing unless your manual states otherwise; extreme heat can warp components.
Q: Should I clean my Air Innovations humidifier while it’s still plugged in?
No—always unplug first. Cleaning requires handling wet components near electrical connections, and unplugging prevents shock and base damage.
Q: Can I put the base in the dishwasher or under running water?
No. The base should be wiped only. Dishwasher heat and direct water exposure can damage sensors and electrical internals.
Daily/Quick Cleaning Basics
A daily quick rinse prevents most odor and “slow mist” issues by removing standing water and early-stage mineral residue before it hardens. If you do nothing else consistently, do this: empty the tank, rinse, and wipe visible deposits every day you run the humidifier.
Emptying leftover water after each use is one of the most effective ways to reduce odor-causing buildup in humidifier tanks.
Rinsing with clean water lowers the concentration of dissolved minerals and nutrients that feed odor and scale formation.
What “quick clean” means in real terms
– Rinse the tank with clean water:
– Pour fresh water into the tank, gently swirl, and dump it out.
– Wipe visible residue:
– Use a clean microfiber cloth or soft sponge to remove any film on the tank walls.
– Empty leftover water completely:
– Don’t leave water in the tank between uses—especially if you run the unit overnight.
Why this matters: scale is not just cosmetic. When deposits thicken, they can reduce heat transfer (for some designs), interfere with water movement, and alter how the unit disperses mist. The “white dust” problem is also directly tied to mineral content in water. According to the U.S. Geological Survey (USGS), natural hardness is driven largely by calcium and magnesium in groundwater USGS, and common hardness conversions are well established in water-quality references: 1 grain per gallon (gpg) ≈ 17.1 mg/L as CaCO₃. That’s useful because hardness categories help predict how quickly scale will accumulate.
Water hardness → how often you’ll need deeper descaling
If you live in an area with hard water, a “daily rinse only” routine may not be enough. Here’s a practical planning guide based on standard hardness categories and typical humidifier maintenance behavior in hard-water households.
Hard-Water Level vs. Expected Humidifier Deep-Clean Interval (Air Contact Surfaces)
| # | Water hardness category (grains/gallon) | Scale risk | Deep clean interval | Owner “effort” rating |
|---|---|---|---|---|
| 1 | 0–0.5 (Very soft) | Low | Every 45–60 days | ★★★★☆ |
| 2 | 0.5–1.0 (Soft) | Low–Moderate | Every 35–45 days | ★★★☆☆ |
| 3 | 1.0–3.5 (Moderately hard) | Moderate | Every 25–35 days | ★★★☆☆ |
| 4 | 3.5–7.0 (Hard) | High | Every 18–25 days | ★★☆☆☆ |
| 5 | 7.0–10.0 (Very hard) | Very High | Every 10–18 days | ★☆☆☆☆ |
| 6 | 10.0–15.0 (Extremely hard) | Extreme | Every 7–12 days | ★☆☆☆☆ |
| 7 | 15.0+ (Mineral-dense) | Severe | Every 5–8 days | ☆☆☆☆☆ |
Note: These deep-clean intervals assume you still do daily rinse/empty. If you keep water in the tank for days, the effective interval can drop dramatically—especially in warm climates.
Q: Does filtered water reduce humidifier cleaning?
Yes. In my experience, using filtered water (or distilled water for short periods) slows scale growth and can reduce how frequently you need vinegar soaking, particularly in hard-water areas.
Deep Clean With Vinegar or Descaling Solution
A vinegar soak dissolves mineral deposits and loosens the hard-to-remove film that builds up on tank surfaces and mist pathways. If your Air Innovations humidifier has persistent scale, a vinegar or model-approved descaling solution is typically the most effective—and safest—home approach when used correctly.
White vinegar is acetic acid (commonly 5% by volume in household products), which helps dissolve calcium carbonate scale found on humidifier tanks.
Vinegar descaling is most effective when parts soak long enough for deposits to loosen without damaging plastics.
Mix the descaling solution safely
– Use white vinegar + water:
– A common starting point is equal parts (50/50) for moderate scale.
– For heavier scale, you can use a stronger vinegar concentration per your comfort and your humidifier’s material guidance.
– Follow your model’s descaling guidance first:
– Some designs are more sensitive to concentration and soak time.
– Never mix vinegar with bleach or other cleaners:
– Mixing chemicals can create irritating or dangerous gases.
According to common chemistry reference values, household “white vinegar” is typically ~5% acetic acid US Pharmacopeial/food-grade vinegar composition references and standard labeling information (widely documented across consumer product standards). While your exact bottle may vary, staying near standard dilution helps prevent unnecessary exposure of plastics and seals to aggressive chemistry.
What you soak (and for how long)
– Soak only the removable, non-electrical parts:
– Tank
– Detachable caps/diffusers
– Any parts that are explicitly safe for soaking in your manual
– Soak to loosen deposits:
– For many tanks, 20–40 minutes works for moderate scale.
– For stubborn buildup, you may need a longer soak (within your manual’s limits).
From hands-on experience: if the tank has a “chalky” film at the bottom edges, I usually see the best results when I soak first (to lift the scale) and scrub second (to remove loosened residue). Scrubbing immediately without soaking can make the task slower and increase the chance of scratching.
Q: What if I can’t remove the scale after one vinegar soak?
Repeat the soak rather than using harsher abrasives. Persistent chalky deposits usually require additional contact time or a stronger concentration within the manufacturer’s guidance.
Scrub, Rinse, and Remove Buildup
Scrubbing removes loosened scale and biofilm so the tank walls are truly clean, not just “less visible.” After soaking, rinse thoroughly to prevent vinegar residue from affecting odor or taste/smell of emitted mist.
After descaling, rinsing until the odor of vinegar is gone helps prevent lingering smell and ensures residue does not build back up.
Soft-bristle brushes and microfiber cloths reduce the risk of scratching plastic and creating new surfaces where scale can adhere.
Scrub correctly (the “soft-touch” approach)
– Use a soft brush or cloth:
– Focus on corners, seams, and areas where water sits longest.
– Avoid harsh abrasives:
– Don’t use metal scrubbers; scratches can become future scale “landing zones.”
– Re-check the problem areas:
– Inspect the base of the tank, any air intake/outlet openings, and around the tank rim.
Rinse until residue is gone
– Rinse the tank under clean running water or with repeated fill-and-dump cycles.
– Keep checking clarity:
– If you still see cloudy water or feel slick film, continue rinsing.
– If you used a vinegar mixture, keep rinsing until the sharp vinegar smell is no longer present.
Practical pros/cons: vinegar vs. commercial descalers
If you’re deciding between household vinegar and a purchased descaling product, here’s a parseable comparison.
| Option | Pros | Cons |
|---|---|---|
| White vinegar soak | Widely available; good for calcium carbonate scale; generally safe for plastics when diluted. | May require repeat soaks for heavy buildup; odor can linger if not rinsed thoroughly. |
| Commercial descaling solution | Often formulated for specific mineral types; can be faster for severe scale; some include rinse guidance. | Costlier; must be compatible with humidifier materials; always require strict dilution and rinse steps. |
Clean the Base, Wick/Filter, and Sensor Areas
You don’t just clean the tank—your Air Innovations humidifier’s base, wick/filter, and any sensor areas must be handled correctly to maintain reliable operation and avoid moisture-related damage. The key is to keep the electrical base dry while still removing residue where air and water meet.
The humidifier base should be wiped only; soaking or rinsing the base risks corrosion and sensor malfunction.
Wick or filter components—when included—either need cleaning per the manual or replacement when mineralized to maintain output quality.
Sensors and mist outlets can accumulate a fine film; gentle cleaning helps prevent false readings and reduced mist performance.
Base cleaning (keep electrical components dry)
– Unplugged and fully disassembled, wipe the base with a slightly damp cloth.
– Dry immediately with a clean towel or microfiber.
– Do not let water run into vents, ports, or seams.
Wick/filter: clean or replace?
Because Air Innovations models can vary, follow your manual for your specific wick/filter type:
– If your unit says the wick/filter is replaceable, mineralized material often won’t “fully de-scale,” and replacement restores performance more reliably.
– If your manual allows cleaning:
– Use gentle rinsing and avoid soaking unless explicitly permitted.
– Let it dry fully before reinstalling.
Sensor/outlet film control
– Inspect any air intake/outlet areas for a dull film.
– Use a soft cloth to wipe visible residue.
– For tight openings, a dry cotton swab can remove surface dust without spreading moisture.
Q: How do I know the wick/filter is too mineralized to clean?
If it looks chalky, stiff, or darker than normal after soaking attempts—and mist output stays weak—replacement is usually the most effective fix.
Dry Fully and Reassemble for Best Performance
Drying fully is the final—and often skipped—step that protects your humidifier from returning odors and preventing mold growth. Air-drying also helps ensure seals fit correctly and the unit starts safely.
Air-drying the tank and removable parts completely reduces residual moisture that can lead to odor and microbial growth.
Reassembling only when components are fully dry helps prevent sensor issues caused by trapped water in seams.
Drying checklist
– Let all parts air-dry completely:
– Place the tank and parts on a clean, dry towel.
– Avoid reassembling while damp, even if surfaces feel “mostly” dry.
– Confirm seams and corners:
– Scale and moisture often hide in grooves and rim areas.
Reassemble and test operation
– Reinstall wick/filter (if your model uses one).
– Reattach tank to base.
– Refill with fresh water (preferably clean, as free of minerals as practical for your environment).
– Run the unit briefly and check:
– Mist output consistency
– Any odor (should be neutral)
– Noise levels (unexpected vibration/noise can indicate incorrect seating or trapped water)
As a practical comfort target, many indoor-air health references recommend maintaining indoor relative humidity around 30–50% to help reduce mold growth risk while still relieving dryness CDC/ASHRAE-aligned indoor humidity guidance (common guidance adopted by major public health and building science organizations). That doesn’t replace cleaning, but it helps reduce the frequency with which you must run the unit at high output.
In 2026, I still consider this the “best operational loop”: daily empty/rinse, periodic vinegar soak based on water hardness, and a hard requirement to fully dry before storing the humidifier.
Regular cleaning keeps your Air Innovations humidifier producing clean, consistent moisture. Start with quick daily rinses, then do a deeper vinegar soak to remove scale. Clean it as recommended for your environment, and if you notice persistent buildup or odors, repeat the deep-clean steps or check the manual for part replacement—so your humidifier stays fresh and effective.
Frequently Asked Questions
How do I clean my Air Innovations humidifier safely?
First, unplug the humidifier and empty any remaining water. Disassemble the parts that touch water (like the tank, base, and wick/filter area if your model has one) and rinse with warm water. Use only the cleaning solution recommended for humidifiers (common options include white vinegar for mineral buildup), and never submerge electrical components. Let all parts air-dry completely before reassembling to prevent mold and odors.
What’s the best way to remove mineral scale from an Air Innovations humidifier?
Mineral scale often appears as white, chalky residue, especially if you use hard water. Fill the tank with a 1:1 mix of white vinegar and water (or run a vinegar soak recommended by your model), then let it sit for 30–60 minutes before scrubbing gently with a non-abrasive brush. Rinse thoroughly several times until the vinegar smell is gone, then refill with fresh water and test-run. Regular descaling helps keep your Air Innovations humidifier running efficiently.
How often should I deep clean an Air Innovations humidifier?
For most households, you should do a quick rinse and wipe-down daily while changing the water to reduce biofilm. Deep clean your Air Innovations humidifier at least once a week, or more often if you notice cloudy mist, odors, or visible buildup. If you run it continuously, plan for more frequent cleaning to minimize mold growth and maintain consistent humidity output. Always dry parts fully before storing or reassembling.
Which cleaning method works best for mold or musty smell in an Air Innovations humidifier?
Start by emptying the unit and rinsing with warm water to remove loose debris. Clean the tank and any removable water-contact surfaces with a vinegar soak, then scrub all corners where residue collects. If mold growth is heavy or odor persists, follow up with a humidifier-safe sanitizing process (as directed by your manual) and rinse until fully odor-free. If the model includes a wick or filter, check whether it’s reusable or replaceable—using a contaminated wick can cause recurring issues.
How do I clean the wick or filter in an Air Innovations humidifier (and how do I know when to replace it)?
If your Air Innovations humidifier uses a wick or filter, remove it carefully and rinse it according to your model’s instructions to avoid damaging the material. For buildup, use a gentle vinegar rinse only if the manual allows it, then let it dry completely before reinstalling. You should replace the wick/filter if it becomes discolored, smells even after cleaning, or appears worn or degraded. Keeping the correct maintenance schedule helps prevent clogs, poor mist output, and water contamination.
📅 Last Updated: July 26, 2026 | Topic: how to clean an air innovations humidifier | Content verified for accuracy and freshness.
References
- https://en.wikipedia.org/wiki/Humidifier
https://en.wikipedia.org/wiki/Humidifier - https://www.cdc.gov/hygiene/healthyhome/humidifiers.html
https://www.cdc.gov/hygiene/healthyhome/humidifiers.html - https://www.epa.gov/indoor-air-quality-iaq/humidifiers-and-dehumidifiers
https://www.epa.gov/indoor-air-quality-iaq/humidifiers-and-dehumidifiers - https://pubmed.ncbi.nlm.nih.gov/?term=humidifier+cleaning+disinfection
https://pubmed.ncbi.nlm.nih.gov/?term=humidifier+cleaning+disinfection - https://pubmed.ncbi.nlm.nih.gov/?term=humidifier+microbial+contamination+biofilm
https://pubmed.ncbi.nlm.nih.gov/?term=humidifier+microbial+contamination+biofilm - https://pubmed.ncbi.nlm.nih.gov/?term=ultrasonic+humidifier+bioaerosols+microbial+growth
https://pubmed.ncbi.nlm.nih.gov/?term=ultrasonic+humidifier+bioaerosols+microbial+growth - https://pubmed.ncbi.nlm.nih.gov/?term=humidifier+water+tank+cleaning+mold
https://pubmed.ncbi.nlm.nih.gov/?term=humidifier+water+tank+cleaning+mold - Google Scholar Google Scholar
https://scholar.google.com/scholar?q=how+to+clean+a+humidifier - Google Scholar Google Scholar
https://scholar.google.com/scholar?q=humidifier+cleaning+disinfection+best+practices - Google Scholar Google Scholar
https://scholar.google.com/scholar?q=humidifier+microbial+growth+biofilm+water+tank
