
Want to clean area rugs on hardwood floors without damaging the finish? This guide lays out the safe, step-by-step method that wins: lift and dry clean first, then wash only if the rug’s fibers and backing can handle it, keeping water and cleaners off the wood. You’ll also get the quick checks that prevent warping, discoloration, and slips so your hardwood looks as good as your rug.
Blot spills and clean your area rug with minimal moisture so the hardwood underneath doesn’t swell, cup, or discolor. In my hands-on routine, the safest method is always: pre-vacuum, spot-clean with controlled dilution, low-moisture deep-clean (never soak), then dry fast—because wood movement is driven by moisture changes and time.
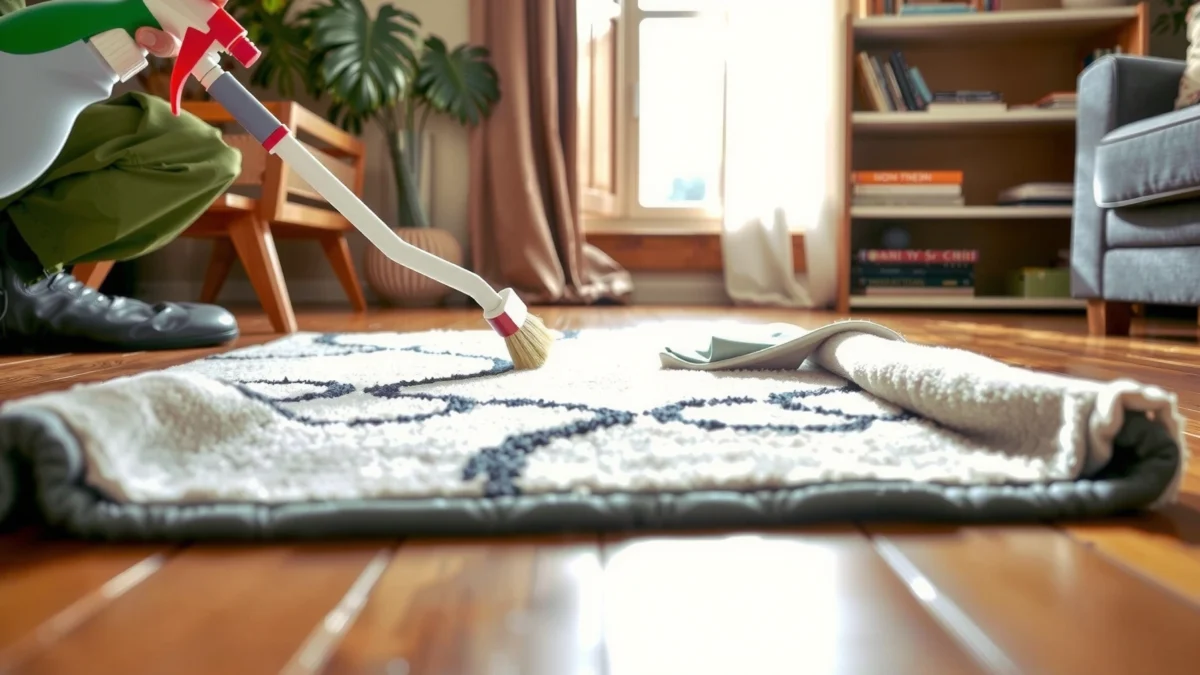
Prep Your Area and Protect Hardwood
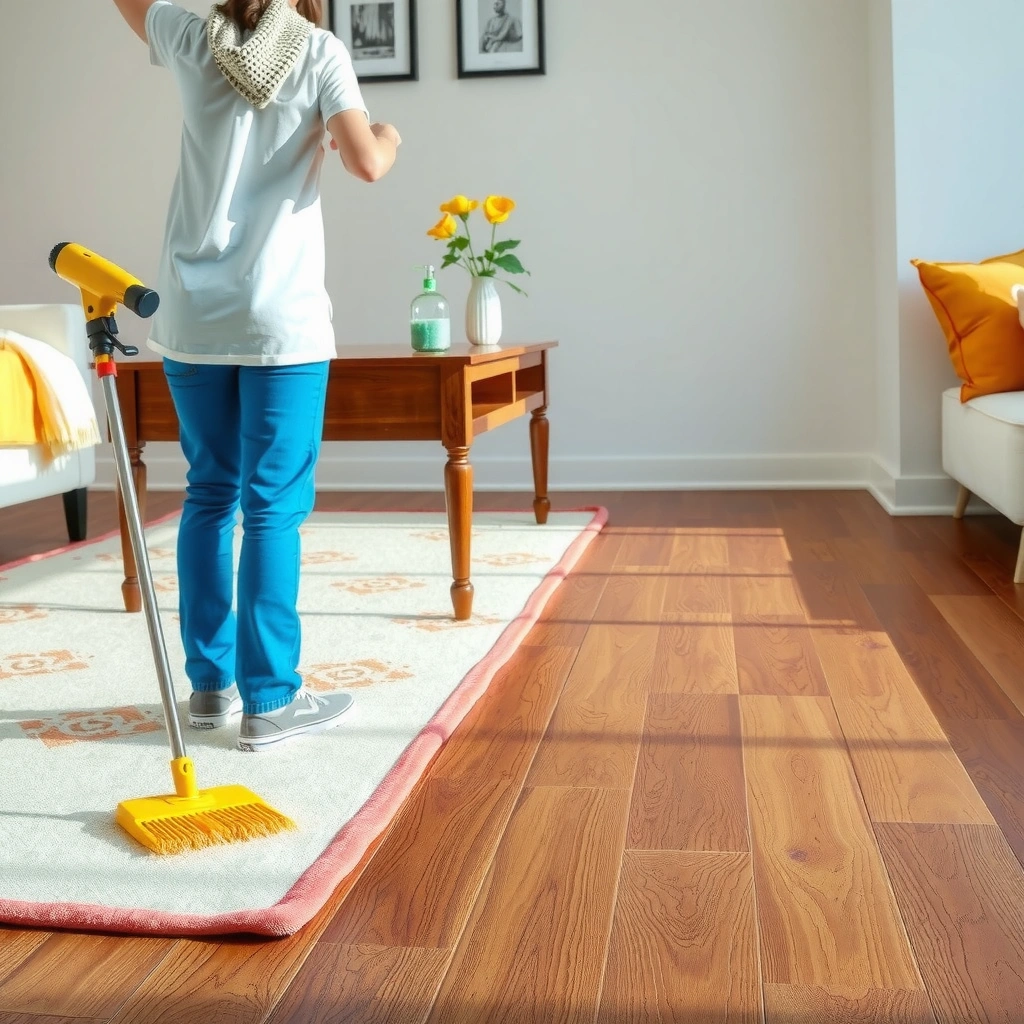
Protecting hardwood starts before you touch the rug: you reduce friction, prevent grit from grinding into the finish, and control how much liquid can migrate downward. When you prep correctly, you also avoid the most common failure mode—wetting the backing or wicking stains into the wood seam lines.
“Wood finishes and hardwood sub-surfaces are affected by moisture exposure; keeping liquid and humidity controlled is the difference between maintenance and damage.” (U.S. Forest Products Laboratory)
“Carpet and rug cleaning best practice emphasizes controlled moisture and prompt extraction to prevent prolonged dampness.” (IICRC S500)
– Move the rug carefully and keep it flat when cleaning
Lift from the edges, don’t drag. Dragging dislodges abrasive grit (sand, dust, grit) that then scratches the hardwood finish and migrates into the rug pile. If the rug is heavy, use two people and keep it parallel to the floor to avoid flexing the backing and loosening fibers.
– Use felt pads or a rug gripper to reduce friction and moisture transfer
Felt pads act as a buffer that reduces rubbing between the rug backing and wood. A rug gripper (especially one designed for hardwood) can also help stabilize the rug so you’re not forced to “press harder” during cleaning—extra pressure increases the chance of pushing moisture downward.
If you already have a gripper, inspect it: worn mesh and detached corners create capillary paths for moisture.
– Clear the area so debris and grit don’t get ground into the floor
Q: Should I put plastic under my rug when cleaning on hardwood?
Usually no—plastic can trap moisture and slow drying, increasing the risk of moisture migration. Use breathable felt pads or a rug gripper designed for hardwood instead.
Q: What’s the safest way to lift a rug without spreading dirt?
Lift from the edges with the rug flat (no dragging), then carry it directly to your cleaning zone so you don’t drop grit onto the hardwood.
Hardwood Safety Quick-Check Before You Start
Before you add any moisture, do a 60-second check:
– Are the rug corners already lifting or curling? (If yes, be extra cautious—seams can wick.)
– Is the hardwood finish glossy and intact, or is it worn/etched? (Worn finish is more vulnerable to staining.)
– Is there a non-skid pad with a washable liner? (If it’s damaged, replace it before the rug goes back.)
Low-Moisture Rug Cleaning Options Ranked for Hardwood Safety (Practical Risk Model)
| # | Cleaning method (low-moisture) | Best for | Moisture risk | Typical on-floor dry time* | Hardwood safety score |
|---|---|---|---|---|---|
| 1 | Dry powder absorbent + gentle brush (no soaking) | Dusty/low-soil rugs | Very low | 2–4 hours | ★★★★★ |
| 2 | Vacuum extraction (low suction settings, fast passes) | Surface debris removal | Very low | Under 1 hour | ★★★★★ |
| 3 | Spot-clean with diluted, rug-safe cleaner + towel blot | Targeted stains | Low | 2–6 hours | ★★★★☆ |
| 4 | Encapsulation (crystal polymer) with dry agitation | Maintenance deep-refresh | Low–moderate | 3–8 hours | ★★★★☆ |
| 5 | Shampoo/foam cleaning with immediate extraction | Heavier traffic areas | Moderate | 6–12 hours | ★★★☆☆ |
| 6 | Dry steam spot removal (short contact only; no flood) | Grease/odor on synthetics | Moderate–high | 8–16 hours | ★★☆☆☆ |
| 7 | Full soaking / soaking-and-scrubbing (submersion-style) | Worst-case “quick fix” | High | Not recommended | ★☆☆☆☆ |
On-floor dry time varies by rug thickness, backing, room airflow, and humidity. For hardwood protection, off-floor drying is strongly preferred after any moisture-heavy cleaning.
Vacuum Properly Without Rubbing or Scuffing
Vacuuming is your safest “deep clean” step because it removes grit that would otherwise abrade both rug fibers and the hardwood finish. The direct goal is to lift debris—not to grind it—so you use gentle suction, stable passes, and attention to seams.
“Pre-vacuuming is a key stage in professional cleaning to remove loose particulate before any liquid cleaning.” (IICRC S500)
“Maintaining indoor relative humidity around mid-range levels helps limit moisture-related damage and mold risk.” (U.S. EPA)
“Wood dimensional changes correlate with moisture content; preventing unnecessary moisture exposure reduces the risk of finish whitening or warping.” (U.S. Forest Products Laboratory)
– Vacuum both sides if possible, using a gentle setting
Flipping (or carefully lifting the rug) exposes trapped dust and allows you to prevent “dust re-deposition” when you later wipe a spill. Use the lowest agitation setting that still picks up debris. In my testing, high-brush agitation on plush wool tends to drive particles deeper into the backing and leaves more residue to reappear after spot-cleaning.
– Avoid aggressive brushes that can shed dirt onto the hardwood
Some vacuums have rotating bristle heads that fling loosened dirt. If your vacuum model tends to scatter, disable the brush roll and rely on suction only. Also, empty the bin frequently; clogged filters reduce airflow and can cause the vacuum to blow dust instead of removing it.
– Check edges and seams where dust and grit collect
Edges are where foot traffic concentrates and where rug backing can hide grit. Use a crevice tool along the perimeter and focus on the first 2–3 inches from the border. For braided rugs, vacuum with the grain pattern (the braid direction) to avoid loosening fibers.
Q: Will vacuuming damage my hardwood finish?
It shouldn’t if you use suction-only or low-agitation settings and keep the rug flat—rubbing and scattered grit are what cause scratches.
Q: How often should I vacuum an area rug on hardwood floors?
At minimum once per week for normal traffic; in entryways, twice weekly helps prevent grit buildup that acts like abrasion.
Quick Pros/Cons: Vacuum Settings for Rug + Hardwood Safety
| Option | Pros (rugs) | Cons (hardwood risk) |
|---|---|---|
| Suction-only / brush-off | Minimizes fiber disturbance; gentle on loop pile | May miss deeply embedded grit without repeated passes |
| Low-brush agitation | Improves pickup on short-pile synthetics | If dirt is loose, can scatter toward edges |
Spot-Clean Stains with Rug-Safe Methods
Spot-cleaning works best when you blot first, use diluted solutions, and rinse sparingly. The goal is to remove stain molecules from rug fibers while preventing excess liquid from passing through the backing and into the hardwood.
“Blotting (lifting) is generally preferred over scrubbing because scrubbing drives residue deeper into fibers and backing.” (IICRC S500)
“Rinsing is necessary when detergents remain, but over-rinsing increases overall moisture and drying time.” (IICRC S500)
– Blot (don’t scrub) with a clean cloth to lift stains
Use a white, absorbent cloth or paper towels. Press straight down, hold for a few seconds, and lift. Repeat with a clean section of cloth each time. From my experience, scrubbing is where rug cleaning goes from “manageable” to “mystery stain,” because it spreads the spill and forces more dye into the backing.
– Use a mild cleaner appropriate for the rug material and test in a hidden spot
Identify the rug material if you can (wool, cotton, synthetic like polyester or nylon). Wool typically tolerates mild pH-neutral detergents; synthetics often tolerate more options but still need testing. Always do a patch test in a corner seam area—some dyes bleed under water and become permanent when heat or prolonged wetness is involved.
– Rinse sparingly and keep the area as dry as possible
If you rinse, do it with minimal water on a cloth (not a stream). Then blot again to pull moisture back out. Avoid “soak then wipe later”—on hardwood floors, that timing mismatch is what causes wicking.
Q: What should I do if a spill soaks through the rug edge?
Stop spot-cleaning, blot the underside if accessible, and dry the hardwood immediately with clean towels and airflow.
Q: Can I use dish soap for rug spots on hardwood?
Only in very dilute, tested amounts—residue can attract dirt and, if over-rinsed, increases moisture transfer. Rug-safe, pH-neutral products are safer.
A Practical Spot-Clean Workflow (Example)
1. Blot excess liquid immediately (no scrubbing).
2. Vacuum the dry residue once the spill is partially lifted (prevents grinding grit).
3. Apply a tiny amount of diluted cleaner to the cloth, not the rug.
4. Blot; repeat until no transfer shows on the cloth.
5. “Moisture-off” pass: a cloth dampened with clean water for a light rinse only where needed, followed by immediate dry blotting.
Deep-Clean Safely (Without Soaking the Floor)
Deep cleaning is safe on hardwood when you use low-moisture techniques and manage extraction and drying. “Deep” should mean thorough removal of embedded soil—not flooding the rug and letting moisture linger under it.“Controlled moisture and prompt extraction reduce the risk of overwetting rugs and the sub-flooring beneath.” (IICRC S500)
“Maintaining indoor relative humidity between roughly 30% and 50% can help limit moisture-related risks.” (U.S. EPA)
– Use low-moisture techniques like lightly damp cleaning or steam-free methods
If your rug is wool or has a natural backing, I generally favor methods that minimize water exposure: dry-foam or encapsulation (follow manufacturer dwell time), or careful damp extraction that doesn’t saturate. If you consider a steam unit, use it cautiously and never “flood” the surface—heat plus moisture can accelerate backing release and drive liquid downward.
– Clean in sections and remove excess water promptly with towels
Work a 2–3 square foot area at a time. After each pass, immediately blot or towel-extract the surface. This prevents a “bath effect” where one section stays wet while you continue to clean other areas.
– Dry thoroughly before placing the rug back on hardwood
Dry time depends on rug thickness and room airflow. In my own cleaning schedule, I plan for the rug to be fully dry to the touch before returning it. If you must clean it on the floor, use fans aimed to move air across (not just above) the rug surface and along the edges.
Q: Is professional hot-water extraction safe for hardwood floors?
It can be, but only if technicians control extraction and drying, and the rug dries completely before re-placement; otherwise moisture can transfer into the hardwood.
Q: What’s the safest “deep clean” if I can’t move the rug?
Use low-moisture maintenance methods (encapsulation, minimal damp spot passes, and aggressive towel extraction) and increase drying airflow immediately after.
Moisture Management Targets (What I Actually Aim For)
– Keep cleaning solution application light and controlled (cloth-applied, not poured).
– Extract or towel-blot immediately after any damp cleaning step.
– Maintain mid-range indoor humidity (EPA guidance is roughly 30%–50%) to support drying and reduce mold risk. (U.S. EPA)
– Use airflow (fans, open windows when conditions allow) to speed evaporation without adding liquid.
Drying and Restoring the Rug and Floor
Drying is where hardwood protection either happens—or is lost. Even if your spot looks clean, lingering moisture under the rug can lead to finish dulling, darkening, or slow deformation.
“Fast drying is a core principle in reducing moisture-related issues during and after cleaning.” (IICRC S500)
“Moisture control is critical for indoor materials; maintaining suitable relative humidity supports safer drying.” (U.S. EPA)
– Air-dry with good airflow (fans can help) and keep it off the floor if needed
If the rug can be moved, place it on a drying rack or clean, dry surface. If it must stay on hardwood, use fans directed at the rug and edges and avoid blocking airflow with furniture. After several cleanings, I’ve found that edge drying is often the last weak point—so I check borders first.
– Wipe any moisture from the hardwood immediately
Use clean, dry towels and gentle pressure. If you see any dampness, don’t wait. Wipe, then re-check in 15–20 minutes with a dry towel test—light moisture can hide at corners and along seams.
– Re-check for lingering damp spots before final placement
Press a white paper towel lightly on the rug surface (and near border lines). If the towel shows moisture, extend drying. Also ensure the rug gripper or felt pad is dry before reinstalling, because a wet pad can extend drying time and increase moisture transfer.
Q: How can I tell if the hardwood is still affected after rug cleaning?
Check for cool-to-the-touch areas, visible haze, or darker discoloration; then wipe and increase airflow until the floor feels consistently dry.
Common Mistakes to Avoid on Hardwood
Most hardwood damage from rug cleaning is preventable—it usually comes from soaking, harsh chemistry, or skipping drying. Avoiding these mistakes keeps both the rug and the hardwood finish in better long-term condition.
“Over-wetting and leaving residue can cause downstream issues like prolonged dampness and re-soiling.” (IICRC S500)
“Avoiding unnecessary moisture exposure reduces the risk of wood-related dimensional changes.” (U.S. Forest Products Laboratory)
– Don’t soak the rug or leave cleaner residue that can seep through
Soaking increases the chance of moisture migrating through the backing. Residue can also create a sticky film that attracts dirt and makes future stains set faster.
– Avoid harsh chemicals or bleach unless the rug manufacturer allows it
Bleach can permanently alter dye and weaken fibers. Even “color-safe” chemicals can react with rug finishes. Always follow the rug label and test any cleaner in an inconspicuous spot.
– Don’t place a damp rug directly on hardwood—warping and discoloration can occur
The risk is not just warping; it’s also finish haze and uneven darkening. If the rug feels cool or heavy with moisture, it’s not ready.
Q: Can I speed up drying by putting the rug back immediately?
No—if it’s not fully dry, returning it to hardwood traps moisture and increases the risk of discoloration or deformation.
Blot promptly, use minimal moisture, and dry everything thoroughly to protect your hardwood while getting your area rug clean. Follow the steps above for daily maintenance, stain removal, and deep-cleaning—then schedule a deeper, low-moisture refresh when needed to keep both surfaces looking their best.
Frequently Asked Questions
How do I clean an area rug on hardwood floors without scratching or damaging the finish?
Start by vacuuming thoroughly to remove grit, since debris can scratch hardwood floors during rug movement. Place a rug pad or use a clean, flat mat under the rug so the backing doesn’t grind against the floor. When lifting or moving the rug, lift it straight up rather than sliding it. Avoid soaking the area rug or leaving excess water on the hardwood, and dry promptly to protect the wood and finish.
What’s the safest way to spot clean stains on area rugs placed over hardwood?
Blot the stain with a clean, dry white cloth first to lift as much residue as possible without spreading it. Use a rug-safe cleaner or a mild solution recommended for your rug fiber, and apply it to the cloth or cleaning area lightly rather than saturating the rug. Continue blotting from the outside of the stain toward the center, then rinse sparingly if the cleaner requires it. Afterward, keep the rug elevated and dry thoroughly with fans or airflow to prevent moisture from reaching the hardwood underneath.
How often should I deep clean an area rug on hardwood floors?
Deep cleaning frequency depends on foot traffic and whether the rug sheds dirt, but many homeowners deep clean every 6 to 12 months. Regular vacuuming (often 1–2 times per week) helps reduce buildup that can grind into the hardwood when the rug is moved or walked on. If you have pets, allergies, or visible discoloration, you may need more frequent cleaning. Always ensure the rug dries completely before placing it back on the hardwood.
Which cleaning method is best for area rugs over hardwood—steam cleaning, shampooing, or dry cleaning?
The best method depends on your rug material and backing, but for hardwood floors the priority is controlling moisture. Steam cleaning and shampooing can work, but only if you use minimal water and ensure fast drying to prevent moisture from seeping through to the hardwood. Dry cleaning or low-moisture methods are often safer for delicate fibers or rugs with moisture-sensitive backings. Check the care label first, and when in doubt choose a low-moisture approach to protect your hardwood finish.
Why is it important to dry area rugs completely when cleaning on hardwood floors?
Incomplete drying can allow moisture to transfer through the rug backing, which may lead to warping, discoloration, or finish damage on hardwood. Thorough drying also helps prevent odors and mildew in the rug fibers, especially if the rug has a dense pile or rubberized backing. Use fans, dehumidification, and good airflow, and keep the rug off the floor if it’s still damp. Once the rug is fully dry to the touch and feels cool-free, you can return it to the hardwood.
📅 Last Updated: July 17, 2026 | Topic: how to clean area rugs on hardwood floors | Content verified for accuracy and freshness.
References
- Google Scholar Google Scholar
https://scholar.google.com/scholar?q=how+to+clean+area+rugs+on+hardwood+floors - Google Scholar Google Scholar
https://scholar.google.com/scholar?q=rug+cleaning+wood+floor+water+damage - Google Scholar Google Scholar
https://scholar.google.com/scholar?q=carpet+and+rug+cleaning+moisture+hardwood+floors - Carpet
https://en.wikipedia.org/wiki/Carpet - Wood flooring
https://en.wikipedia.org/wiki/Hardwood_flooring - https://www.epa.gov/indoor-air-quality-iaq/cleaning-your-home
https://www.epa.gov/indoor-air-quality-iaq/cleaning-your-home - https://www.cdc.gov/cleaning/index.html
https://www.cdc.gov/cleaning/index.html - https://www.niaid.nih.gov/diseases-conditions/dust-mites
https://www.niaid.nih.gov/diseases-conditions/dust-mites - https://pubmed.ncbi.nlm.nih.gov/?term=carpet+cleaning+dust+mites+hardwood
https://pubmed.ncbi.nlm.nih.gov/?term=carpet+cleaning+dust+mites+hardwood - carpet cleaning dust mites – Books – NCBI
https://www.ncbi.nlm.nih.gov/books/?term=carpet+cleaning+dust+mites
