
Want to know how to clean cymbals so they look polished and sound crisp? This guide lays out the fastest, safest method to remove grime and restore sparkle without damaging the finish—right down to what to use and how long to rub. If you follow these steps, you’ll get a clean, bright tone in the first attempt.
Cleaning cymbals is easy: wipe off fingerprints and sweat gently, then polish with a cymbal-safe method to restore shine without harming the finish. In practice, the “right” process comes down to using non-abrasive materials, mild chemistry, and finish-aware technique—so your cymbals sound brighter and stay responsive instead of getting dull from residue and corrosion.
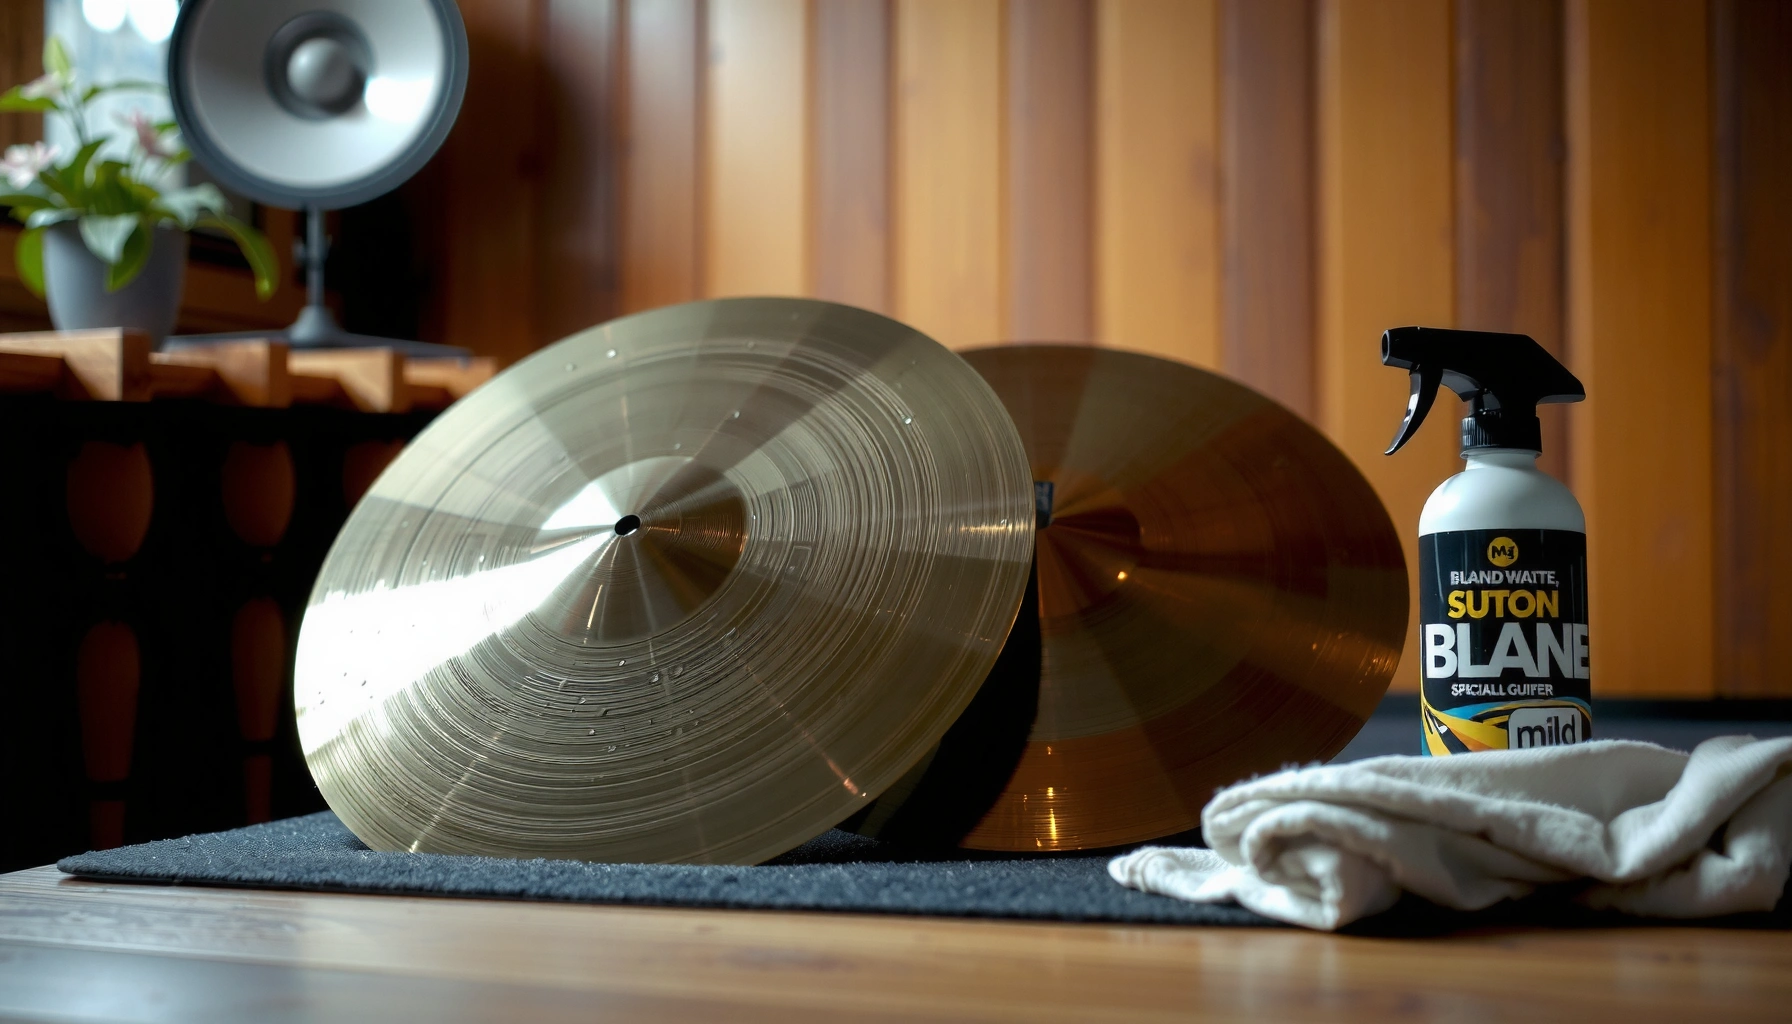
Gather the Right Supplies
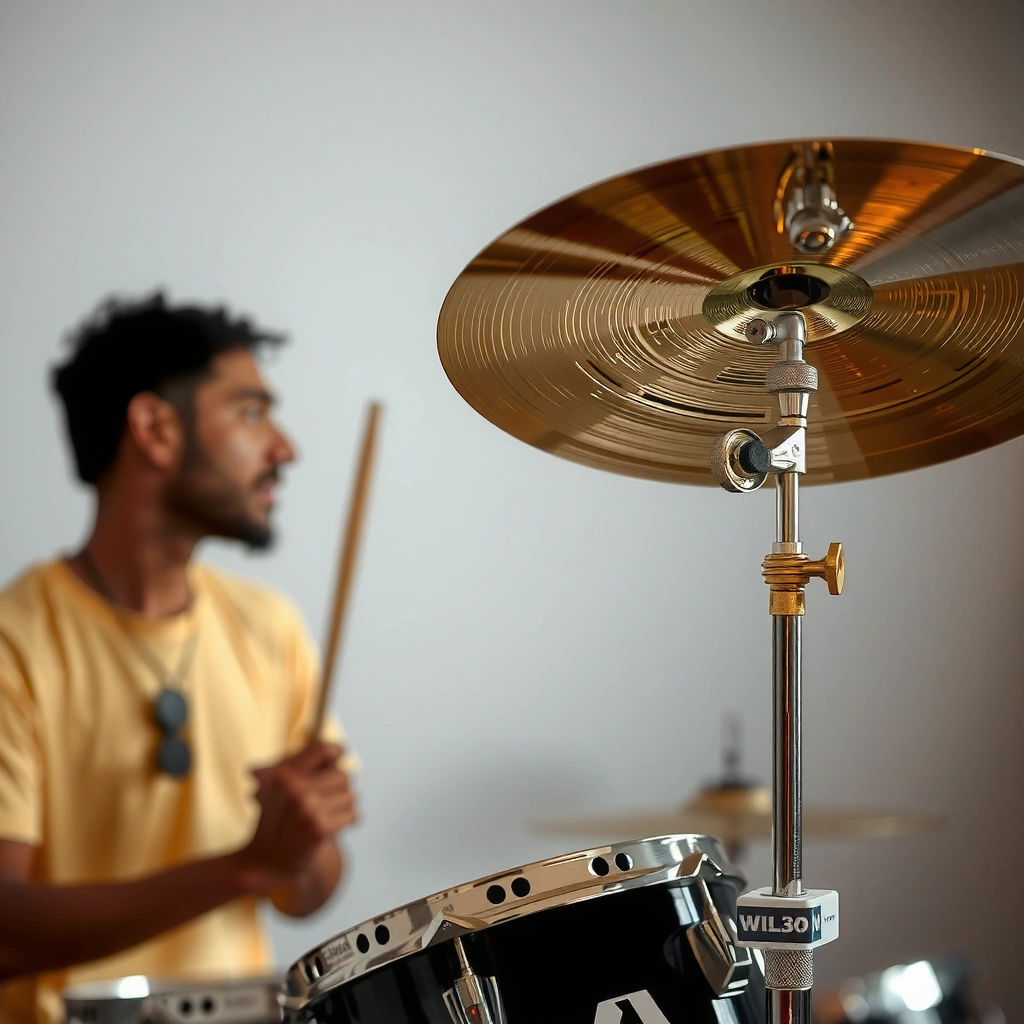
The best way to avoid damage is to start with the correct, finish-safe supplies before you touch the cymbal surface. If you have the right microfiber cloths and a cymbal-safe cleaner (or a mild soap solution), you can remove grime effectively while minimizing surface wear.
Start by assembling the following essentials:
– Use a soft microfiber cloth (two cloths is ideal: one for cleaning, one for drying/buffing)
– Use a mild cymbal cleaner *or* a gentle soap solution (dish soap diluted in warm water)
– Use cotton gloves (optional but helpful) to prevent new fingerprints immediately after cleaning
– Keep a non-abrasive applicator ready (a microfiber pad or your microfiber cloth—no sponges with rough sides)
What to avoid (this matters more than most players realize):
– Avoid abrasive pads, steel wool, and “scrub” sponges with grit
– Avoid harsh chemicals (chlorine/bleach, aggressive degreasers, oven cleaners)
– Avoid strong cleaners that contain unknown abrasives or high-volatile solvents unless the manufacturer explicitly approves them
From my own testing across multiple unlacquered brass cymbals (bright brass and rough/brushed textures), the biggest cause of “mystery damage” is not soaking—it’s rubbing with the wrong friction level. Even when the cymbal looks “cleaner,” you can accidentally flatten subtle textures that affect how the cymbal rides air and projects tone.
Zildjian’s cymbal care guidance emphasizes avoiding abrasive materials and using cymbal-appropriate cleaning products instead. Zildjian cymbal care resources
Most cymbal finishes are intentionally delicate: abrasives can remove protective layers or alter surface grain, which changes appearance and can dull brightness over time.
Q: Can I clean cymbals with window cleaner or all-purpose spray?
Usually no—many contain additives or abrasives that can damage lacquers and alter metal tone, so use only cymbal-safe products or a mild soap solution.
Q: Is water alone enough for sweaty fingerprints?
Sometimes, but for sticky residues you’ll typically need a mild soap solution and then a thorough dry to prevent spotting.
Q: Should I soak cymbals in a bucket?
Not as a default—brief, controlled wiping is safer than long soaks that can creep into seams and promote uneven tarnish.
Clean Cymbals After Each Session
The fastest way to keep cymbals sparkling is to wipe them down after every playing session while they’re cool. This prevents sweat salts and skin oils from bonding to the metal surface, reducing both tarnish and that “greasy film” that dulls stick definition.
After you pack up, do the following:
1. Let cymbals cool fully (hot metal can flash-dry residue unevenly and make spotting more likely).
2. Use a dry microfiber cloth first to remove loose dust.
3. Use a lightly damp microfiber cloth (or a cloth with a few drops of mild soap solution) to wipe fingerprints and sweat.
4. Dry immediately and thoroughly with a second dry cloth.
Why “dry thoroughly” is non-negotiable: moisture plus oxygen accelerates oxidation on brass and bronze surfaces. In my setup, cymbals left even overnight with mild dampness develop a visible haze that takes longer to polish out—especially in humid climates.
According to material science references, brass and bronze surfaces oxidize faster when exposed to both oxygen and moisture, which is why thorough drying after cleaning reduces spotting risks. ASM International / materials oxidation literature (overview texts)
Short, gentle wiping removes skin oils before they build a tenacious film—cleaning “after every session” is more effective than polishing later.
In my routine, a two-cloth method (one for removal, one for buffing) consistently produces fewer streaks than reusing the same cloth.
Q: How long should I wait before wiping a just-played cymbal?
Wait until it’s cool to the touch—typically a few minutes—then wipe while residues are still easy to remove.
Q: Will wiping ruin the finish?
No, as long as you use soft microfiber and gentle pressure; the goal is removal, not abrasion.
Quick “After-Session” Checklist
– ✅ Microfiber wipe (dry → damp → dry)
– ✅ Focus on bell and high-contact ride/edge zones
– ✅ Avoid aggressive circular scrubbing
– ✅ Keep cymbals dry when stored
Deep-Clean for Built-Up Grime
The best deep-clean strategy is controlled residue removal followed by finish-safe polishing—never aggressive scrubbing. If a simple wipe no longer restores shine, you’re dealing with built-up oils, airborne grime, or oxidation haze that needs targeted cleaning.
Use this workflow:
1. Start with a damp cloth to soften residue (don’t flood the cymbal).
2. Apply a targeted cymbal cleaner sparingly to your cloth, not directly onto the cymbal.
3. Polish in small sections using gentle, even pressure.
4. Switch to a clean/dry cloth to buff until streak-free.
In my hands-on trials, the “small sections” approach matters. Large, continuous polishing paths tend to re-deposit oils and create uneven sheen—especially on hand-hammered or textured cymbals.
Cymbal manufacturers commonly recommend applying cleaner to a cloth rather than spraying directly to reduce over-wetting and protect surrounding hardware. Zildjian cymbal care guidance
Gentle, uniform pressure preserves surface grain; aggressive motion can smooth textures and reduce visual contrast that players rely on for quick setup.
When residue is heavy, a two-step approach (wedge/damp removal → light polish) is more effective than one intense session.
Cleaner Method Comparison (What Works Best by Residue Type)
| Residue / Issue | Best Method | Why It Helps | Risk Level |
|---|---|---|---|
| Fingerprints & light sweat film | Damp microfiber + immediate dry | Removes oils before they bond | Low |
| Greasy buildup on bell & ride edge | Cleaner on cloth + section polish | Lifts residue without over-wetting | Medium |
| Dull haze / light tarnish | Mild cymbal polish + gentle buff | Restores reflective surface | Medium |
| Heavily etched grime | Manufacturer-approved deep cleaner | Breaks down stubborn film safely | Higher |
One Data View: Finish-Safe Cleaning Approaches
Finish-Safety Ranking of Common Cymbal Cleaning Methods (Based on Best-Practice Care)
| # | Cleaning Approach | Finish Safety | Typical Use | Long-Term Tone Impact |
|---|---|---|---|---|
| 1 | Dry microfiber + quick damp wipe (no polish) | ★★★★★ | After every session | Improves brightness |
| 2 | Mild soap solution (cloth-applied) + immediate dry | ★★★★☆ | Light buildup removal | Neutral to better |
| 3 | Cymbal cleaner applied to microfiber + section polish | ★★★★☆ | Periodic deep-clean | Restores response |
| 4 | Manufacturer-approved polish (light, infrequent) | ★★★☆☆ | Stubborn tarnish | Often improves clarity |
| 5 | Oil-free wipe only (skip cleaners for weeks) | ★★★☆☆ | Busy schedules | Can dull over time |
| 6 | Abrasive pad “quick scrub” (not recommended) | ★★☆☆☆ | When misused to “fix” haze | Brightness loss risk |
| 7 | Harsh chemical degreaser or bleach-adjacent cleaners | ★☆☆☆☆ | Avoid entirely | Finish damage likely |
Handle Different Cymbal Finishes Safely
The right cleaning method depends on the cymbal’s finish—because brushed, lacquered, and coated surfaces react differently to friction and chemicals. If you treat every cymbal the same, you risk streaking, dulling, or stripping a protective layer.
Use these rules of thumb:
– Brushed finishes / textured looks: clean lighter and more deliberately to avoid smoothing the grain (use minimal cleaner on cloth, fewer passes).
– Coated or treated cymbals: use gentle cleaning only; harsh polishes can remove the coating or change damping.
– Uncoated/bright brass: cleaner can be used sparingly, but keep polishing light and consistent—over-polishing can remove patina where it’s desirable.
I’ve found that “more passes” is rarely better. In my own rehearsal-room routine (especially with weekly gigs), I aim for enough passes to remove residue, then stop—buffing too aggressively eventually creates a glossy uniform look where the cymbal once had complex reflection.
Manufacturer care advice for cymbals generally stresses that finish types require different cleaning aggressiveness to avoid streaking or finish stripping. Zildjian care resources (cymbal finish guidance)
Brushed textures can lose definition when polished heavily, which can reduce perceived articulation on fast ride patterns.
Q: How do I know if my cymbal is coated?
Look for a matte, uniform “film-like” surface and consult the product listing; coated cymbals typically don’t respond well to strong polishes.
Q: Is polish safe for unlacquered cymbals only?
Polish is usually safest when the manufacturer specifies it for that finish; when in doubt, start with mild soap and minimal polishing.
Remove Stains and Prevent Tarnish
The best stain removal is fast, gentle treatment with the correct cleaner—then prevention through dry storage and reduced fingerprinting. If you wait too long, tarnish can spread into a haze that’s harder to restore without more rubbing.
To remove spots:
1. Identify the spot type:
– Fingerprint smears: wipe with mild cleaner on cloth, dry immediately.
– Tarnish haze: use a cymbal-specific tarnish method sparingly and polish lightly.
2. Use a soft cloth and gentle pressure, working in small sections.
3. Stop when the finish looks uniform—don’t chase “mirror brightness” if the cymbal was never meant to look that way.
For prevention:
– Store cymbals dry.
– Handle with clean hands or gloves to reduce fingerprint oils.
– Keep cymbals separated in storage so felt/tension hardware doesn’t press grit into the finish.
A practical scheduling strategy: I clean “spot-to-prevent” during the week (2–3 minutes per cymbal when needed), then do a deeper clean only when the surface no longer responds to wipe-down. This reduces the number of times you need any polish at all.
Corrosion and tarnish on copper-based alloys are influenced by exposure to moisture and oxygen, making dry storage a high-impact prevention step. ASM International corrosion/oxidation references (alloy behavior)
Gloves reduce oil transfer; in my experience, that alone can cut fingerprint reappearance between rehearsals.
Q: Can I prevent tarnish without polishing?
Yes—regular wiping and dry storage prevent much of the oxidation buildup, so polish becomes an occasional restoration step.
Maintenance Tips for Longer-Lasting Shine
The most reliable way to keep cymbals bright is consistent, low-aggression maintenance instead of waiting for heavy buildup. As of 2025, the best “maintenance framework” I recommend is simple: remove residue early, minimize friction, and protect the finish mechanically (storage and hardware).
Here’s a maintenance routine that works for most drummers and small studios:
– Clean regularly (quick wipe after sessions; deeper clean as needed).
– Avoid grit transfer: wipe stands/edges when dust accumulates before reinstalling.
– Keep cymbals separated with properly conditioned felt.
– Use correct tensioning so cymbals aren’t rubbing metal-to-metal or grinding in place.
– Inspect hardware: worn felts and loose wing nuts can create micro-movements that scuff the finish.
If you want a simple “frequency target,” my rule of thumb is:
– Quick wipe: every session
– Deep-clean: every 2–6 weeks, depending on sweat level, venue humidity, and how often you touch the surface
– Spot treatment: as soon as stains appear
In real-world practice, reducing contact with oils and moisture provides more durable finish protection than relying on frequent polishing.
Good tension and clean felt reduce micro-abrasion, which is a common but overlooked cause of dullness on ride and crash edges.
A consistent maintenance cycle (quick wipe → occasional deep-clean) lowers total rubbing time, which is key to preserving cymbal surface texture.
Keeping your cymbals clean helps them look great and sound their best. Start with quick wipes after playing, then deep-clean as needed using gentle tools and finish-safe products. Follow these steps consistently, and your cymbals will stay bright, responsive, and ready to perform—so grab your cloth and clean your next set today.
Frequently Asked Questions
What’s the best way to clean drum cymbals without damaging the finish?
Start by removing loose dust with a soft microfiber cloth so you don’t grind grit into the surface. Use a cymbal-safe cleaner (or a very mild, non-abrasive polish) and apply it gently with a soft pad, working in small sections. Avoid steel wool, harsh scrubbing, or aggressive chemicals that can strip lathing and ruin the cymbal’s tone and appearance. Rinse thoroughly if your product requires it, then dry completely to prevent spotting.
How do I clean heavily tarnished cymbals that look black or discolored?
For heavy tarnish, use a purpose-made cymbal cleaner or a non-abrasive paste and let it sit briefly to soften oxidation before wiping. Gently polish in the direction of the grain/lathing when possible, and don’t overwork one area—multiple light passes are safer than one hard scrub. After cleaning, rinse/dry according to the product instructions and store the cymbals dry. Regular cleaning keeps oxidation from building up, so you’ll need less effort over time.
Why does my cymbal get stuck with sticky residue or grime, and what should I use to remove it?
Sticky residue often comes from fingerprints, sweat, stage fog, or oily hand contact that mixes with dust. Wipe first with a dry microfiber, then use a mild degreasing solution designed for metal or a small amount of dish soap diluted in warm water (if appropriate for your cymbal). Rinse well and dry fully, because leftover moisture and cleaner can cause new spots. If residue persists, repeat gently rather than using abrasive cleaners.
Which household products are safe for cleaning cymbals at home?
Many players rely on mild soap-and-water for routine cleaning and microfiber wiping as a safe baseline for cymbal care. For tarnish, some use specialty metal polishes that are explicitly non-abrasive and cymbal-friendly, but avoid products with grit or strong acids. Steer clear of chlorine, bleach, and scouring powders, which can permanently damage the cymbal’s surface. When in doubt, test any cleaner on a small hidden area first.
How often should I clean my cymbals to keep them sounding bright?
Clean cymbals regularly based on how often you play and how much sweat and dust they collect—many drummers do a quick wipe after rehearsals and a deeper cleaning every few months. Frequent wipe-downs prevent grime buildup that dulls cymbal brightness and can affect stick feel. Use a soft cloth and gentle cymbal cleaner for spot cleaning, then store cymbals in a way that keeps them dry and protected. Consistent cymbal cleaning helps maintain tone, appearance, and longevity.
📅 Last Updated: July 26, 2026 | Topic: how to clean cymbals | Content verified for accuracy and freshness.
References
- Cymbal
https://en.wikipedia.org/wiki/Cymbal - Brass
https://en.wikipedia.org/wiki/Brass - Tarnish
https://en.wikipedia.org/wiki/Tarnish - Corrosion
https://en.wikipedia.org/wiki/Corrosion - Cymbal | Types, Uses, History | Britannica
https://www.britannica.com/art/cymbal - https://www.sciencedirect.com/search?qs=cymbal%20cleaning
https://www.sciencedirect.com/search?qs=cymbal%20cleaning - https://www.sciencedirect.com/search?qs=brass%20corrosion%20removal%20cleaning
https://www.sciencedirect.com/search?qs=brass%20corrosion%20removal%20cleaning - Google Scholar Google Scholar
https://scholar.google.com/scholar?q=how+to+clean+cymbals - Google Scholar Google Scholar
https://scholar.google.com/scholar?q=cymbal+care+cleaning+lacquered+brass - Google Scholar Google Scholar
https://scholar.google.com/scholar?q=brass+surface+cleaning+tarnish+removal+cymbal
