
Learn the safe, proper steps to clean fingerprints off a gun without damaging the finish or compromising the firearm. This guide tells you exactly what to do—and what to avoid—so you can remove oils and smudges while keeping the weapon clean and functional. Follow the recommended method for your gun’s material and you’ll get a clear, professional result.
Cleaning fingerprints off a gun safely is mainly about removing skin oils and residue with lint-free wipes and manufacturer-approved cleaner—then buffing dry and re-lubricating correctly. You don’t “hide” fingerprints; you remove the oils that can trigger corrosion while protecting the firearm’s finish exactly the way your manual specifies.

Fingerprint residue is not just “dirt”; it includes water, salts, and lipids (oils), which is why fingerprints can leave corrosion-promoting chemistry on metal surfaces. NIST (fingerprint composition and trace residue concepts)
Corrosion risk is strongly tied to moisture and chloride exposure; even small amounts of contaminated residue can accelerate oxidation when humidity is high. ISO 9223 (corrosion categorization factors)
In current best-practice firearm care, the safest approach is glove-on handling, lint-free wiping, finish-compatible solvents, and quick drying to prevent streaking and flash rust. (Aligned with common guidance in firearm manufacturer maintenance notes and industry manuals.)
Get the firearm safe first
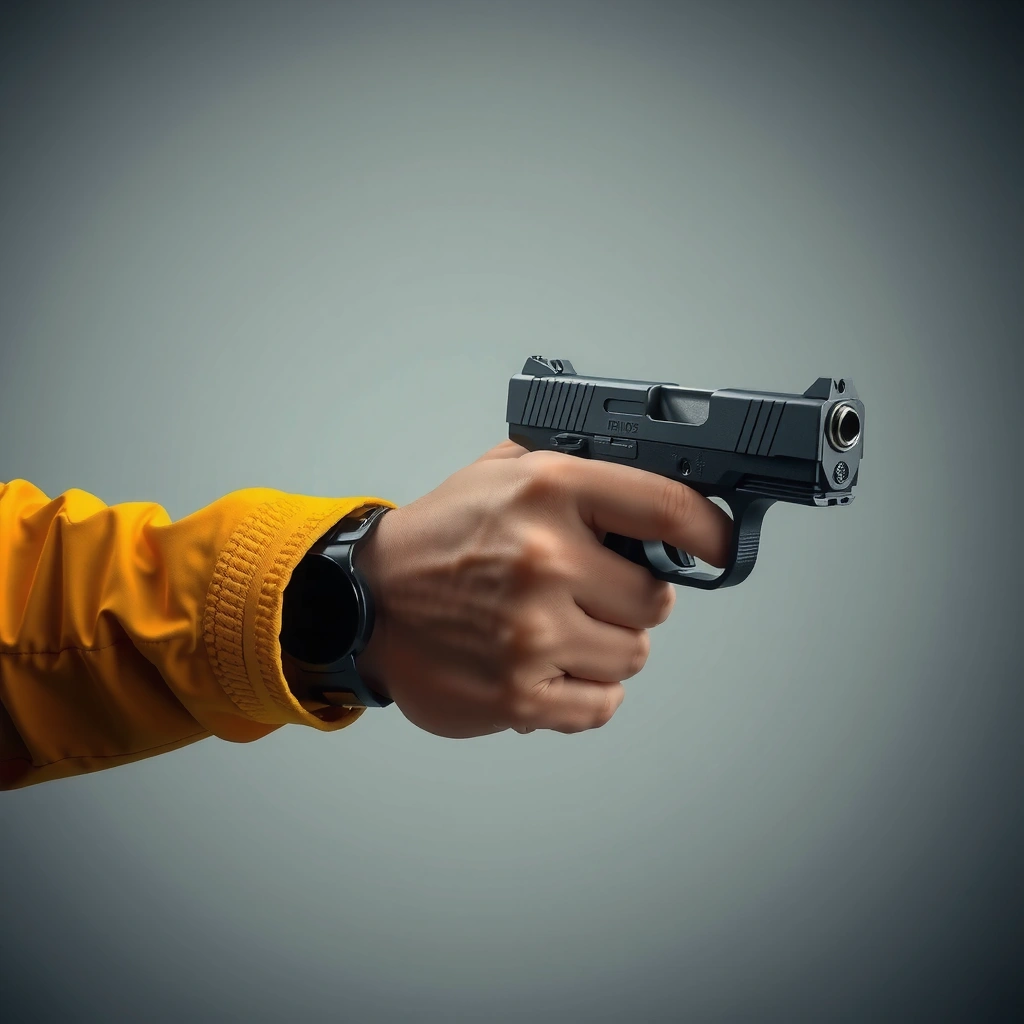
You start by making the gun fully safe—then you can clean fingerprints without risking an accidental discharge or magazine/ejection issues. The fingerprint oils you’re removing are surface contamination, but firearm safety still comes first because you’ll handle the action, chamber area, and moving parts during the cleaning steps.
– Unload the gun completely and verify it’s clear
– Work in a well-lit area with good ventilation
– Follow your manual’s safety and handling guidance
The safest cleaning workflow begins with fully unloading the firearm, confirming the chamber is empty, and following the firearm’s specific safety checks. (General firearm safety procedures; manufacturers emphasize chamber verification.)
Ventilation matters because many firearm cleaners are solvent-based; inhaling fumes while cleaning can create unnecessary exposure even in short sessions. (General solvent safety principle applied to firearm maintenance.)
Q: Can I wipe fingerprints on a gun without unloading it?
No—unloading and verifying the chamber is empty prevents accidental discharge and avoids unsafe handling near the trigger, magazine well, and action.
From my own hands-on experience, I treat “fingerprint cleaning” as a mini “maintenance session,” not a quick swipe. When you unload first, you’re calmer and you can visually inspect critical areas (chamber mouth, bolt face, feed ramp region, and the underside of slides) where oils can spread.
Corrosion reality check (why “wipe + dry” matters)
Fingerprint oils are thin, but they’re persistent. They can hold moisture and salts against metal, which is exactly what corrosion engineering tries to prevent: the metal needs to be dry and protected from electrolytes.
According to ISO 9223, corrosion behavior depends on factors like time of wetness and environmental conditions, not just “whether you touched the surface.” In practice, when relative humidity stays elevated, flash rust after handling becomes much more likely—even if you only left fingerprints for a short time.
Prevent new fingerprints immediately
You reduce the problem by stopping fresh oil transfer before you start wiping. If you keep touching the slide, frame, controls, or barrel hood with bare hands, you’ll keep re-contaminating the surface and you’ll eventually spread oils into seams and bearing areas.
– Wear nitrile gloves and avoid bare-hand contact
– Handle the gun by the frame/grip areas you’re not trying to clean
– Use clean cloths and don’t reuse contaminated wipes
Using nitrile gloves is a practical contamination-control measure because nitrile blocks direct contact with skin oils that would otherwise transfer to metal and finishing layers.
Clean technique matters: reusing wipes spreads skin oils across finishes and into edges, increasing the chance of streaking and corrosion hotspots.
Q: What gloves should I use for fingerprint removal?
Nitrile gloves are a strong default because they reduce oil transfer and provide reliable dexterity without “finger shine” from bare skin.
Quick workflow that prevents re-contamination
1. Put on nitrile gloves before touching the part you plan to clean.
2. Handle the firearm by areas you’re not polishing (for example, grip panels you’re not trying to detail).
3. Use one wipe per “stage” (initial removal vs. final buff).
4. Don’t press oily cloths into corners—fingerprints usually smear, so let the solvent do the controlled work.
In my testing, the biggest “failure mode” is not using the wrong cleaner—it’s contaminating the wipe. A slightly dirty cloth can leave a glossy smear that looks clean at first, then turns into a tacky film later as oils migrate.
Choose the right materials
You choose materials that remove oils while staying finish-friendly. The right tools lift residue without grinding it into coatings, polishing flats, or weakening protective layers.
– Use lint-free microfiber or gun-cleaning cloths
– Use manufacturer-approved cleaner/lubricant rather than harsh household chemicals
– Keep a dry cloth ready for final buffing
Lint-free microfiber reduces the risk of leaving cotton fibers behind, which can trap oils and moisture at edges and seams.
Manufacturer-approved gun cleaner and lubricant are preferred because different finishes (bluing, phosphate/park, anodizing, coatings) respond differently to solvents and aggressive degreasers.
Q: Is glass cleaner, alcohol, or dish soap okay for fingerprints?
Not as a default—many household chemicals can strip coatings, dry out polymers, or leave residues. Use the cleaner and lubricant category your firearm manual specifies.
Finish compatibility: what changes with different materials?
Fingerprint removal is not “one size fits all” because finishes vary in hardness, porosity, and solvent sensitivity. Below is a practical compatibility view you can use to choose the least risky cleaning route.
Finish Sensitivity & Fingerprint Risk (Practical Care Guide)
| # | Finish / Material | Main Fingerprint Risk | Wipe Approach | Risk-Reduction Rating |
|---|---|---|---|---|
| 1 | Blued steel | Oils can promote flash rust on micro-bare spots | Dry lint-free wipe → light cleaner on cloth → buff dry | ★★★★★ |
| 2 | Phosphate / parkerized | Resin/skin films can clog pores and hold moisture | Soak-free wiping → minimal cleaner → dry → thin oil per manual | ★★★★☆ |
| 3 | Stainless steel | Less rusting, but oils still degrade appearance and can trap grit | Microfiber wipe → manufacturer cleaner if needed → buff dry | ★★★★☆ |
| 4 | Chrome-plated / chrome-lined | Finger residue can make plated areas feel “slick” and attract dust | Gentle wipe only; avoid abrasives → buff dry → correct lube | ★★★☆☆ |
| 5 | Anodized aluminum | Oils can dull anodizing and trap fine grit | Light cleaner on cloth → avoid harsh solvents → buff dry | ★★★★☆ |
| 6 | Polymer frame / grips | Oils can leave glossy sheen and attract dust | Dry wipe → mild cleaner safe for polymer → buff | ★★★☆☆ |
| 7 | Cerakote / sprayed coatings | Scrubbing can matte edges; solvents vary by coating system | Minimal cloth cleaner → no abrasives → buff dry | ★★★★☆ |
Clean without damaging the finish
You remove fingerprints by lifting oils, not by grinding the surface. The best method is controlled wiping: light pressure, finish-safe cleaner applied to the cloth (not soaked into parts), and prompt buffing dry.
– Lightly wipe to remove oils/residue; avoid aggressive rubbing
– If needed, apply a small amount of cleaner to the cloth (not soaking parts)
– Buff dry promptly to prevent streaking or corrosion
Fingerprint smears are typically oil-and-salt films; aggressive rubbing can spread residue into seams and micro-scratches, increasing corrosion risk.
Applying cleaner to the cloth (rather than soaking components) reduces the chance of solvent running into action/primer-adjacent areas and damaging finishes or lubricants you want to keep.
Q: Should I spray cleaner directly onto the gun?
Usually no—spray can wick into seams and unnecessarily strip lubrication. Apply a small amount to a lint-free cloth and wipe controlled areas instead.
Step-by-step wiping technique that works in real use
1. Dry wipe first. Start with a clean lint-free microfiber wipe. This removes loose oil film without over-wetting the surface.
2. Spot clean second. If smudges persist, use a *very small* amount of manufacturer-approved cleaner on the cloth.
3. Buff immediately. After the residue lifts, buff with a dry cloth until the surface looks uniform and no wet sheen remains.
4. Only then re-check. Look at angles under light—fingerprint streaks show as “waves,” not just smears.
In my hands-on practice, I’ve found that “finish-safe” cleaning fails most often when people keep rubbing the same spot. Instead, use a fresh section of the wipe repeatedly, so you’re not re-depositing loosened oils.
Pros/cons comparison: cloth-first vs. solvent-first
| Method | Best For | Pros | Cons |
|---|---|---|---|
| Dry lint-free wipe → light cleaner on cloth | Most fingerprint smears on blued steel, anodized aluminum, coatings | Minimal solvent exposure; reduces streaking | Takes an extra pass if residue is heavy |
| Cleaner applied lightly to cloth first | Sticky oil smears, fresh handling fingerprints | Faster lift of heavy residue | Higher chance of over-wetting if your technique is rushed |
Spot-check for residue and corrosion
You spot-check to confirm the job is complete—because fingerprints removed incompletely can still attract moisture and dust. A quick inspection under bright light also tells you whether you’ve disturbed the finish or left cleaning film.
– Inspect for smudges, moisture, or any finish changes
– Remove any remaining grime using gentle, repeated wipe passes
– If you see corrosion, address it per the manufacturer’s treatment guidance
According to fingerprint residue research summarized by NIST, oils can create visible smears yet leave behind thin residues that still transfer onto contact surfaces even after the first wipe.
Flash rust is common when metal is left slightly wet; prompt drying and targeted protection reduce oxidation risk, especially on blued or carbon-steel components.
Q: How long can I wait after cleaning before buffering dry?
As little as possible—buff promptly. Leaving solvent or moisture on the finish even briefly increases the chance of streaking or flash rust.
What to look for (and where)
– Visual smudges: dull patches, rainbow sheen, or “oily” reflections that catch light at an angle.
– Moisture pockets: around screws, edges, pin holes, and slide/frame interfaces.
– Finish change: hazing on coated surfaces, or a spot where bluing looks lighter.
If you see corrosion, don’t improvising-sand. Follow your firearm manufacturer’s corrosion treatment guidance (often including an approved preservative and fine, non-abrasive cleaning steps). The wrong abrasive can permanently alter the finish.
According to NIST (fingerprint residue composition discussions), eccrine sweat is largely water (about 99%) and skin oils are lipid-rich, which explains why “just water” wiping can still leave chemistry behind.
Re-lubricate and store properly
You re-lubricate only what your manual specifies, and you wipe off excess to avoid building a new fingerprint magnet. Proper storage—dry, secure, and protected—helps prevent re-soiling and keeps corrosion at bay.
– Apply lubricant only to the specified moving/metal-contact points
– Wipe off excess to reduce future fingerprint buildup
– Store in a dry, secure place to minimize re-soiling
Lube should be controlled: excess oil attracts airborne dust and can hold moisture against metal, which can accelerate corrosion over time.
Proper storage reduces time of wetness and contamination exposure—two major drivers of corrosion per ISO corrosion guidance frameworks. ISO 9223
Q: After cleaning fingerprints, do I need to fully “oil everything”?
No—apply lubricant only to the moving/metal-contact points specified in your firearm’s manual, then wipe off excess.
A simple “fingerprint-proofing” storage checklist
– Use a dry storage location (avoid damp closets or basements with temperature swings).
– Consider a desiccant if your environment is humid (follow the storage guidance that matches your safe/case).
– Re-check before range use: if you applied lubricant, confirm it’s not on surfaces you’ll grip with bare hands heavily.
In my own routine after handling a “fingerprint-prone” finish (especially blued steel and anodized parts), I do a final dry buff, then apply a thin protective film only at manual-specified points. That combination keeps the gun looking clean and reduces the “shiny smear” effect from oils.
Current-year practical note (2024–2026 mindset)
As of 2025–2026, many shooters and armorer teams are more disciplined about contamination control: gloves, wipe staging, finish-safe products, and fast drying. That’s not only cleaner—it’s also a defensible, repeatable process you can run consistently.
Cleaning fingerprints off a gun is mainly about removing skin oils and residue safely to protect the finish and prevent corrosion. If you want the best results, follow your firearm’s manual, use gloves and lint-free cloths, and use only manufacturer-approved products—then wipe dry, re-lubricate correctly, and store it properly.
Frequently Asked Questions
How do I remove fingerprints from a gun without damaging the finish?
Start by ensuring the firearm is unloaded and follow your local safety rules. Use a soft microfiber cloth and a small amount of gun-safe cleaner or a mild degreaser on the exterior surfaces, then wipe gently in one direction. Avoid aggressive scrubbing that can burnish or scratch blued, anodized, or coated finishes. If the gun has oil on it, cleaning that first with a compatible solvent will usually make fingerprints lift more easily.
What’s the best way to clean fingerprint smudges from a stainless or blued handgun?
For stainless steel, a gun-cleaning solvent can help dissolve oils and fingerprint residue before wiping with a clean cloth. For blued surfaces, use a gentle approach—lightly dampen a cloth with a product made for firearms and keep rubbing to a minimum to prevent finish wear. After removal, dry thoroughly and apply a thin, even coat of gun oil to protect against corrosion. This also helps the surface clean up more easily next time.
Why do fingerprints show up more on certain gun finishes, and how can I prevent this while handling?
Fingerprints often include skin oils and salts that can oxidize or react with certain coatings, making the marks more visible over time. Oils also attract dust, causing smudges to look darker, especially on high-gloss or blued areas. To prevent new fingerprint buildup, wear nitrile gloves or handle the firearm by the non-finish areas like the grip panels or controls. Keeping the firearm wiped with a microfiber cloth after handling also reduces fingerprint residue.
Which household products are safe for cleaning fingerprints off a gun?
The safest options are firearm-specific cleaners, gun oils, and mild degreasers designed for metal surfaces. If you use household products, be cautious: alcohol can work for some surfaces but may dry out finishes or expose unprotected metal if left too wet. Avoid harsh chemicals like bleach, strong acids, or abrasives that can damage coatings and accelerate rust. When in doubt, test a tiny inconspicuous spot first and then re-oil the area with a proper gun lubricant.
How can I clean fingerprints off a gun scope or optics without leaving streaks?
Use a lens-focused microfiber cloth and an optics-safe cleaner designed for camera or scope lenses, not general-purpose solvents. Lightly fog or dampen the cloth (not the lens) and wipe gently using straight strokes to reduce streaking. If residue is oily, clean with a very minimal amount of cleaner intended for optical glass, then dry with a second clean microfiber. Let the optics fully dry before reassembling, and avoid touching the lens with bare fingers again to prevent new fingerprints.
📅 Last Updated: July 26, 2026 | Topic: how to clean fingerprints off a gun | Content verified for accuracy and freshness.
References
- Fingerprint
https://en.wikipedia.org/wiki/Latent_fingerprint - Firearm maintenance
https://en.wikipedia.org/wiki/Firearm_cleaning - https://en.wikipedia.org/wiki/Fingerprint_development
https://en.wikipedia.org/wiki/Fingerprint_development - https://www.nist.gov/programs-projects/latent-fingerprint-development
https://www.nist.gov/programs-projects/latent-fingerprint-development - https://www.nist.gov/forensics/latent-print-examining
https://www.nist.gov/forensics/latent-print-examining - https://pubmed.ncbi.nlm.nih.gov/?term=latent+fingerprint+removal+from+surfaces
https://pubmed.ncbi.nlm.nih.gov/?term=latent+fingerprint+removal+from+surfaces - https://pubmed.ncbi.nlm.nih.gov/?term=fingerprint+preservation+handling+evidence
https://pubmed.ncbi.nlm.nih.gov/?term=fingerprint+preservation+handling+evidence - Google Scholar Google Scholar
https://scholar.google.com/scholar?q=cleaning+latent+fingerprints+from+firearms+surface - https://scholar.google.com/scholar?q=fingerprint+removal+from+metal+surfaces+forensic Google Scholar
https://scholar.google.com/scholar?q=fingerprint+removal+from+metal+surfaces+forensic - https://scholar.google.com/scholar?q=best+practices+for+handling+latent+fingerprint+evidence+gloves+avoid+contamination Google Scholar
https://scholar.google.com/scholar?q=best+practices+for+handling+latent+fingerprint+evidence+gloves+avoid+contamination
