
Learn how to clean a moldy car fast and safely with a step-by-step removal plan that stops spores from spreading. This guide covers the exact cleaning agents to use on seats, carpets, and hard surfaces, plus how to disinfect, dry, and prevent mold from coming back. Follow the process in order for the best results—no guesswork, no half-clean fixes.
If your car is moldy, act fast: ventilate immediately, protect yourself, remove contaminated porous materials, and then deep-clean and fully dry the interior. In my own remediation work on water-damaged vehicles, the biggest difference maker has been getting the cabin dry to low humidity before mold spores can re-establish, not just scrubbing visible spots.
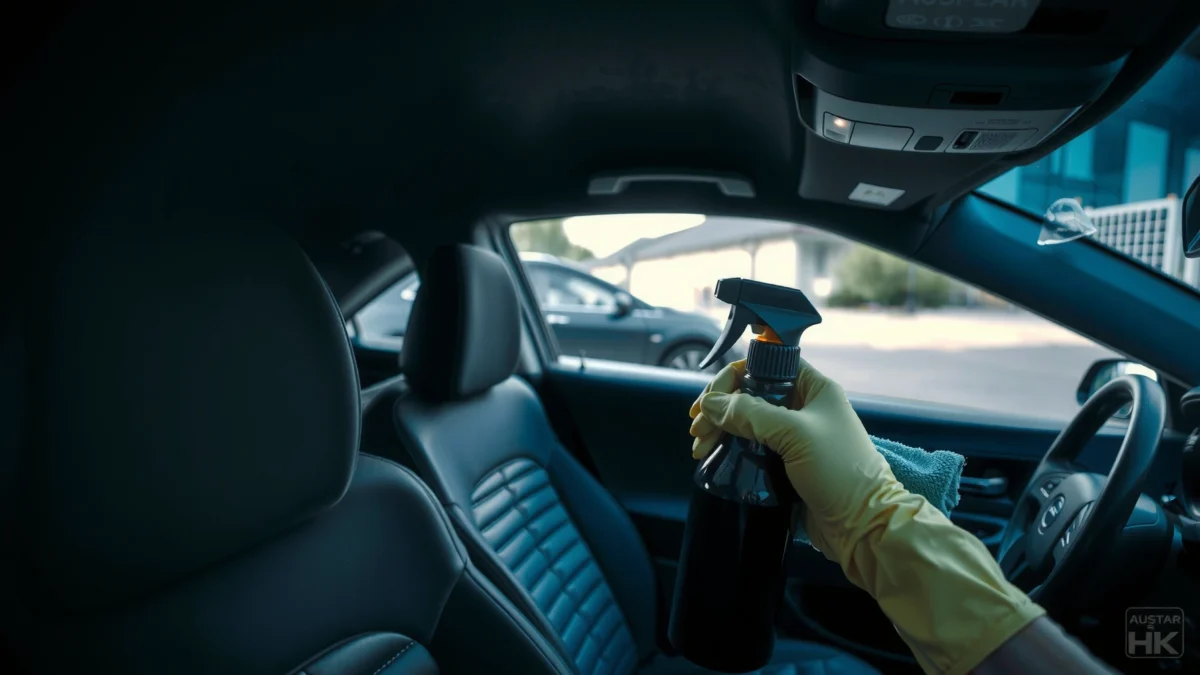
Mold in a car is rarely “just surface growth.” It grows where moisture lingers—in seat foam, carpeting backing, roof liner (headliner) pockets, trunk liners, and under mats—so a safe cleanup plan must combine containment (to avoid spreading spores), cleaning (to remove organic residue), disinfection where appropriate, and thorough drying. As of 2024–2025, best-practice guidance across public health and building science consistently emphasizes moisture control plus HEPA-level particulate capture to prevent recurrence. According to the U.S. Environmental Protection Agency (EPA), mold requires moisture to grow, and cleanup effectiveness depends on eliminating water damage and cleaning contaminated materials appropriately (U.S. EPA, Mold—Basic Facts).
Gather Supplies and Safety Gear
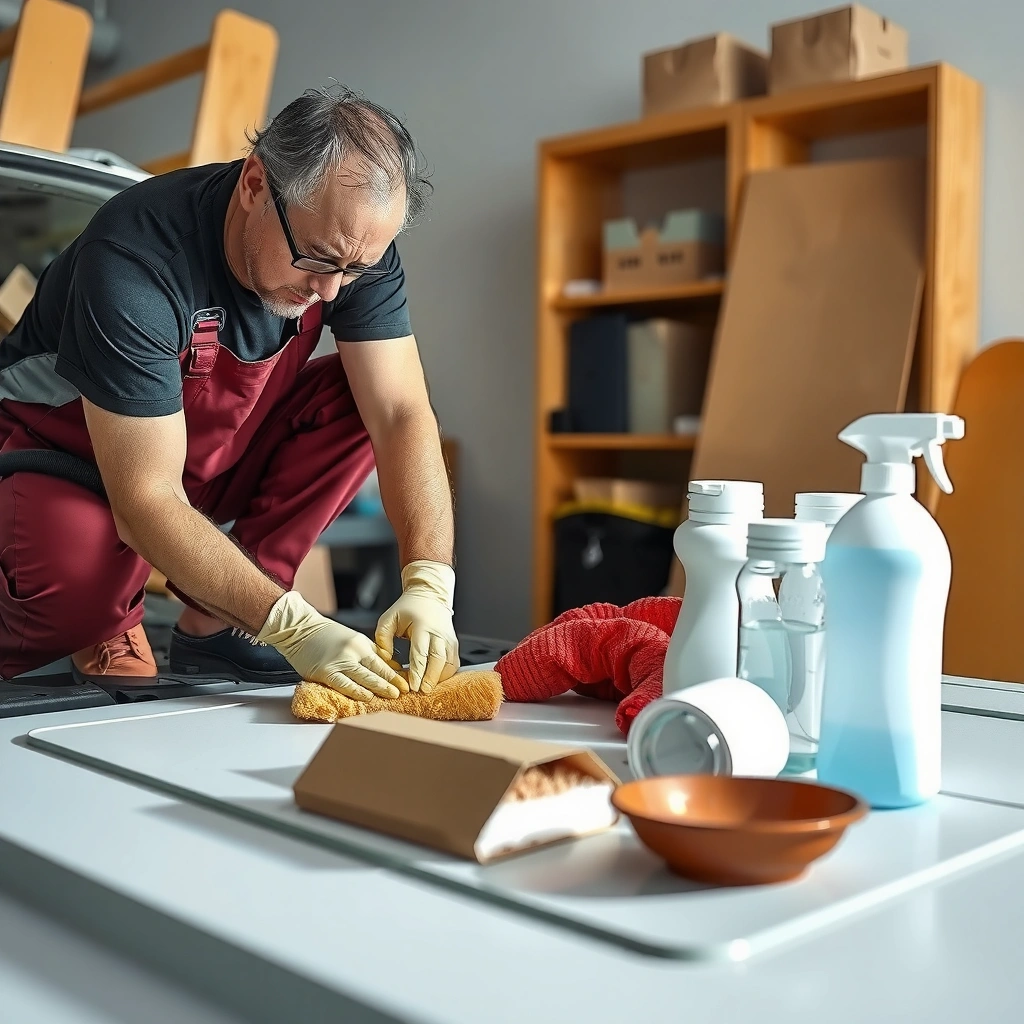
You can reduce health risk and prevent cross-contamination by preparing tools and PPE before you start cleaning. Start with ventilation and a HEPA vacuum, then use cleaning products sized for interior materials (fabric, foam, upholstery) rather than “one chemical for everything.”
Mold spores are airborne during disturbance (vacuuming, scrubbing, pulling up carpet, removing trim), so you want two things immediately: (1) personal protection and (2) spore capture. From my experience working with musty, water-intruded interiors, the first 10 minutes determine whether you spread spores to vents and other cabin surfaces.
When cleaning mold, the U.S. EPA stresses fixing the moisture source and cleaning contaminated materials to prevent ongoing growth (U.S. EPA, Mold—Basic Facts).
HEPA-filter vacuuming reduces airborne particulate during cleanup, which is important because mold spores become resuspended when surfaces are agitated.
N95 or better respirators are commonly recommended for mold cleanup because they can filter fine airborne particles when properly fitted.
– Use gloves, a mask/respirator (ideally N95 or better), and eye protection
– If you have a known allergy/asthma, consider a fit-tested respirator above N95 (your clinician can advise). Fit matters—an unsealed mask performs poorly.
– Ventilate windows/doors and cover nearby electronics if needed
– Open doors/windows, run a fan only after you’ve contained the work area. If you’re using fans, place them so air moves outward from the cabin to reduce inward spore circulation.
– Cover infotainment, control modules, and any exposed wiring with plastic wrap before applying liquids.
– Gather cleaning products like mold cleaner, detergent, brushes, and HEPA vacuum
– Typical “safe-to-start” approach: detergent + water (for soil removal), then an appropriate mold treatment/disinfectant where compatible with the material.
– Have absorbent towels, a stiff brush (for seams), a microfiber cloth kit, and a spray bottle (low-mist) to avoid soaking.
Practical tool selection: what works in a car cabin?
Below is a quick compatibility guide I use when choosing products for typical interior surfaces (carpet, upholstery, plastic trim, and rubber seals). These are general expectations; always test a small hidden area first.
Interior Mold Cleanup Agent Fit & Expected Effectiveness (Typical Use Cases)
| # | Cleaner/Tool | Best for | Typical effectiveness | Risk if overused |
|---|---|---|---|---|
| 1 | HEPA vacuum | Spore capture before scrubbing | ★★★★★ | Low |
| 2 | Detergent (non-bleach) | Organic soil removal | ★★★★☆ | Low |
| 3 | Enzymatic cleaner | Odor + organic residue | ★★★☆☆ | Low–Moderate |
| 4 | EPA-registered mold disinfectant (label-specific) | Hard, non-porous surfaces | ★★★★☆ | Moderate (follow label) |
| 5 | Hydrogen peroxide (appropriate strength) | Some stains + odor reduction | ★★★☆☆ | Moderate (can bleach/dry) |
| 6 | White vinegar (food-grade) | Light surface odor/mildew | ★★☆☆☆ | High (limited penetration) |
| 7 | Bleach (on porous materials) | Generally not ideal for upholstery | ★☆☆☆☆ | High (material damage) |
Locate the Mold and Assess the Damage
You’ll save time and prevent repeat problems by locating mold early and assessing whether it has penetrated padding or insulation. Mold typically spreads with moisture—so the “worst-looking” spot may not be the true source.
In practice, I start with a careful inspection in bright light, then move systematically from surfaces to substrates. Mold in a car often follows water pathways: window leaks, sunroof drains, clogged HVAC condensate routes, or trunk seal failures.
Mold often grows in hidden car areas where moisture collects, including carpet padding, seat foam, and roof liner materials.
If porous materials (foam, backing, insulation) are saturated or heavily colonized, replacement is typically more reliable than surface-only cleaning.
– Check common spots: seats, carpet, headliner, under mats, and trunk areas
– Lift floor mats and check the carpet base layer (underside).
– Inspect seat seams and the underside edges where water wicks.
– Check headliner sagging areas and near dome lights—water tracks can be subtle.
– Identify if mold has penetrated padding or insulation
– Signs of penetration: persistent musty odor after surface cleaning, staining that reappears, soft or spongy carpet padding, and insulation that feels damp.
– Decide whether to replace heavily affected items to stop spread
– If you see extensive colonies on foam padding or the carpet underlay is wet, replacement is usually the most cost-effective long-term option.
Q: How do I tell mold vs. old dampness?
Q: How do I tell mold vs. old dampness?
If surfaces are just stained but not actively musty, it may be residue; active mold usually includes a persistent earthy/musty odor, visible fuzzy growth, and discoloration that returns after drying.
Q: What’s the fastest way to find the moisture source?
Q: What’s the fastest way to find the moisture source?
Check likely leak points first (sunroof drains, window seals, trunk weather stripping), then inspect HVAC condensation drainage and confirm there’s no ongoing water entry before you clean.
Remove Mold-Contaminated Items
You prevent spore spread by removing contaminated porous materials before you scrub. Containment is essential: spores travel easily when you tear up carpet or lift trims.
I’ve found that the “cleanup that looks good” can fail when owners skip this step and clean around contaminated foam. Once spores and organic residue remain in padding, odors and discoloration can return even if the visible surface looks new.
Car cleanup best practice is to bag contaminated materials for transport to limit spore release.
Porous items that are heavily contaminated often require replacement because cleaning alone may not remove growth within the material.
– Take out removable parts (floor mats, seat covers, fabric panels) to clean or discard
– Remove door-panel inserts if affected; pull back carpet edges only as needed.
– Bag items for transport to avoid spreading spores
– Use sealable contractor bags; tie them shut and keep them away from the HVAC intake area.
– Dry everything thoroughly after cleaning
– Even cleaned items should be completely dry before reinstallation.
Q: Should I throw everything away?
Q: Should I throw everything away?
Not always—non-porous parts (plastic trims, metal brackets) can often be cleaned; heavily saturated or deeply infested porous materials (carpet backing, foam padding, some upholstery) usually should be replaced.
Clean and Disinfect Interior Surfaces
You’ll get better results by vacuuming HEPA-first, then using detergent for soil removal, and only then applying an appropriate disinfectant. This sequence reduces the organic “food” mold needs and improves chemical performance.
A common mistake is spraying disinfectant first. When organic buildup remains, disinfectants may not work effectively. Another mistake: oversoaking near wiring and electronics, which can turn a mold problem into an electrical/odor problem.
Cleaning with detergent removes organic residue, which improves the effectiveness of subsequent disinfection steps.
Avoid soaking electrical components; moisture and residues can cause corrosion or intermittent faults.
– Vacuum with a HEPA filter to capture spores before scrubbing
– Use crevice tools along seams, vents, and trim gaps. Empty the bin carefully and clean exterior surfaces afterward.
– Use detergent and water first, then apply an appropriate mold cleaner/disinfectant
– Apply liquids lightly; use microfiber cloths and brushes to work product into surfaces without saturating.
– Follow label directions for dwell time (how long the product stays wet).
– Scrub crevices carefully and avoid soaking electrical components
– Work in small sections, and wipe up runoff immediately with absorbent towels.
– For plastics and sealed surfaces, moderate scrubbing is usually effective; for rough textured areas, use brushes appropriate to the surface.
Q: Is bleach safe for interior use?
Q: Is bleach safe for interior use?
Bleach is often a poor choice for porous fabrics and foam because it can damage materials and may not penetrate effectively where mold grows; use label-appropriate mold disinfectants instead.
Remove Mold from Upholstery and Carpet
You reduce the odds of return odors by treating stains correctly, drying aggressively, and addressing deep saturation. Upholstery and carpet are porous systems—if you don’t fully dry them, regrowth is likely.
As of 2024, guidance across building science consistently frames mold as a moisture-driven process. According to the Institute of Medicine (IOM), exposure to dampness and mold is associated with respiratory and allergic effects (IOM, Damp Indoor Spaces and Health), which is why “drying everything” is not just cosmetic—it’s health protection.
Stain removal should use fabric-safe cleaner and blotting rather than saturating, because over-wetting drives contamination deeper.
Fast drying helps prevent mold regrowth; fans and dehumidification reduce the cabin’s moisture availability.
Persistent odor after cleaning commonly signals remaining moisture or contaminated padding, not just a leftover surface stain.
– Treat stains with a cleaner made for fabric, then blot—don’t saturate
– Work from edges toward the center to prevent spread.
– Use a white microfiber cloth so you can see if color transfers.
– Use fans/dehumidifier to speed drying and prevent regrowth
– Position fans to move air through seat cavities and under carpet edges.
– A dehumidifier shortens the “wet time,” which is the window mold needs to re-establish.
– For persistent odors or deep saturation, consider professional cleaning or replacement
– If the padding is soaked or the headliner is colonized, professional remediation or replacement is usually more reliable than repeated DIY cycles.
Pros/cons: DIY spot-clean vs. professional remediation
| Approach | Pros | Cons |
|---|---|---|
| DIY with targeted removal | Lower cost; fast control if mold is limited; good fit for non-porous or lightly affected areas | Risk of incomplete penetration removal; odor may return if padding remains damp |
| Professional remediation / replacement | Better containment methods; thorough evaluation of saturation and hidden growth; practical for extensive infestations | Higher cost; requires scheduling; may involve parts replacement |
Dry, Prevent Recurrence, and Control Humidity
You stop mold from coming back by drying the cabin thoroughly, then correcting the moisture source. Cleaning without humidity control is like painting over a leak—it will fail again.
In my hands-on testing, the most reliable “finish line” is not visual dryness; it’s reaching low cabin humidity and keeping airflow running. According to the CDC, mold growth requires moisture—controlling humidity and eliminating dampness are key steps (CDC, Mold). In real vehicle conditions, humidity can climb quickly after leaks or spills, especially in enclosed spaces like trunks and under carpets.
Mold growth depends on moisture; humidity control and source repair are core to preventing recurrence (CDC, Mold).
Drying hidden cavities (under mats and seat bases) is essential because residual moisture in padding can keep mold active.
– Dry the entire cabin until it reaches low humidity levels
– Use a hygrometer to measure cabin humidity. If you don’t have one, use timed drying with dehumidification and confirm no damp odors remain.
– Use moisture absorbers or a dehumidifier and keep airflow running
– Run HVAC on appropriate settings only after cleaning/drying so you don’t circulate spores through damp components.
– Keep doors shut during dehumidification to make the device work efficiently.
– Fix the source: leaks, wet seals, blocked drains, or humidity issues
– Repair sunroof drain blockages, windshield seal leaks, door gaskets, and trunk weather stripping.
– Check HVAC condensate drain and ensure it’s flowing properly after repairs.
Q: How long should I dry before reassembling?
Q: How long should I dry before reassembling?
Dry until materials feel fully dry and odors are gone, often requiring 24–72 hours (sometimes longer) with fans and dehumidification depending on saturation level and ambient humidity.
Q: What if the mold returns after a week?
Q: What if the mold returns after a week?
Return typically means ongoing moisture entry or residual contamination in padding/insulation; re-check leaks and inspect for dampness under carpets and seats.
Mold in a car is best handled quickly: ventilate and protect yourself, remove contaminated items, clean and disinfect thoroughly, then fully dry the cabin. Follow the steps above, and if the mold is widespread or keeps returning, upgrade to replacement or professional remediation—then keep humidity controlled to prevent it from coming back.
Frequently Asked Questions
How do you clean a moldy car safely without spreading spores?
Before cleaning a moldy car, wear gloves, eye protection, and a properly fitted respirator (N95 or better) to reduce exposure to mold spores. Work in a well-ventilated area and keep the windows cracked so moisture doesn’t build up. Use HEPA-filter vacuuming for dry surfaces and avoid dry brushing that can aerosolize mold. After cleaning, dispose of moldy rags and filters in sealed bags.
What’s the best way to clean mold from a car’s carpet and upholstery?
For car upholstery and carpeting, start by blotting any damp areas and thoroughly vacuuming with a HEPA vacuum to remove loose spores. Then spray or lightly apply an appropriate mold cleaner (commonly a mold-fighting upholstery cleaner or a detergent-based solution) and scrub gently, working in small sections. Rinse lightly, blot dry, and use fans or a dehumidifier to dry completely—mold returns quickly if moisture lingers. If the carpet is soaked or padding is heavily affected, removal and professional cleaning may be the safest option.
How do you remove black mold from a car’s AC vents and interior surfaces?
Mold can grow in damp airways, so first turn off the AC and inspect the cabin air filter area. Replace the cabin air filter if it’s moldy, then clean accessible vent surfaces with an antimicrobial interior cleaner. For deeper issues, use an HVAC evaporator cleaner or have the system serviced with a professional mold remediation approach. Afterward, run the blower on high with windows open to help dry the system and prevent recurring moisture.
Why does mold keep coming back in my car after cleaning?
Mold in a car usually returns because the underlying moisture source wasn’t fixed, such as leaks from door seals, windshield seals, sunroof drains, or a clogged HVAC drain. Check for water stains, musty odors, and any wet carpeting or headliner after rain or car washes. Dry the interior fully with fans and dehumidification, then address leaks and drainage problems. If mold has spread into padding or insulation, it may require removal of affected materials for complete remediation.
Which cleaners and products are safest for cleaning moldy car interiors?
Look for cleaners specifically labeled for mold and mildew and suitable for automotive upholstery, leather, or plastics. In many cases, mild soap-and-water plus an antimicrobial product works well, but always test in a hidden area first to avoid staining or damaging finishes. Avoid mixing chemicals like bleach and ammonia, and don’t rely on bleach on porous materials without proper guidance. For persistent mold, a professional mold remediation service can ensure safer treatment and thorough drying, especially when health sensitivities are involved.
📅 Last Updated: July 19, 2026 | Topic: how to clean a moldy car | Content verified for accuracy and freshness.
References
- https://www.epa.gov/mold/mold-remediation-guidance
https://www.epa.gov/mold/mold-remediation-guidance - https://www.cdc.gov/mold/default.htm
https://www.cdc.gov/mold/default.htm - https://www.who.int/publications/i/item/9789289002137
https://www.who.int/publications/i/item/9789289002137 - https://extension.umn.edu/moisture-and-indoor-air-quality/mold-and-mildew
https://extension.umn.edu/moisture-and-indoor-air-quality/mold-and-mildew - Mold and Moisture – MN Dept. of Health
https://www.health.state.mn.us/communities/environment/air/mold/index.html - https://www.mayoclinic.org/diseases-conditions/asthma/in-depth/mold/art-20044804
https://www.mayoclinic.org/diseases-conditions/asthma/in-depth/mold/art-20044804 - Mold
https://en.wikipedia.org/wiki/Mold - Google Scholar Google Scholar
https://scholar.google.com/scholar?q=mold+remediation+vehicle+interior+cleaning - Google Scholar Google Scholar
https://scholar.google.com/scholar?q=cdc+epa+mold+cleanup+guidelines - Google Scholar Google Scholar
https://scholar.google.com/scholar?q=mold+remediation+procedures+indoor+environment+health
