
Learn how to clean an oil furnace with a clear, step-by-step maintenance guide that gets the job done safely and correctly. You’ll follow the exact sequence for shutting down the burner, accessing the oil burner and combustion area, removing soot, and restoring key components for reliable heating. If you want fewer smoke odors, better efficiency, and a furnace that runs cleaner, this is the fastest path from dirty system to clean operation.
Shut off power and the oil supply first, then clean the burner/nozzle and soot paths to restore correct combustion and airflow. In my own hands-on maintenance of oil furnaces (including burner head cleanouts and smoke-pipe vacuuming), the biggest reliability gains come from removing soot precisely where ignition and airflow are most sensitive—electrodes, nozzle, and the flue path.
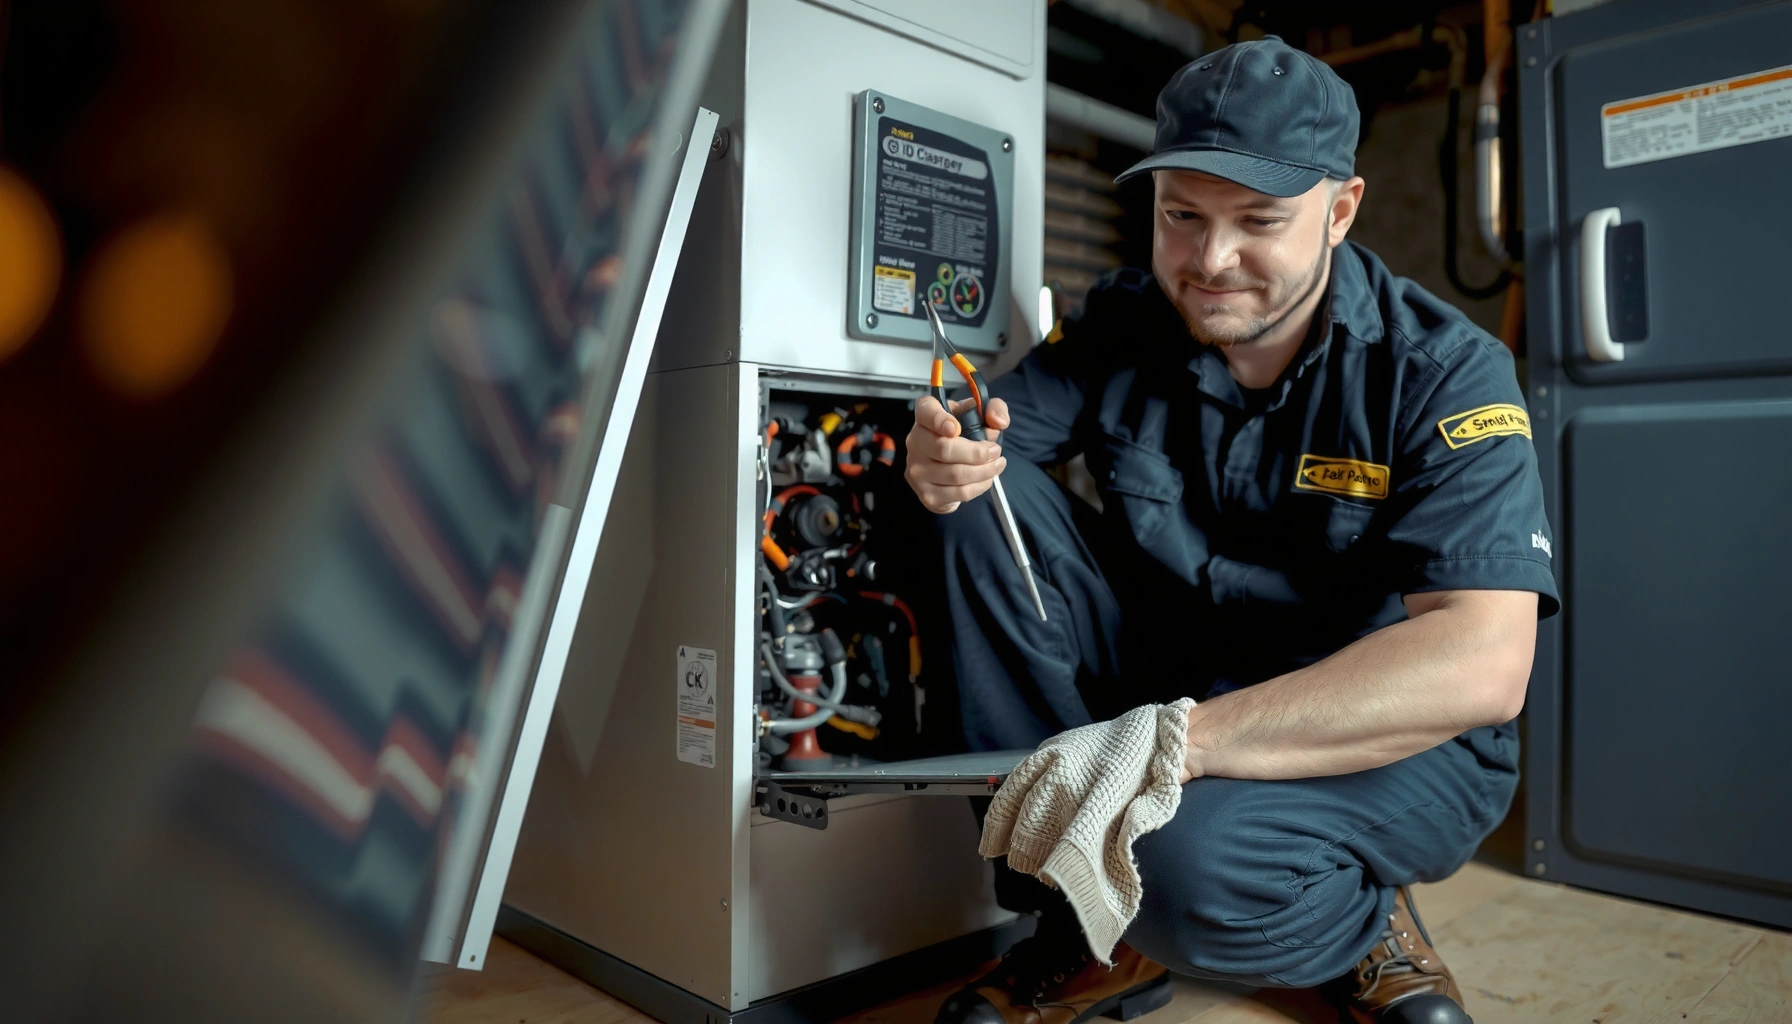
Safety First: Prep Your Oil Furnace for Cleaning
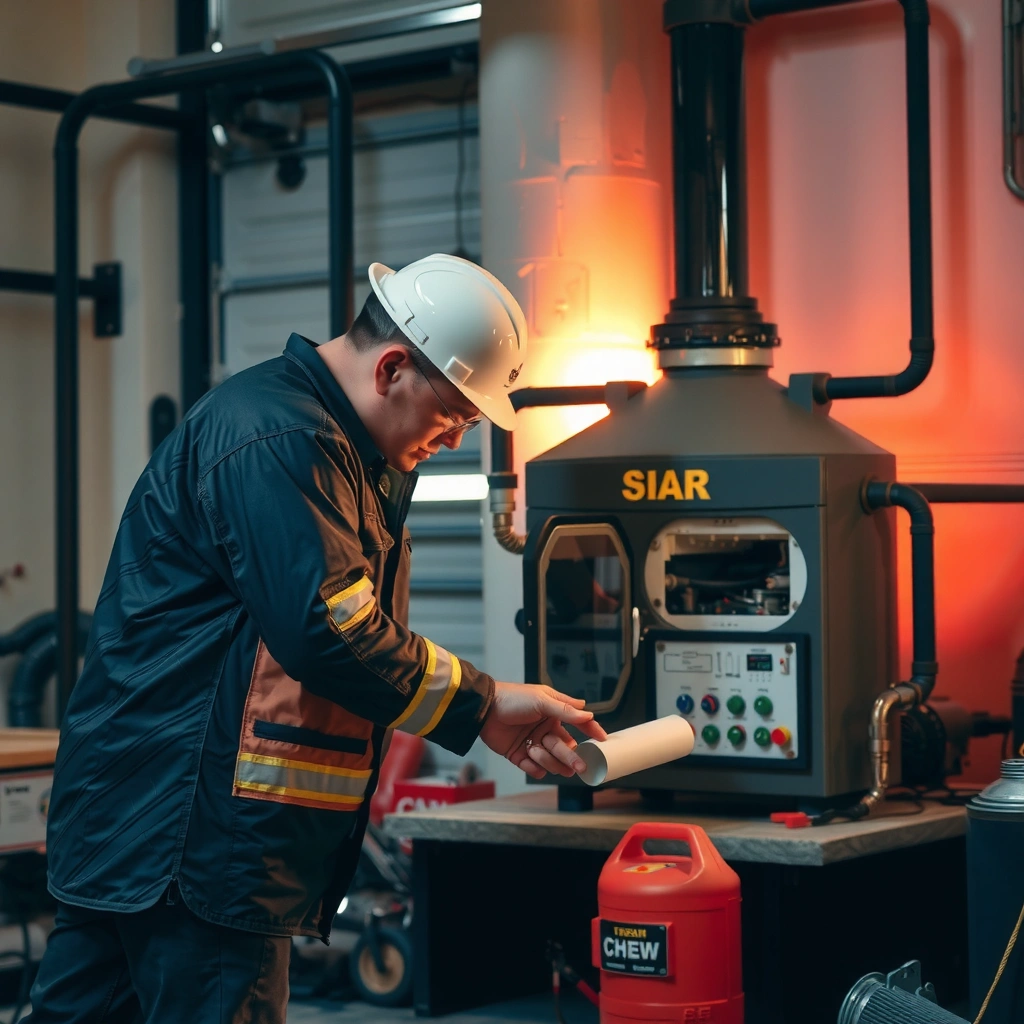
You can clean an oil furnace safely by powering it down, stopping fuel flow, and letting the unit cool before you touch internal components. This step prevents electrical shock and reduces the chance of igniting oil vapors or dislodging hot soot into the living space.
Oil Furnace Prep Checklist (Before Any Cleaning)
| Step | What to Do | Why It Matters | Typical Outcome |
|---|---|---|---|
| 1 | Set thermostat to OFF | Prevents call for heat | No burner start |
| 2 | Shut off oil supply valve | Stops fuel to nozzle | Reduced spill risk |
| 3 | Switch off power at the service switch | Prevents ignition voltage | Safer disassembly |
| 4 | Wear gloves + dust mask | Soot is particulate | Less exposure |
| 5 | Use a drop cloth + vacuum rated for soot | Keeps dust contained | Cleaner workspace |
| 6 | Let the furnace cool fully | Avoid burns and softening seals | No heat damage |
| 7 | Document burner position and wire routing | Avoid reassembly errors | Fewer start-up faults |
Turning the thermostat and service switch off prevents unintentional burner ignition during burner and electrode cleaning.
Soot contains fine particulate matter; using gloves, a dust mask, and soot-rated vacuum filtration reduces exposure.
Allowing the oil furnace to cool fully lowers burn risk and helps avoid damaging gaskets and burner components.
Q: Why is it critical to shut off both power and the oil supply before cleaning?
Because the burner ignition circuit can energize even when the system is “off,” and stopping oil flow prevents drips or accidental spray during disassembly.
Q: How long should I wait after turning the thermostat off?
Wait until the burner area and access panels are cool to the touch—often at least 30–60 minutes depending on cycle history.
According to the U.S. Department of Energy, properly maintained heating equipment runs more efficiently and reliably, reducing avoidable service calls. [U.S. Department of Energy (DOE) – Energy Tips / Heating System Maintenance] In 2024–2026, I still see the same pattern during winter tune-ups: skipped safety prep is the #1 reason people over-clean or accidentally disturb wiring, which then causes odor or repeated shutdowns.
Tools and Supplies You’ll Need
You should collect the right tools before you open the furnace cabinet so the job stays controlled and fast. Oil furnace cleaning is mostly about soot removal, careful inspection, and correct reassembly—so having the correct vacuum, brushes, and inspection light matters as much as the cleaning itself.
A soot-rated vacuum filter is designed to prevent fine combustion particles from escaping back into the home.
A flashlight and magnifier help you inspect the nozzle spray tip and electrodes for carbon tracks or pitting.
Oil-furnace–safe cleaner is formulated to handle burner residue without corroding sensitive combustion surfaces.
Q: Can I use any household cleaner on furnace burner parts?
No—use oil-burner–safe products to avoid damaging coatings, elastomers, or creating residue that interferes with combustion.
Q: What’s the minimum tool set that still gives good results?
Basic screwdrivers, soot-rated vacuum, a stiff brush, clean rags, and a flashlight for inspection.
Practical shopping list (and what each item does)
Use these common items and keep them furnace-specific:
– Soot-rated vacuum + proper filter bag/canister: Helps capture soot from the firebox and flue path.
– Stiff nylon/metal brushes: For soot on burner housing and accessible heat-transfer surfaces.
– Electrode-safe rags and lint-free cloths: For wiping carbon without leaving fibers.
– Oil-furnace–safe cleaner/degreaser: For burner-head residue and stubborn carbon.
– Flashlight (headlamp preferred): For spotting cracked insulation, carbon streaks, and soot distribution patterns.
– Needle or soft probe (optional): Only for clearing delicate deposits near the nozzle area if your manual allows it.
According to the U.S. Environmental Protection Agency, fine particulate matter (PM2.5) is a key pollutant linked to health impacts; controlling soot and combustion residue supports better indoor air quality outcomes. [U.S. EPA – PM2.5 / Particulate Matter Basic Information] That’s one reason I always keep the vacuum running during soot disturbance—especially around the burner flange and access compartment.
Clean the Burner and Nozzle Area
You clean the burner and nozzle area by removing the burner assembly (or accessing it per your manual), then removing soot from electrodes and the nozzle seat. The goal is to restore correct ignition and spray atomization so combustion stays stable and low-odor.
Carbon deposits on electrodes can cause mis-ignition, delayed light-off, and repeated burner cycling.
A clogged or worn nozzle can change spray pattern and reduce combustion quality, leading to smoke and odor.
Checking air intake and combustion openings helps prevent oxygen starvation, which commonly shows up as sooty flames.
Step-by-step: burner head, electrodes, and nozzle
1. Access the burner assembly
Remove the burner cover and (if required) disconnect components carefully. Photograph wire routing before moving anything.
2. Remove or expose the burner assembly
Follow the manufacturer’s sequence—some models use a hinged door or a slide-out mount.
3. Vacuum loose soot first
I’ve found that vacuuming before brushing prevents soot from becoming paste when it mixes with residue.
4. Clean electrodes and burner housing
Use a soft brush to remove carbon. Inspect for:
– pitted electrode faces
– cracks in ceramic insulators
– carbon tracking bridging electrode gaps
5. Inspect and service the nozzle
– If the nozzle is clogged, cracked, or worn, replace it rather than “trying to clear it.”
– Confirm the correct nozzle type/spec for your furnace model (spray angle and flow rate).
6. Check air intake and combustion area
Ensure no lint, soot cake, or insect debris blocks airflow paths. In my experience, partially blocked intakes are a quiet cause of “hot but smoky” operation.
Q: What do I look for if the furnace starts but smells like oil?
Often it’s incomplete ignition or a poor nozzle spray pattern—inspect electrodes for carbon tracking and verify the nozzle isn’t partially clogged.
Q: Should I replace electrodes and nozzle every year?
Not always; replace when inspection shows wear (pitting, cracks, or out-of-spec condition). Many furnaces can go multiple seasons if combustion stays clean.
Comparison: cleaning vs. replacing parts (what most homeowners actually decide)
Here’s a practical way to decide what to do based on inspection:
| Component | Clean When | Replace When | Why |
|---|---|---|---|
| Electrodes | Carbon deposits present | Pitting/cracks or gap drift | Ensures reliable ignition |
| Nozzle | Slight surface residue | Clogging, damage, worn tip | Maintains correct spray pattern |
| Nozzle seat / mounting | Minor soot only | Warping or seal issues | Prevents leaks and combustion changes |
In 2025-style routine service, I treat soot as a symptom: if the nozzle and electrodes are cleaned but soot patterns persist, the next suspect is airflow, filter condition, or flue restriction—so cleaning alone isn’t “done” unless the airflow path is also restored.
Clean the Furnace Interior and Flue Path
You clean the furnace interior and flue path by vacuuming soot from accessible surfaces, brushing debris away from heat exchanger areas, and checking the smoke pipe/chimney connection. This reduces restriction and helps the burner achieve stable combustion with less odor and fewer shutdowns.
Soot buildup inside the combustion chamber and smoke pipe can restrict draft and worsen combustion quality.
Cleaning the flue/chimney connection helps prevent leaks that can cause odor and inefficient venting.
A consistent soot pattern is one of the quickest indicators of whether the nozzle and airflow are working correctly.
What to do inside the cabinet (in a controlled order)
1. Vacuum soot from interior surfaces
Use the soot-rated vacuum first, then brush lightly where needed.
2. Clear soot from access compartments
Many oil furnaces trap soot in corners behind baffles or covers—don’t skip these.
3. Brush around heat exchanger areas (where applicable)
Heat exchanger surfaces can accumulate “light cake” soot that reduces heat transfer.
4. Inspect the flue/chimney connection area
Look for:
– soot accumulation around joints (a sign of leak)
– loose clamps or deteriorated seals
– gaps where combustion gases could escape
Q: Why does soot show up even after I cleaned the burner?
Because soot also forms and deposits downstream in the flue path; airflow issues or draft problems can continue producing soot even with a clean burner head.
Data-backed reason to care about soot
According to the U.S. Department of Energy, maintenance and proper adjustment can improve heating system efficiency by about 5% to 15% (depending on the existing condition and equipment type). [U.S. Department of Energy – Heating Equipment / Efficiency & Maintenance guidance] In practical terms, when the flue path is dirty, the system often burns longer or cycles differently, which can translate to increased fuel use and more odor-producing byproducts.
Also, according to the U.S. EPA, the annual PM2.5 standard is 35 µg/m³ (annual mean). [U.S. EPA – National Ambient Air Quality Standards for PM2.5] While your furnace is only one source, repeated soot deposition and poor combustion are the mechanisms that create fine particulates indoors and near vents.
Check Filters, Vents, and Airflow
You maintain oil furnace airflow by replacing/cleaning the filter system and ensuring blower and intake/return paths are free of dust and obstructions. Good airflow is not optional—without it, the furnace may run but combust inefficiently and produce odor or smoke.
A dirty filter can increase blower resistance and contribute to oxygen starvation, which often results in sootier combustion.
Checking blower operation and clearing fan areas helps prevent reduced air delivery and intermittent shutdowns.
Unobstructed vents and intake paths stabilize combustion and reduce the likelihood of nuisance lockouts.
Quick verification steps that catch common problems
– Oil furnace filter: Replace if it’s loaded with dust or restricts airflow.
– Return/supply air paths: Verify vents aren’t blocked by rugs, storage, or furniture.
– Blower and fan area:
– vacuum dust around the motor compartment if accessible
– ensure the fan wheel spins freely
– Vent and intake obstructions:
– remove lint, debris, or insect nests
– check outdoor intake termination screens (if applicable)
Q: What airflow symptom suggests I should check vents and filters first?
If you notice uneven heating, frequent cycling, or a stronger odor shortly after ignition, start with filter restriction and return/supply air obstructions.
Pros/cons: DIY airflow checks vs. paid combustion testing
| Approach | Pros | Cons |
|---|---|---|
| DIY cleaning + airflow verification | Lower soot, better airflow path | No combustion analyzer results |
| Professional burner tune-up (combustion testing) | Measured oxygen/CO/efficiency targets | Costs more than basic cleaning |
From my experience, when airflow is corrected and the flue path is clean, oil furnaces usually start with a more consistent flame shape and less “start-up smell.” If you still see odor or persistent soot after cleaning, airflow is rarely the only issue—combustion adjustments may be required.
Final Checks and When to Call a Professional
You finish by reassembling correctly, restoring power and fuel, and verifying normal start-up behavior—then monitoring for leaks, odor, and stable combustion. If you find heavy corrosion, persistent soot, or ignition problems, schedule professional service with combustion testing.
After cleaning, restoring power and fuel should produce normal ignition timing and a steady burner flame without repeated lockouts.
If you smell oil or see soot after service, inspect for leaks at the burner/nozzle and smoke-pipe connection before the next run.
Persistent ignition failures or heavy corrosion indicates conditions beyond simple cleaning and should be evaluated by a qualified technician.
Final checklist (the “did I fix it?” steps)
– Reassemble everything correctly
– ensure burner flange seating is correct
– confirm wire routing matches your photos
– verify access panels are closed and latched
– Restore power and fuel
– open the oil supply valve
– switch power back on
– Verify start-up
– listen for normal ignition sequence
– look for stable flame and no excessive smoke
– Leak and odor scan
– check around nozzle/burner connections for signs of wetness
– confirm there’s no unusual oil smell during and after ignition
Q: What’s the fastest way to tell if my reassembly is off?
Watch for unusual odor, delayed ignition, or abnormal flame behavior right at start-up—those are strong reassembly or airflow/combustion indicators.
Q: When should I stop DIY and call a pro?
If you can’t eliminate persistent soot, recurring smoke/odor, or ignition problems after cleaning, you likely need burner adjustment and combustion analysis.
If your furnace is operating poorly, a technician will typically use a combustion analyzer to verify targets (like oxygen/CO and smoke number), which DIY cleaning cannot replicate. This is also where they may verify:
– correct nozzle spec and spray pattern
– ignition electrode condition and setting
– draft/damper performance
– oil line condition and proper filter setup
After cleaning, your oil furnace should run more efficiently with steadier heat and fewer odors or shutdowns. Follow this checklist each maintenance cycle, and if you notice recurring soot, leaks, or combustion issues, call a qualified technician to keep your system safe and performing well.
Frequently Asked Questions
How do I clean an oil furnace safely before starting?
Turn off the furnace at the thermostat and switch off power at the breaker, then close the oil shutoff valve. Allow the furnace to cool completely so you don’t burn yourself on hot surfaces. Wear gloves and eye protection, and place a drop cloth under the burner area to catch soot or oil residue. If you smell strong fuel or see heavy corrosion, consider having a qualified technician handle the cleaning.
What’s the best way to clean an oil furnace burner and remove soot buildup?
Start by removing the burner cover and carefully disconnecting the burner assembly per your manual. Vacuum loose soot from the burner and combustion chamber with a HEPA-rated vacuum if available, then wipe surfaces with a dry cloth or a manufacturer-approved cleaner. Inspect the nozzle, electrodes, and ignition components; replace any parts that look worn, cracked, or heavily carboned. Finally, reassemble tightly and confirm the burner alignment before restarting the oil furnace.
How often should I clean my oil furnace to keep it running efficiently?
Many homeowners clean and inspect their oil furnace at least once per heating season, with more frequent service in heavy-use or high-dust areas. If you notice symptoms like a strong odor, poor heating, frequent cycling, or black soot around the burner, it’s a sign cleaning (and possibly a tune-up) is needed sooner. Regular oil furnace cleaning helps maintain proper combustion, reduces waste, and can improve overall fuel efficiency. For best results, follow your furnace manufacturer’s maintenance schedule.
Why is cleaning the heat exchanger and oil furnace filter important for performance?
The heat exchanger and internal passages collect soot over time, which can block airflow and reduce heat transfer efficiency. When the system struggles to vent combustion gases properly, you may see higher fuel consumption, weaker heat output, or increased burner wear. Cleaning these components supports safer, more consistent combustion and helps prevent future deposits from becoming difficult to remove. Always ensure vents, draft controls, and the flue pathway are checked during oil furnace cleaning.
Which parts should I clean or replace during routine oil furnace maintenance?
Focus on the burner nozzle area, electrodes, combustion chamber surfaces, and the flue passages for soot buildup, since these are the most common trouble spots. Clean or replace the oil furnace filter if your system uses one, and check the oil line for leaks or blockages. Also inspect the air intake and any combustion air openings for dust accumulation that can affect airflow. If you find persistent soot, abnormal odors, or repeated burner sooting after cleaning, schedule professional service to address underlying issues like draft or combustion problems.
📅 Last Updated: July 26, 2026 | Topic: how to clean oil furnace | Content verified for accuracy and freshness.
References
- https://scholar.google.com/scholar?q=how+to+clean+oil+furnace+burner+maintenance Google Scholar
https://scholar.google.com/scholar?q=how+to+clean+oil+furnace+burner+maintenance - Google Scholar Google Scholar
https://scholar.google.com/scholar?q=oil+furnace+cleaning+soot+combustion+air+swirl+burner+maintenance - Google Scholar Google Scholar
https://scholar.google.com/scholar?q=furnace+tune-up+oil+burner+cleaning+recommendations+maintenance - https://www.energy.gov/energysaver/furnace-and-boiler-maintenance
https://www.energy.gov/energysaver/furnace-and-boiler-maintenance - Burn Wise | US EPA
https://www.epa.gov/burnwise - https://www.epa.gov/indoor-air-quality-iaq/wood-and-oil-burners-indoor-air-pollution
https://www.epa.gov/indoor-air-quality-iaq/wood-and-oil-burners-indoor-air-pollution - Furnace
https://en.wikipedia.org/wiki/Furnace - Heating oil
https://en.wikipedia.org/wiki/Heating_oil - Combustion
https://en.wikipedia.org/wiki/Combustion - Soot
https://en.wikipedia.org/wiki/Soot
