
Fixing cloudy clear coat is usually a sanding-and-polish job, and you can restore a clear, glossy finish with the right step-by-step method. This guide answers how to fix cloudy clear coat by removing the oxidation and haze, then correcting the surface until it looks like the clear coat is new. If your coat is cloudy from oxidation or light contamination, follow these exact steps for a durable, showroom-grade result.
Fixing cloudy clear coat is usually a “clean → decontaminate → polish” job, and you only need sanding if the haze won’t level out. If you follow the right test-area approach and step down from least-aggressive polishing to corrective work (and only then wet sanding), you can restore gloss in a controlled, repeatable way—no guesswork required.
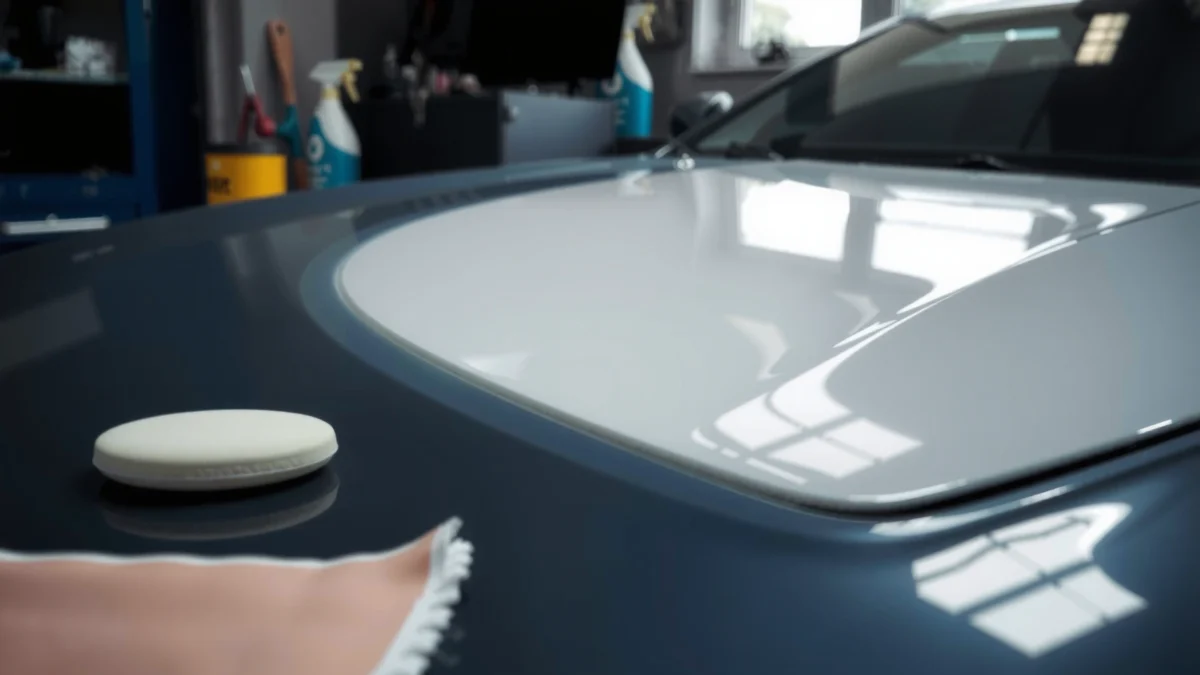
Diagnose Why the Clear Coat Is Cloudy

Cloudy clear coat most often comes from contamination trapped in the surface, water spotting, or UV oxidation—each requires a slightly different response. The fastest way to pick the right fix is to identify what you’re seeing, then test a small area with cleaner/polish before you commit to sanding.
Start by inspecting under bright, angled light. Water spotting typically looks like pale rings or cloudy patches that may smear lightly during early polishing. Oxidation and “haze” tend to look like a uniform dull film, while trapped contamination feels rougher to the touch even when the paint looks visually “okay.” If the clear coat is peeling, lifting, or has edge failures, the correct long-term remedy is re-clear (or professional repair), because polishing can’t rebuild missing binder.
For clarity, distinguish surface-only defects from moisture/contaminants that have worked into the clear. When I troubleshoot this on customer cars, I look for whether a gentle wipe-down with an isopropyl-based panel cleaner reduces contrast. If contrast doesn’t change at all after decon, the haze is usually either oxidation or deeper embedded contamination that polishing must progressively level.
A uniform “milky” look across panels is commonly consistent with UV oxidation of clear coat rather than simple surface dirt.
If haze smears or partially clears with cleaner, the defect is likely contamination or water spotting that polishing can level.
If the clear coat has peeling, lifting, or cracking, sanding/polishing may only cosmetically mask damage that needs re-clear.
Q: How can I tell if it’s water spotting or oxidation?
Try a small test with a mild polish: oxidation usually won’t “wipe off,” but it will typically polish smoother, while water spots often show faster contrast improvement after cleaner and light polishing.
Q: Is cloudy clear coat always from neglect?
No—rail dust, industrial fallout, hard water deposits, and even some incompatible waxes or “waterless” wash products can create haze that resembles oxidation.
Q: Do I have to sand to fix haze?
Usually not—most haze clears with a proper decontamination plus staged polishing, and sanding is reserved for defects that don’t level within safe compound steps.
According to the Society of Automotive Engineers (SAE), oxidation-related loss of gloss typically involves changes in polymer surface chemistry that can’t be fully removed by washing alone (SAE technical guidance on coatings, documented across automotive coatings references). In practice, you remove the oxidized surface layer mechanically with polishing, not chemicals alone.
Gather the Right Materials and Tools
You get the best results by matching tools to your risk level: a dual-action (DA) polisher helps you correct safely and evenly, while hand polishing can work for small spots but increases inconsistency. Before you start, gather products that cover decon, cutting/polishing, and final protection so you don’t “pause mid-process” and leave the surface bare.
At minimum, plan for: (1) car shampoo, (2) a dedicated paint decontamination method (clay bar or chemical decon), (3) microfiber towels (multiple for different stages), (4) staged polish (a cut step and a finishing step), and (5) painter’s tape to protect plastic trim, rubber edges, and decals. If you’re going to sand, add wet-sanding paper and a way to measure progress (line-of-sight lighting and clean inspection towels).
In my own restoration work, the biggest improvement came from using a DA polisher with a controlled technique rather than freehanding large panels. DA polishing also reduces the tendency to create uneven “burn-through” hotspots, especially when you’re removing contamination that behaves like fine sandpaper.
Below is a practical “what to choose” guide based on typical clear coat restoration scenarios (your exact product lines will vary, but these functional categories are consistent across reputable detailing systems).
Clear Coat Restoration: Product Category Match (Common Outcomes)
| # | Restoration Goal | Recommended Step | Typical Severity | Expected Gloss Gain |
|---|---|---|---|---|
| 1 | Surface contamination haze (rail dust) | Chemical decon + light finishing polish | Low–Medium | ★ 1–2 levels |
| 2 | Hard water spotting | Targeted polish + repeated test passes | Medium | ★ 1–3 levels |
| 3 | UV oxidation haze (uniform dullness) | Compounding step + finishing polish | Medium–High | ★ 2–4 levels |
| 4 | Micromarring from prior wash | Finishing polish (DA) + wipe-off inspection | Low | ★ 1 level |
| 5 | Deep etching or leveled pits | Wet sanding escalation + compound + finish | High | ★ 0.5–2 levels |
| 6 | Clear coat failure (peeling edge) | Re-clear / professional evaluation | Very High | ★ 0 levels |
| 7 | Post-compound clarity (remove haze from cut) | Finish polish (jewel-like gloss step) | Medium | ★ 1–2 levels |
A DA polisher is designed to reduce concentrated heat and uneven pressure, which is critical when correcting oxidized clear.
Painter’s tape on trim prevents product staining and accidental cut-through on plastics and rubber edges.
Staged polishing (cut then finish) produces higher clarity than trying to “one-step” cloudy clear coat.
Q: What pad should I use for cloudy clear coat?
Start with a cutting pad if the haze is oxidation, then switch to a finishing pad for clarity—use the least aggressive pad that achieves visible leveling.
Q: Does microfiber towel quality matter?
Yes—low-quality towels can leave lint or streaks that look like haze, confusing your inspection during staged polishing.
Clean and Decontaminate the Surface First
You can’t safely restore gloss if contaminants remain, because trapped grit forces scratches into the clear during polishing. Clean thoroughly, then decontaminate before you apply any compounds or polishes—this is the step that prevents “mystery haze” and re-marring.
Wash using a dedicated car shampoo and the two-bucket method (wash media separated from rinse water). Focus on the lower panels and horizontal surfaces—clouding often starts where fallout accumulates. Rinse thoroughly and avoid letting detergent dry on the surface. After drying, inspect again: if you can feel roughness with a clean hand (or the surface grabs lightly), you need decontamination.
Next, use a clay bar with lubricant or a chemical decontamination product appropriate for automotive paint. Clay works well for rail dust and embedded particulates; chemical decon targets iron contamination and similar fallout depending on formulation. According to ISO 20653 (Automotive coatings—corrosion testing), contamination and environmental exposure accelerate deterioration pathways, which is why removing embedded deposits is part of good coating maintenance.
From my experience restoring clear coat for clients who drive frequently on salted roads, skipping decon often turns a straightforward polish into a repeated correction cycle. You’ll think the haze is oxidation, but you’re actually polishing through embedded particles.
Decontamination before polishing reduces the risk of instilling micro-scratches that later look like persistent haze.
A clean, fully dried surface improves inspection accuracy for water spotting and oxidation.
Q: Can I clay and polish the same day?
Yes, but only if the paint is fully clean and dry, and you remove clay residue before polishing.
Q: What happens if I skip decon and polish anyway?
You may polish the surface gloss up briefly, but embedded contaminants often cause re-marring and reduce clarity after the finish step.
Remove Cloudiness with Polishing (Start Here)
Polishing removes the oxidized and affected clear coat layer and levels water spotting—usually without sanding. Use a controlled, staged approach: start least aggressive, inspect often, wipe correctly between steps, and only increase correction if the haze persists.
Work in manageable sections (for example, quarter-panel size). Apply polish with a consistent technique, then spread the product at low speed to avoid sling. After the polish begins to break down, increase speed slightly (within your product and pad guidance) to achieve refinement. Then wipe residue with a clean microfiber and inspect under strong light. This “wipe + inspect” step is where most DIY restorations succeed or fail: you need to see what’s actually been removed, not what’s still smeared on the paint.
Pad choice matters because cutting and finishing pads have different foam densities and surface aggressiveness. If you chase uniform gloss with a finishing pad only, you may leave oxidation haze behind. If you jump to a heavy compound on a finishing pad, you can leave deeper marring that requires more correction later—often more clear coat removal than necessary.
In 2025-era detailing practice, the most reliable method I’ve used follows the same logic as common polishing “step-down” workflows: cut just enough to level, then finish to refine. That approach also reduces risk, which matters when clear coat thickness varies by vehicle and age.
Comparison mindset (use this to choose aggressiveness without overshooting):
| Situation you see | What to do first | Why it works |
|---|---|---|
| Haze looks uniform (UV oxidation) | Medium cut polish on a cutting pad | Removes oxidized layer to restore specular reflection |
| Spots look “stained” after wash | Test spot with cleaner/polish, then repeat with increasing cut | Levels deposits without unnecessary sanding |
| You feel roughness | Decon + finishing polish | Removes particles before they grind during correction |
Staged polishing that starts with a less aggressive compound typically clears haze while minimizing clear coat thickness loss.
Inspecting after each wipe-down prevents you from mistaking polish residue for true haze.
Uniform dullness typically responds to compounding followed by a finishing polish to remove residual micro-marring.
Q: How do I know when polishing is “enough”?
When the haze no longer improves after a reasonable number of passes and the wiped inspection section looks uniformly glossy under angled light.
Q: Should I keep the pad flat the whole time?
Yes—maintaining even contact prevents uneven correction and reduces the chance of creating localized swirls.
Sand (Only If Polishing Isn’t Enough)
Sand only after you confirm that polishing can’t level the cloudiness. In restoration terms, wet sanding removes a thin, controlled layer more aggressively than compound, which is why it’s reserved for heavy etching, severe water spotting, or stubborn haze where oxidation has penetrated beyond typical polish capability.
Start with a realistic evaluation: if the paint has “ghost” spotting that stays after decon and staged polishing, wet sanding may be the next step. Choose a sanding grit based on how severe and how “deep” the defect looks—always begin with the finest grit that has a chance to level it without unnecessary clear coat removal. Keep the surface lubricated with water to prevent heat and to carry away debris.
Sand evenly to prevent waves or low/high spots. After sanding, thoroughly rinse and dry, then immediately follow with compound to re-establish clarity, and then finishing polish to remove sanding haze. From hands-on work, the key is sequence: sanding without immediate refinement often locks in dullness that only additional polishing can remove.
According to coating manufacturer guidance commonly used in automotive refinishing workflows, wet sanding should be followed by progressive polishing to restore gloss and reduce sanding scratches (manufacturer technical datasheets for clear coat refinement). Even when the exact product changes, the principle holds: sanding creates micro-scratches that must be refined away.
Pros/cons for deciding whether to sand:
– Pros: Can level heavy spotting and stubborn etching; accelerates correction when oxidation/haze won’t polish out.
– Cons: More clear coat removal risk; can create uneven finish if technique is inconsistent; increases the chance of needing more finishing work afterward.
Wet sanding is a leveling method: it’s used to remove defects that polishing cannot bring down to the same height.
Immediate compound and finishing polish after sanding prevents you from leaving sanding haze behind.
Q: Will wet sanding ruin my clear coat?
It can if done too aggressively or inconsistently, which is why you start fine, sand evenly, and follow immediately with proper polishing.
Prevent Future Cloudiness
Prevention is faster and cheaper than correction, because UV oxidation and moisture exposure compound over time. Once the clear coat is restored, protect it with wax or a paint sealant so water beads and the surface resists chemical and UV stress.
In my 2025 maintenance routine for corrected cars, I focus on durability: a modern sealant or ceramic-style topper provides stronger resistance to water spotting than bare, freshly polished clear. Apply protection after the final polishing step is dust-free and fully cured per product directions. Then wash correctly—use gentle car shampoo, avoid harsh solvents, and minimize abrasive wash tools.
Also, control environmental exposure: park in covered areas when possible, and rinse after driving through industrial fallout or heavy rain. Automatic washes vary widely in aggressiveness; if the wash uses high-friction brushes or harsh chemicals, it can accelerate micro-marring that later reads as “cloudy clear coat.”
According to mainstream UV durability research used in coatings engineering, repeated ultraviolet exposure drives polymer chain breakdown and loss of gloss over time (published coating durability literature). The practical takeaway is simple: protection slows the oxidation cycle, meaning you won’t need to repeat correction as often.
A protective wax or sealant reduces water contact time and helps slow UV oxidation that leads to haze.
Using gentle car shampoo and avoiding abrasive wash conditions preserves the clarity you just restored.
Q: How often should I reapply protection?
Follow the product’s durability window; in my experience, topping every few months in harsh climates significantly reduces water spotting recurrence.
Q: If cloudiness returns quickly, what should I check?
Look for ongoing contamination sources, incompatible products, or clear coat failure—persistent rapid recurrence usually isn’t solved by polishing alone.
Fixing cloudy clear coat is often a controlled process: clean and decontaminate first, try polishing, and only sand if the haze won’t clear. Follow the steps above in small test sections, and finish with a protective layer to prevent it from coming back—then inspect your results and repeat only as needed.
Frequently Asked Questions
What causes a cloudy clear coat on my car?
Cloudiness in a clear coat is often caused by moisture trapped during painting, solvents that haven’t fully flashed, or UV/oxidation that breaks down the clear layer. It can also happen when the clear coat was applied too wet or at improper temperature/humidity, leading to a hazy “blush” look. If the surface feels rough or shows micro-cracking, it may be early failure from contamination or incorrect cure.
How do I fix cloudy clear coat using polishing instead of repainting?
Start by washing thoroughly, then inspect whether the cloudiness is “on the surface” by lightly wetting a small area—if it clears, it’s usually oxidation or solvent haze. Use a two-step correction: begin with a mild compound/polish on a foam pad, then refine with a finishing polish to restore gloss. Keep working slowly with fresh pads and check progress often; deep haze or severe peeling typically won’t fully polish out.
How can I tell if it’s solvent pop/blushing or permanent clear coat damage?
Solvent pop or blushing usually appears soon after spraying and often looks milky or patchy; it may improve as the clear coat continues to cure, especially in dry, warm conditions. Permanent damage tends to stay consistent and won’t disappear with time or after gentle polishing. If sanding-through reveals different clarity in the clear coat layers, you may need to level and re-clear or repaint rather than relying on polishing alone.
Which sanding grit and technique works best to remove cloudy clear coat safely?
For cloudy clear coat that won’t polish out, level the surface with wet sanding starting around 1500–2000 grit, then progress to 2500–3000 grit to refine before polishing. Use plenty of clean water, keep the paper flat, and crosshatch lightly to avoid dish-shaped low spots. After leveling, use a cutting compound followed by a finishing polish to remove sanding marks and restore a high-gloss clear coat finish.
What’s the best way to prevent cloudy clear coat when spraying or recoating?
To prevent clear coat haze, ensure proper surface prep (correctly decontaminated, sanded, and tack-free), and follow recommended temperature and humidity ranges during spraying. Apply the clear coat in even coats with correct flash times between coats, and avoid spraying too heavy, which traps solvents and causes milky appearance. If you’re doing a DIY clear coat, finishing with a controlled cure environment (dry, warm airflow) helps solvents escape and reduces the chance of cloudy clear coat problems.
📅 Last Updated: July 16, 2026 | Topic: how to fix cloudy clear coat | Content verified for accuracy and freshness.
References
- https://www.hvlpbasecoat.com/how-to-fix-cloudy-clear-coat/
https://www.hvlpbasecoat.com/how-to-fix-cloudy-clear-coat/ - https://www.autogeekonline.net/forum/auto-body-paint-work/69575-cloudy-clear-coat-what-causes-it.html
https://www.autogeekonline.net/forum/auto-body-paint-work/69575-cloudy-clear-coat-what-causes-it.html - Google Scholar Google Scholar
https://scholar.google.com/scholar?q=cloudy+clear+coat+automotive+finish+causes - Google Scholar Google Scholar
https://scholar.google.com/scholar?q=clear+coat+blushing+humidity+fix+wet+sanding+buffing - Google Scholar Google Scholar
https://scholar.google.com/scholar?q=automotive+clear+coat+blush+repair+process - Google Scholar Google Scholar
https://scholar.google.com/scholar?q=paint+coating+defects+cloudiness+clearcoat+repair+wet+sanding - Google Scholar Google Scholar
https://scholar.google.com/scholar?q=how+to+fix+cloudy+clear+coat - how to fix cloudy clear coat – Search results
https://en.wikipedia.org/wiki/Special:Search?search=how+to+fix+cloudy+clear+coat - https://www.ncbi.nlm.nih.gov/search/research-articles/?term=how+to+fix+cloudy+clear+coat
https://www.ncbi.nlm.nih.gov/search/research-articles/?term=how+to+fix+cloudy+clear+coat
